“It is never wise to let a piece of
electronic equipment know that you are in a hurry” (Murphy’s Law)
Following months of unusually protracted cloud cover during the winter and a short, though productive imaging period that can be measured in weeks, I have been unable to carry out any astrophotography since early May, when for inexplicable reasons everything went pear-shaped! The problem started on the 9th May and it’s taken me 3-months to solve! This and other events have therefore resulted in a noticeable paucity of WTSM activity – sorry.
After an earlier successful dry-run with the equipment in preparation for Mercury’s solar transit, a few days later at the very moment the transit started when I switched on the camera, Cartes du Ciel and EQMOD-ASCOM froze and, despite my best efforts, could not be restarted i.e. no images. With the next transits not due until 2019 and thereafter 2032, this was a missed opportunity at best but as subsequent efforts failed to rectify the problem I’ve reached moments of despair.
I have used the same equipment and software successfully for nearly two years, in particular assigning the same USB COM-ports to avoid potential conflicts; experience of others shows ASCOM can be particularly fickle with the assignment of a COM port. After some discussion via the EQMOD Yahoo forum group there was consensus that the problem was probably a software conflict or driver issue. Somehow this didn’t seem right to me given the background described but with no alternative ideas I reluctantly set out to clean up the laptop and update all relevant software and drivers: ASCOM, Cartes du Ciel, EOS Utility etc. Unfortunately there was no improvement, so I checked and checked again, including all connections and wires but with no success.
I had only queried the problem with the EQMOD Yahoo group convinced that this was where the problem existed and these were after all the experts. With by now the limited darkness of summertime nights upon us, despair setting in and my daughter’s wedding to attend to, I put everything aside for a few weeks: (a) for practical reasons, and (b) in order to restore some enthusiasm – hopefully. At this point, somewhat late in the day, I decided to post a query on Stargazers Lounge; can’t think why I didn’t try before but there you go – the experience and help on SGL has almost always been very helpful and positive.
Almost immediately ‘Smudgeball’ (AKA Neil) from Scotland responded with a similar experience that turned out to be a very small break in the DSLR mains adapter insulation. On inspection I could find no such damage to my adapter but it was worth a try, though holiday travel then delayed acquiring a replacement for another few weeks. Immediately on my return I obtained a new adapter which on testing indoors with the equipment produced a successful outcome – BINGO! Soon after I was able to get outside once again and at last undertake some astrophotography, phew. Despite my resolve and perseverance there have been times I’ve really felt like giving up completely and I am still getting over the frustration of these drawn out events.

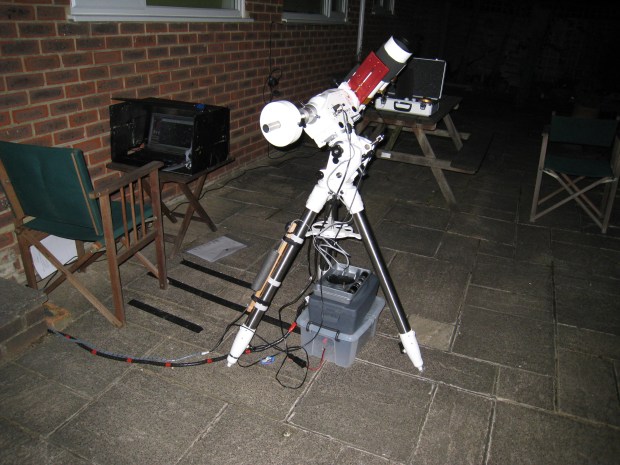
AC/DC DSLR power adapter: How can something as basic as this cause so much disruption?
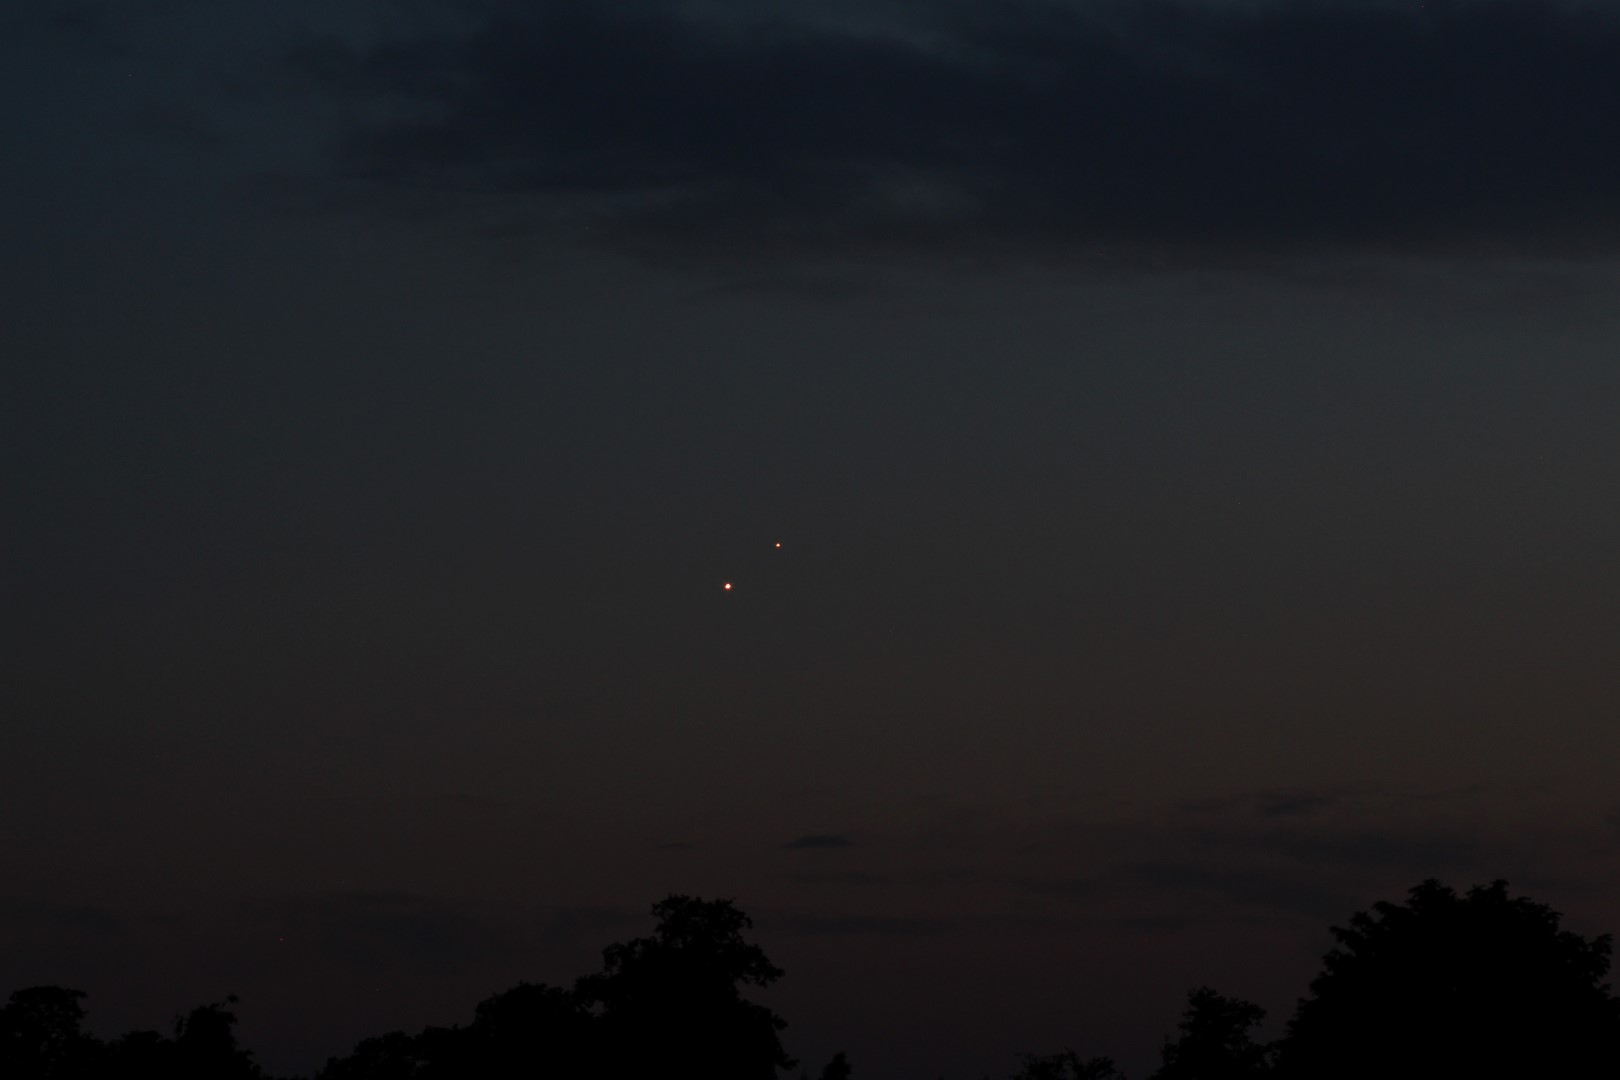
Whilst this was going on I did manage to carry out some planetary observing – with Jupiter, Mars and Saturn all around it was too good to miss. For a while I have been aware that astrophotography has been distracting me from looking at the night sky itself; it seems strange but you get so tied-up with imaging and forget to look up – I hope to avoid this trap in the future. Unfortunately the re-awakening of my observing interest only served to highlight the poor quality and range of some of my eyepieces.
After some research and another query on SGL I purchased an Explore Scientific 20mm 68o Maxvision eyepiece, which I thought would fit well in between my existing 32mm and 6mm eyepieces. The Maxvision is very well made but like many high-end eyepieces nowadays is quite bulky. However, the eyepiece has an unusual rubber twist-up eyecup, which though ingenious limits eye relief for those, such as myself, wearing spectacles and narrows the field-of-view. As a result I exchanged the Maxvison eyepiece for Explore Scientific 5-element 20mm and 10mm 70o eyepieces, which provide much better eye relief and is therefore more suitable for my circumstances. At this time I have not used either of these but as they are more conventional in design, with good access to the top lens for viewing, I am very hopeful they will do a good job.

Explore Scientific 20mm eyepiece – good access to the wide angle top lens element provides good eye relief and full use of 70 degree FOV
I routinely watch second-hand equipment on the SGL and UK Astronomy Buy & Sell websites, which has resulted in some timely purchases in the past, including my modded Canon 550D camera and Vixen Polarie. From experience I find it pays to know exactly what you might be looking for and what a good price might be, in order to act quickly if necessary. There is great demand for popular items such as the Polarie which tend to go very quickly. Buoyed by much positive online comments I was recently lucky to see and successfully acquire a Tele Vue 2.5x Powermate, just 3-minutes after it was posted! I’ve only had brief use so far but it’s already obvious that this is an excellent piece of kit; being parfocal vignetting is eliminated and with great optics it’s noticeably a quantum improvement on a Barlow.
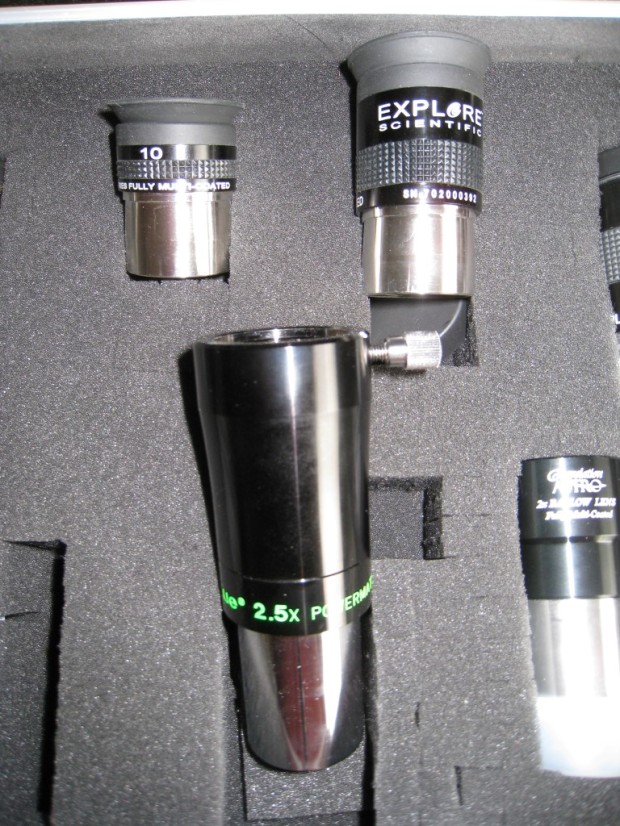
Additions to the family: Explore Scientific 10mm & 20mm eyepieces and 2.5x Powermate
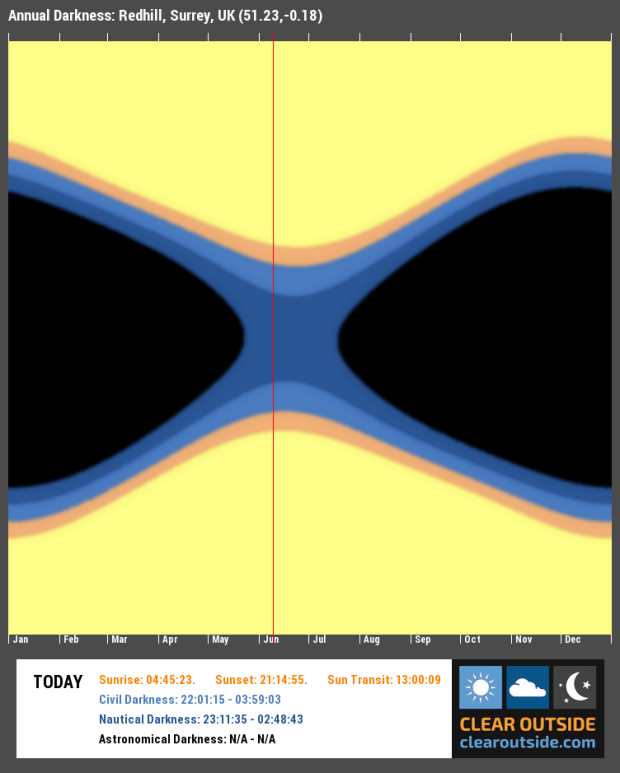
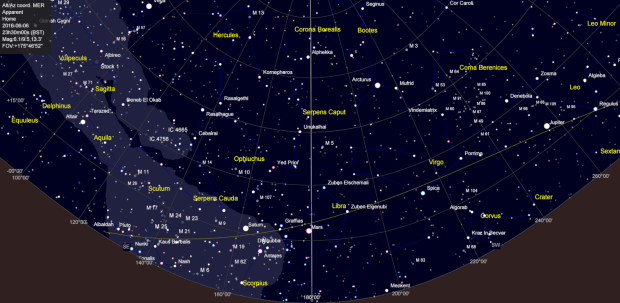
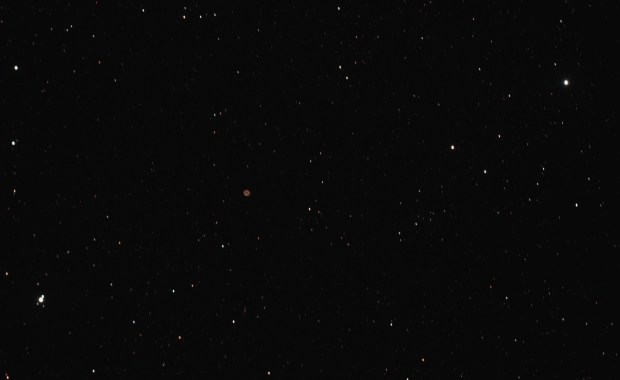
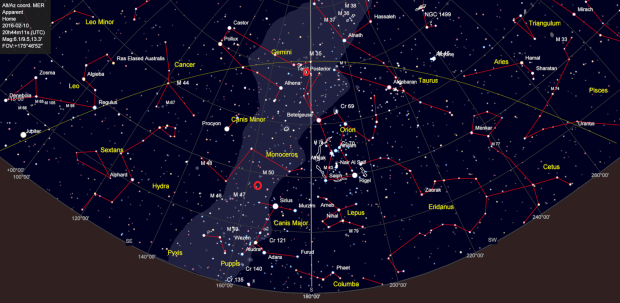
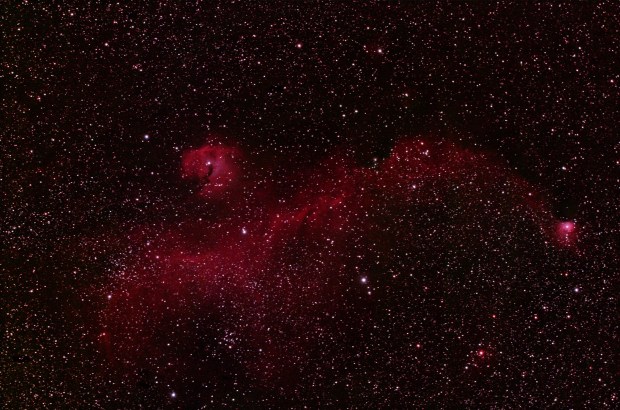
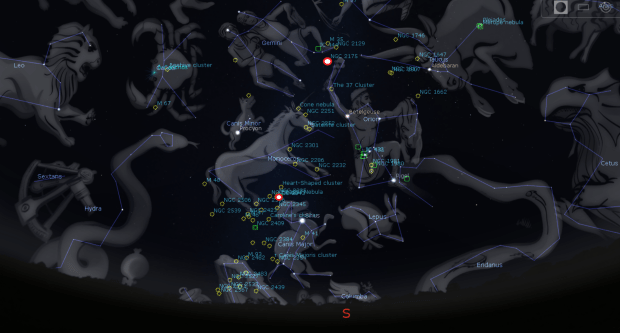
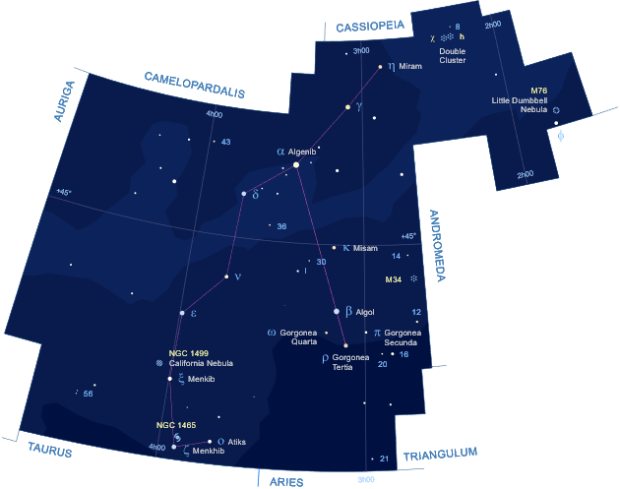
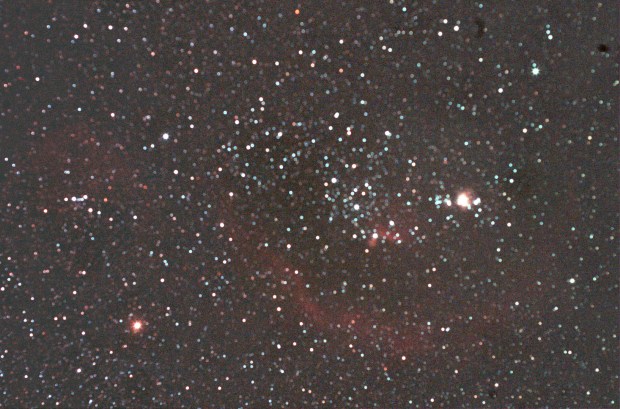
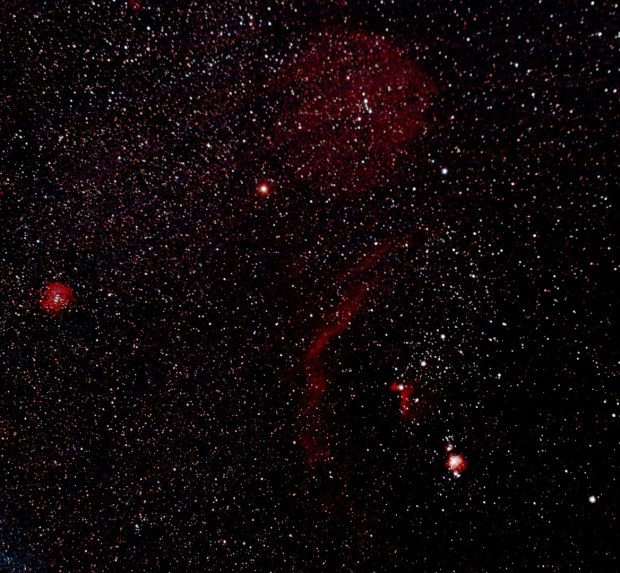
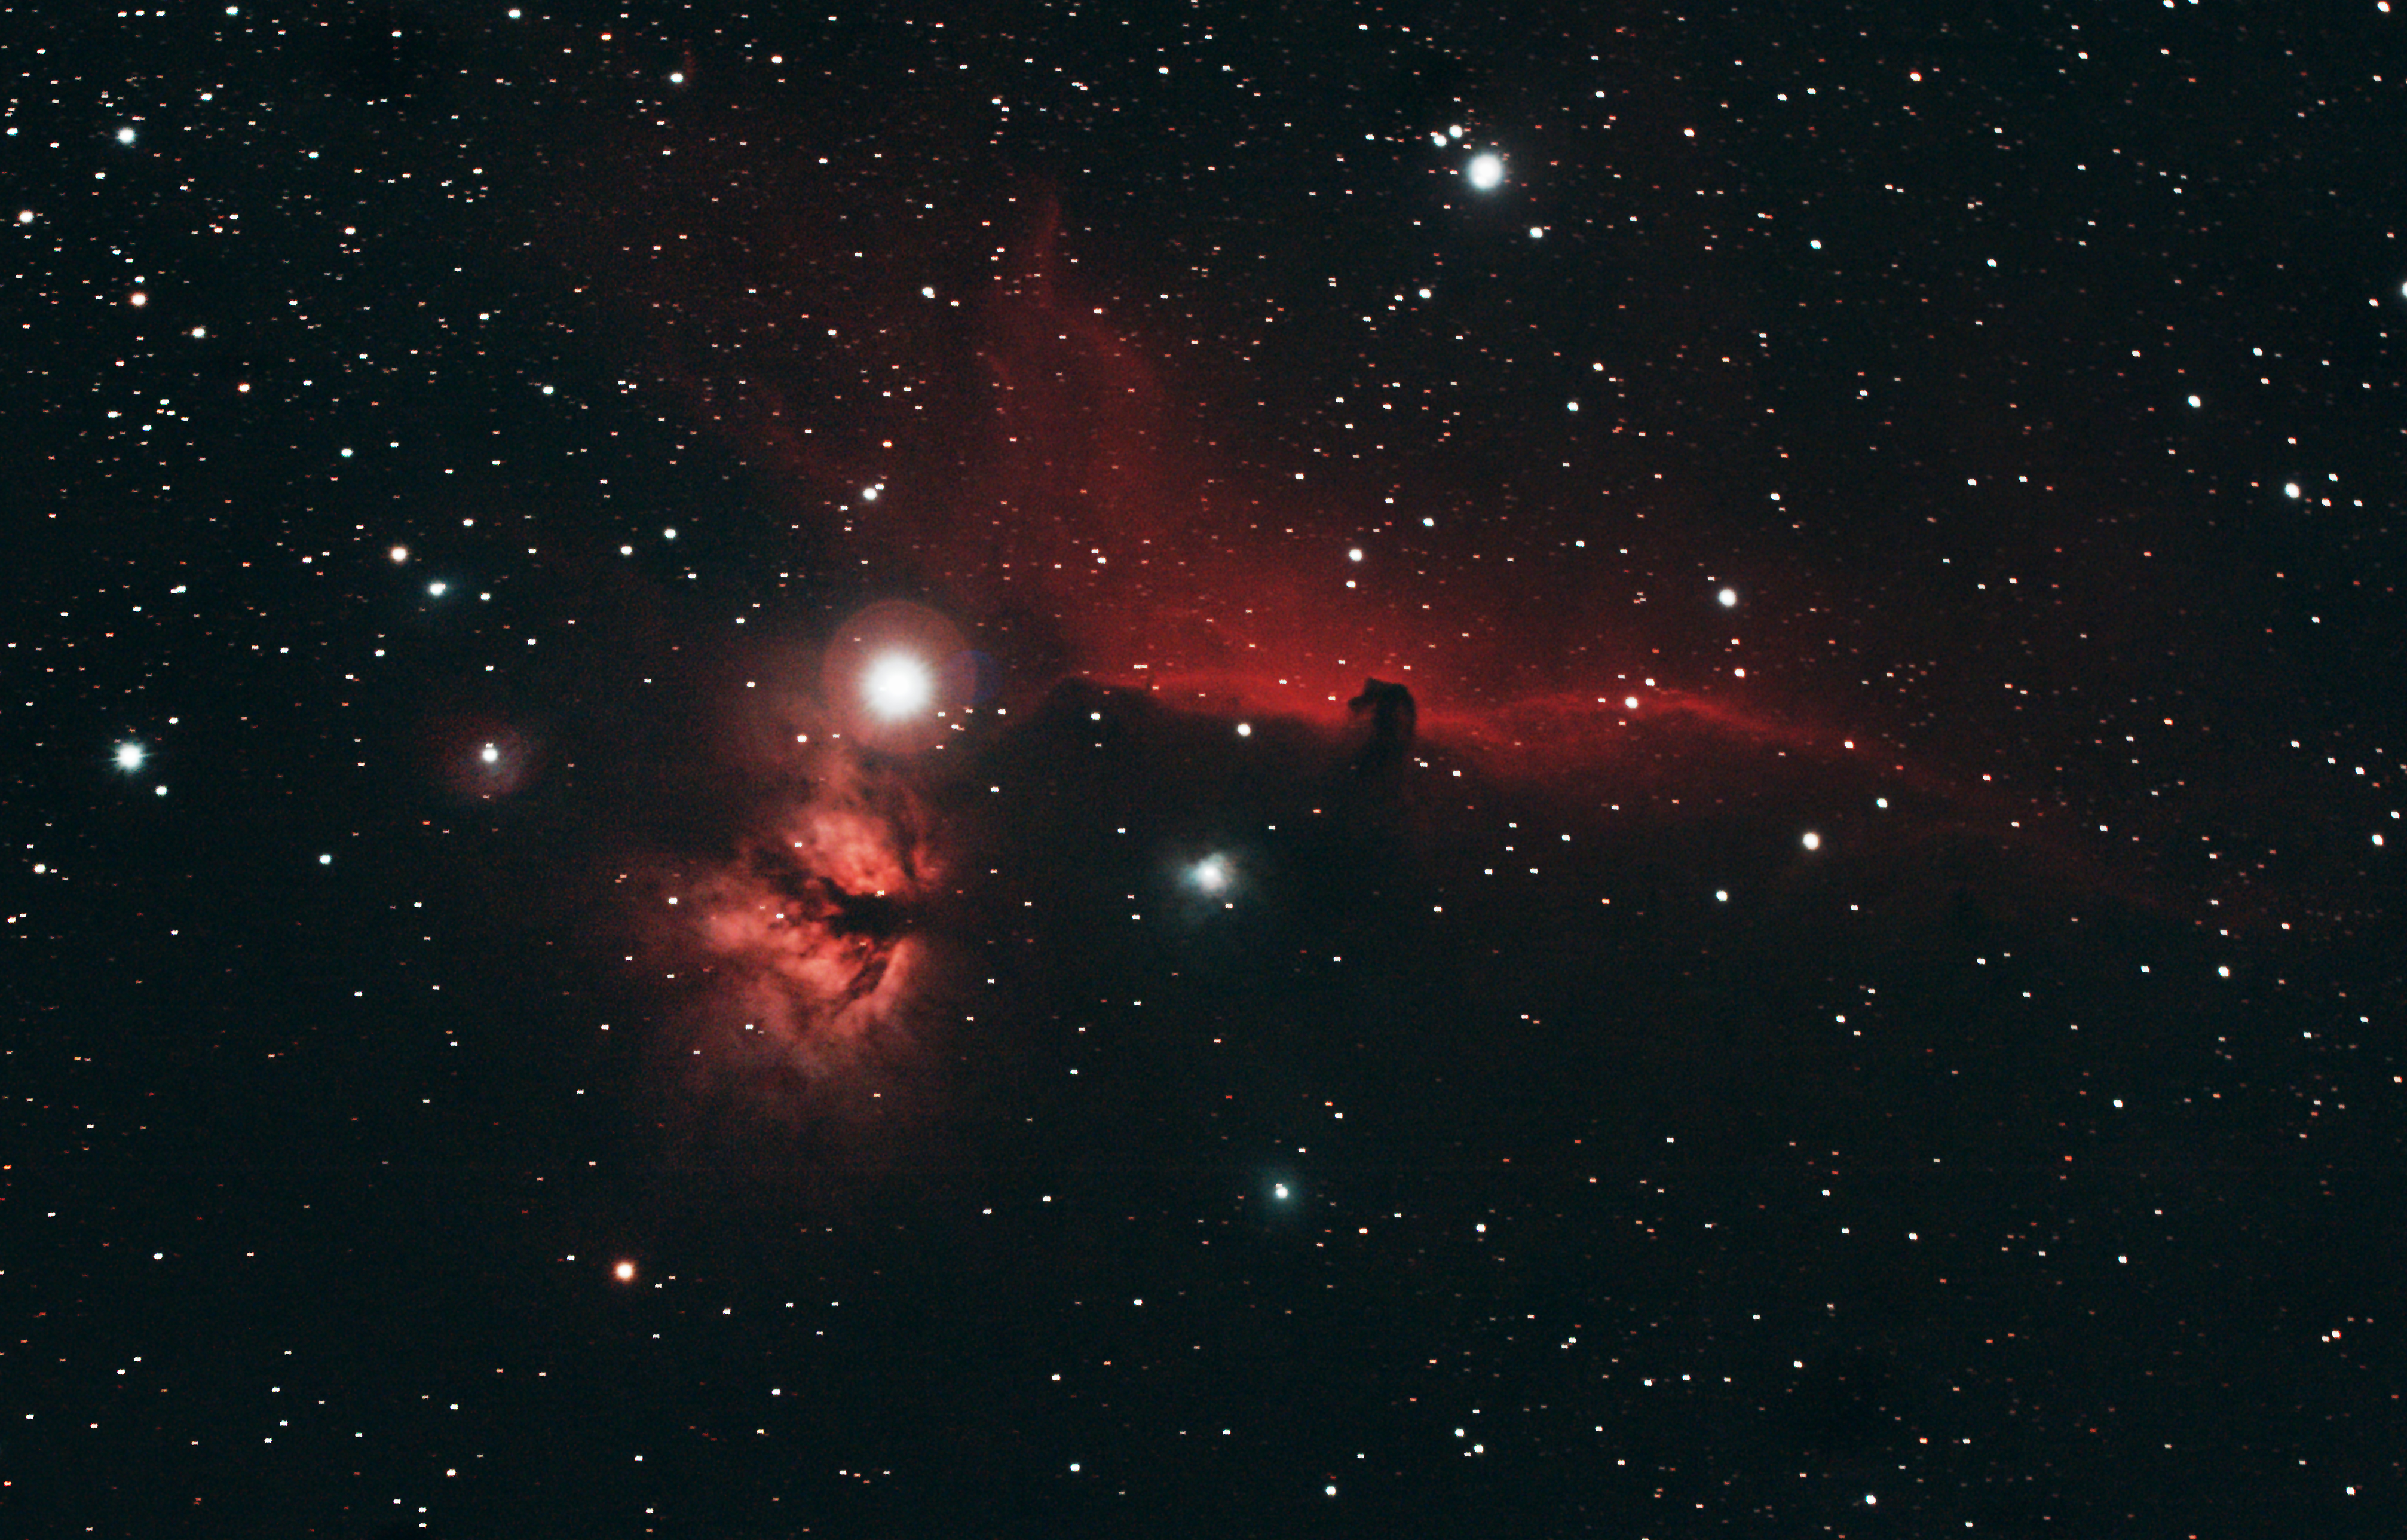
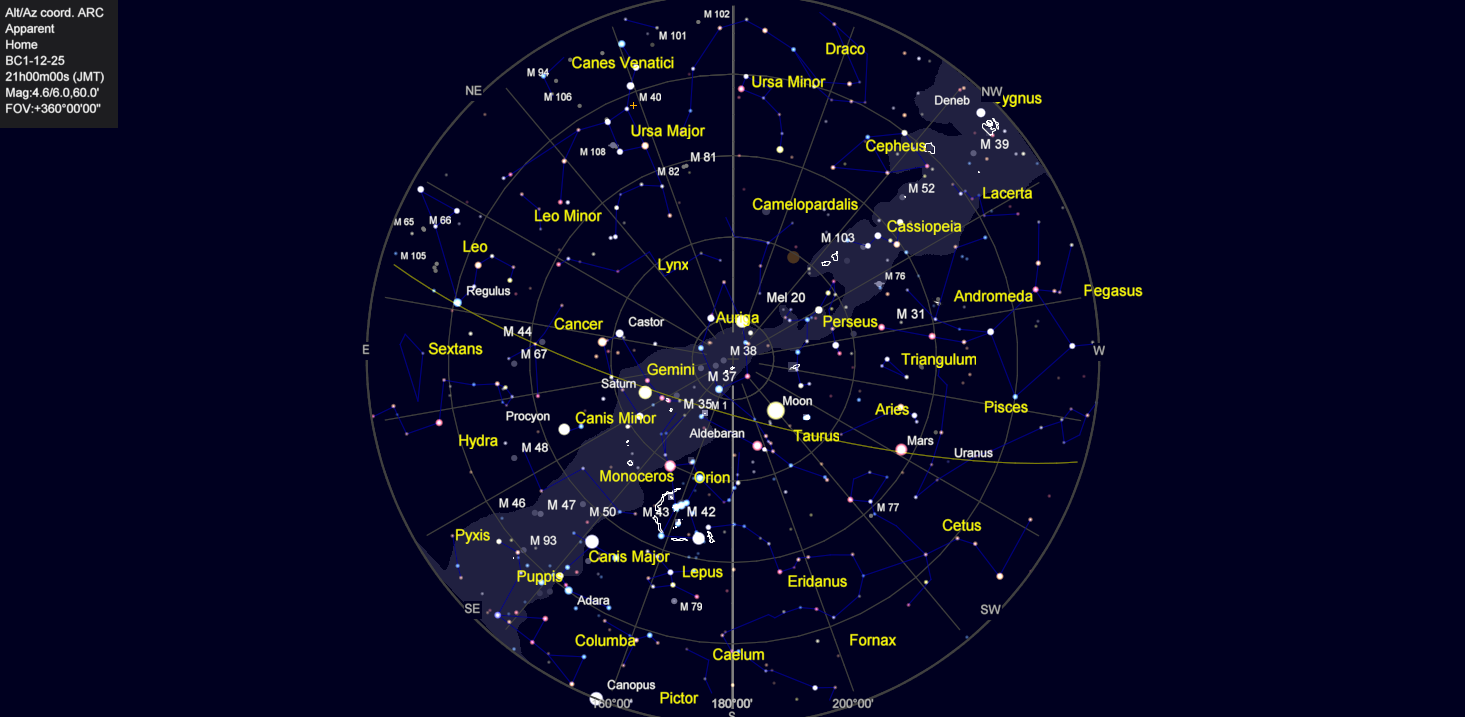
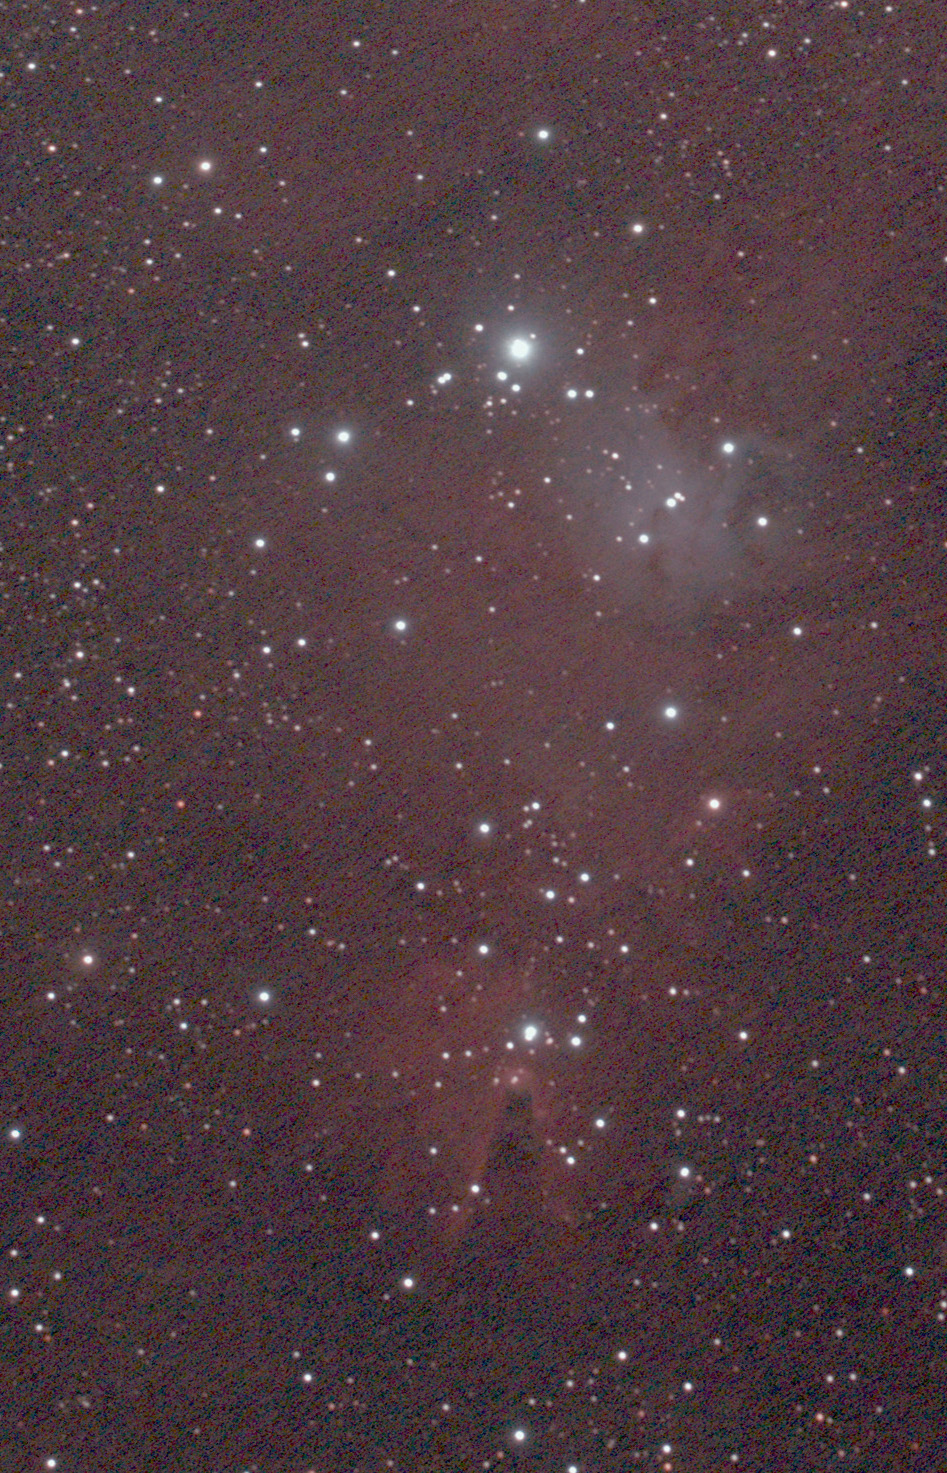
With the return of astronomical darkness on July 20th and the prospect of Fairvale Observatory able to function again, I have been keen to get back out. Imaging targets are mixed at this time of the year but I’ve just managed to bag three exciting new objects. The so-called Pillars of Creation are perhaps the iconic image of modern astronomy, inevitably captured best by the Hubble telescope. These towering columns of illuminated cosmic dust are situated within M16 or Eagle Nebula, in the constellation of Serpens, which at this time of the year is located low in the southern sky, just above the ecliptic at about 25o – not an ideal but too tantalising not to give it a try.
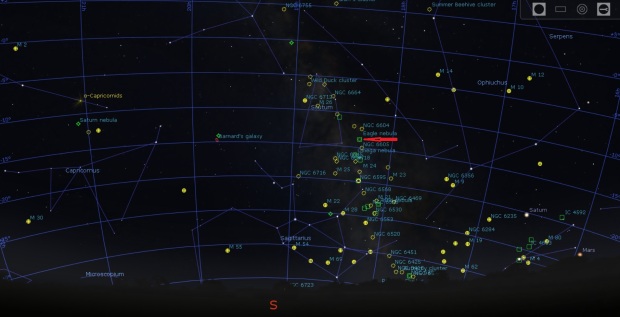
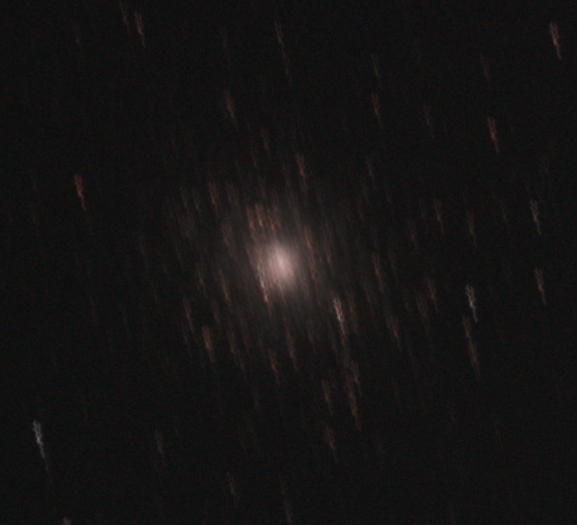
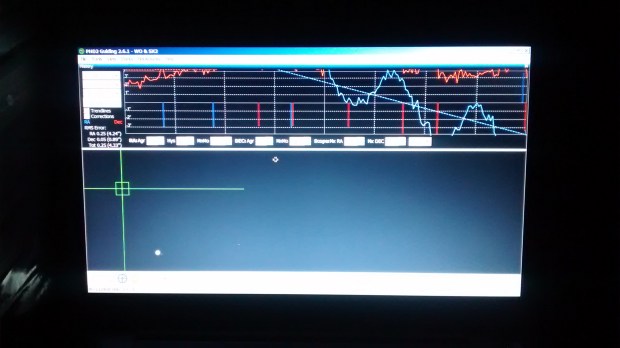
At 7-arcseconds in size and +6.0 apparent magnitude, the Eagle is a decent target for the William Optics GT81. Unfortunately as it’s been some time since the last session and my old nemesis of polar alignment wasn’t too good on this occasion, which combined with its low altitude and lack of guiding was always going to be a challenge. Notwithstanding I manged to get a reasonable sequence of images that show the shape of the ‘bird’ and even the general nature of the Pillars at the centre of the nebula, though inevitably exposures were short and minor star trails are evident.

M16 The Eagle Nebula: William Optics GT81 & modded Canon 550D + FF | 15 x 180 sec @ ISO 1,600 + darks | 7th August 2016

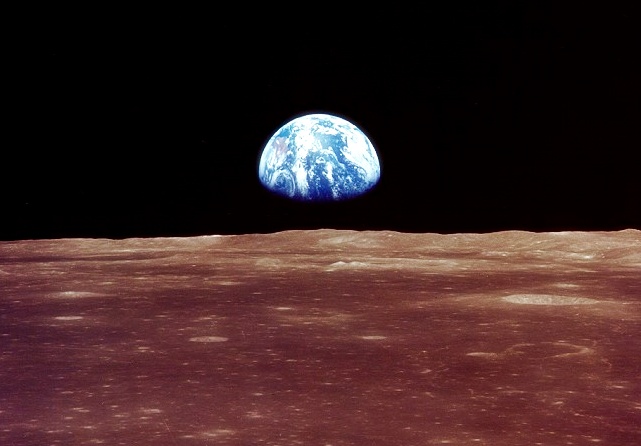
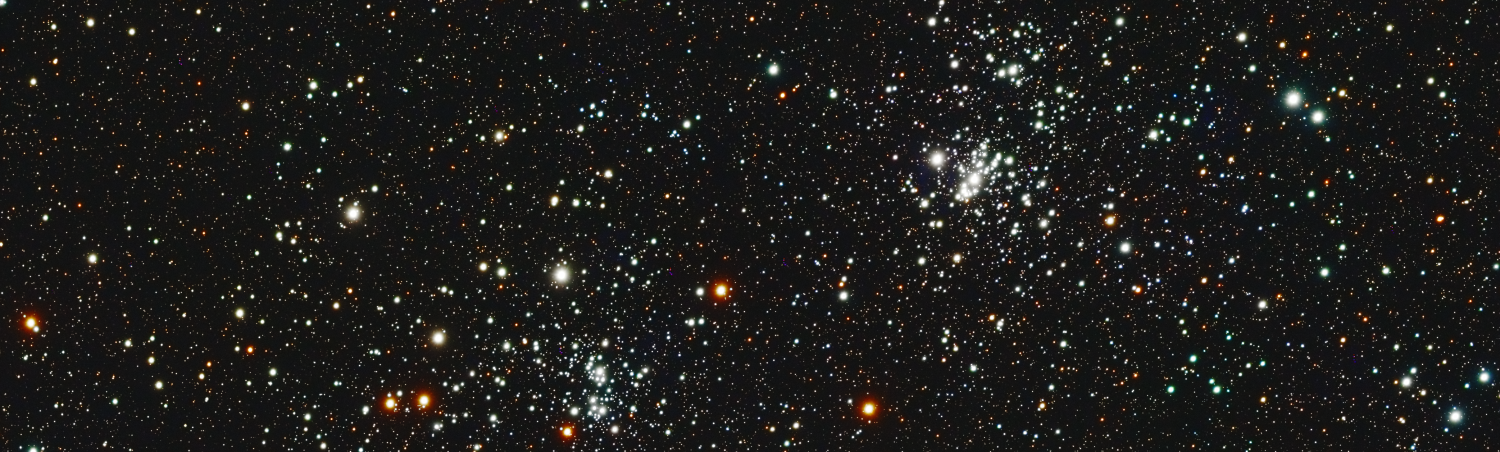
After all the trauma of the past few months it was a satisfying result and later that night I was able to capture two more interesting objects, more of which another time – watch this space. It’s fair to say that for now the eagle had in more than one way well and truly landed, though given the preceding difficulties and eventual solution it was more like Apollo 13 than 11!