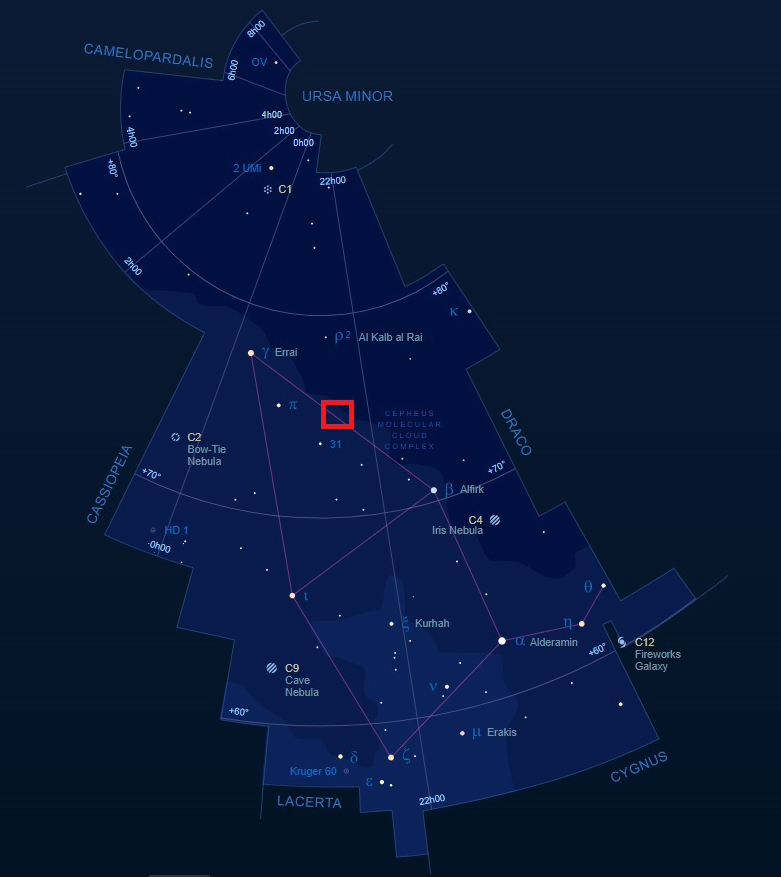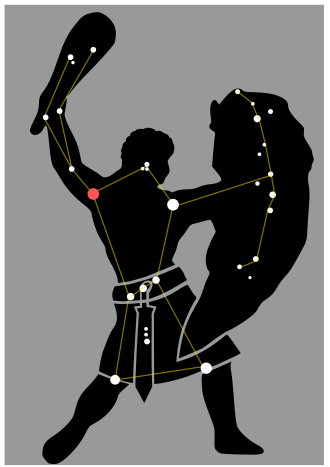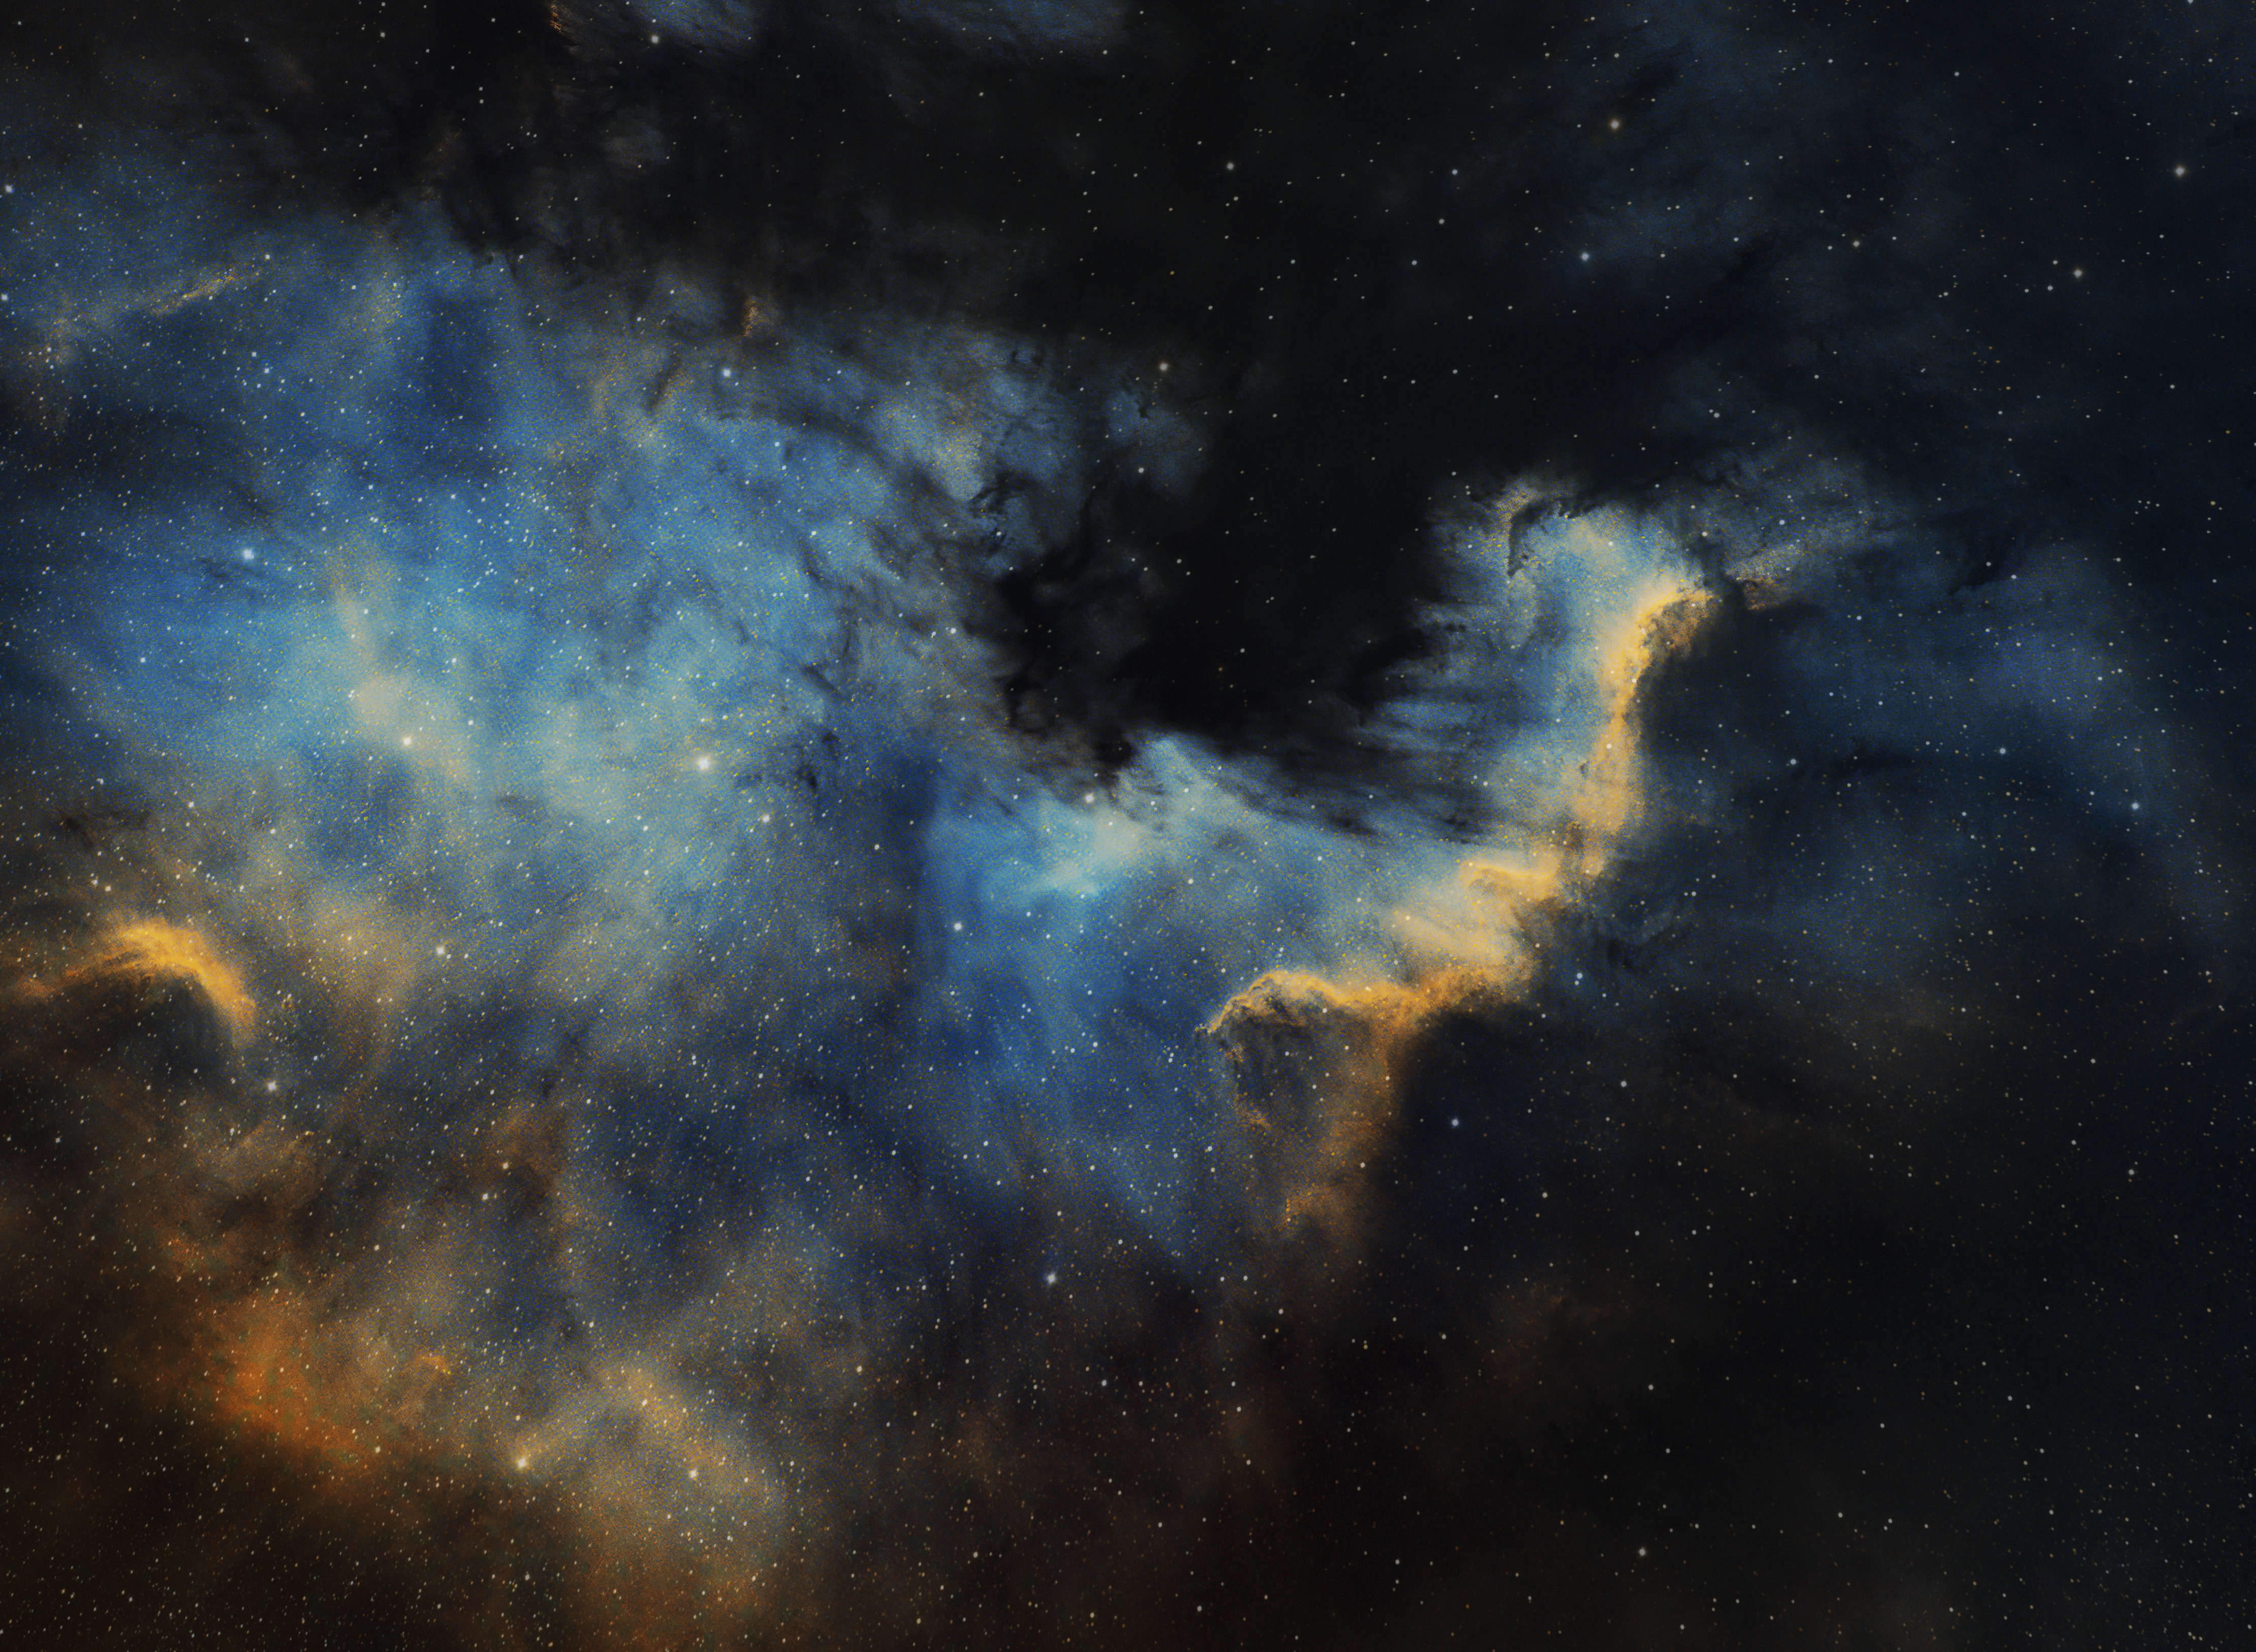
Located within the Orion Arm of the Milky Way galaxy is the Gamma Cygni nebula, a diffuse emission nebula that surrounds the star of the same name, otherwise better known as Sadr. Moreover, this large area forms part of an even bigger HII-region that is mainly (80%) located in the north and east quadrants of the so-called Cygnus Cross, which is defined by the stars Deneb – Sadr – Delta Cygni – Albireo – Aljanah (see below).


This vast area passes directly high overhead at this time the year before disappearing behind the house roofline in the early morning hours and has already provided many exciting imaging opportunities for me in the past. The heart (not the centre) of the region is the supergiant star Sadr and I first imaged this area in autumn 2015 using my modded DSLR camera. A return visit was therefore long overdue and this time I set out to better capture the so-called Butterfly Nebula in narrowband wavelengths.
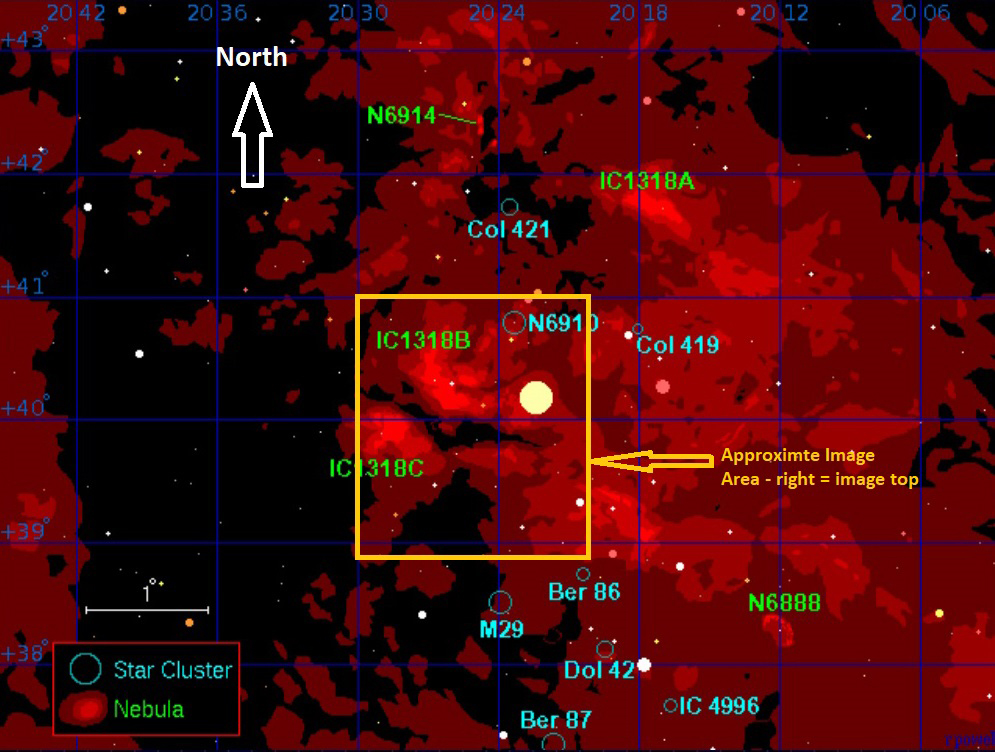
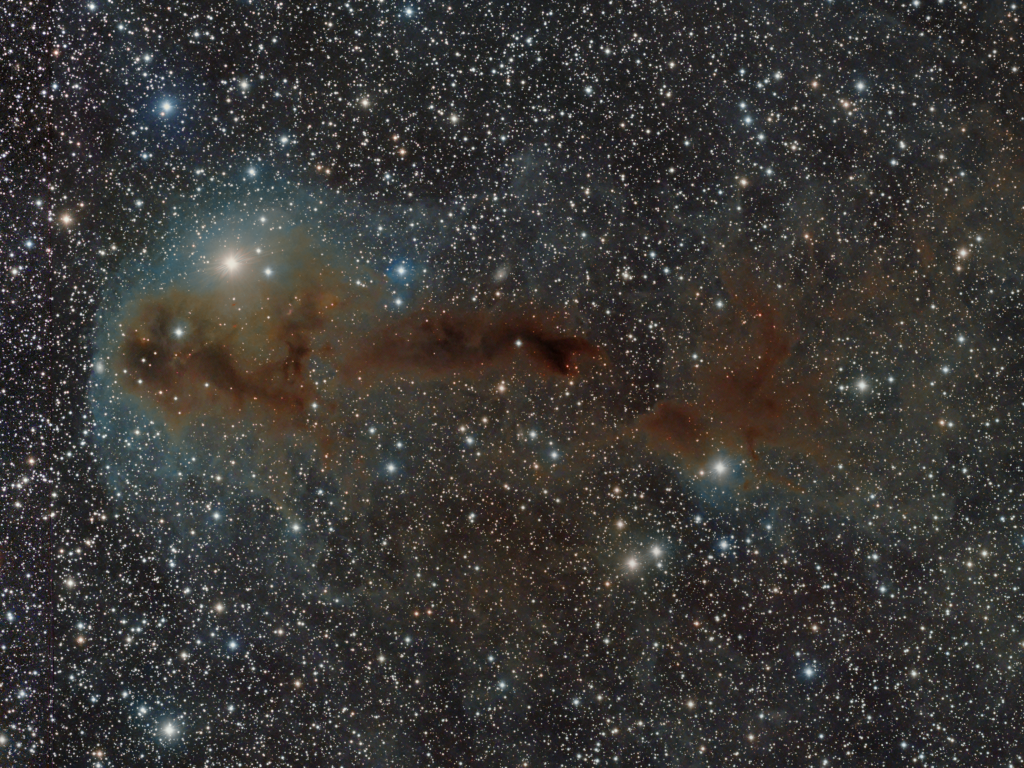
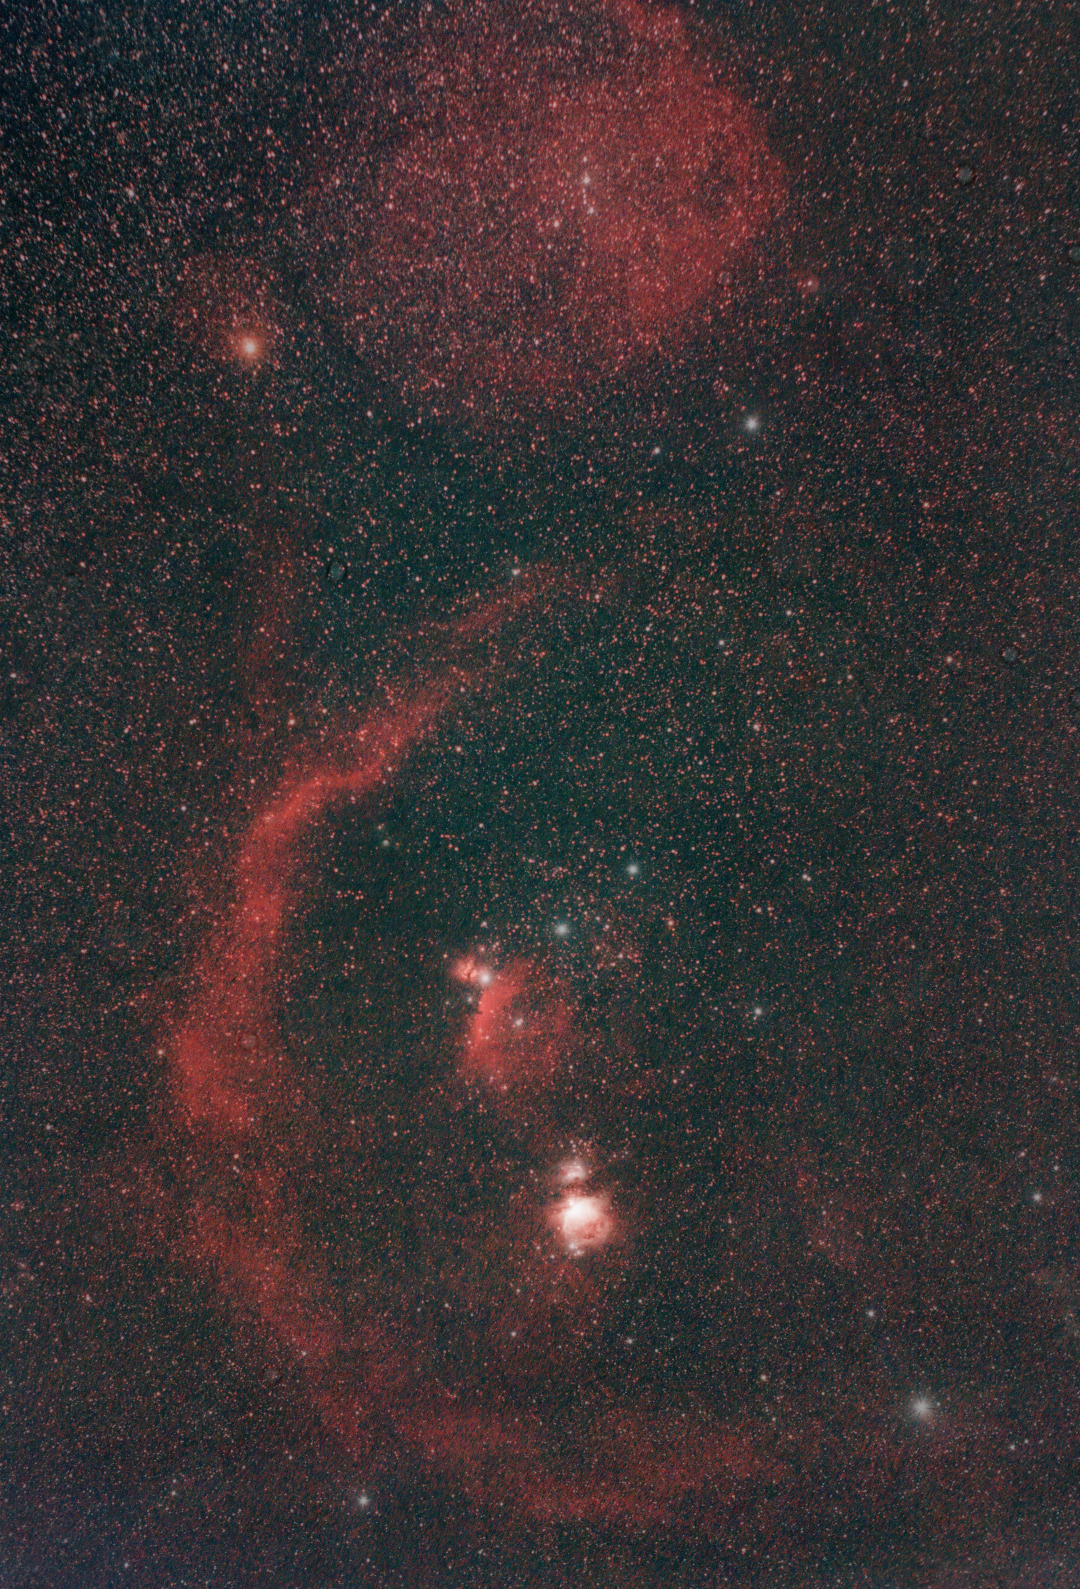
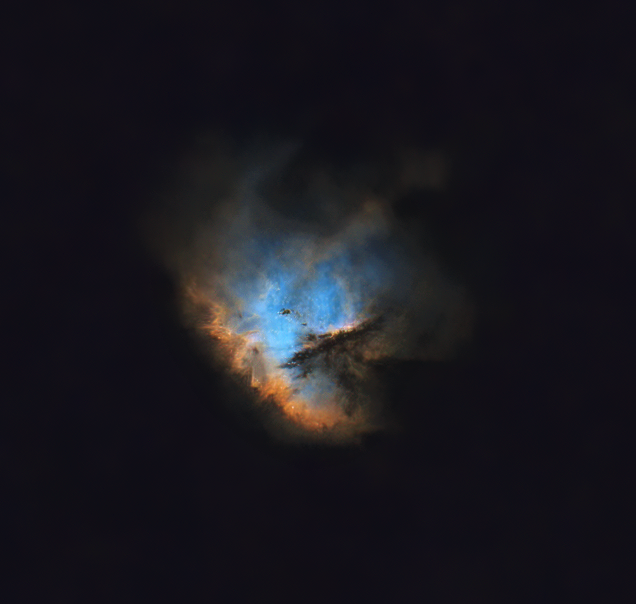
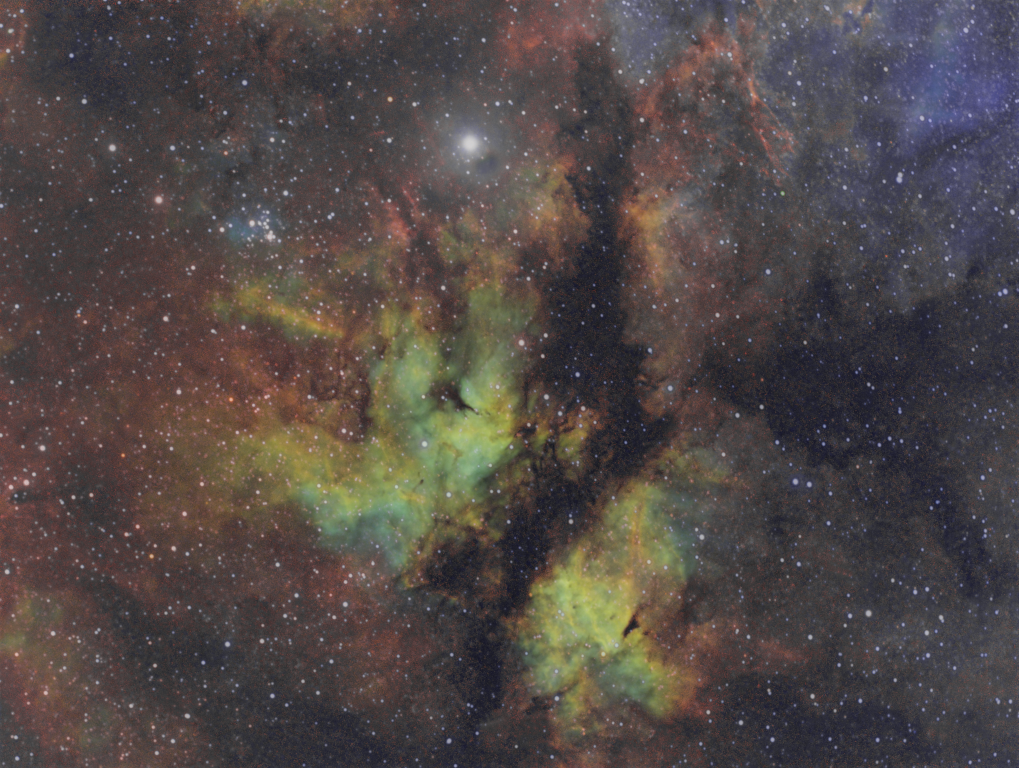
The resulting data has been processed to good effect as an SHO image (see top-of-the-page) using the Hubble Palette techniques. Other than the dominant supergiant star Sadr and widespread colourful nebulosity, two significant features are worthy of note in the final image. Either side of the almost central dark rift that divides the image laterally, are two large bright areas which together form the ‘wings’ of the so-called Butterfly Nebula IC 1318-C (right = south) and IC 1318-B (left = north). Furthermore, just beyond the Butterfly’s left wing north of Sadr is the young, bright open star cluster NGC 6910.
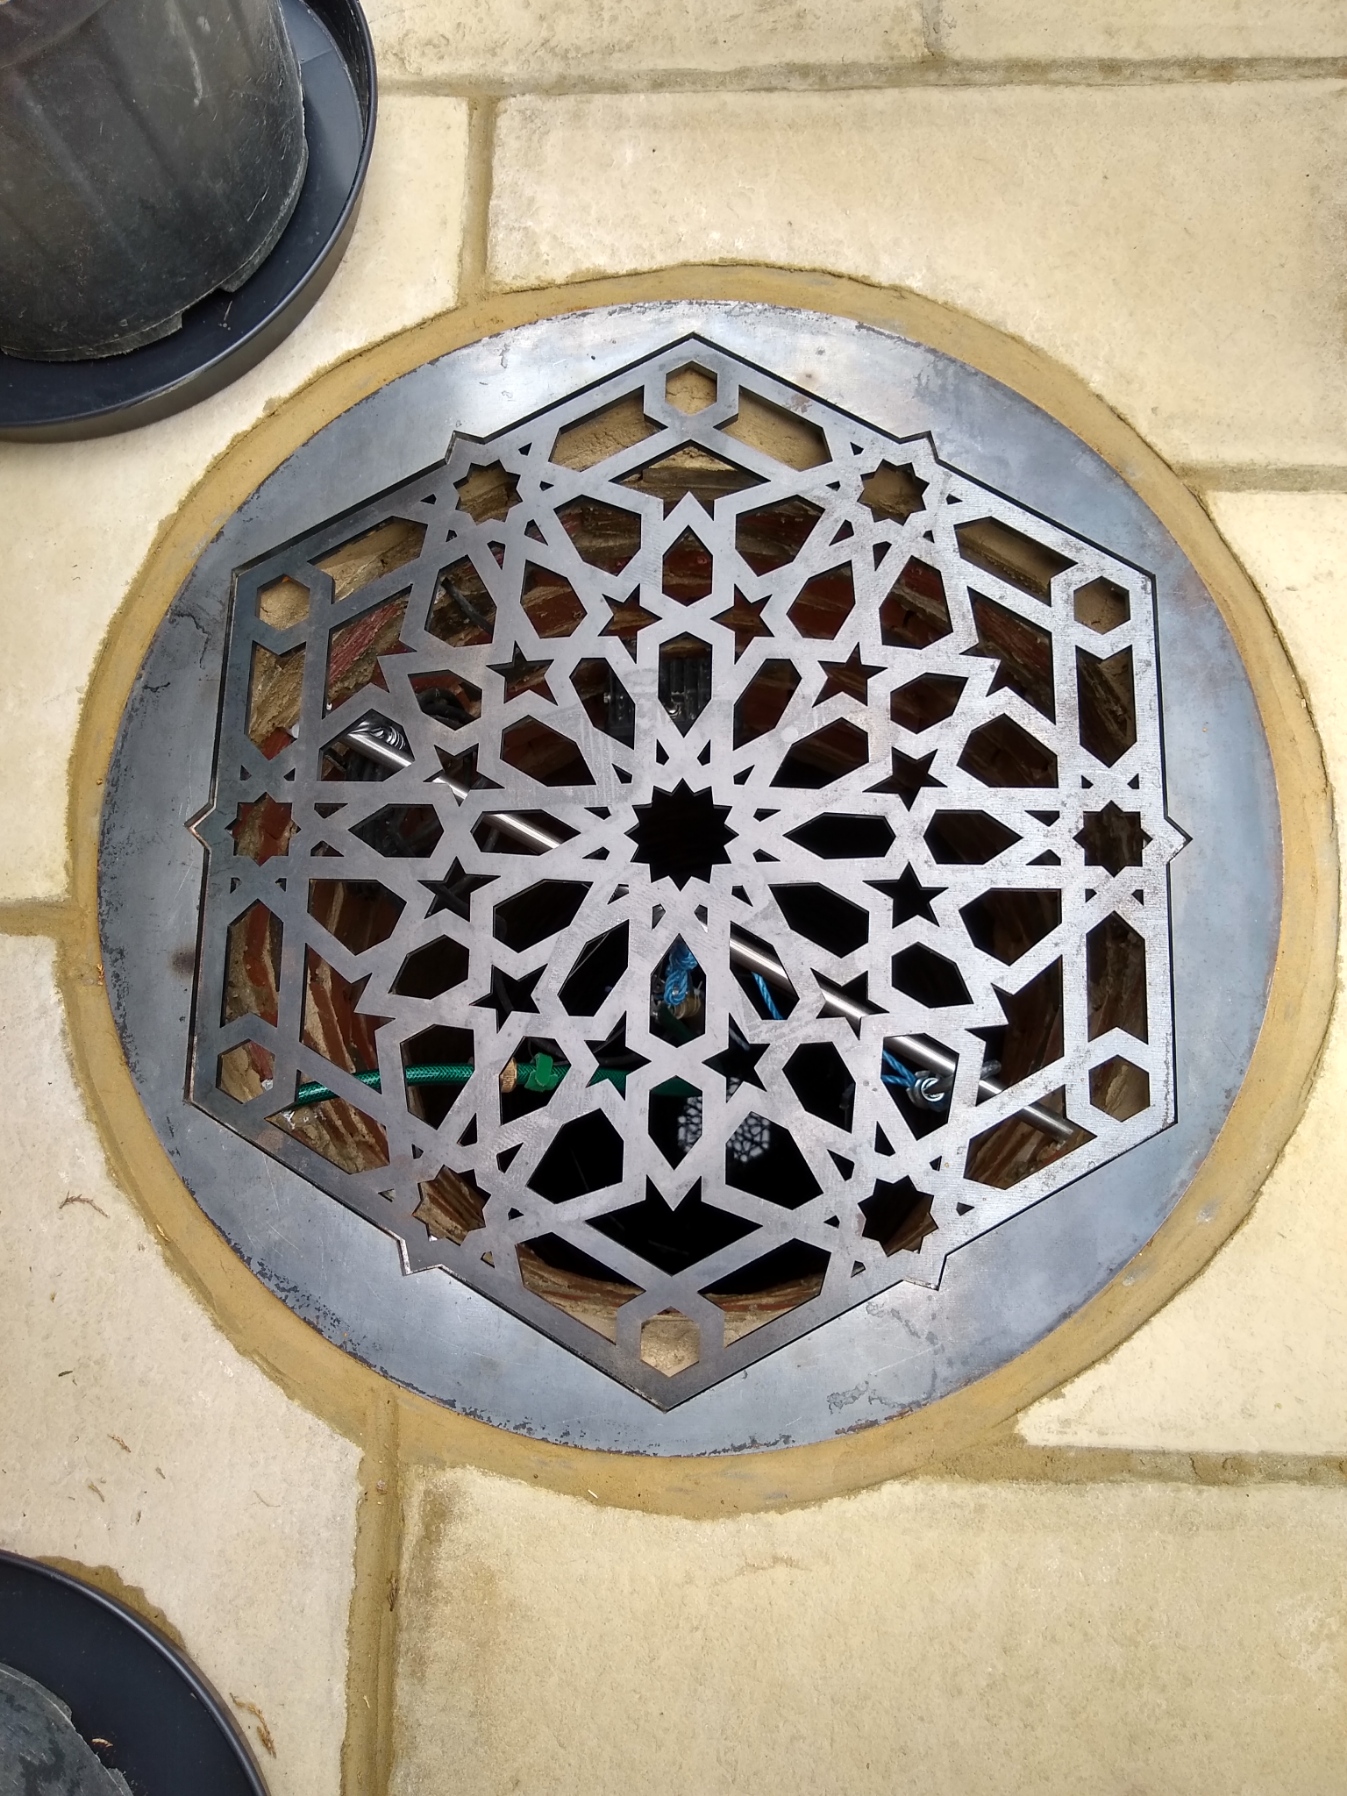
I’m very pleased with this image, which is my first since the end of March, in part because nowadays I take an astronomy break during the long late spring / summer days when astronomical darkness is largely absent. However, this year the pause has been protracted as the patio on which Fairvale Observatory is situated was re-laid, during which a hitherto unknown water well was discovered. Thereafter one thing led to another and turned into a summer project to recommission the well, thus delaying completion of the patio. As a result I’ve only recently been able to reinstate the astronomy equipment, a job that is still ongoing. The new patio is firm and flat, providing a much better surface for the mount than before and I’m hopeful that once recalibration is completed will result in improved tracking results – watch this space!
| IMAGING DETAILS | |
| Object | IC1318-B & IC1318-C Gamma Cygni Nebula or Butterfly Nebula NGC 6910 Open cluster |
| Constellation | Cygnus |
| Distance | 3,700 light-years |
| Size | 1Approximately 100 light-years |
| Apparent Magnitude | Varies |
| Scope | William Optics GT81 + Focal Reducer FL 382mm f4.72 |
| Mount | SW AZ-EQ6 GT + EQASCOM computer control & Cartes du Ciel |
| Guiding | William Optics 50mm guide scope |
| + Starlight Xpress Lodestar X2 camera & PHD2 guiding | |
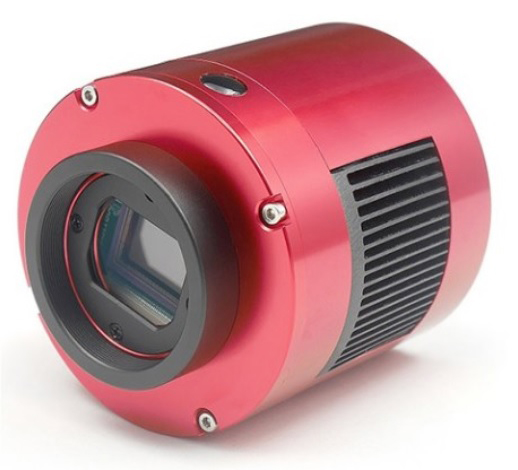
| Camera | ZWO1600MM-Cool mono CMOS sensor |
| FOV 2.65o x 2.0o Resolution 2.05”/pix Max. image size 4,656 x 3,520 pix | |
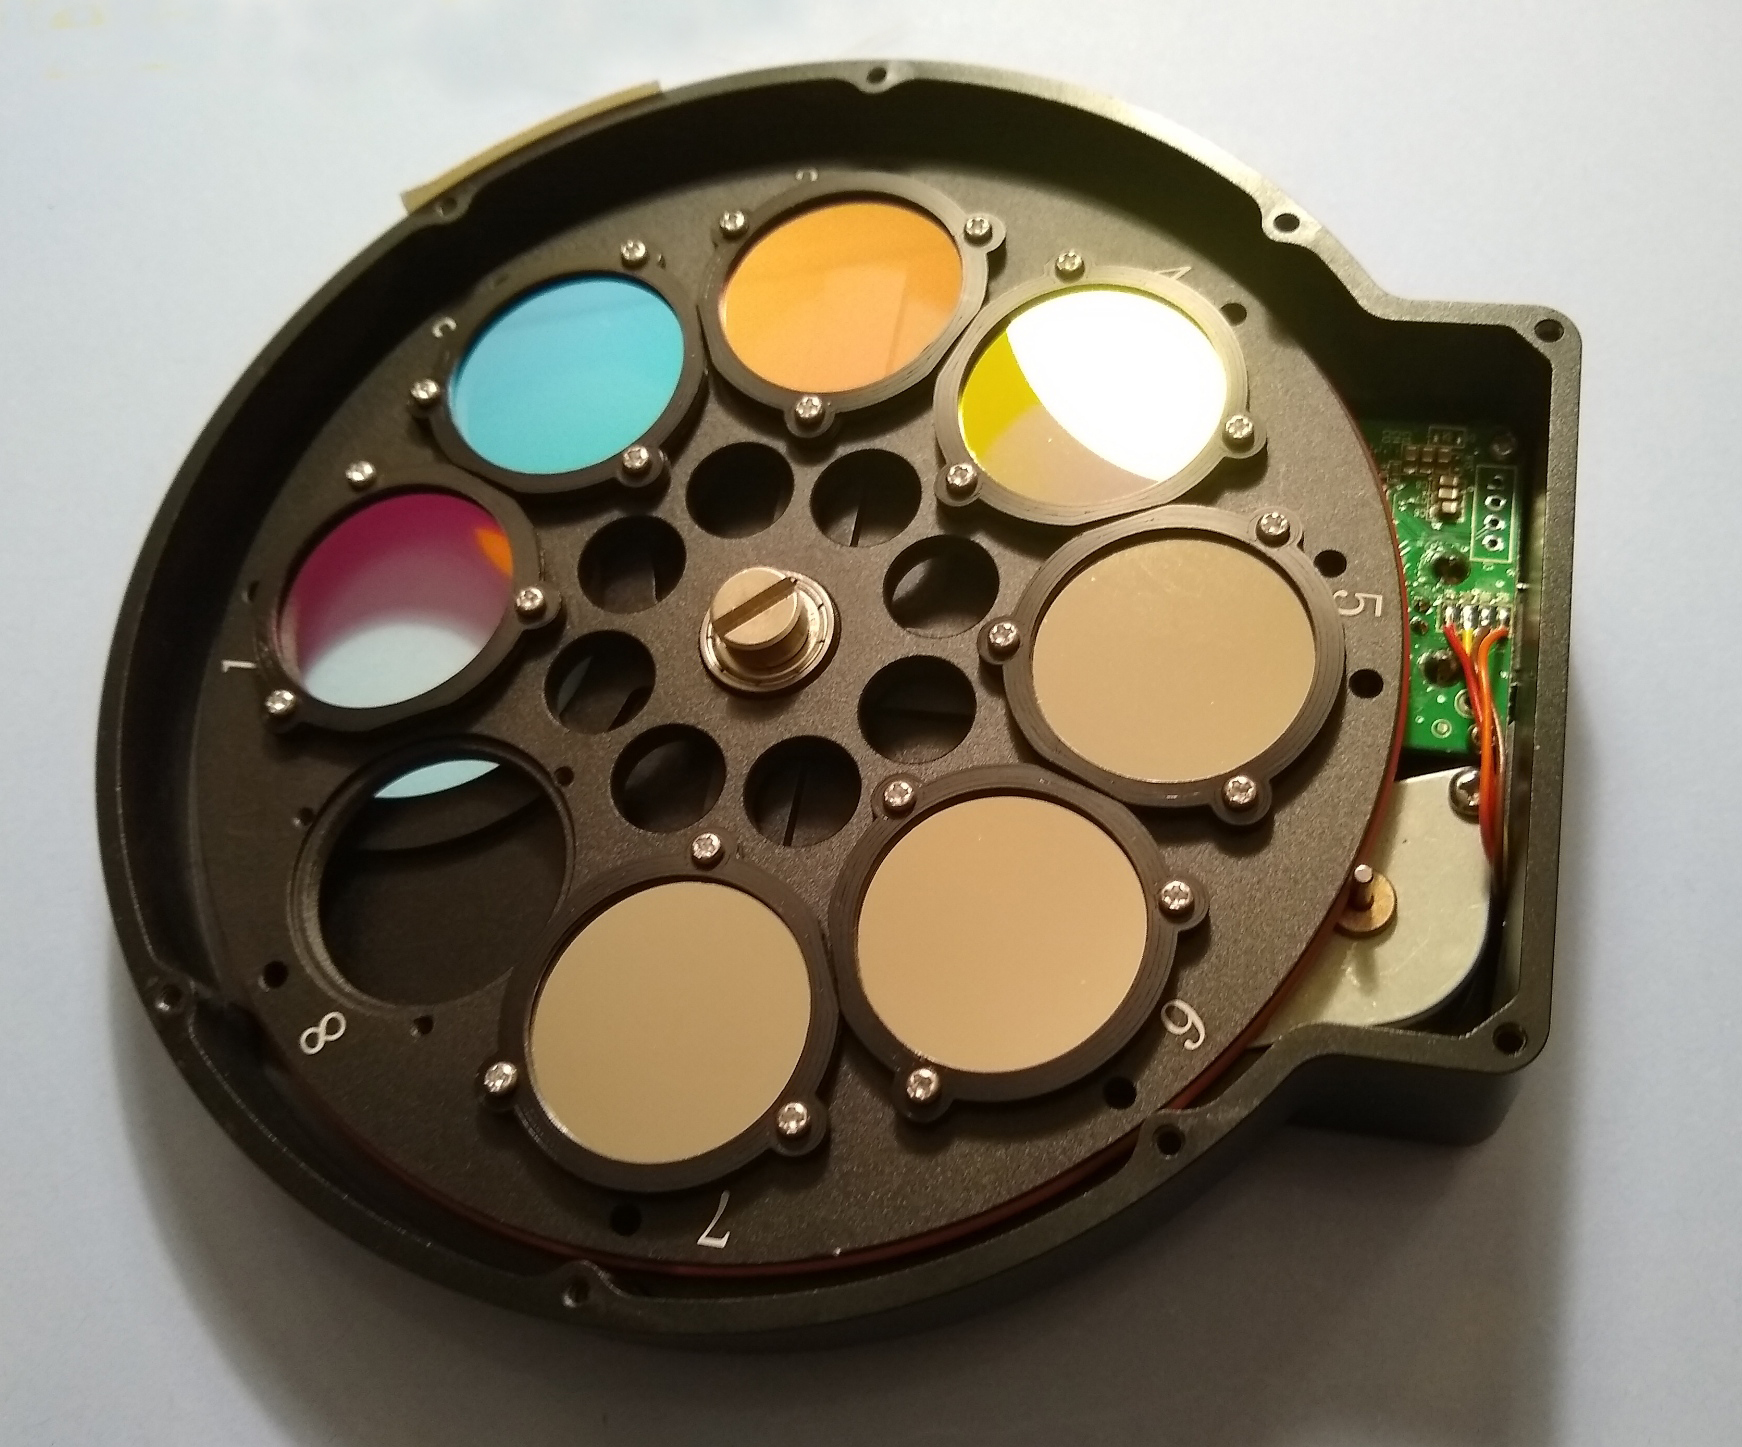
| EFW | ZWOx8 EFW & 31mm Chroma LRGB filters |
| Capture & Processing | Astro Photography Tool + PHD2 + Deep Sky Stacker, PixInsight v1.8.8-8, Photoshop CS3, Topaz Denoise |
| Image Location & Orientation | Centre RA 20:25:20.492 DEC +40:11:20.970 Left = North |
| Exposures | 21 x 300 sec Ha, OIII, SII Total Integration Time: 5hr 15 min |
| @ 139 Gain 21 Offset @ -20oC | |
| Calibration | 5 x 300 sec Darks 15 x Flats & 10 x Dark Flats Ha, OIII, SII @ ADU 25,000 |
| Location & Darkness | Fairvale Observatory – Redhill – Surrey – UK Typically Bortle 5-6 |
| Date & Time | 6th & 7th September 2021 @ +21.00h |
| Weather | Approx. >=17oC RH >=45% 🌙 New Moon |