Viewing from Fairvale Observatory is far from ideal but I have no choice and need to make the most of it:
(i) Without going down the garden (which is not practical and would then totally obscure the southerly view) my house blocks the entire northern sky, critically including Polaris;
(ii) We have very high +/-12ft hedges surrounding the garden;
(iii) Directly east is a large house that completely obscures the horizon;
(iv) South east and south are very large trees;
(v) To the west is a wooded hill, thus blocking the horizon in that direction, and
(vi) Some 7-miles to the south is Gatwick Airport which produces significant light pollution, as well as aircraft that regularly fly through my images as well as others from Heathrow, also not far away.
It’s a miracle I am able to undertake any astrophotography and I long for the day I live somewhere with better conditions.
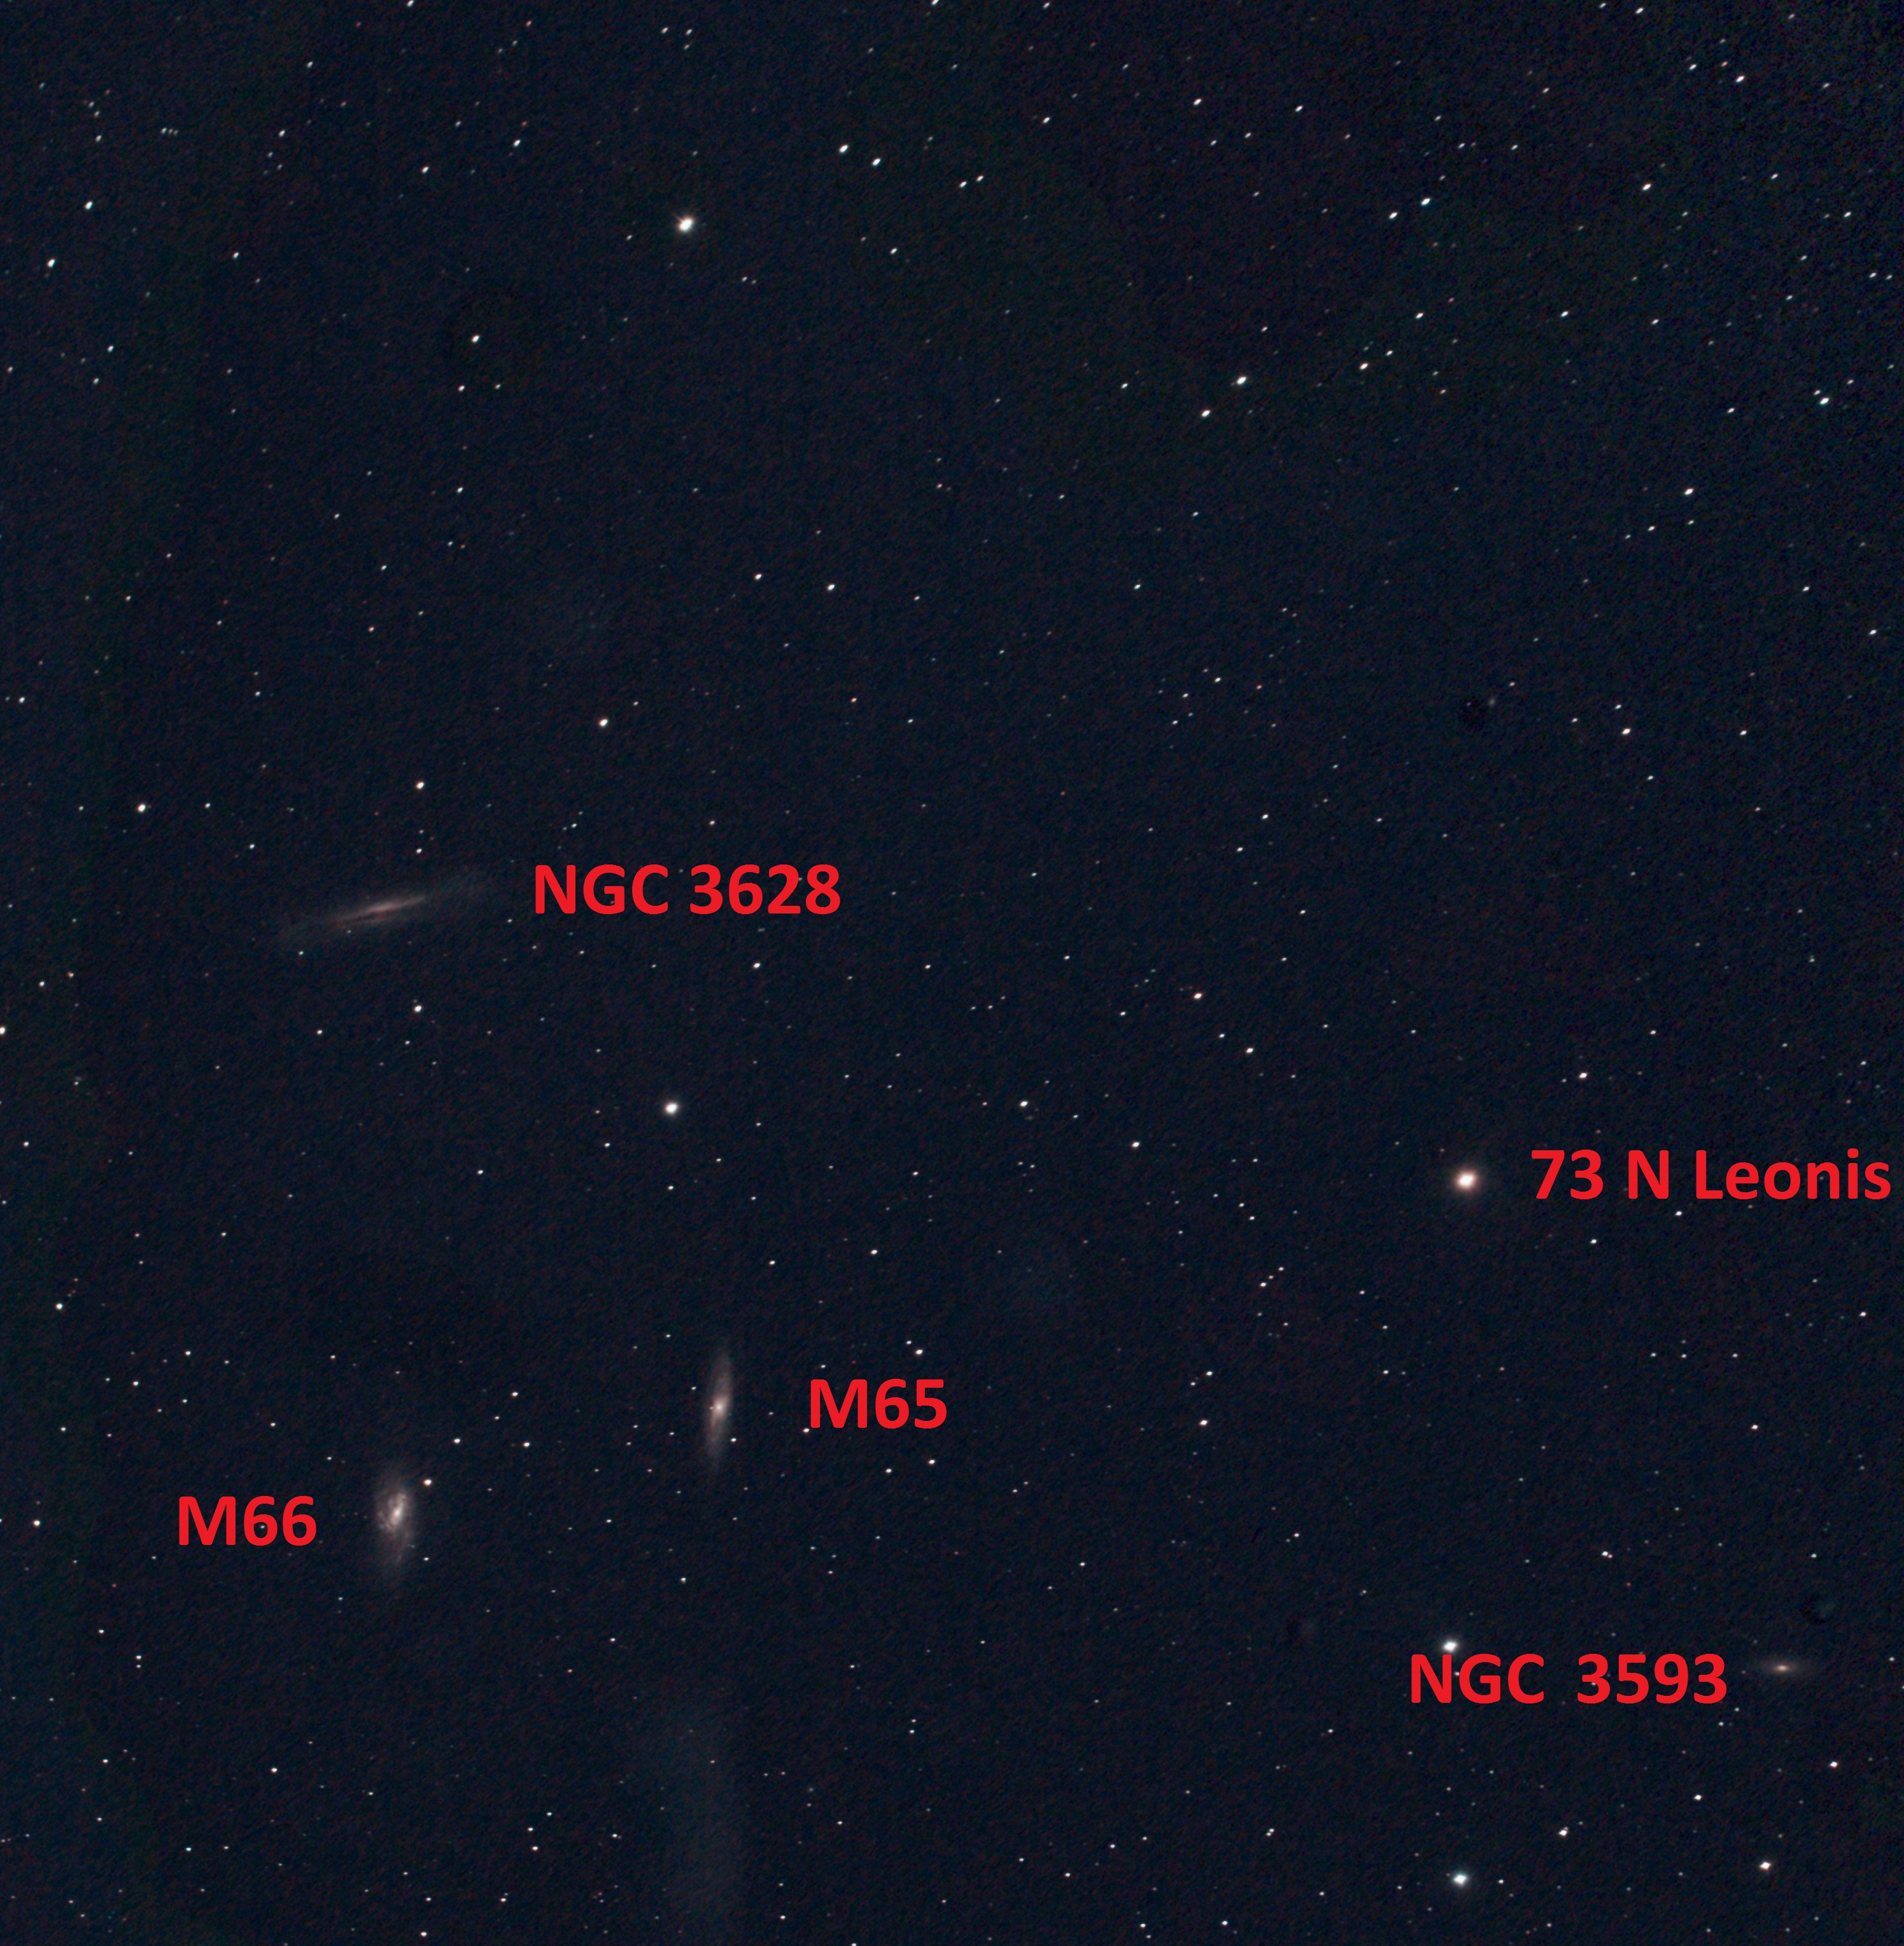
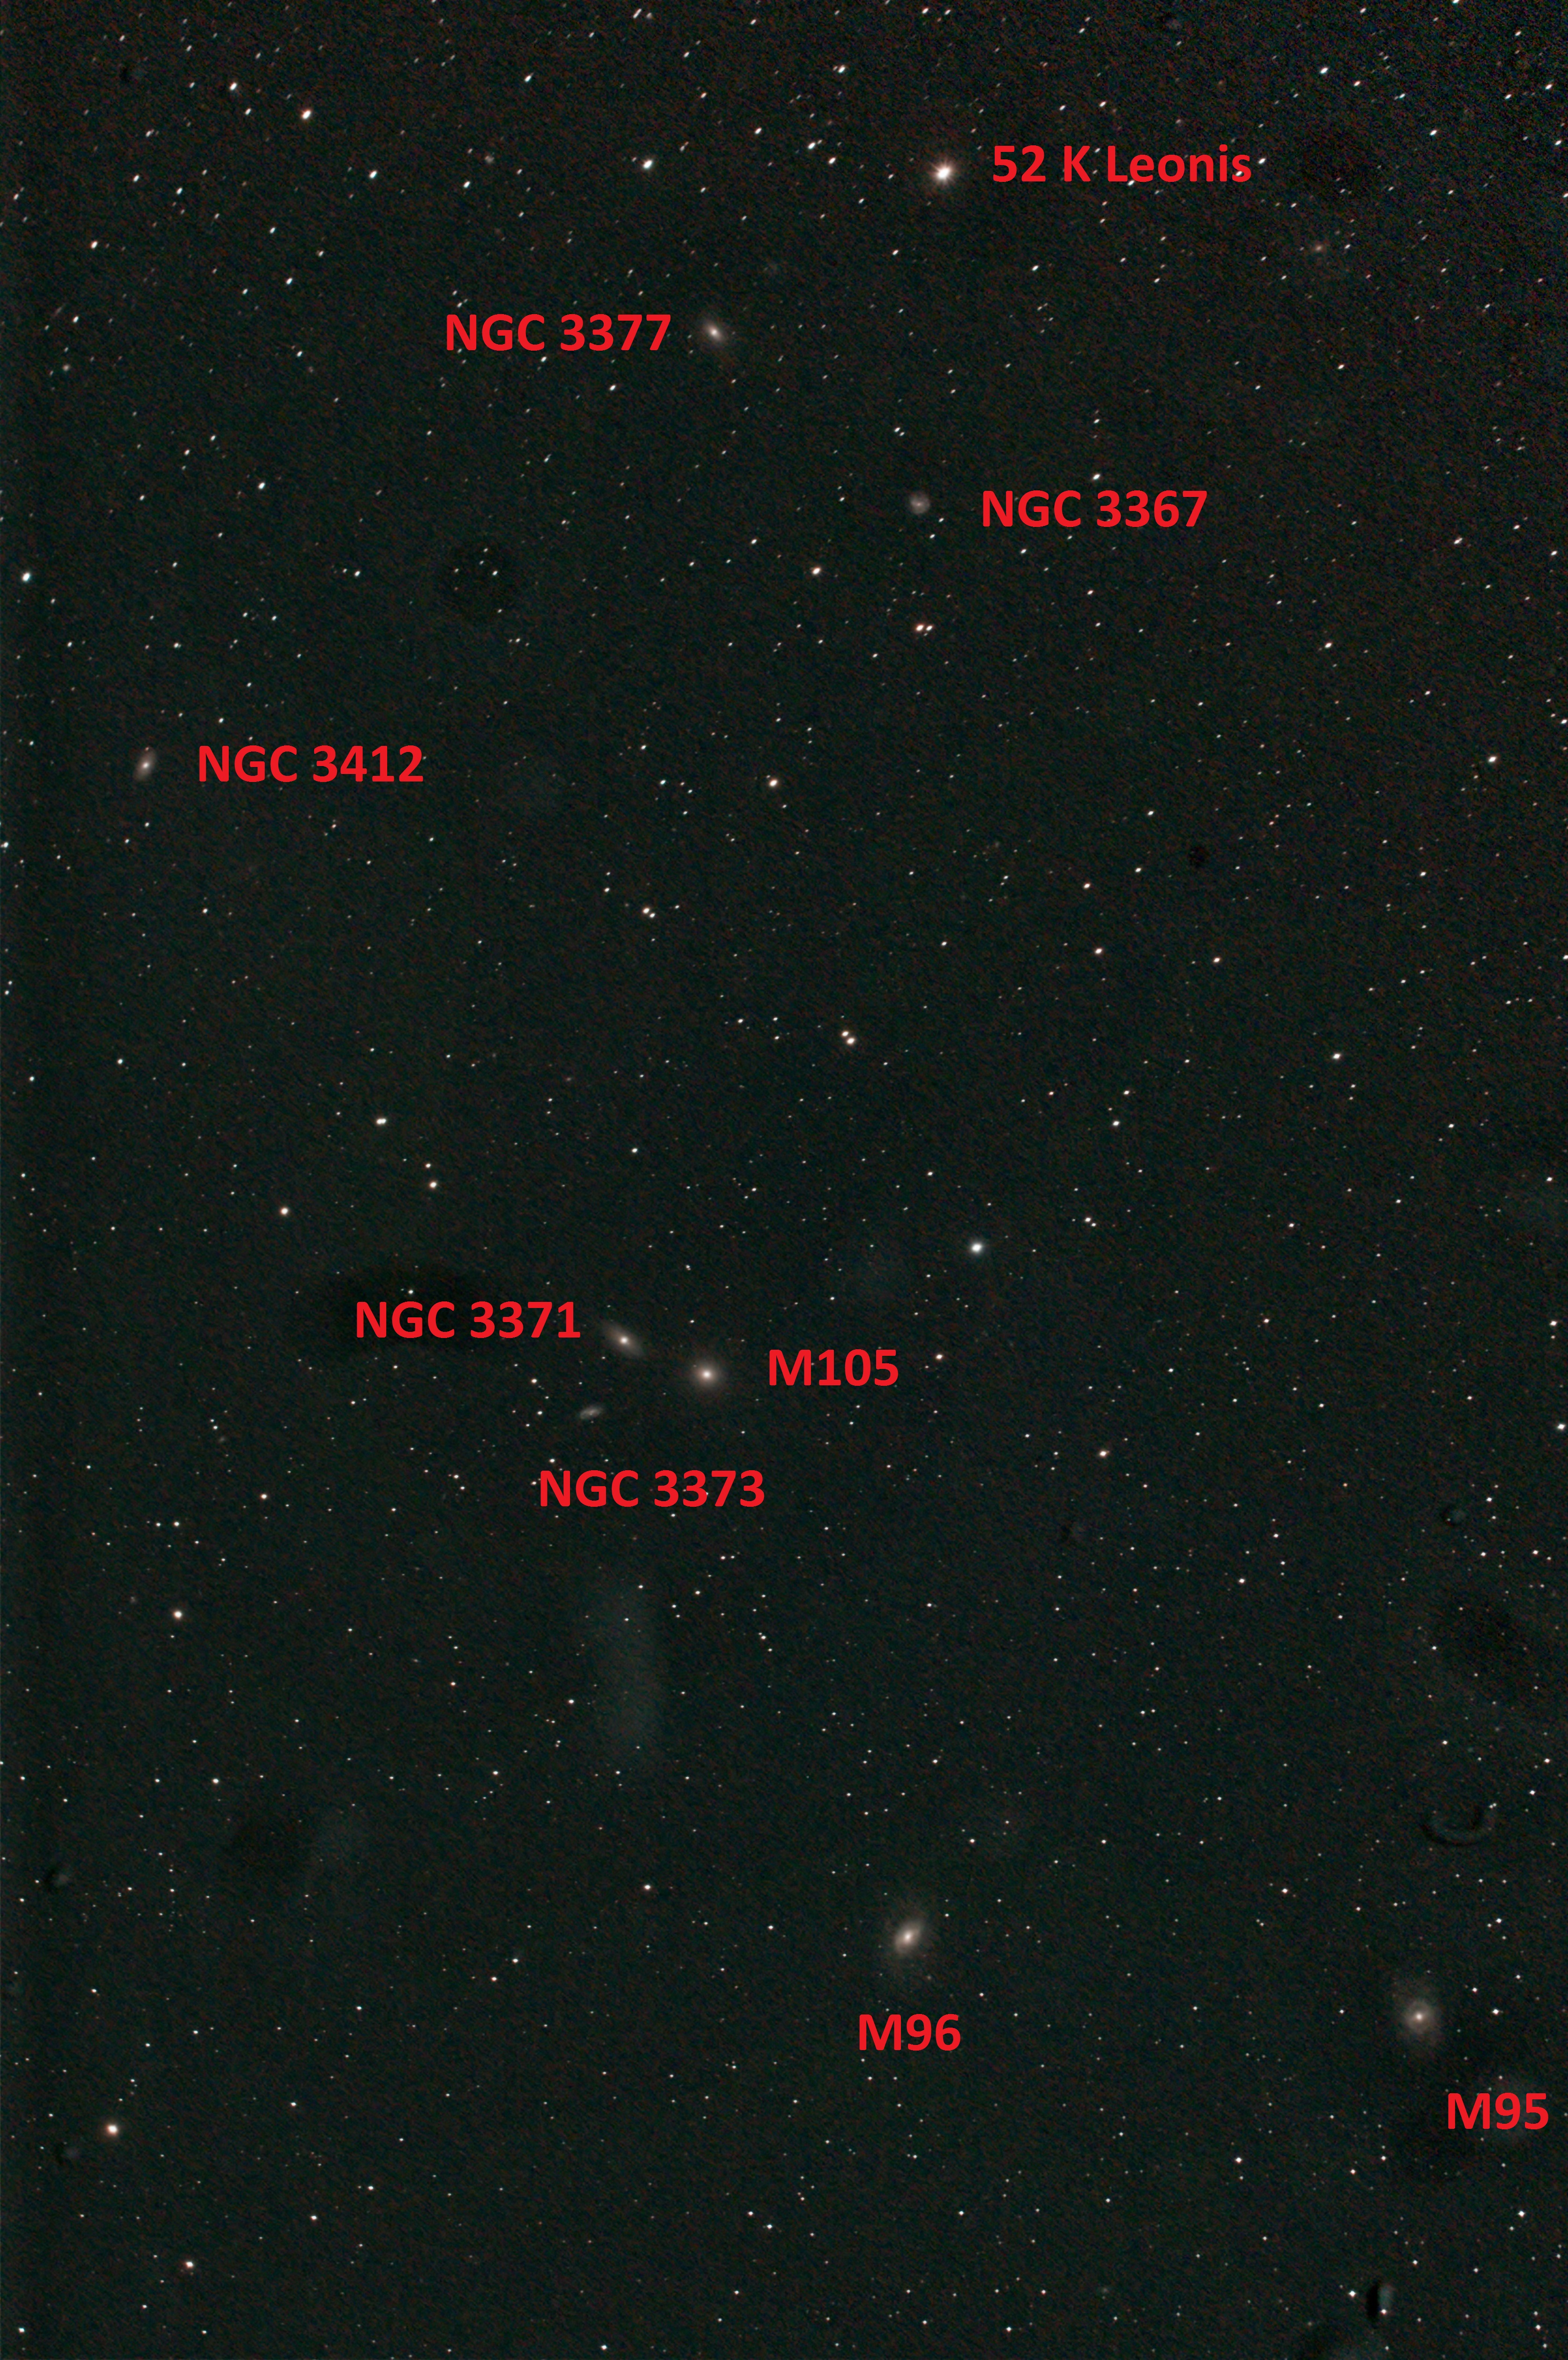
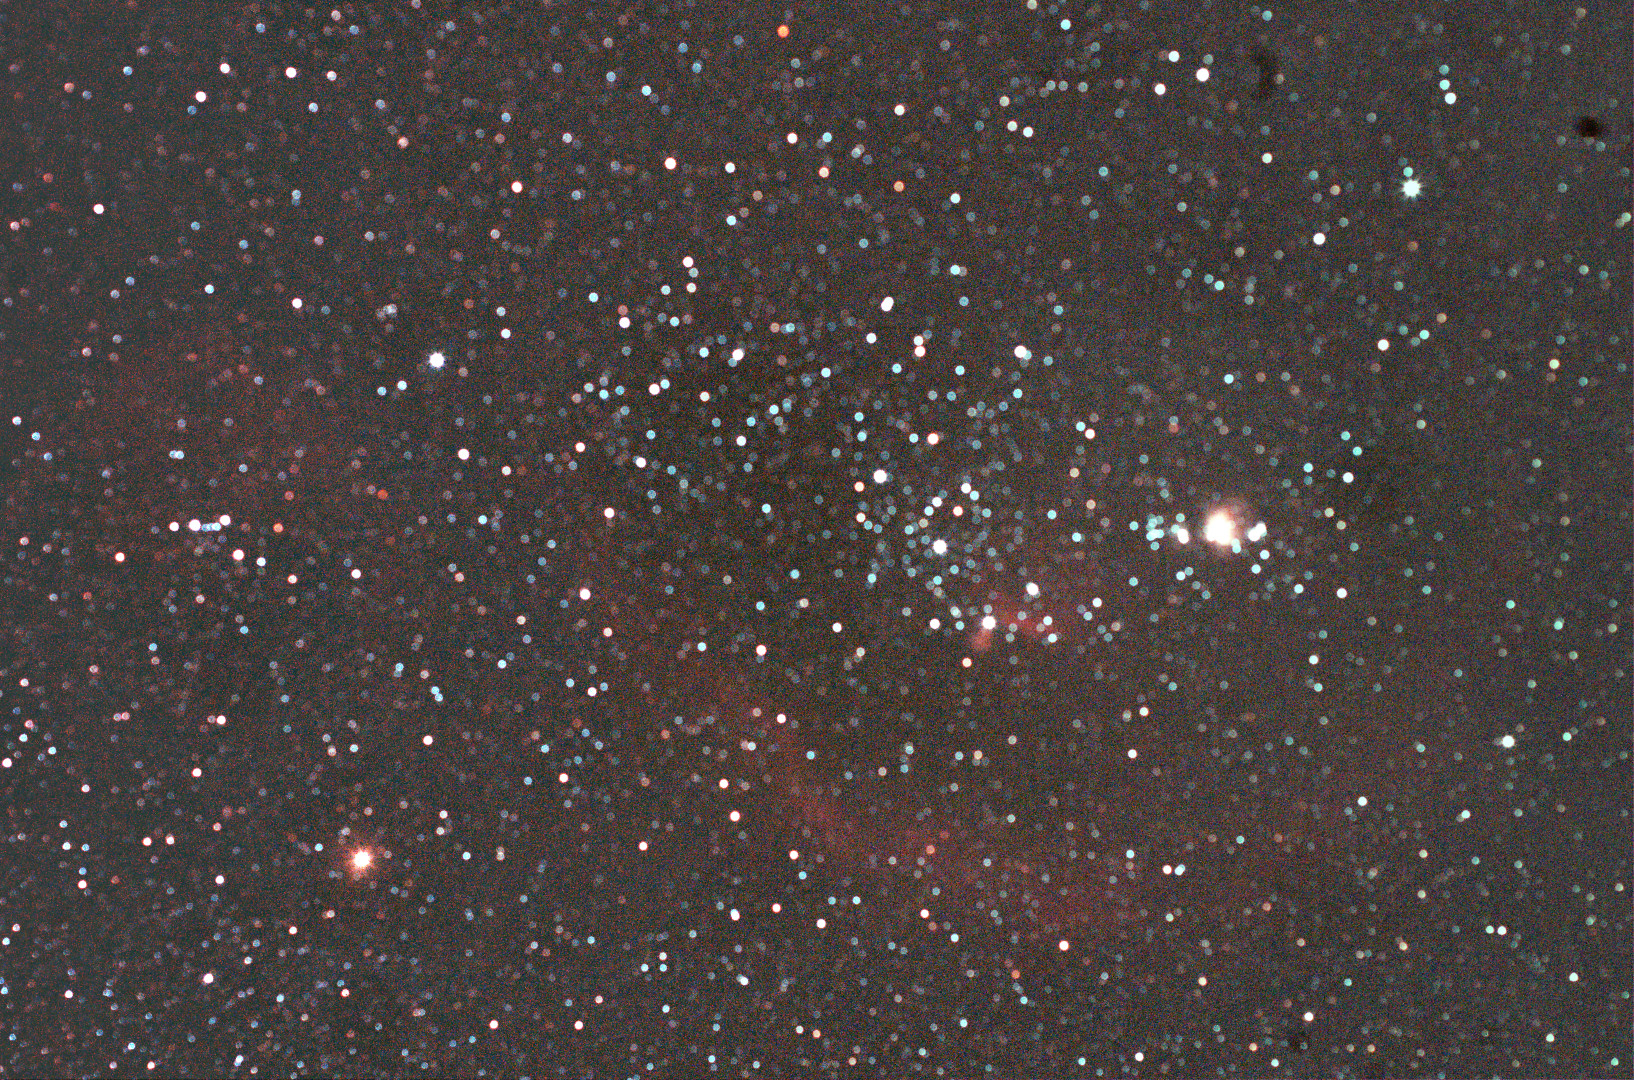
In the meantime I have to make do with the 180o I have available. For the record and with great skies and good weather, this week I compiled a photo mosaic of the aforesaid view – which illustrates some of the aforementioned problems and is in itself an interesting picture. The scene is stitched together from six DSLR shots that encompass most of the east to west panorama but in order to achieve this, the resulting photograph becomes severely distorted.
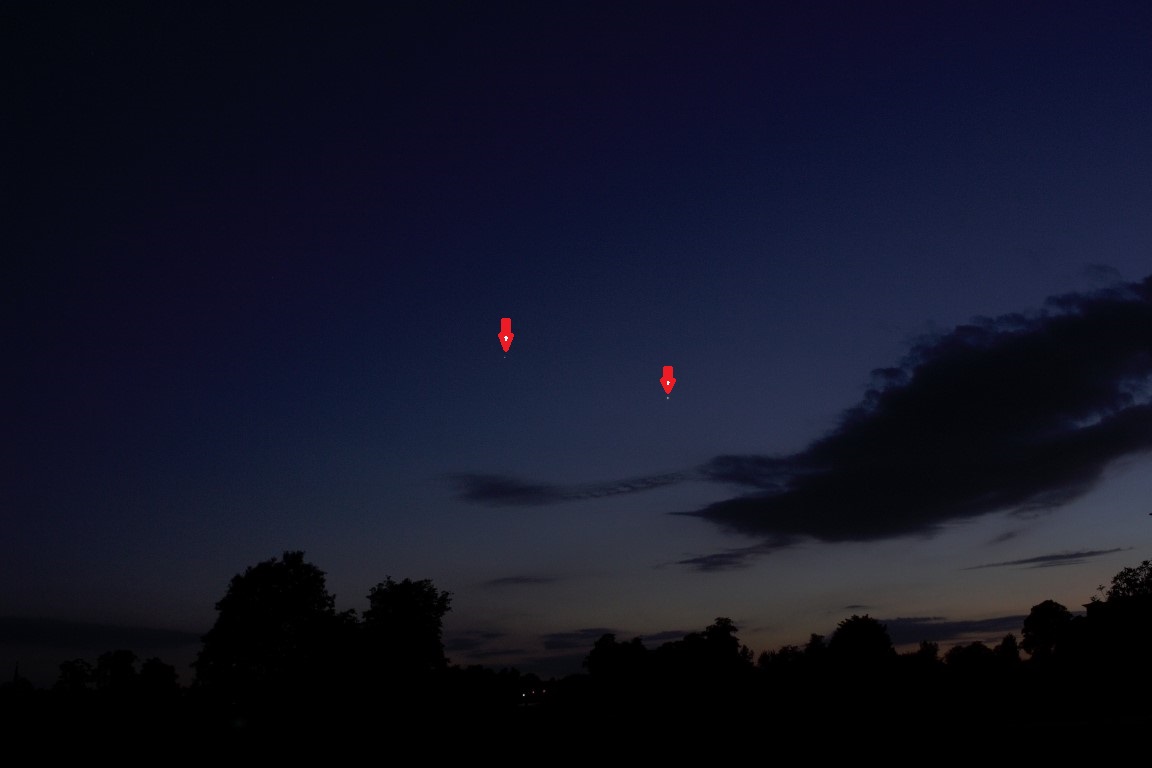
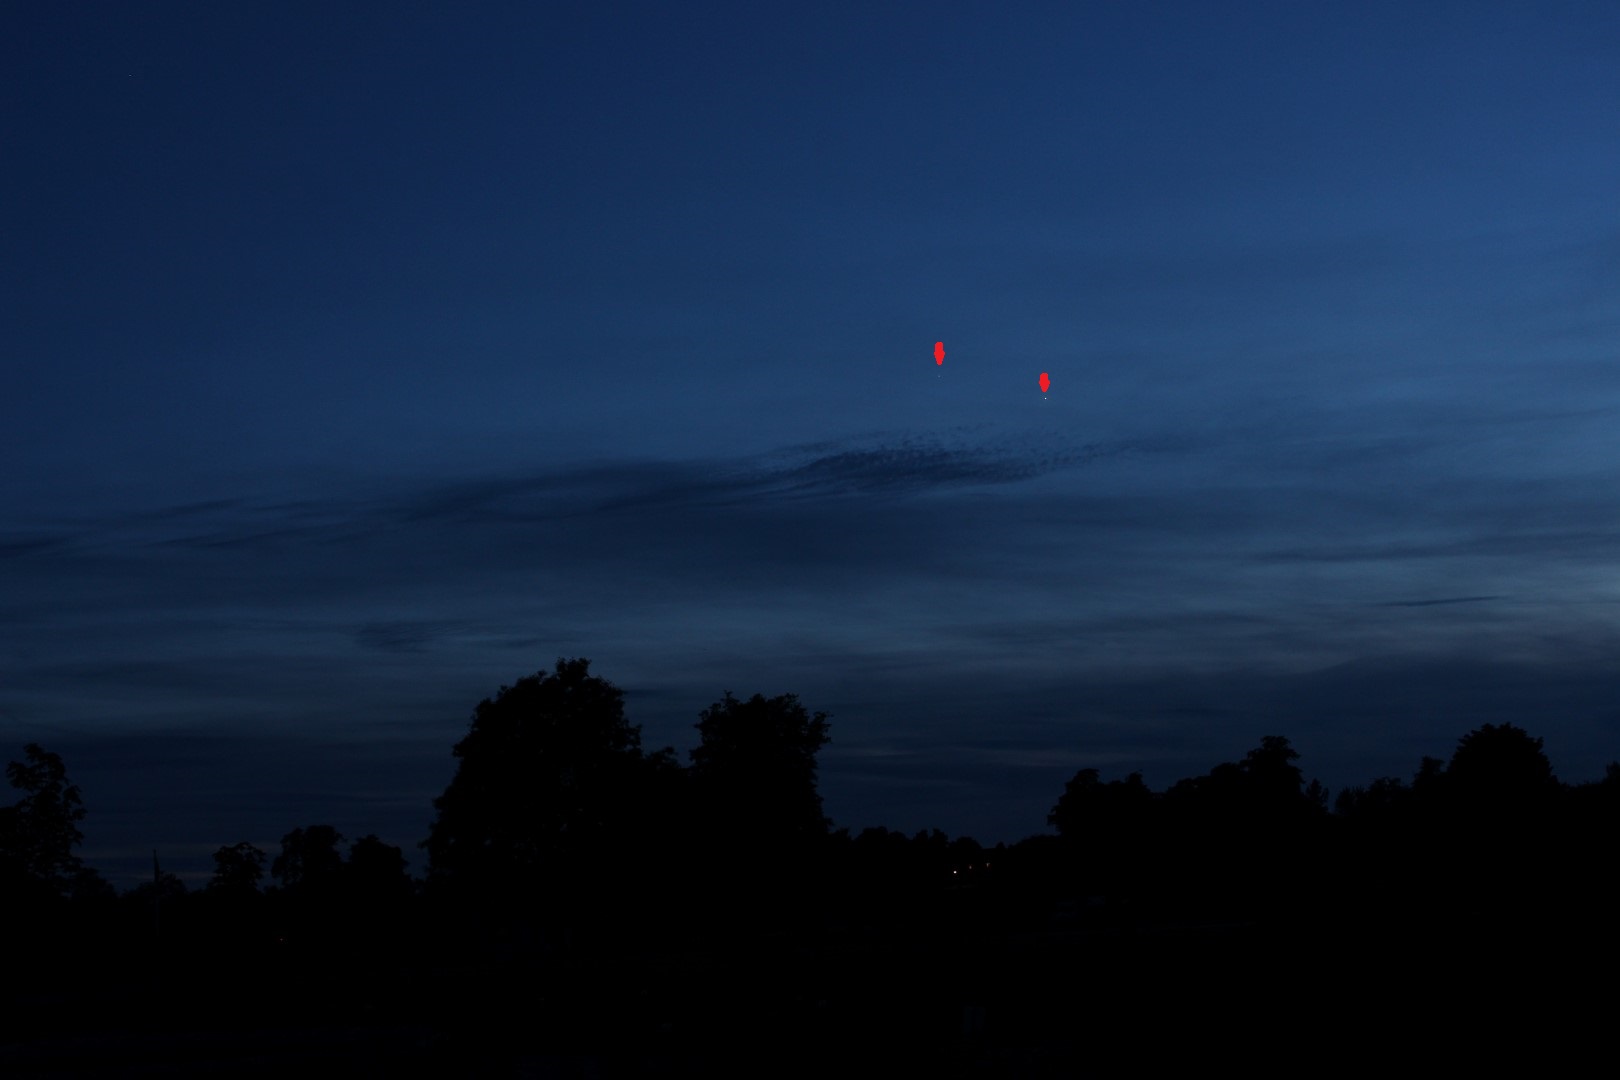
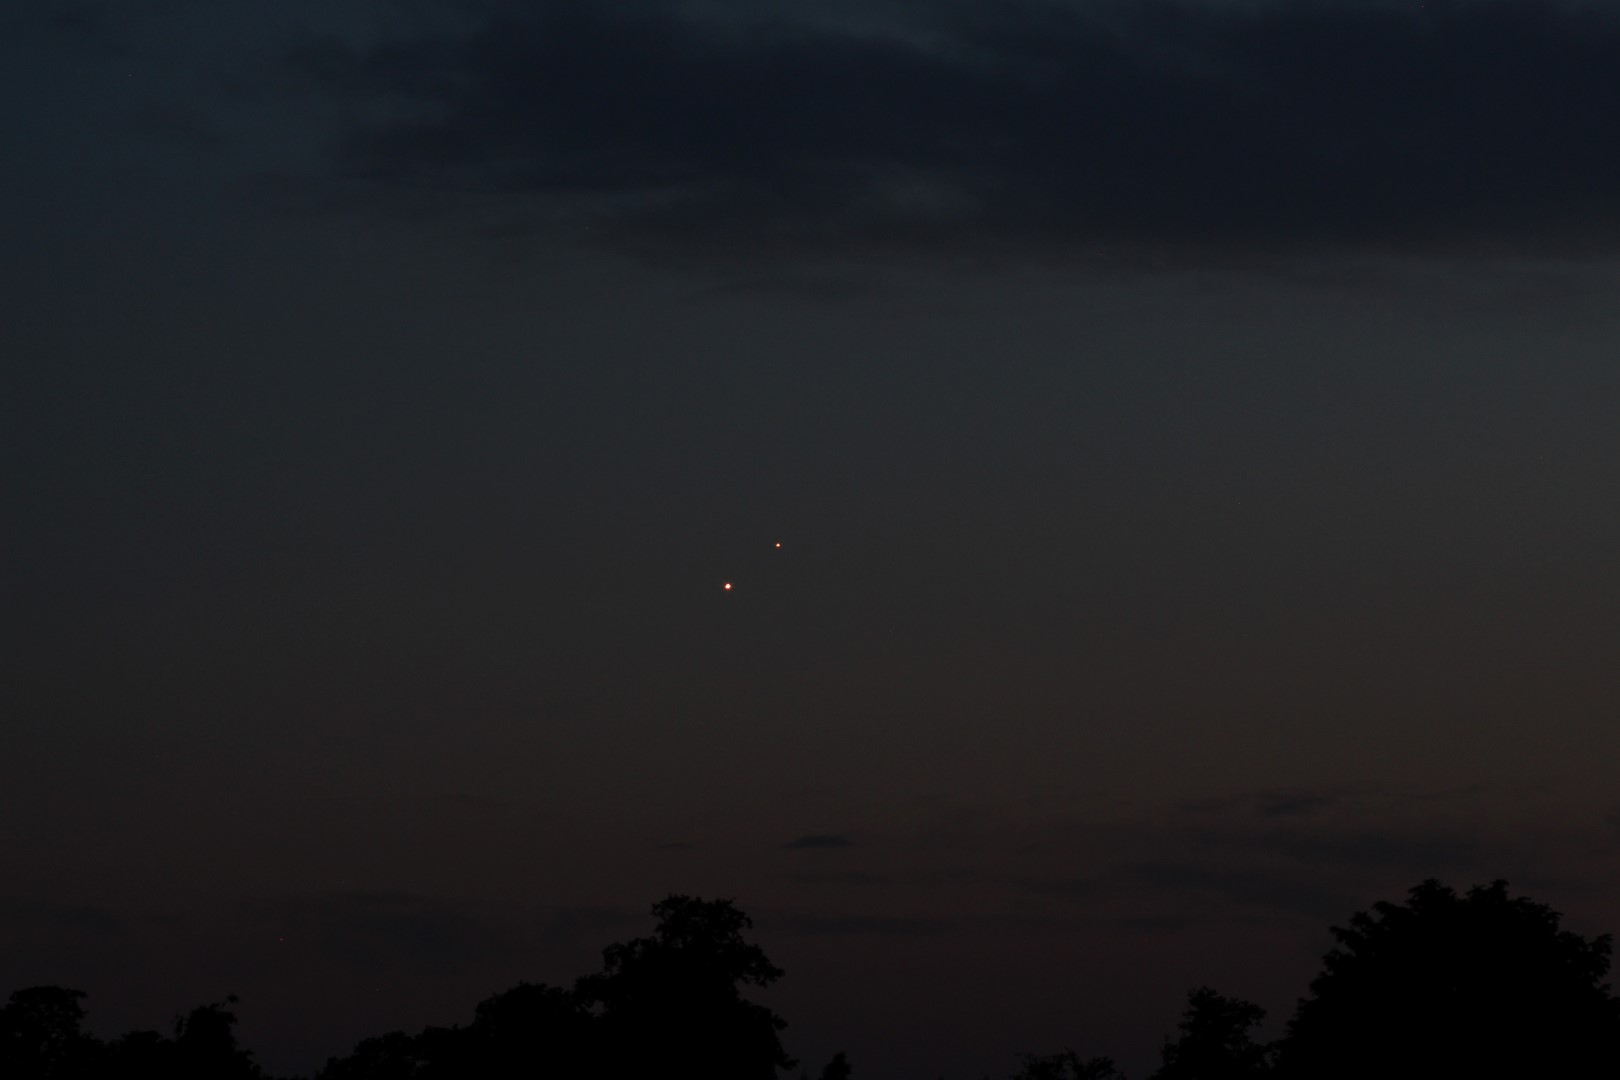
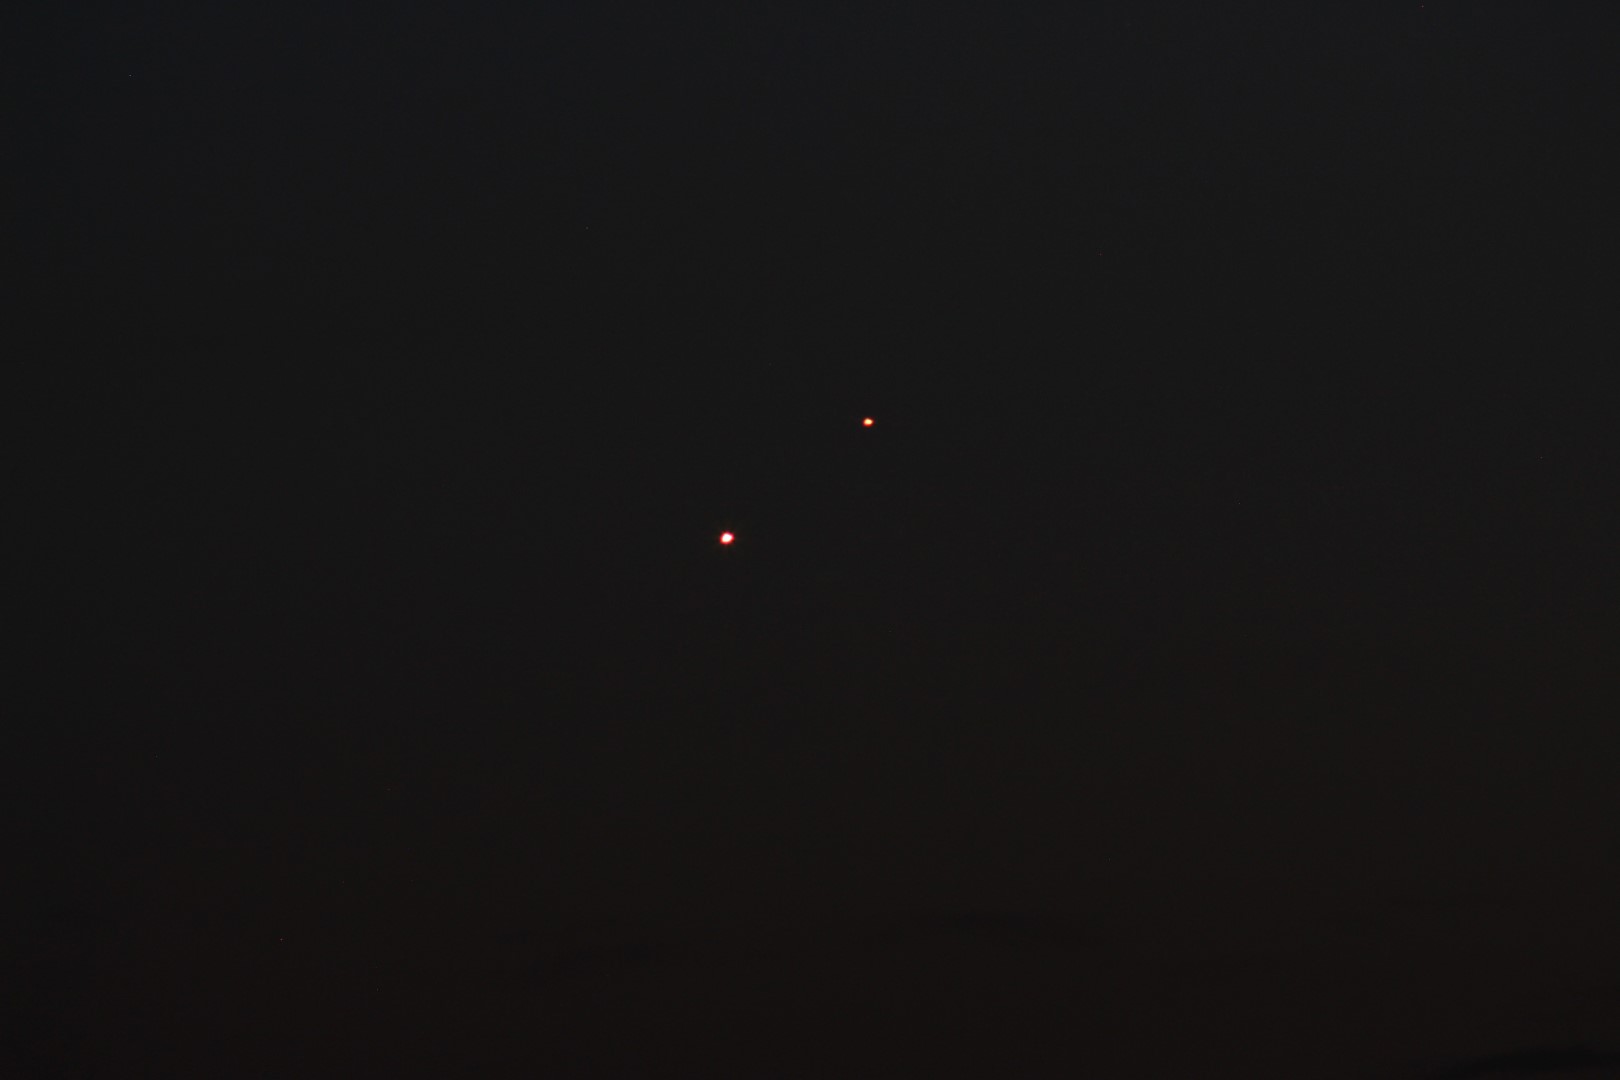
The principal view is directly south, with the Meridian pretty much straight ahead. Low angle viewing and imaging is almost completely impossible but depending on the timing and some crafty shooting, the mid-angle objects can be accessed as they pass between the trees. The best imaging is therefore mostly restricted to a 20o range between about 65o and 85o and within +/- 20o of the Meridian; high angle east and west views are feasible but seeing in these directions is impacted by the greater atmospheric distance through which the light has to travel.
For now this is my night time playground: it is challenging and can be frustrating but with clear skies, preparation and patience it’s good fun and much can still be achieved.
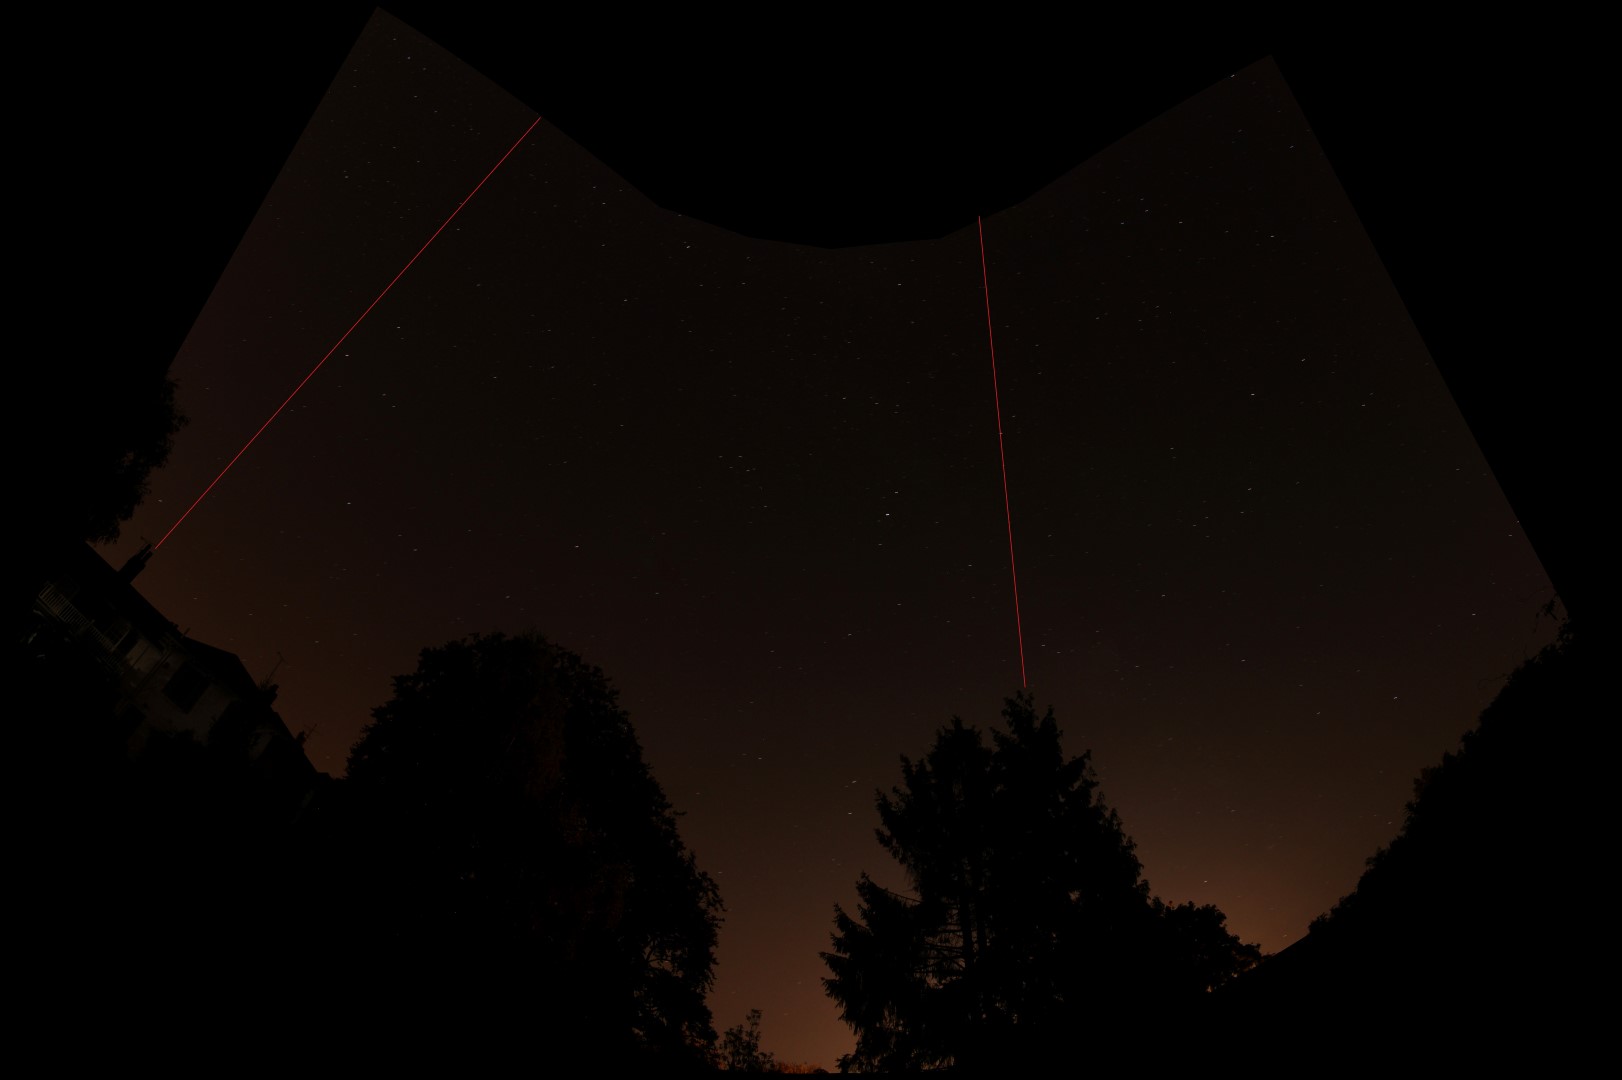
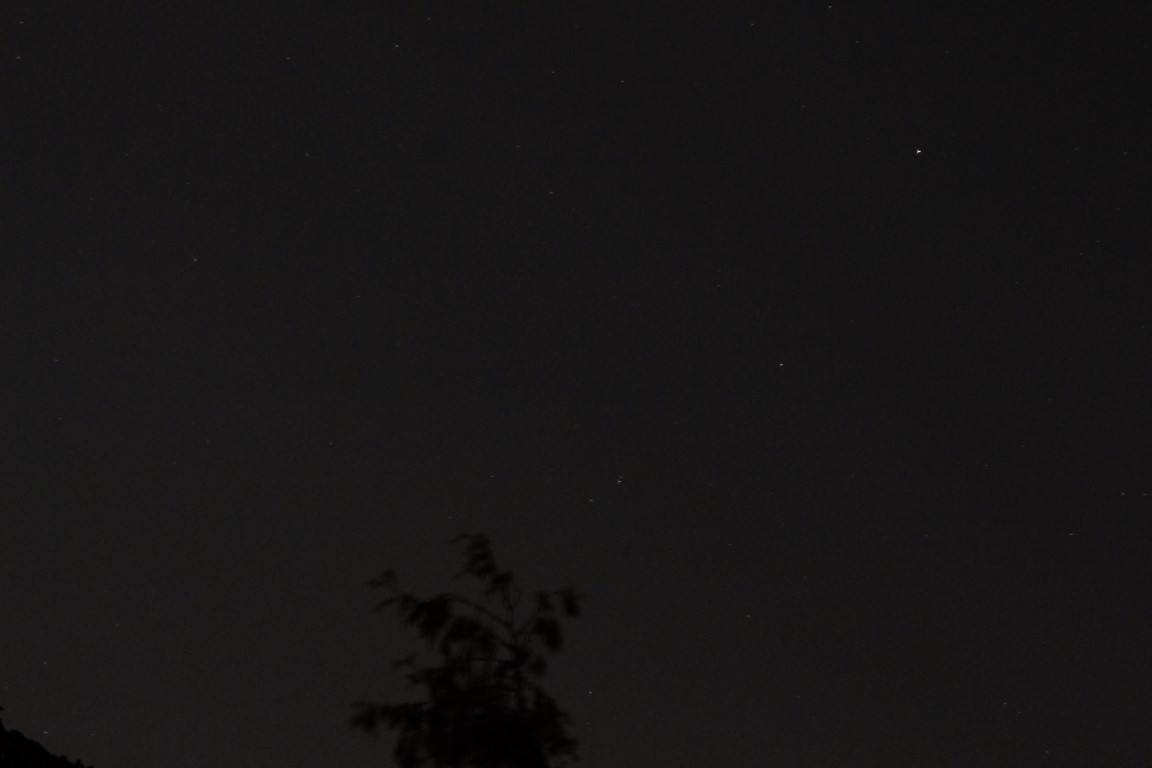
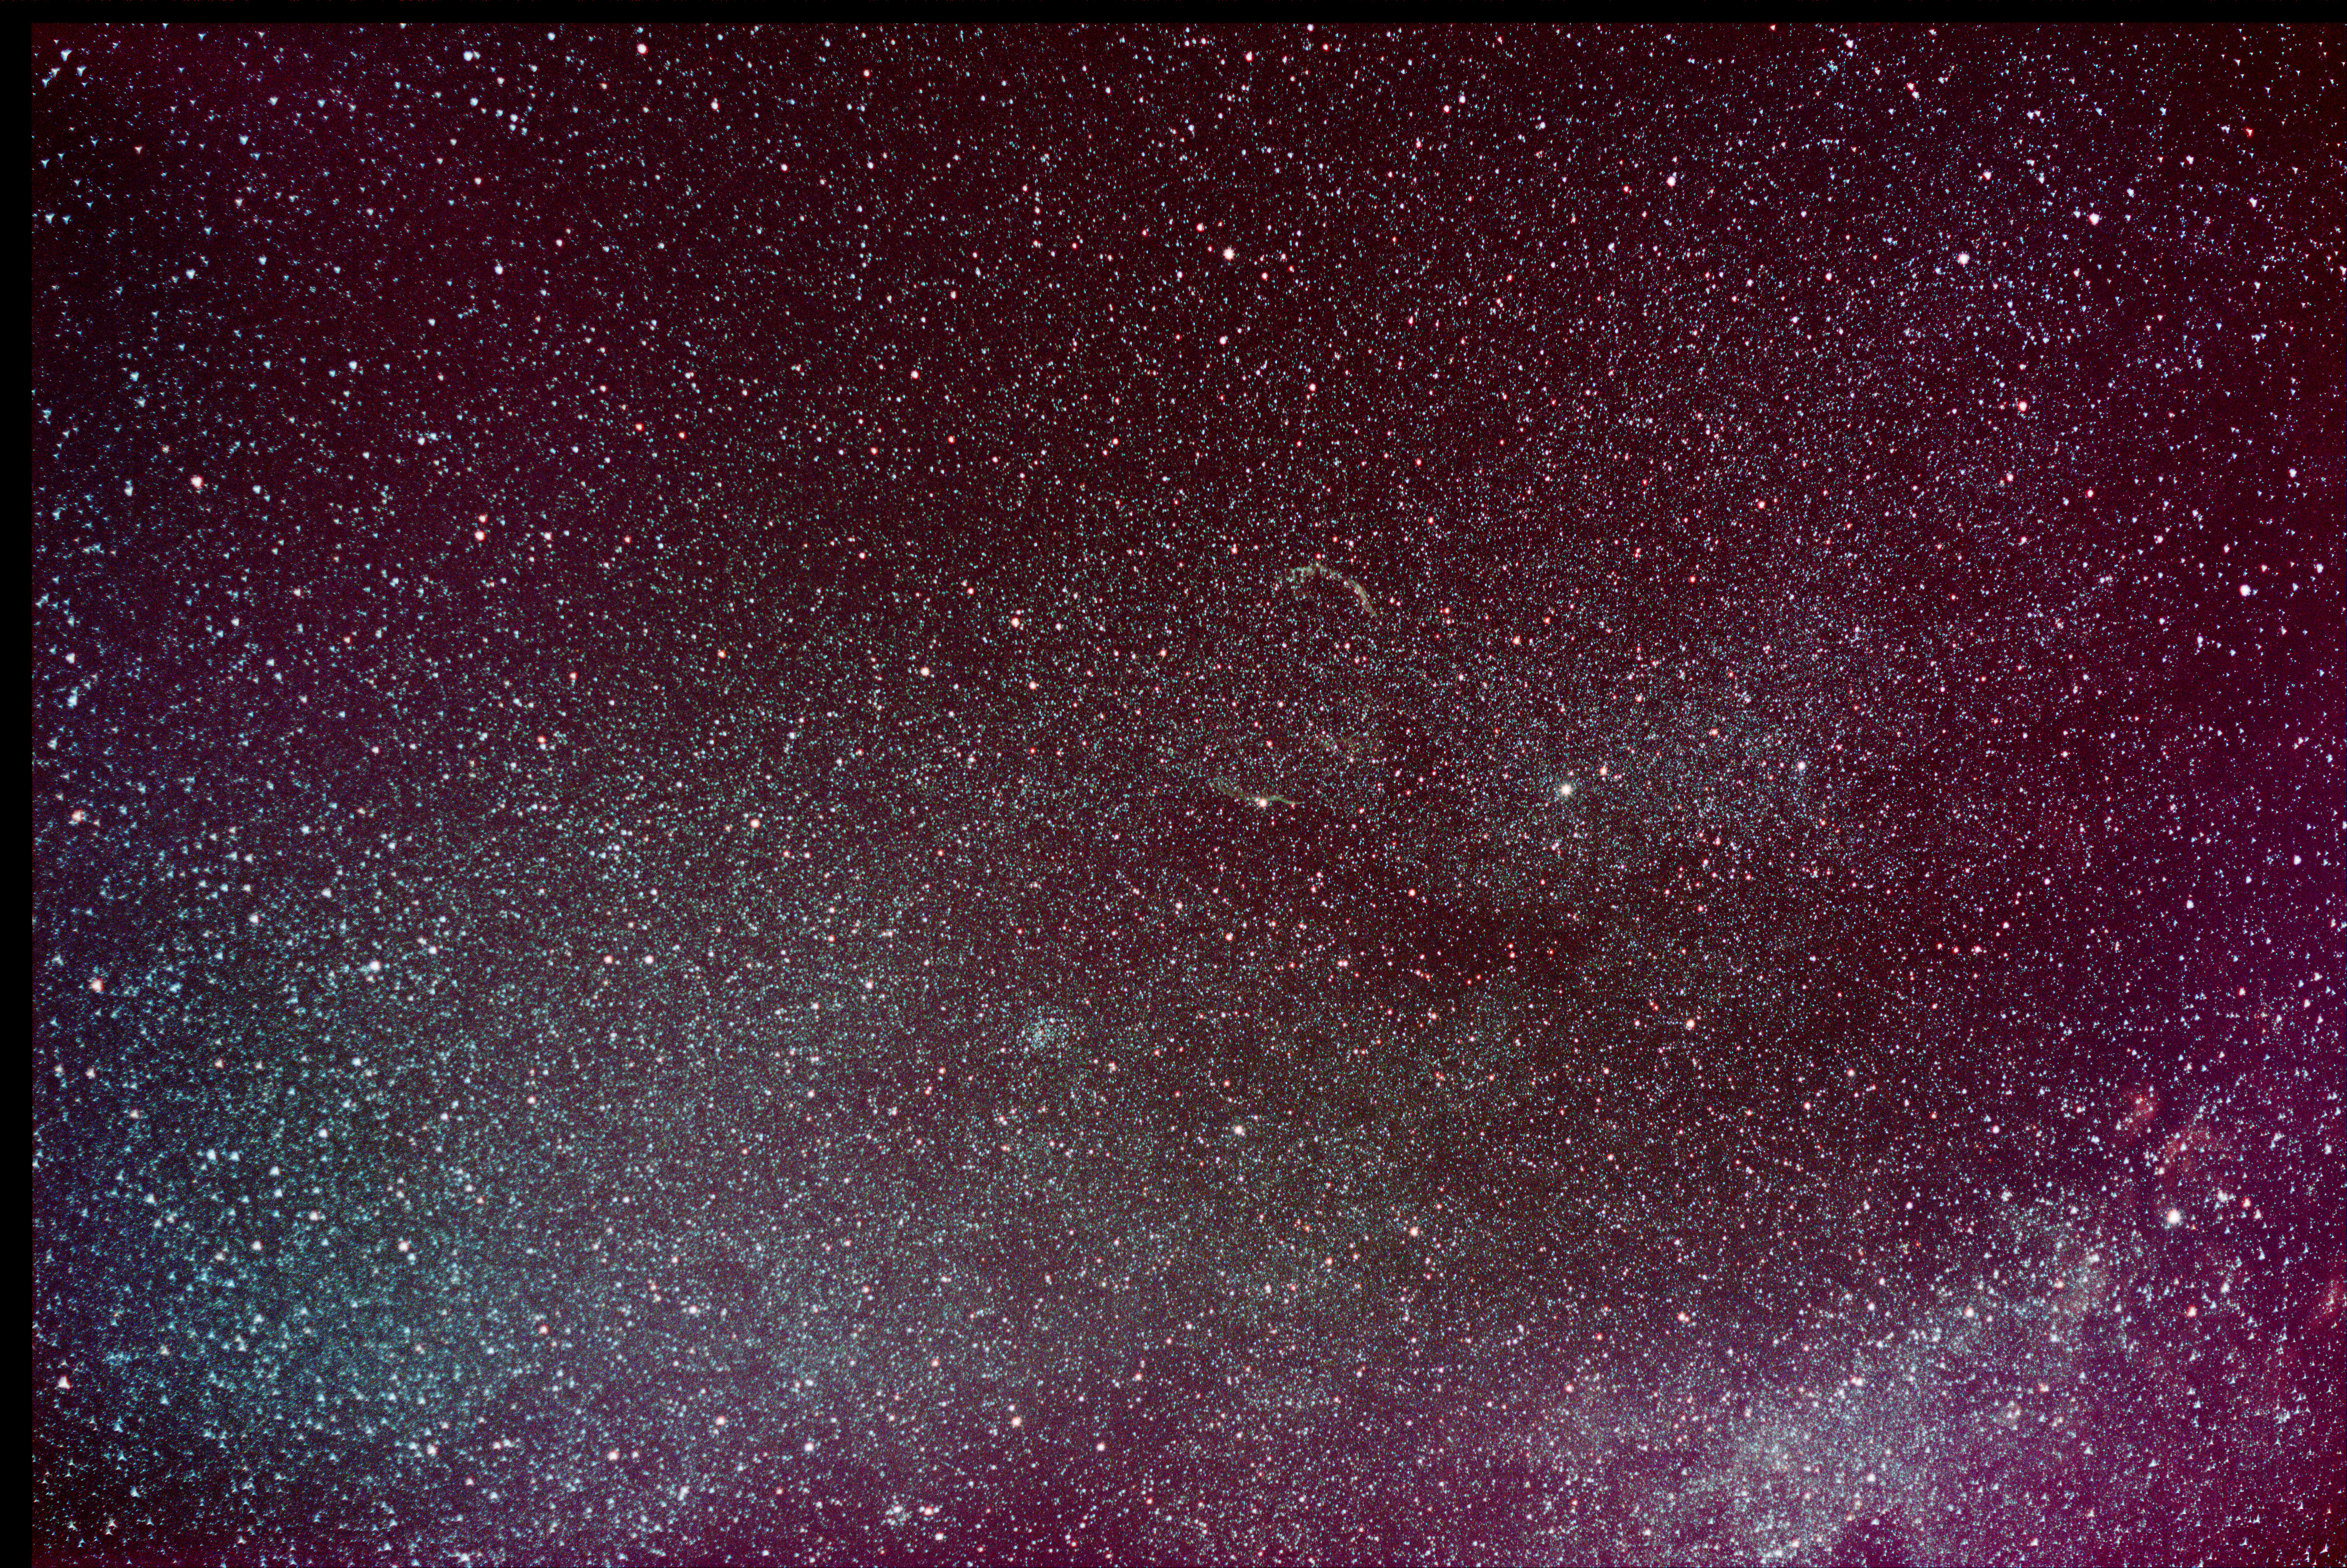
180 degree night sky panorama from Fairvale Observatory + obstacles: the tree on the left is a very large +200 year-old copper beech, the coniferous trees due south are closer to the property boundary – thus increasing their impact on seeing. The red line on the left approximately marks the East and the central red line is the Meridian.

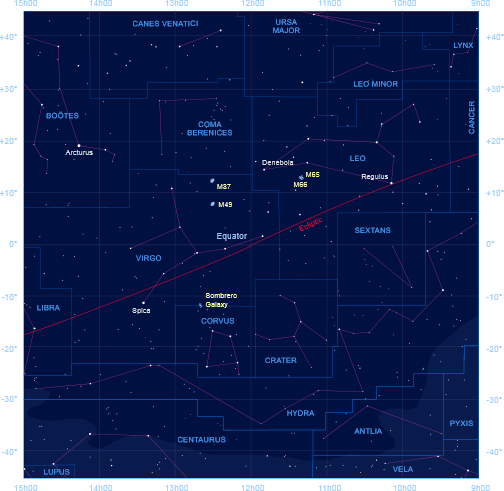
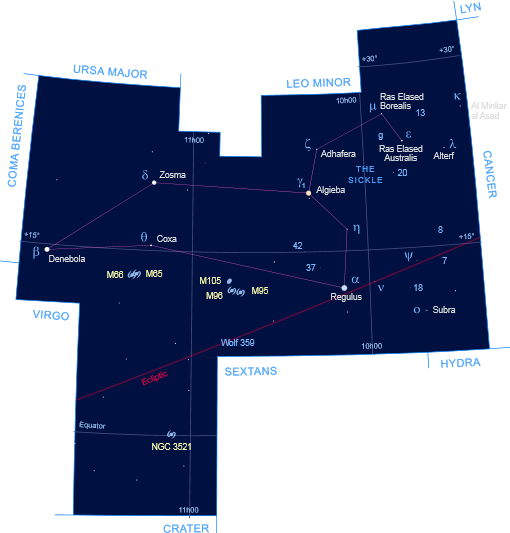
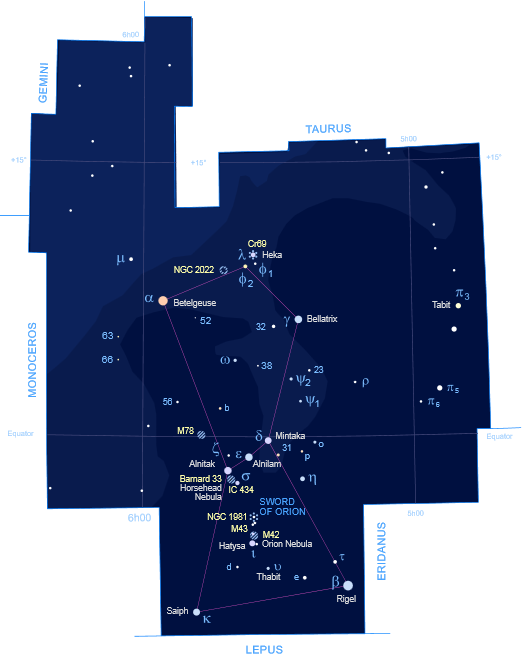
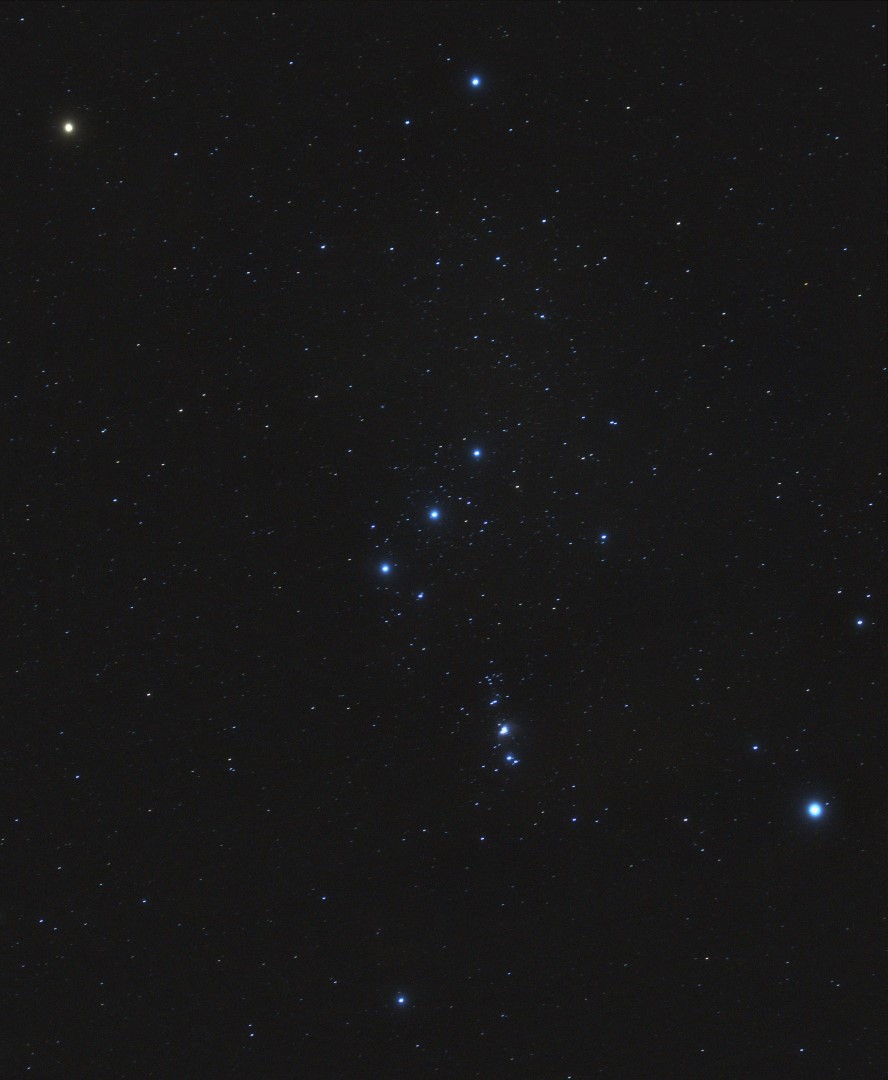
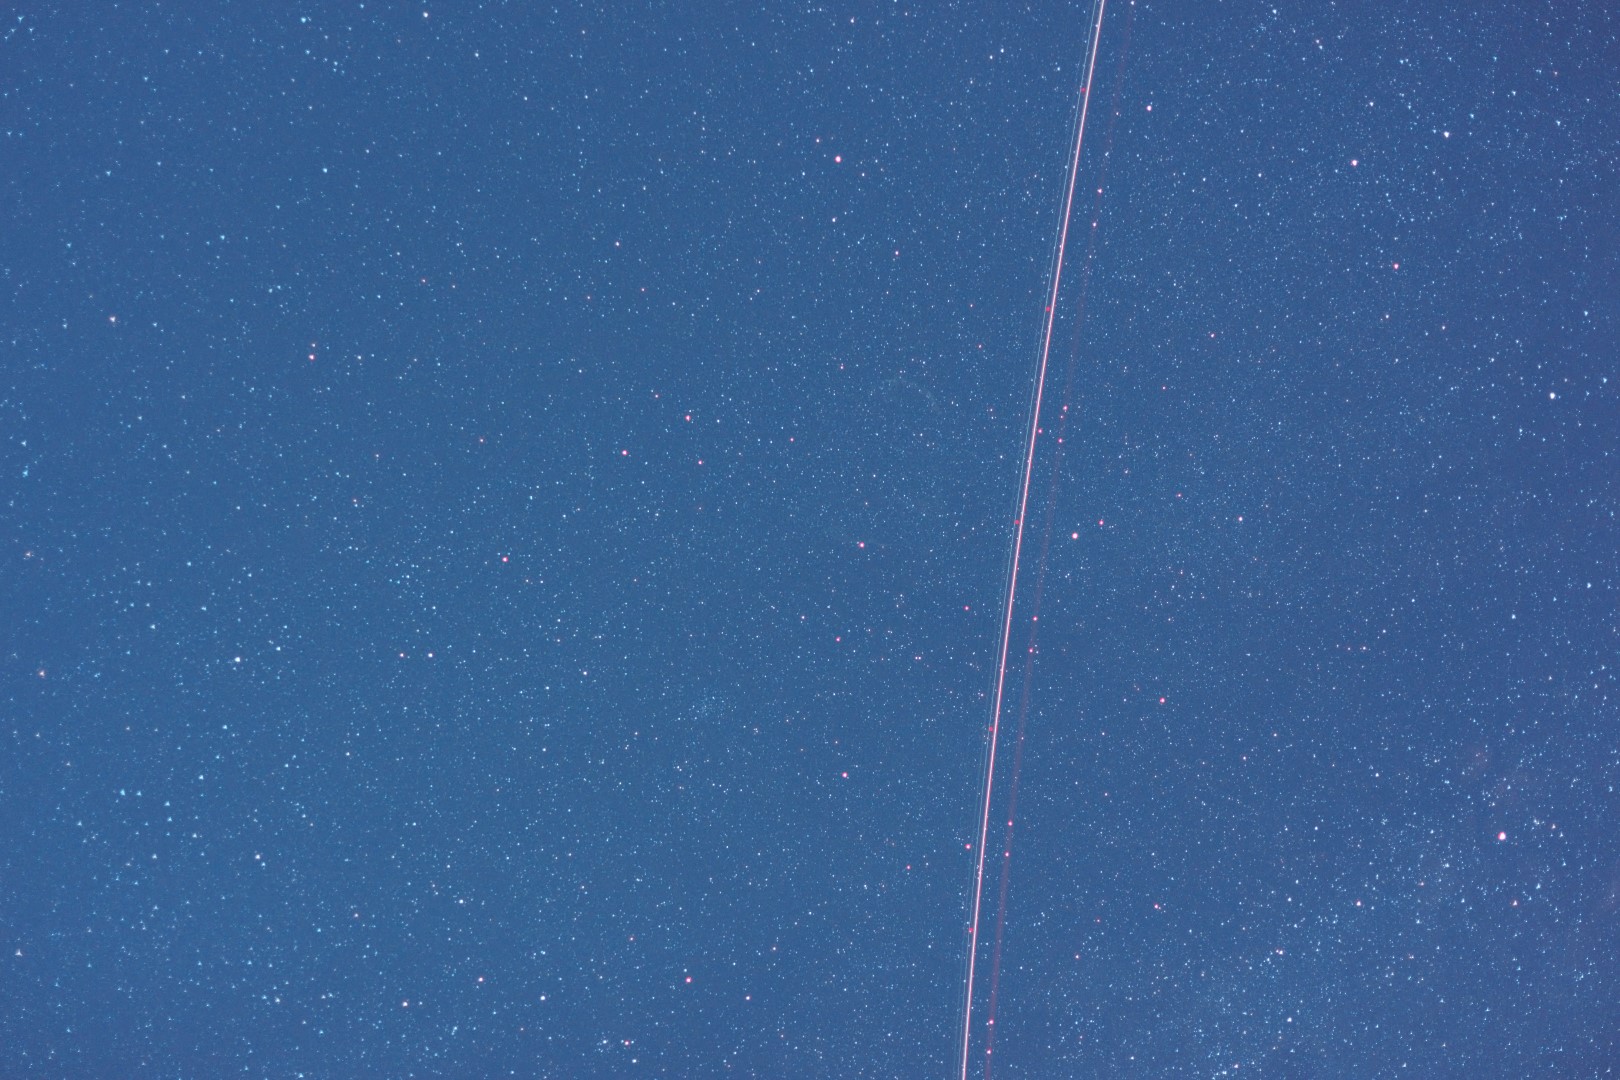
Equivalent Cartes du Ceil planetarium view at the same time.