Launched in August 2014, 2015 is the first full year of Watch This Space (Man) and despite some personal set-backs it’s been an interesting year astronomically, with much to write about. Whilst I have made progress with my imaging, it was not what I would have wished for but nonetheless I have been pleased with the outcome. Continuing on from last year, Reflections is a recap and thoughts on all that happened to me astronomically in 2015 and looks forward to the coming year.
Although this website is just intended as my record of A personal discovery of the Universe through astronomy and astrophotography, it has been pleasing to see that over the year the site has attracted 1,310 visitors from 77 countries around the world and over 2,700 views; you are all most welcome. This was not the intention of the blog but I am humbled by the interest and would be very pleased to hear from anyone who would like to get in touch with queries, comments or just to say hello – contact details are in the About section.

JANUARY TO MARCH
The first quarter turned out to be my most active and successful period of the year for reasons that will become apparent later. Strictly speaking my image of the Rosette Nebula posted on 5th January was taken on 29th December 2014 but what an image to start the year with, clearly I was doing something right by now. Notwithstanding, from looking at pictures of the same object taken by other more accomplished photographers, it was evident that something was missing – red! This was an easy to problem to solve and I immediately set out on a quest to find a suitably modified camera with the IR filter removed. Soon thereafter I was lucky to find an excellent second hand modded Canon EOS 550D, which has now become my main imaging camera of choice and with all that extra red Ha-light has led to a quantum improvement of many images since. Such cameras are very popular so I felt lucky to have secured this one.

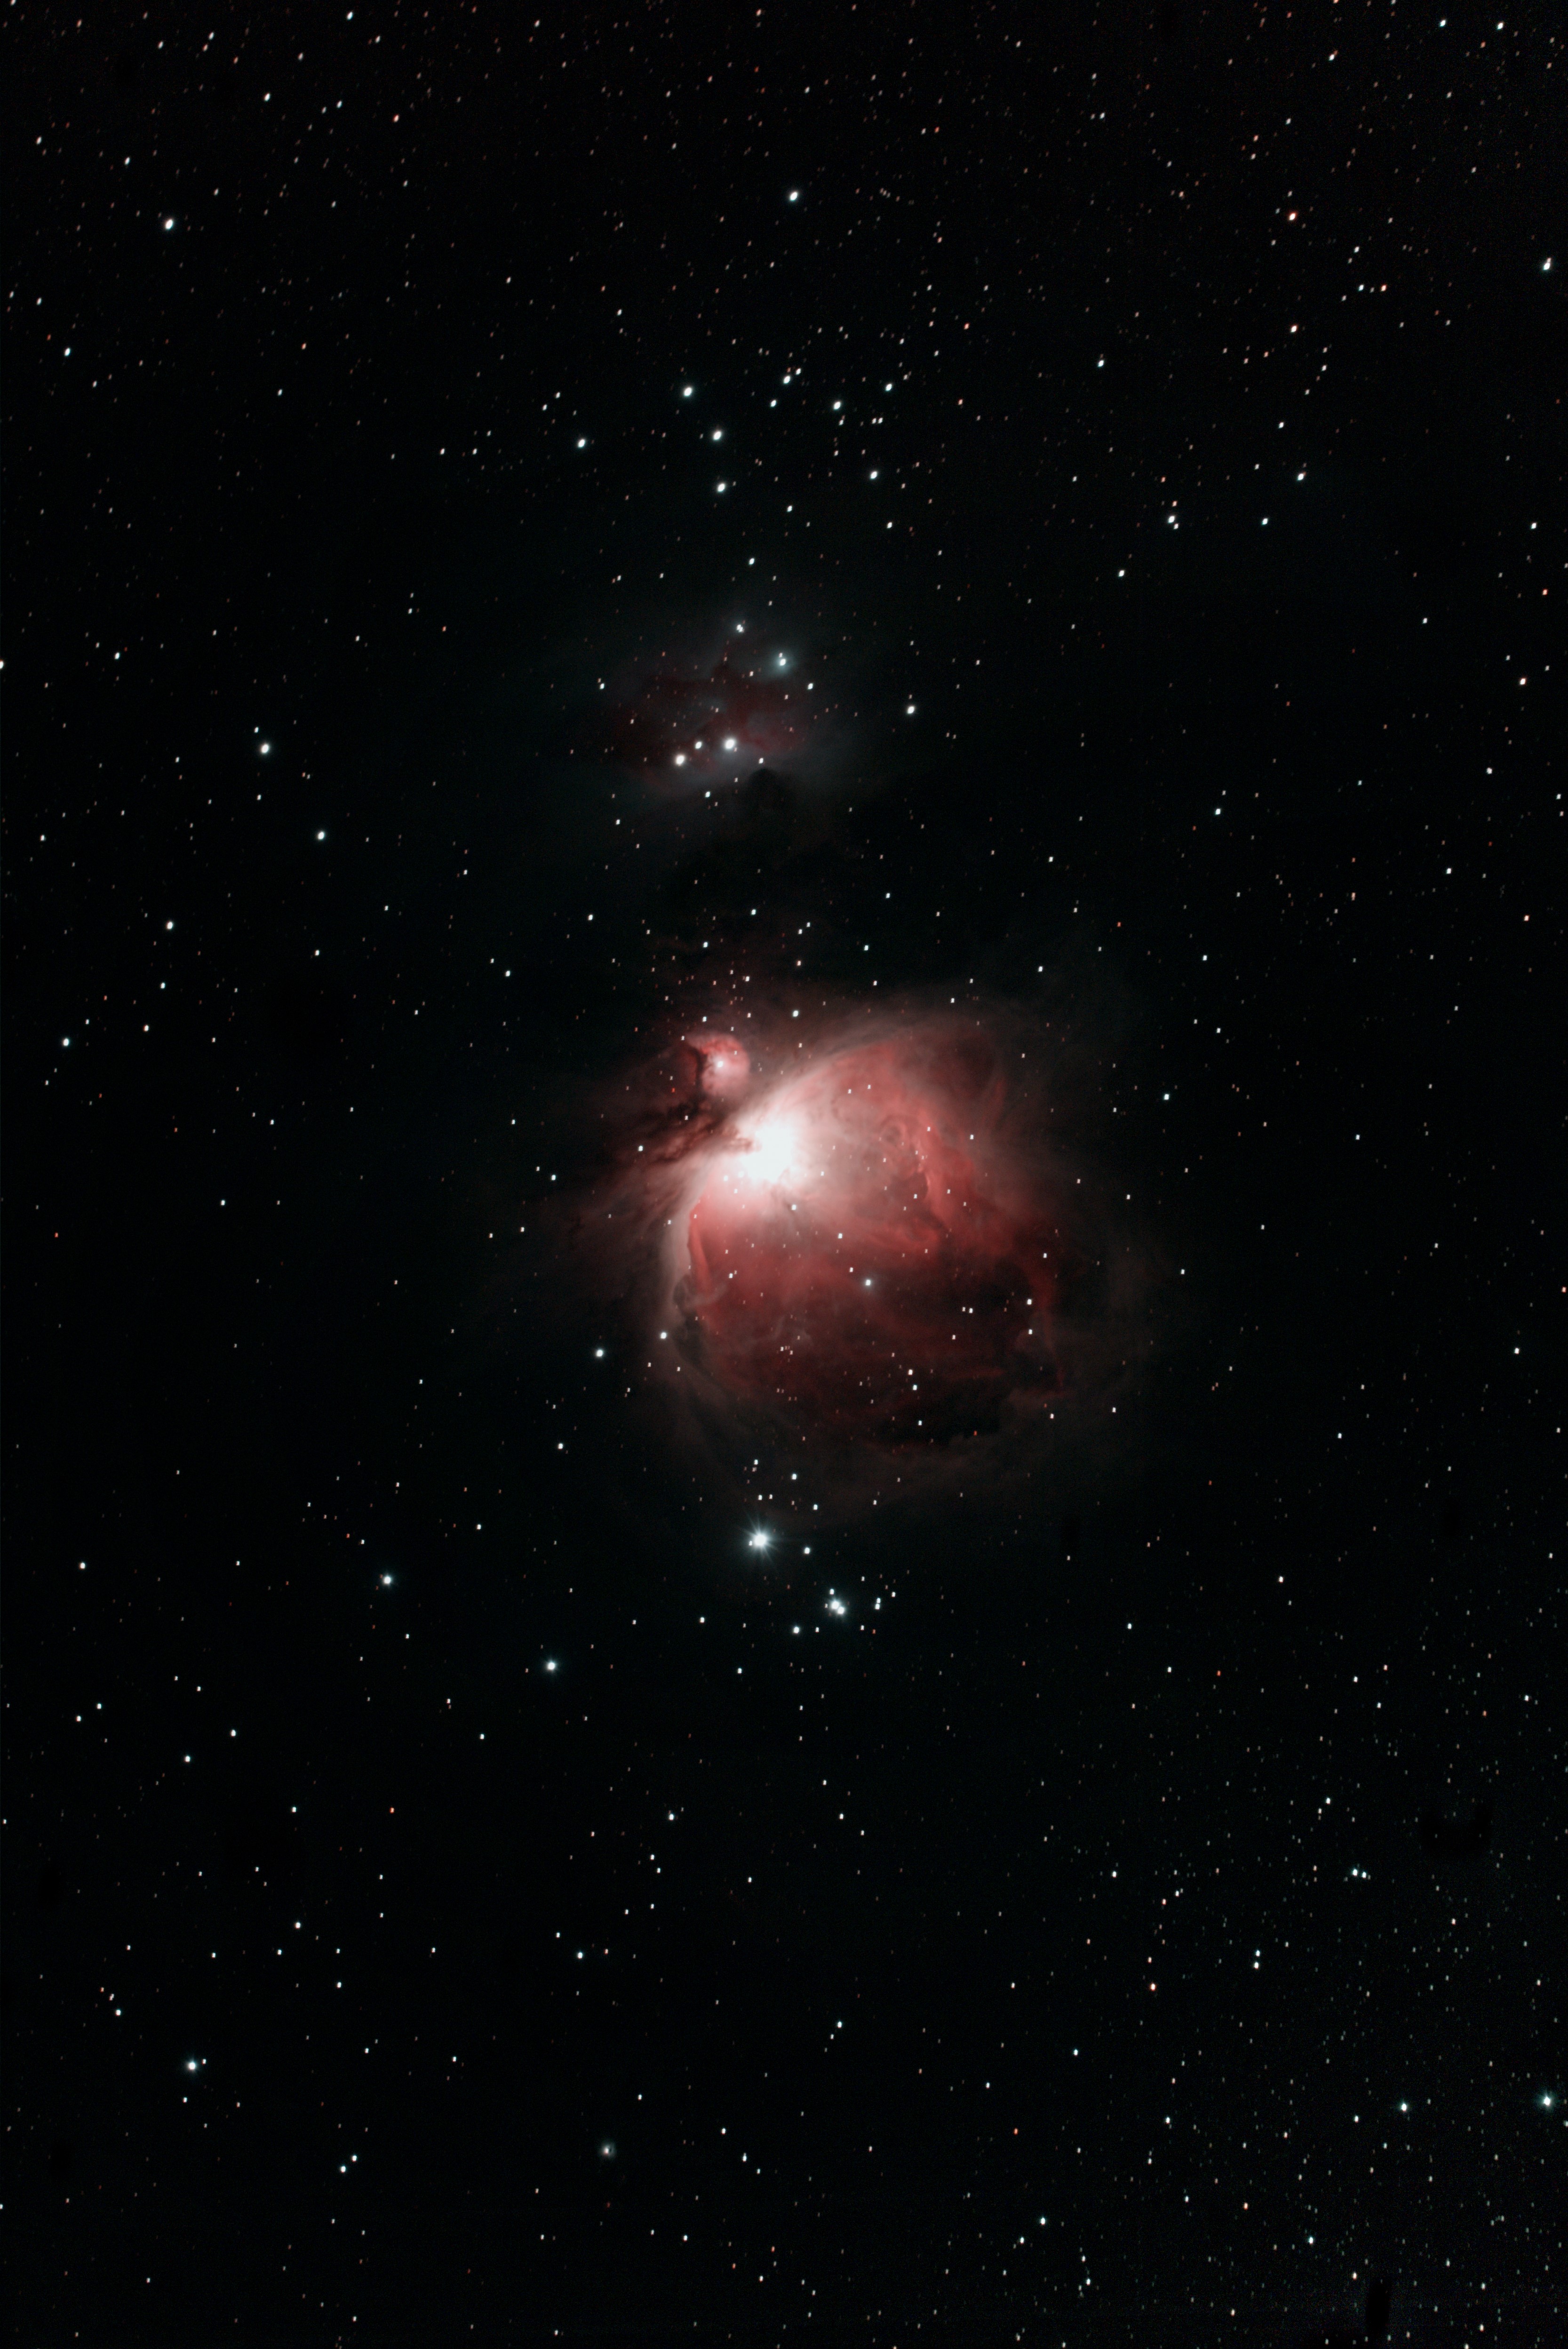
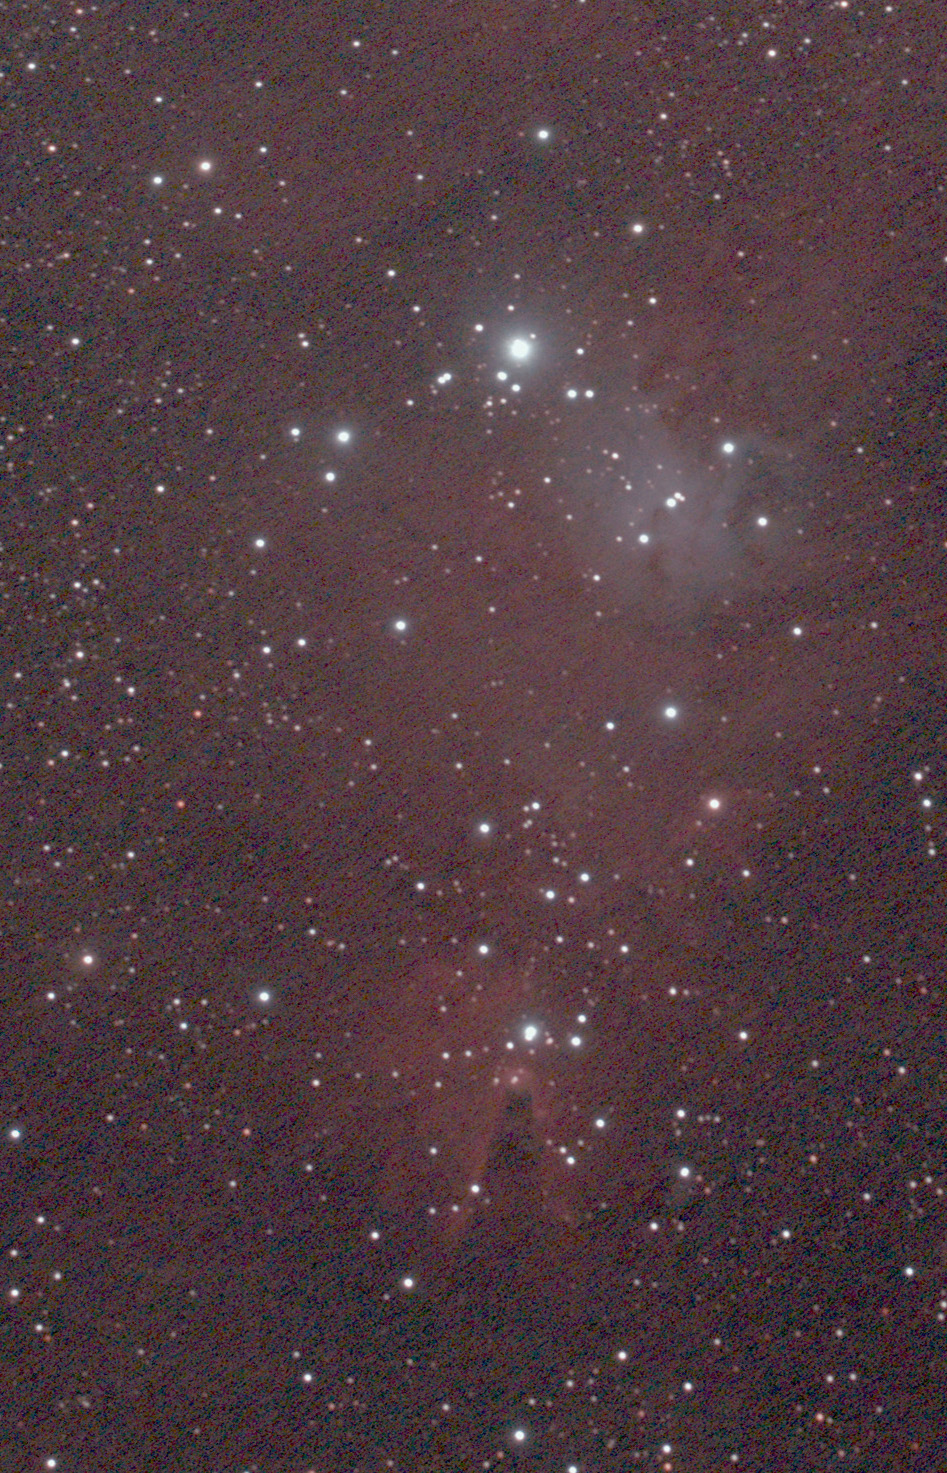
Orion’s Sword: M42 The Great Orion Nebula, Running Man Nebula & NGC 1981 Star Cluster
WO GT81 + modded Canon 550D & FF | 10 x 180 secs @ ISO 800 & darks calibration | 8th February 2015. Modification of the camera by removing the IR filter increased red Ha-light.
EQMOD / ASCOM is a popular free software project developed by amateurs that, amongst other things, provides computer and planetarium linked control of the mount; with other compatible linked programmes such as APT (Astrophotography Tool) and PHD (Push Here Dummy) control can be extended to cameras and for autoguiding. At the start of the year I successfully started using Carte du Ciel planetarium linked with EQMOD for computer controlled alignment and mount control, which as expected was very useful – particularly when it got really cold and I was able to take the equipment indoors and operate the equipment remotely. However, later in the year I have encountered connection problems which are, as yet, not fully resolved.
Whilst EQMOD is an excellent project which provides first class mount control when working, it requires additional faffing about and problems on a different level of scale, which with limited imaging conditions in the UK and having to set up outside from scratch each time is a pain. For this reason and others I have not yet moved to autoguiding, which I know will be highly beneficial to imaging but for the moment has proved to be a step too far for me. Such is the fickle nature of all this that I’m now considering other ways of achieving the same end, perhaps with professional software control and a stand-alone guider, such as the Lacerta M-GEN – of course a dedicated observatory would help a lot but seems unlikely at the moment!
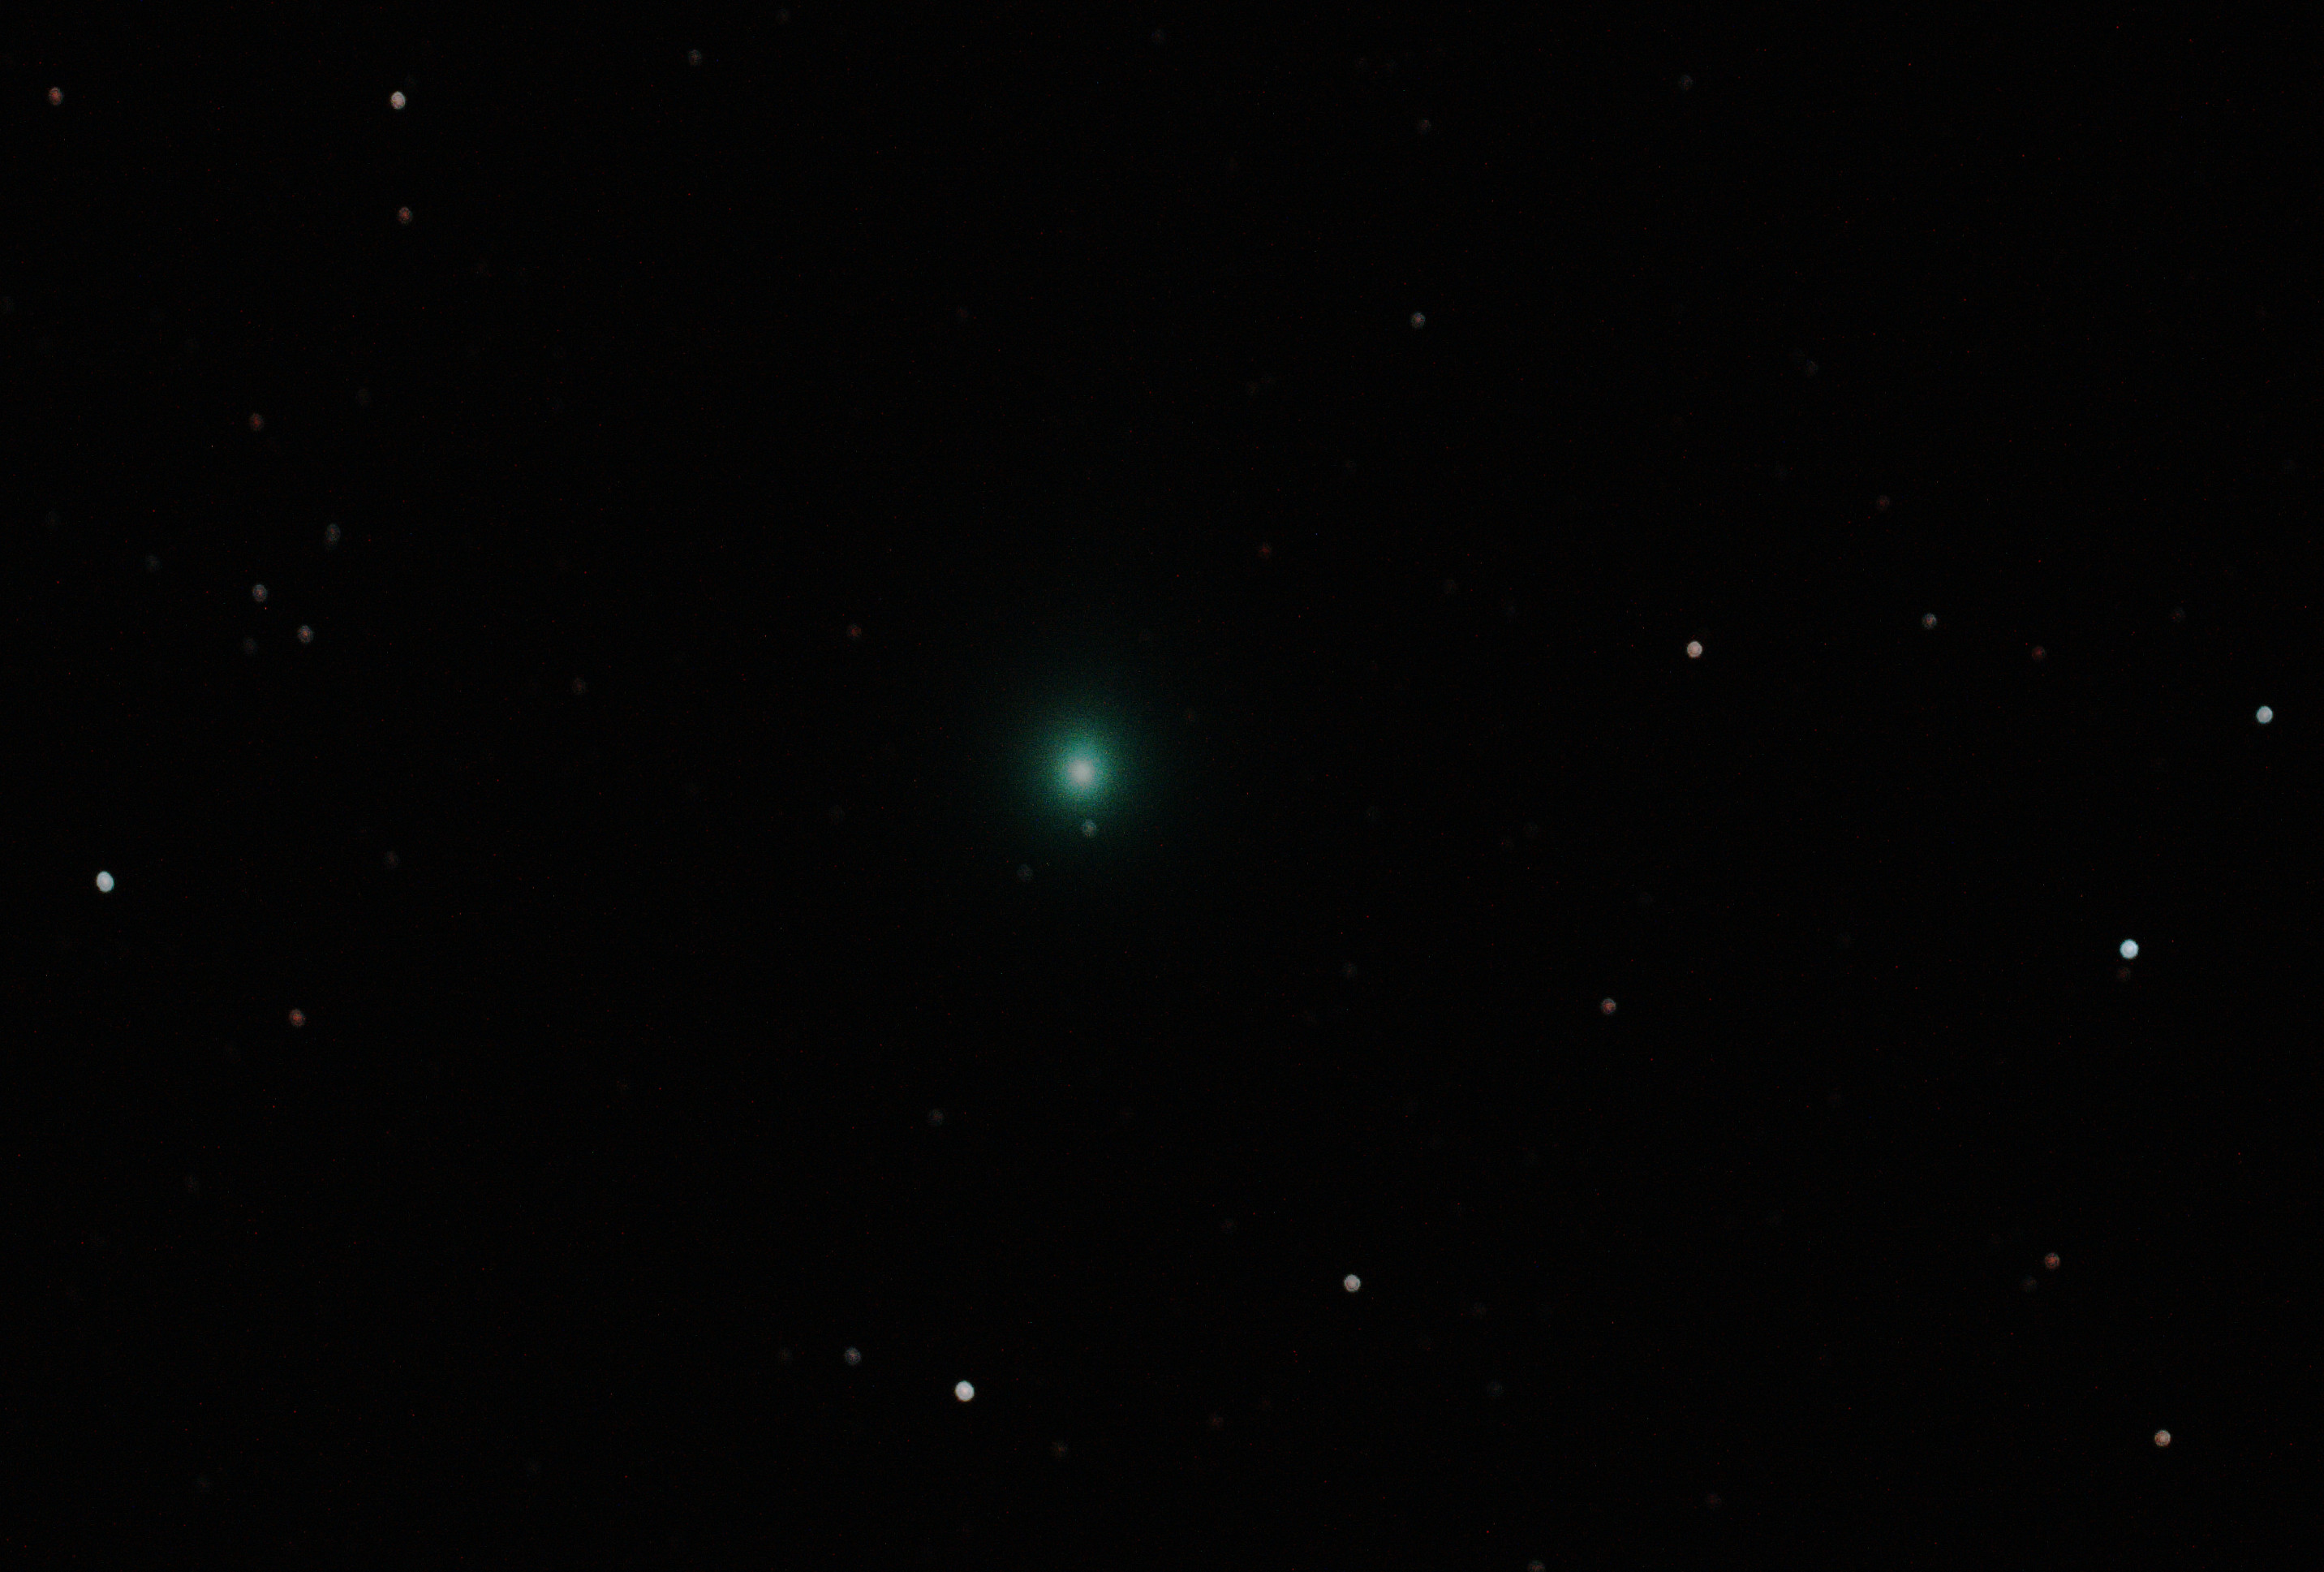
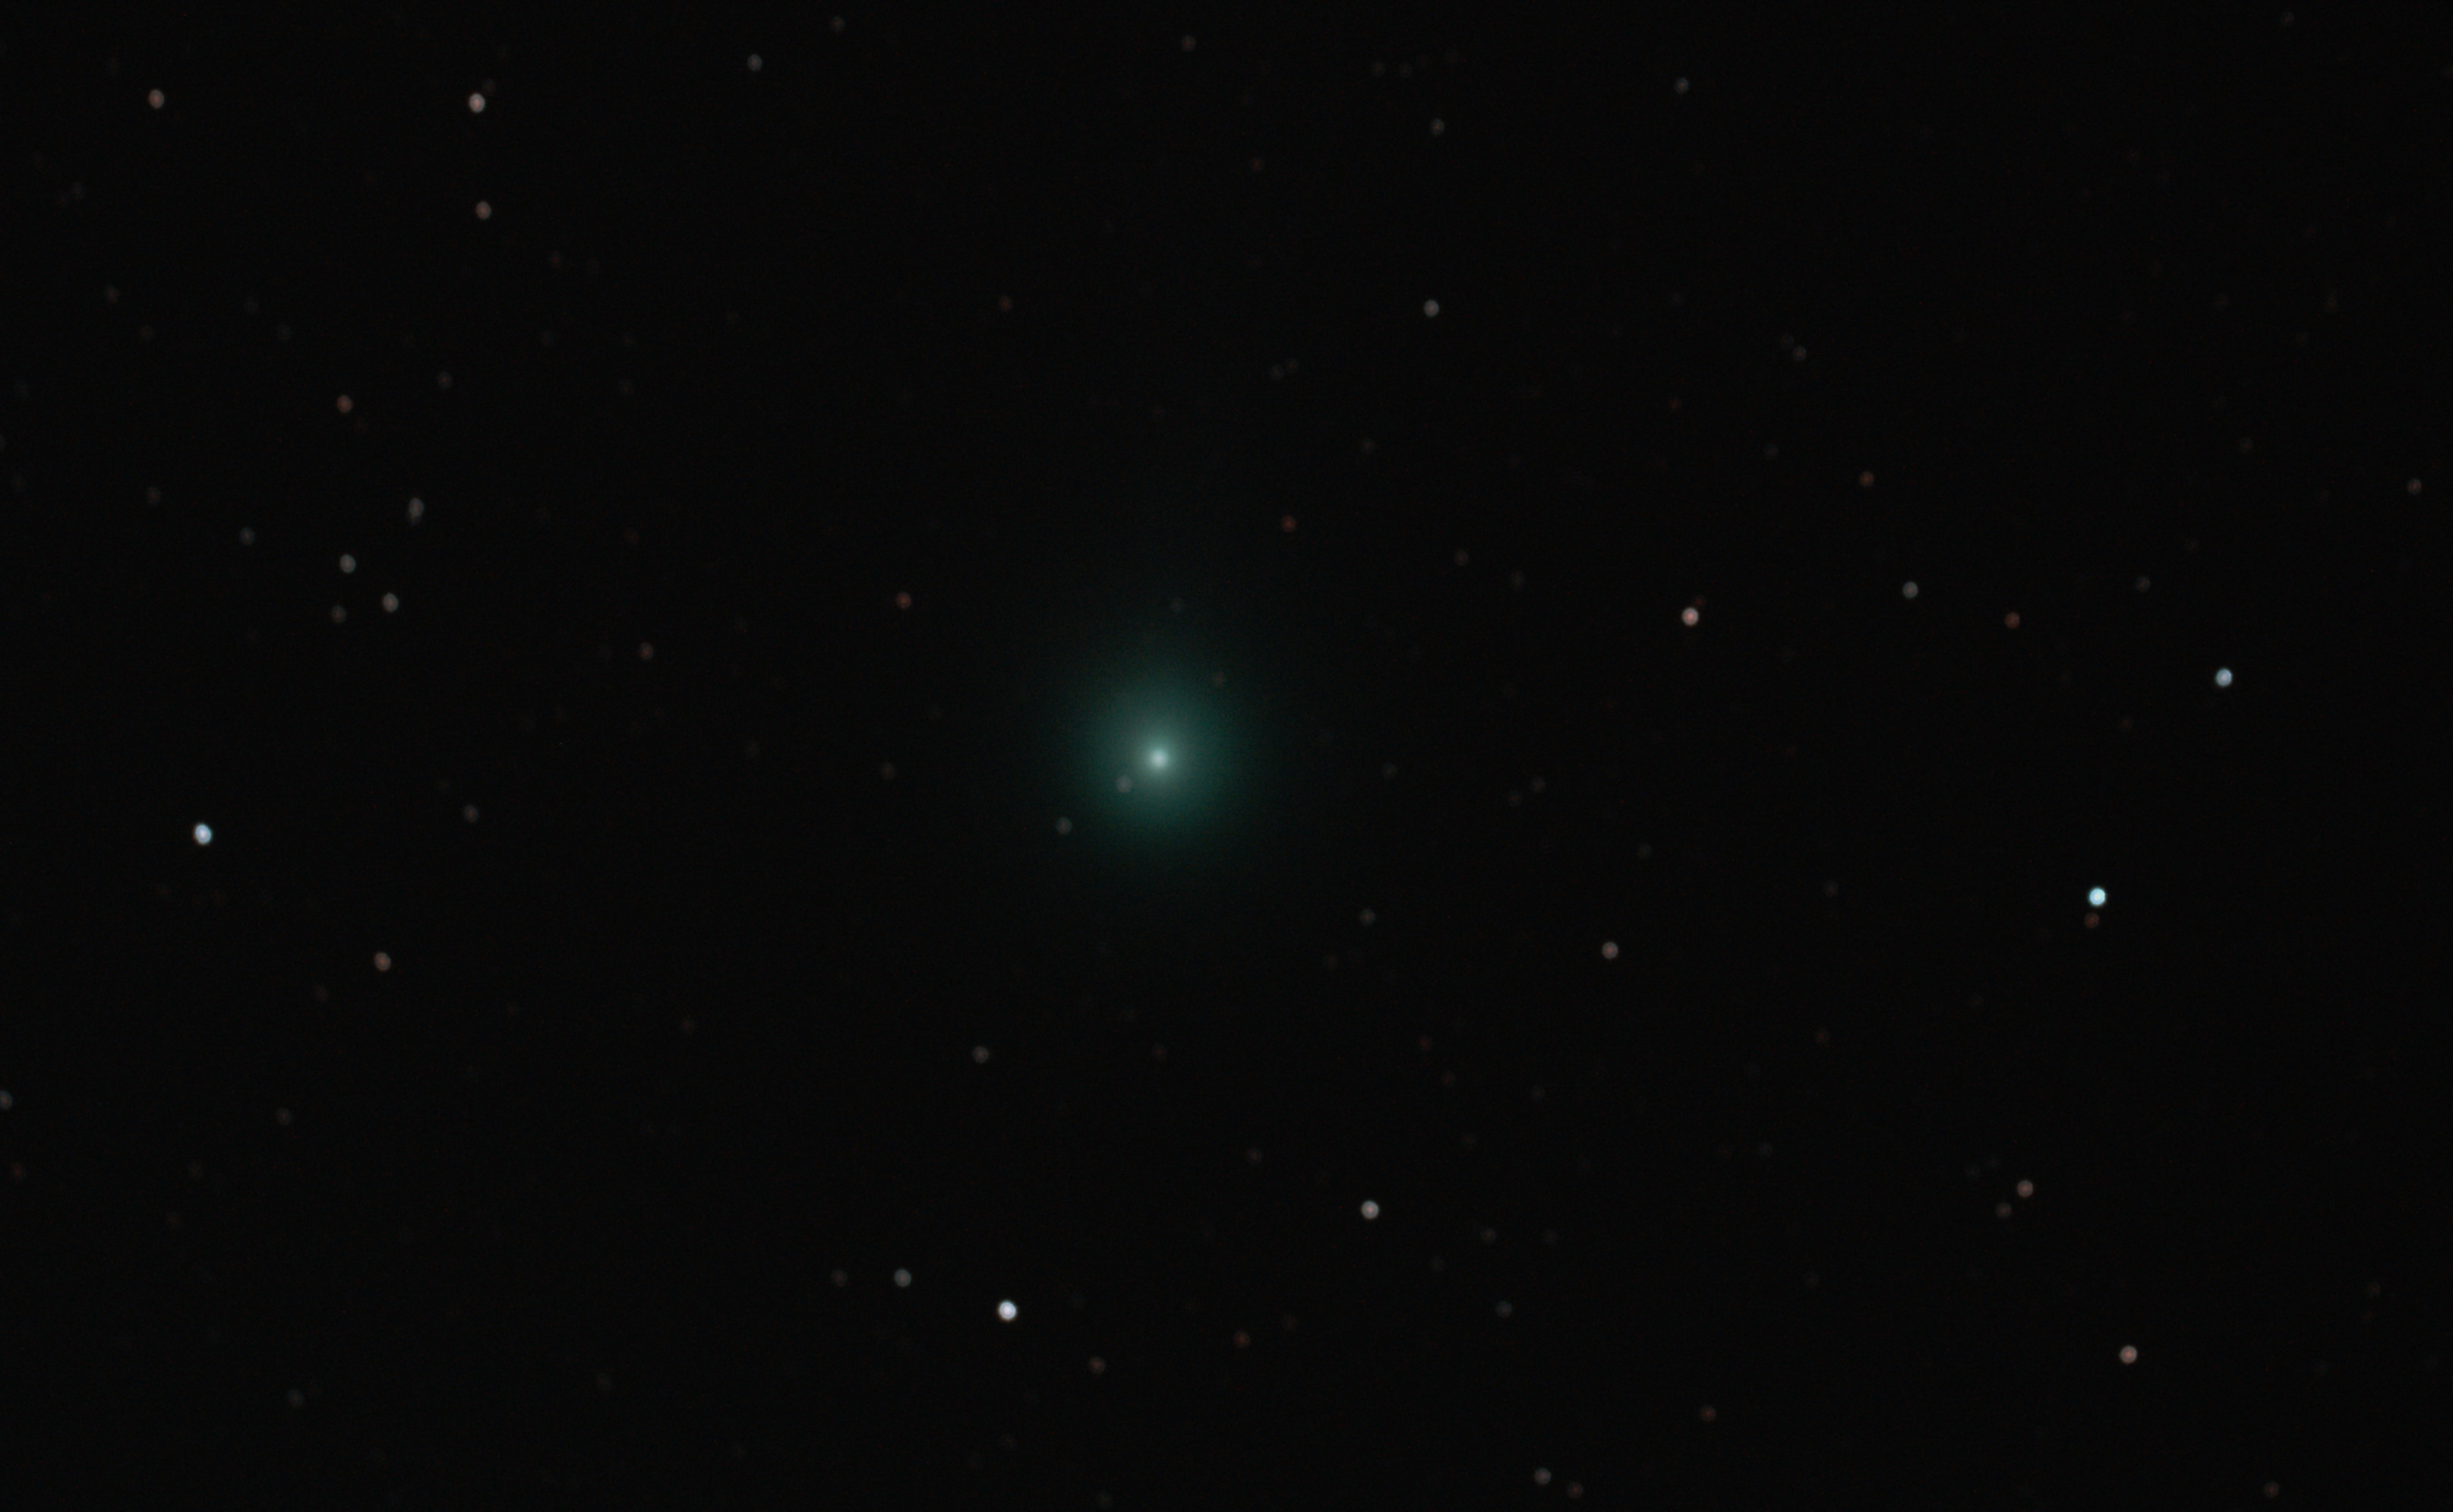
I have previously found the early winter sky of Orion, Taurus, Pegasus and Monoceros very productive with beautiful imaging objects such as M42 and the Horsehead Nebula. However, this year looking more closely at the late-winter / early spring skies turned out to be just as exciting, with a veritable playground of galaxies to choose from during February and March. Notwithstanding, the highlight during the winter was successfully imaging Comet Lovejoy, a first for me that required changes to normal DSO and planetary imaging techniques as this ephemeral object was speeding across the night sky at over 70,000 mph – post processing also turned out to be quite different.

C/2014 Q2 Comet Lovejoy
WO GT81 + Canon 550D (modded) & FF | 40 x 20secs @ ISO1,600 + darks | 16th January 2014
| No |
Date |
Object* |
Name |
| 1 |
16/01/15 |
C/2014 Q2 |
Comet Lovejoy |
| 2 |
16/01/15 |
C/2014 Q2 |
Comet Lovejoy |
| 3 |
16/01/15 |
NGC 2244 |
Rosette Nebula |
| 4 |
22/01/15 |
M42 etc |
Orion Nebula |
| 5 |
22/01/15 |
M45 |
Pleiades |
| 6 |
22/01/15 |
|
Comet Lovejoy |
| 7 |
22/01/15 |
|
Comet Lovejoy |
| 8 |
22/01/15 |
|
Banard’s Loop |
| 9 |
22/01/15 |
|
Banard’s Loop |
| 10 |
22/01/15 |
|
Orion Constellation |
| 11 |
24/01/15 |
NGC 1909 |
Witch Head Nebula |
| 12 |
24/01/15 |
NGC 2392 |
Eskimo Nebula |
| 13 |
24/01/15 |
M44 |
Beehive Cluster |
| 14 |
24/01/15 |
IC-443 |
Jellyfish Nebula |
| 15 |
08/02/15 |
M42 |
Gt Orion Nebula etc |
| 16 |
08/02/15 |
Barnard 33 |
Horsehead Nebula etc |
| 17 |
21/02/15 |
M65 |
Leo Triplet (Galaxies) |
| 18 |
21/02/15 |
M105 |
M96 Group (Galaxies) |
| 19 |
24/02/15 |
|
Venus & Mars |
| 20 |
25/03/15 |
NGC 2903 |
Spiral galaxy – Leo |
| 21 |
25/03/15 |
NGC 3842 |
Galaxy cluster: Leo |
| 22 |
25/03/15 |
M 88 |
Spiral galaxy: Virgo cluster |
| 23 |
25/03/15 |
M100 |
Spiral galaxy: Virgo cluster |
| 24 |
26/03/15 |
NGC 4438 |
Markarian’s Chain |
| 25 |
26/03/15 |
M104 |
Sombrero |
| 26 |
26/03/15 |
M53 |
Globular cluster |
*Record of quarterly photographic images in 2015, excluding other widefield pictures
APRIL TO JUNE
Things took a turn for the worse in April when I went into hospital for a knee replacement operation. All went well but it is a major operation and recovery has been slow and often painful, thus prohibiting any real astronomy until September. It did however provide the time and opportunity to read about astronomy and pursue some MOOC astronomy courses.
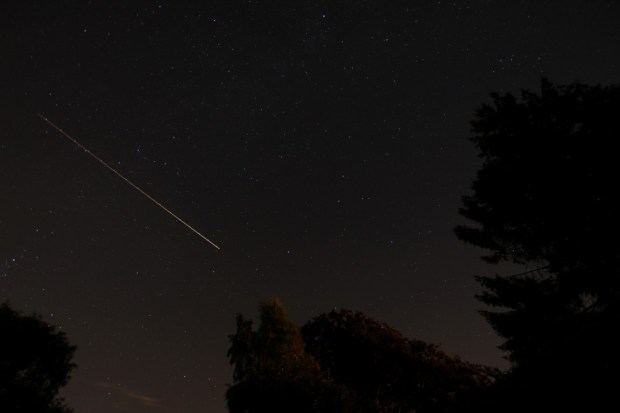
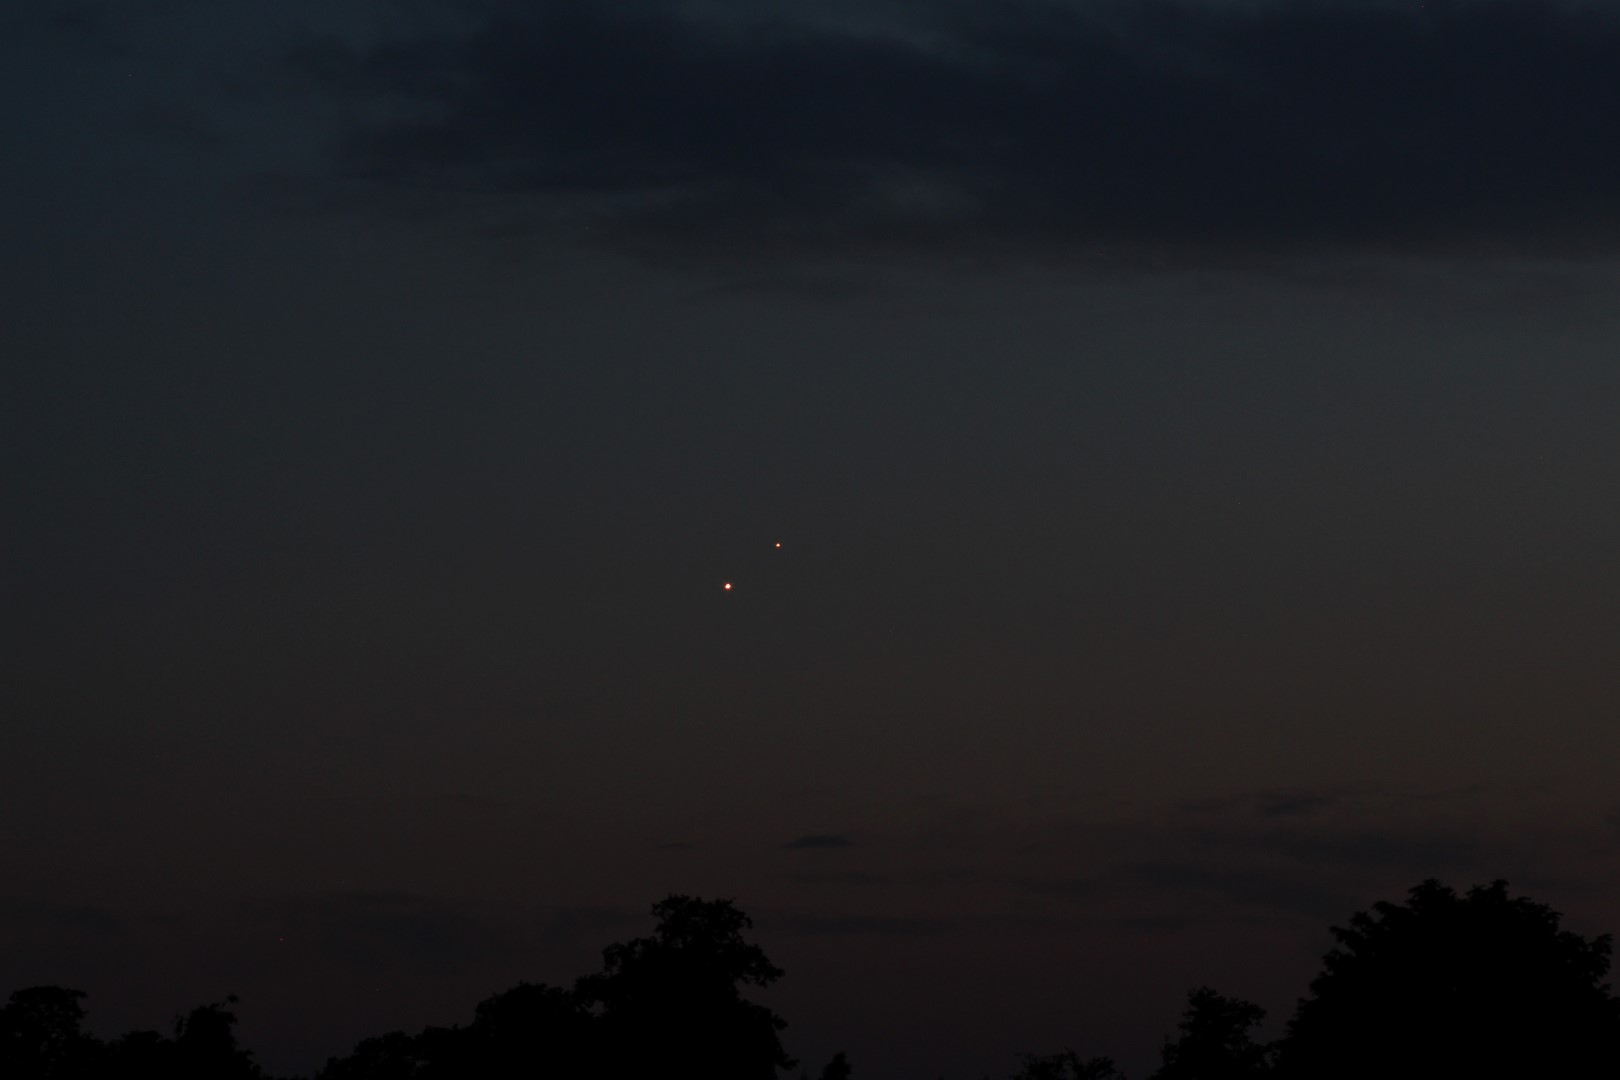
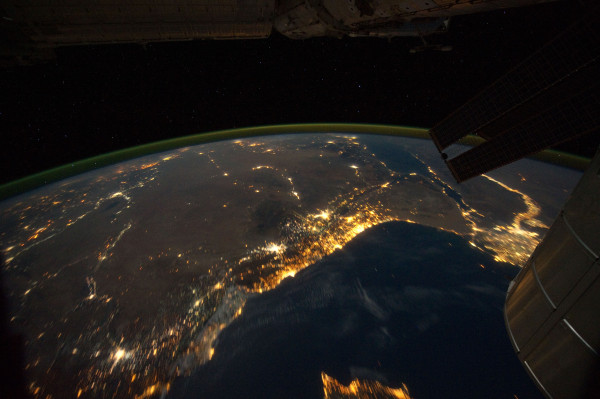
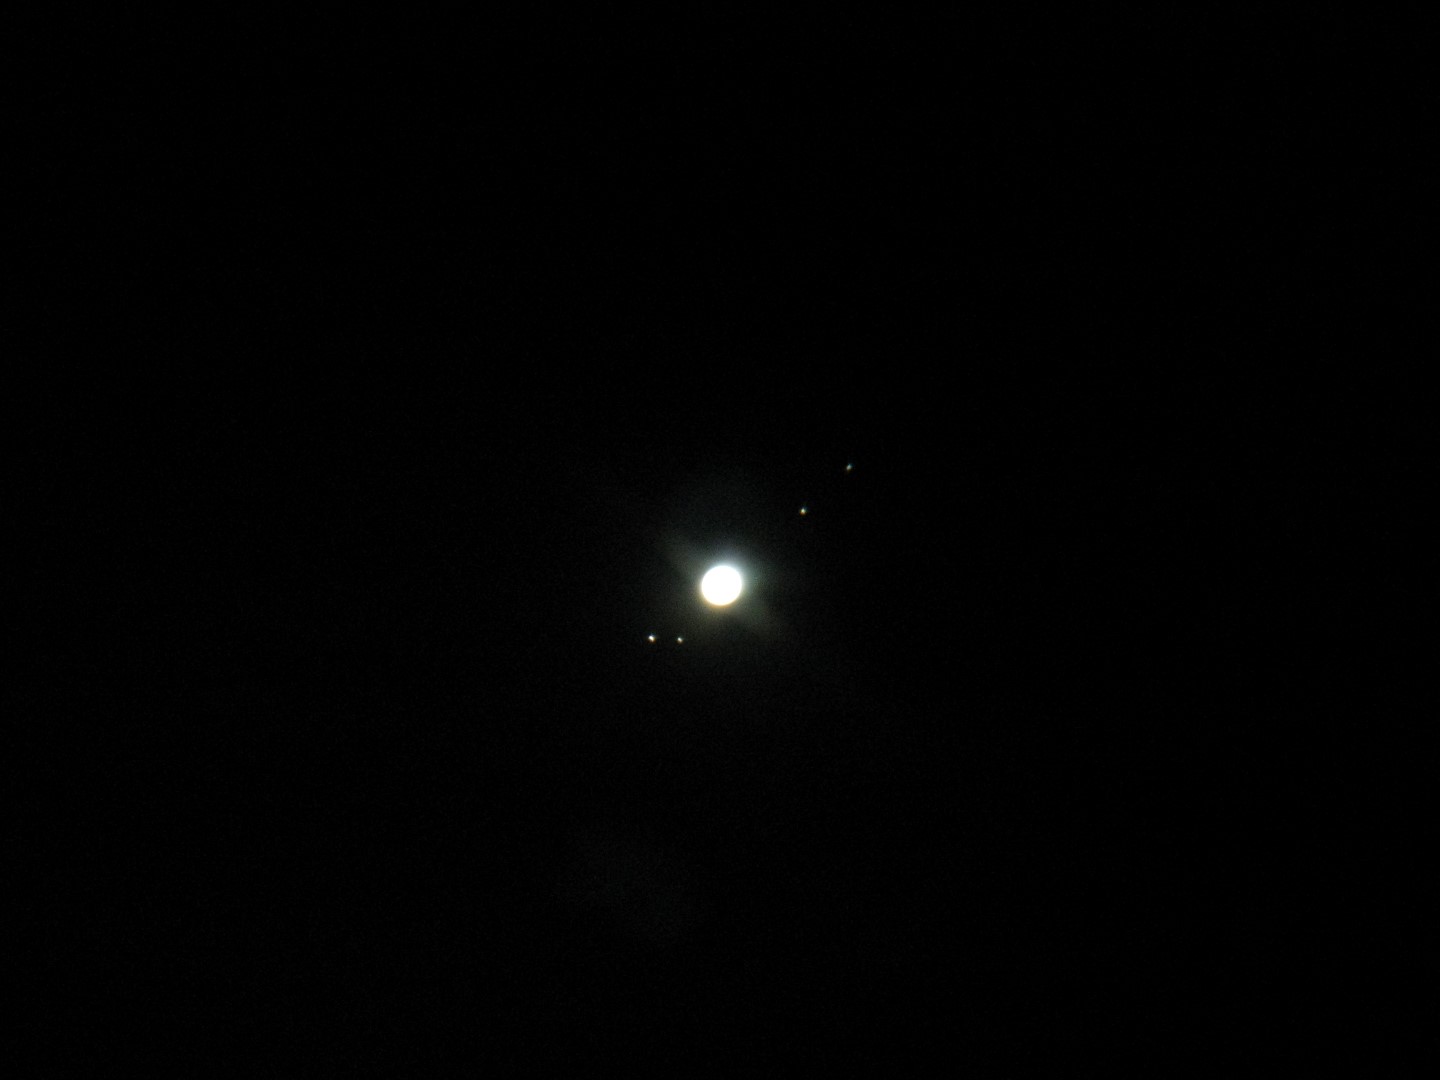
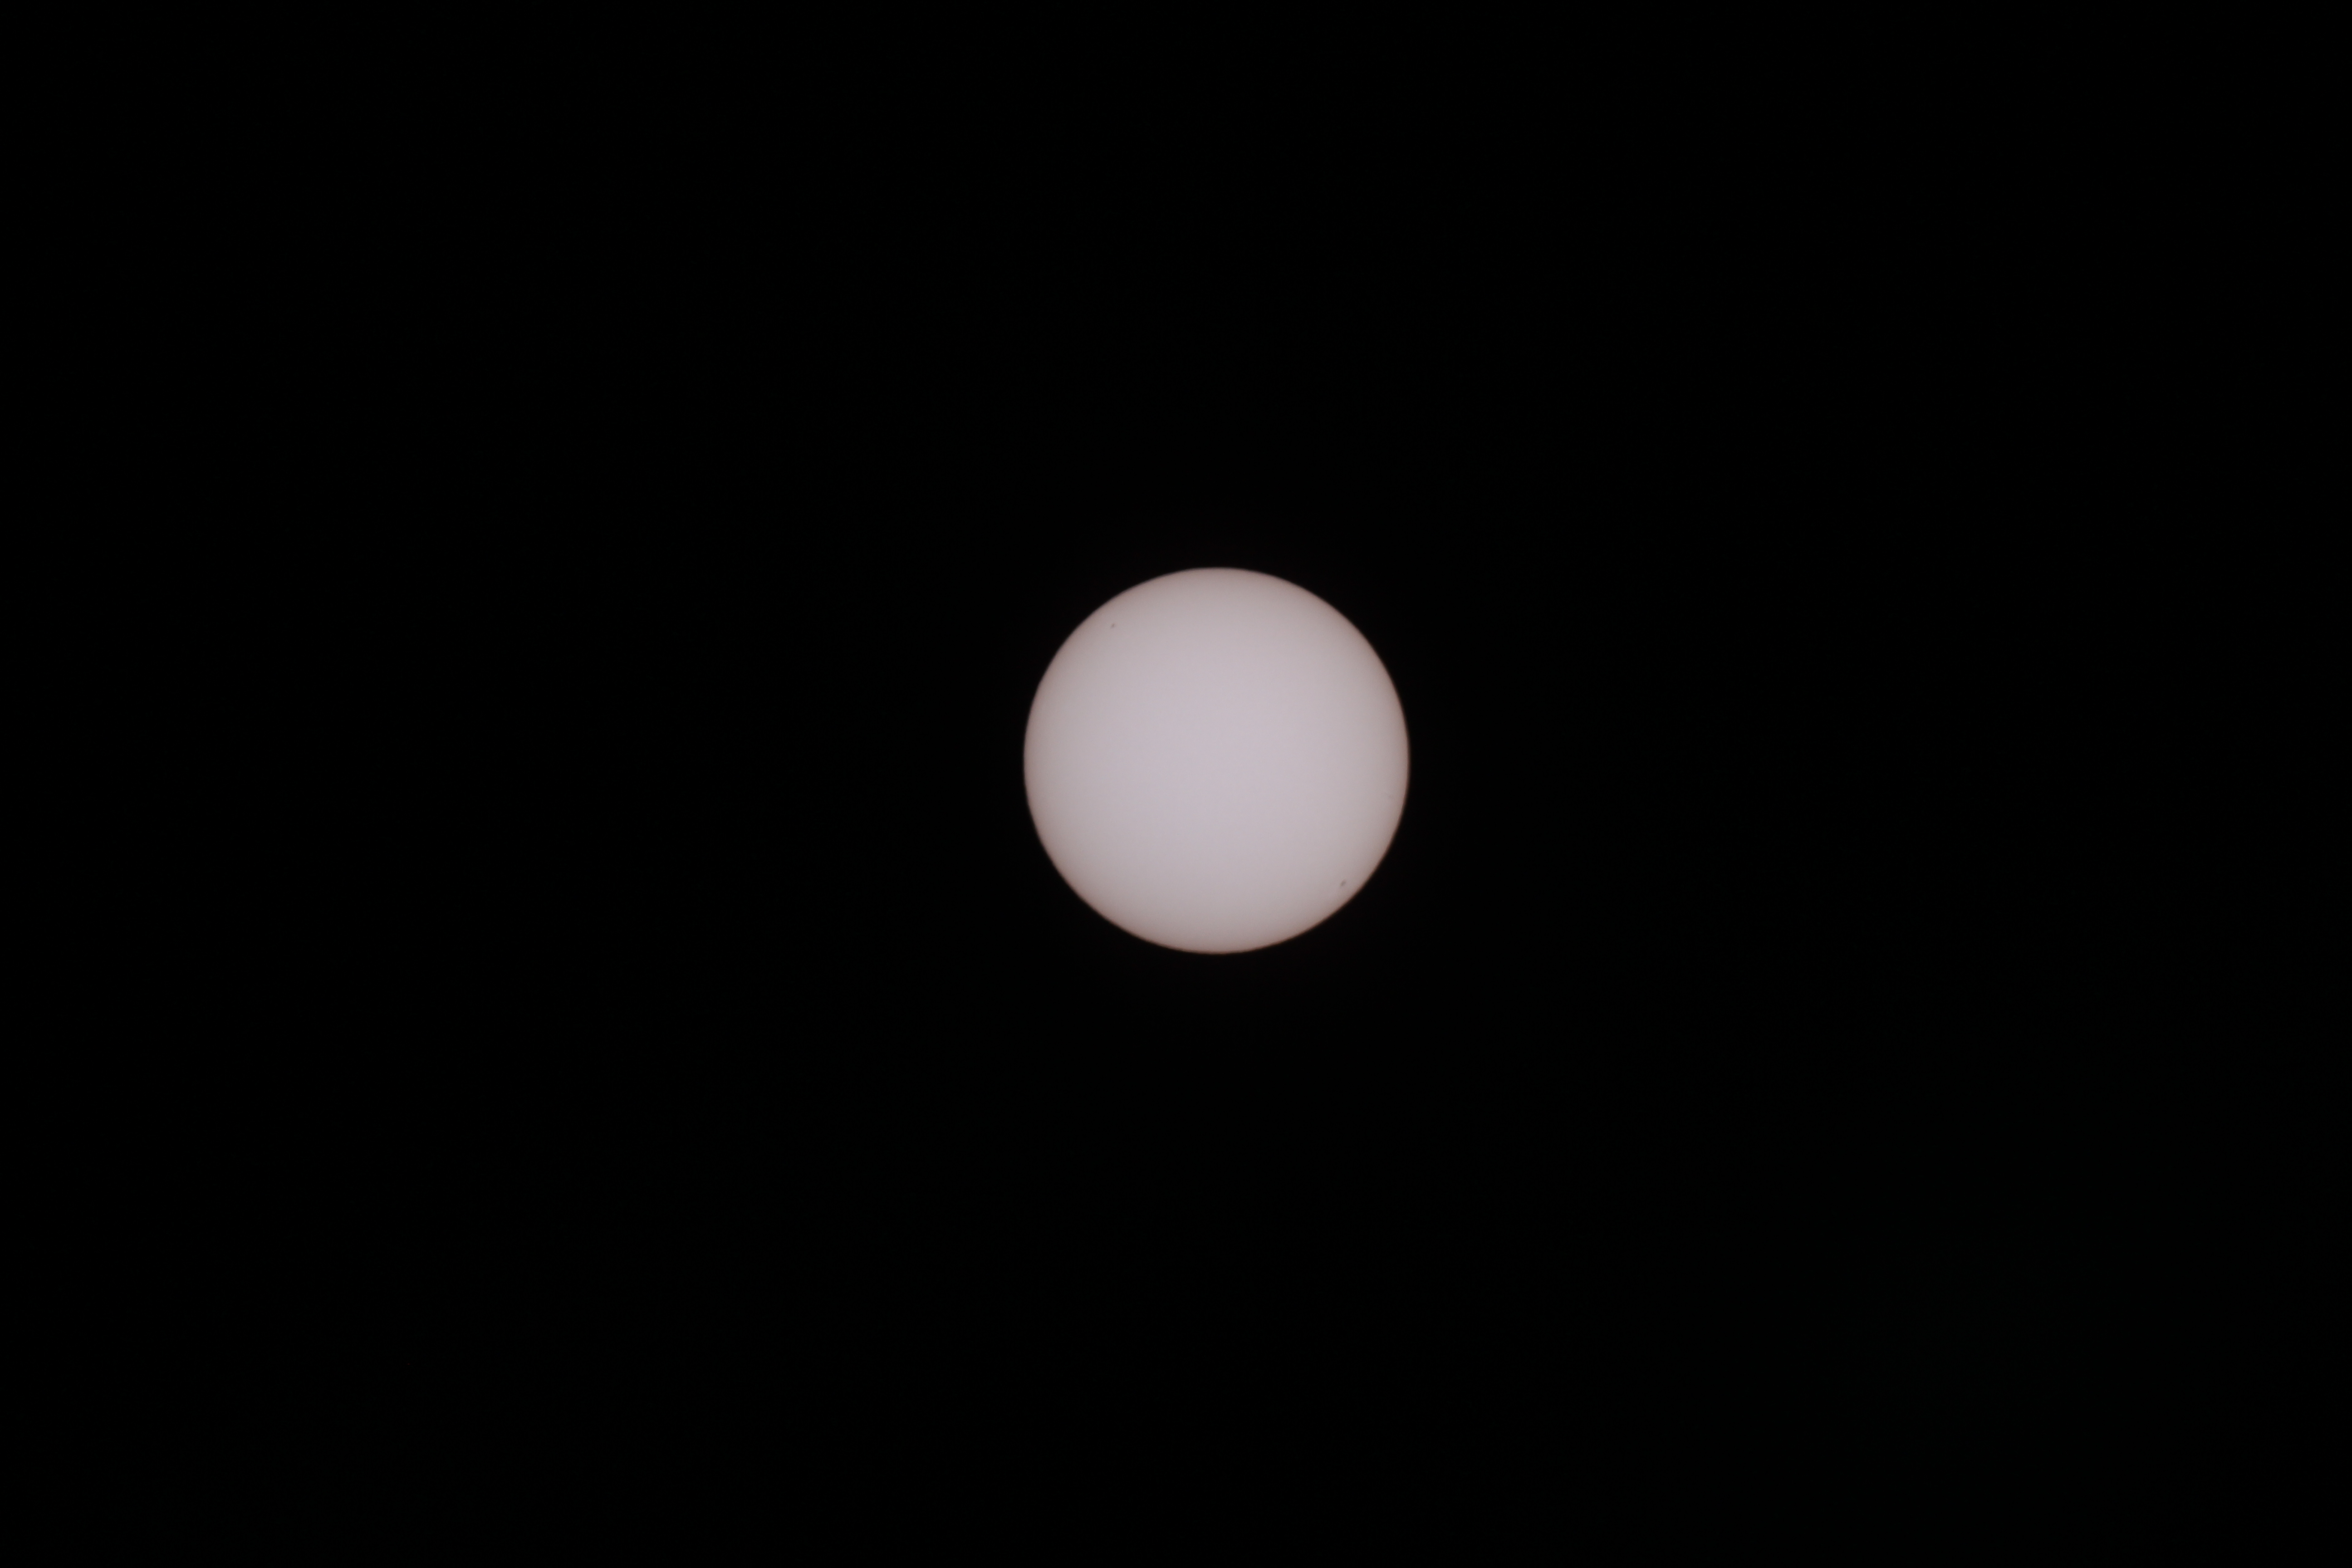
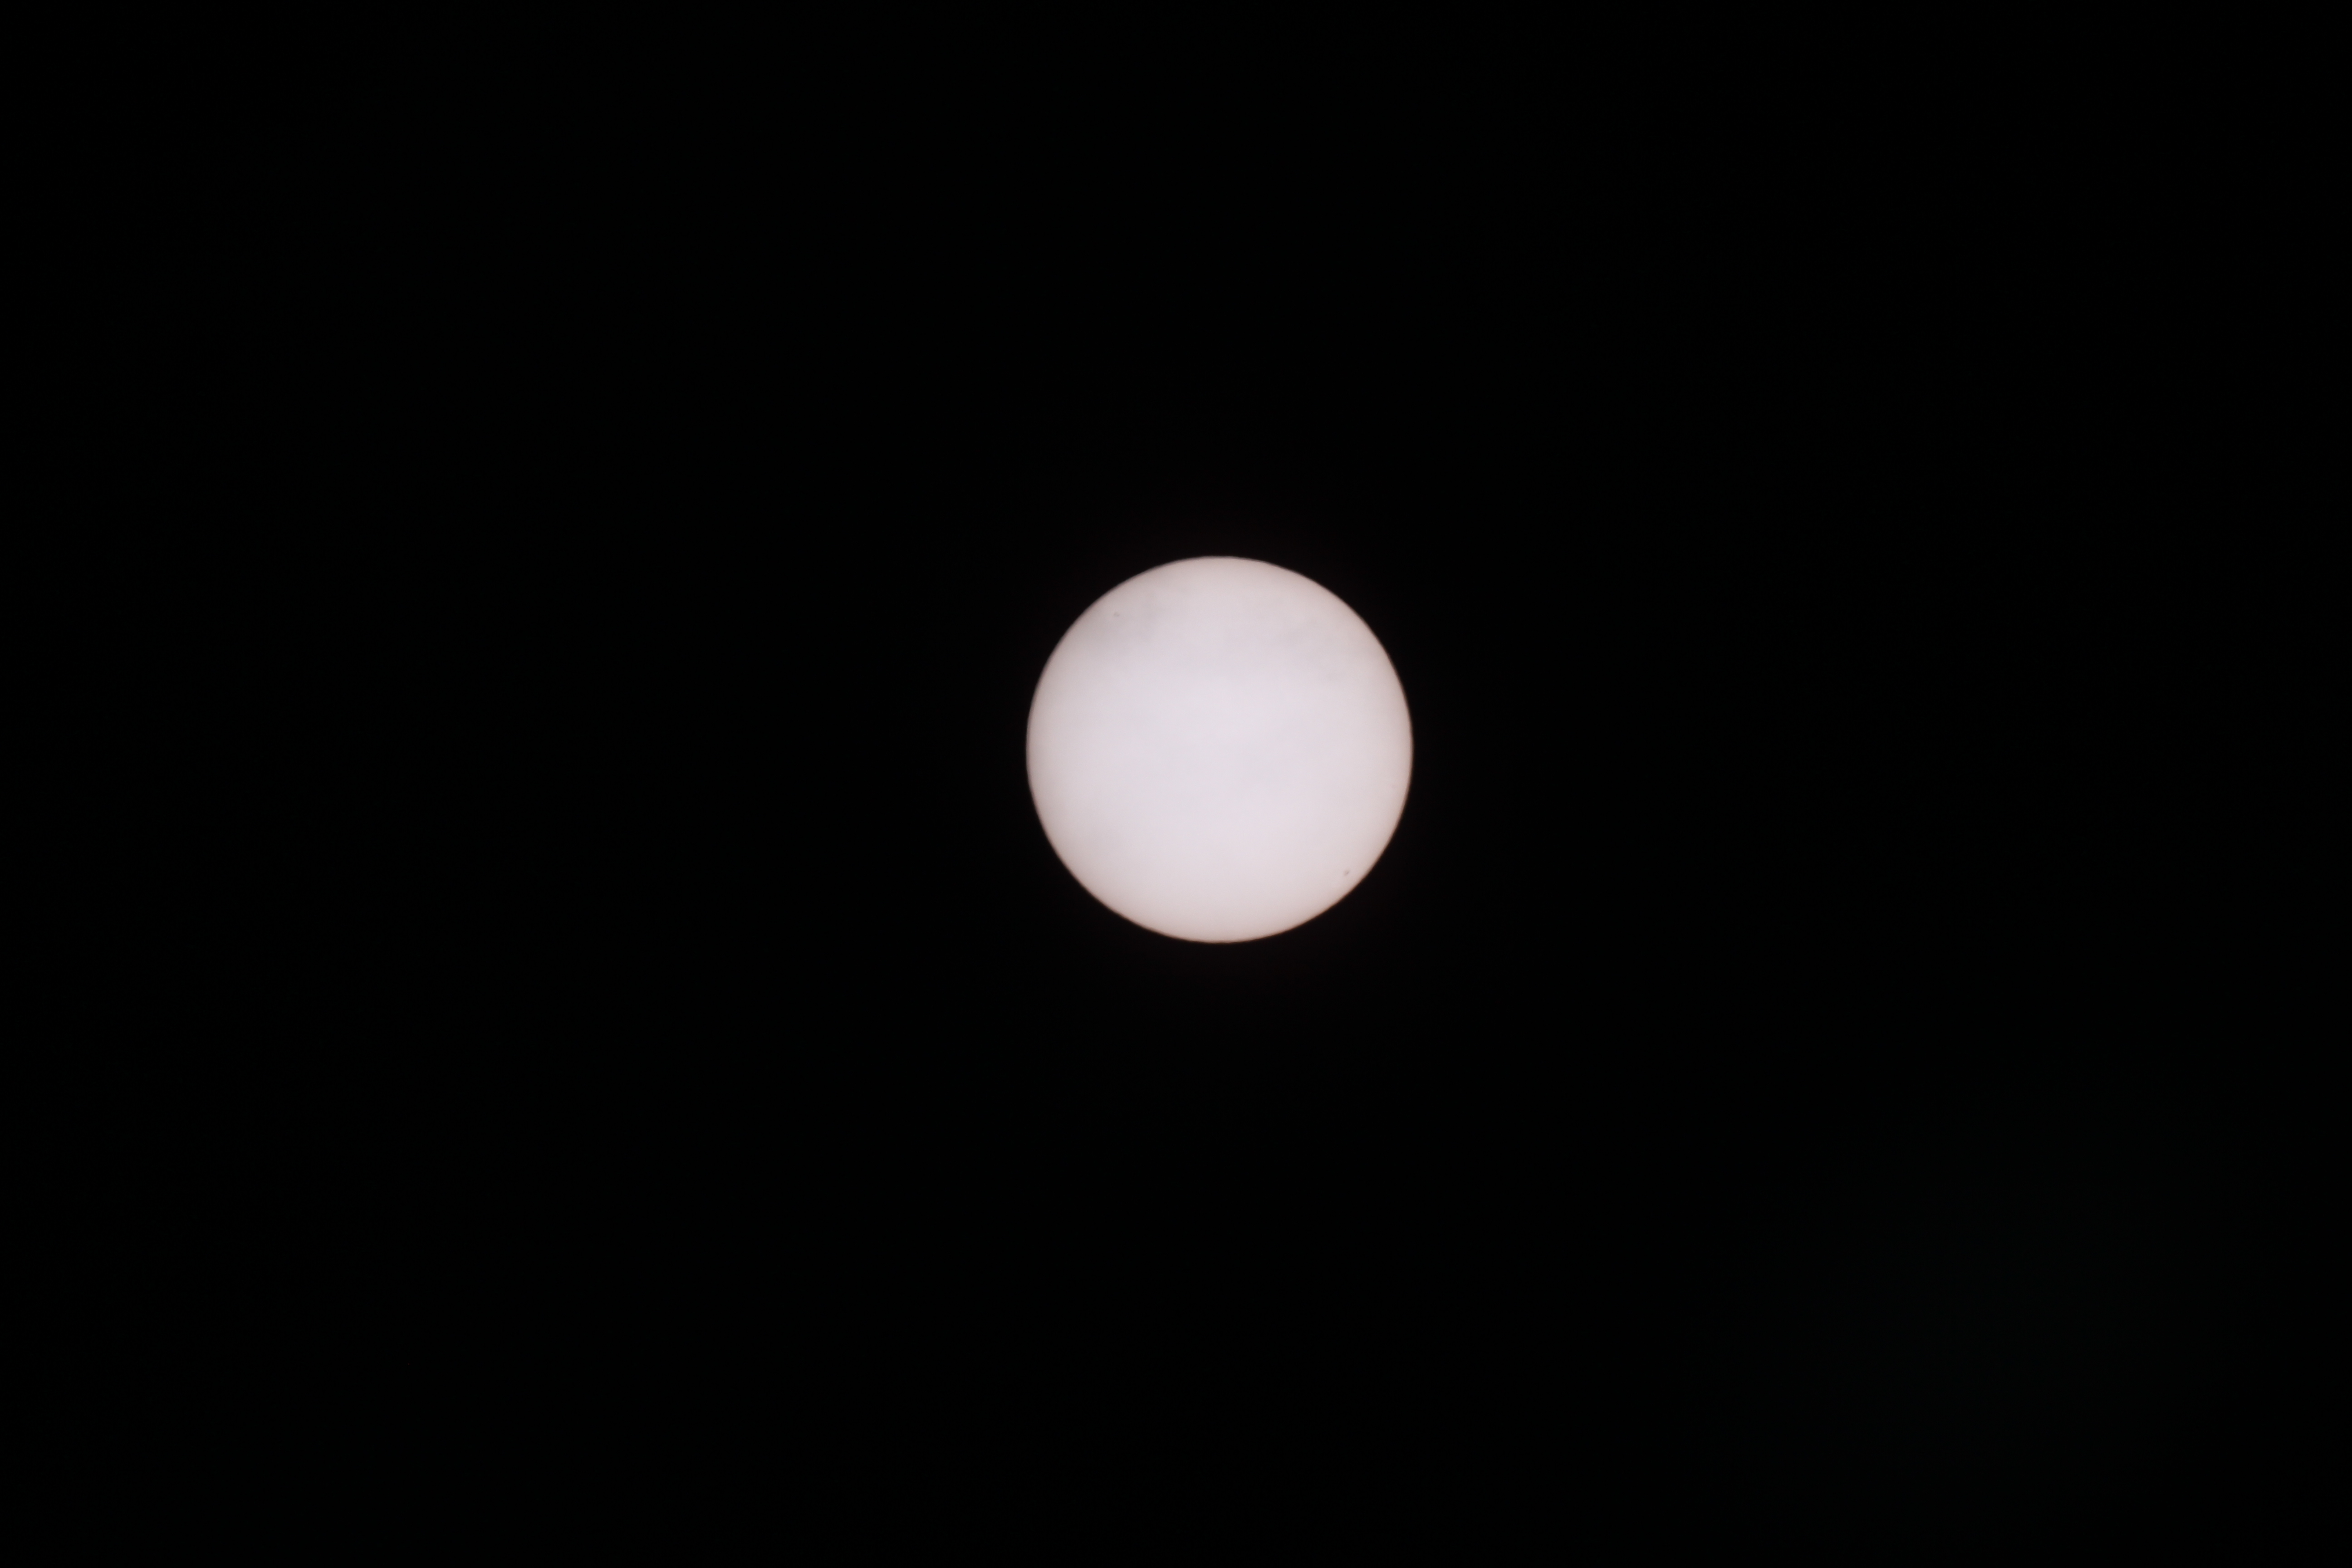
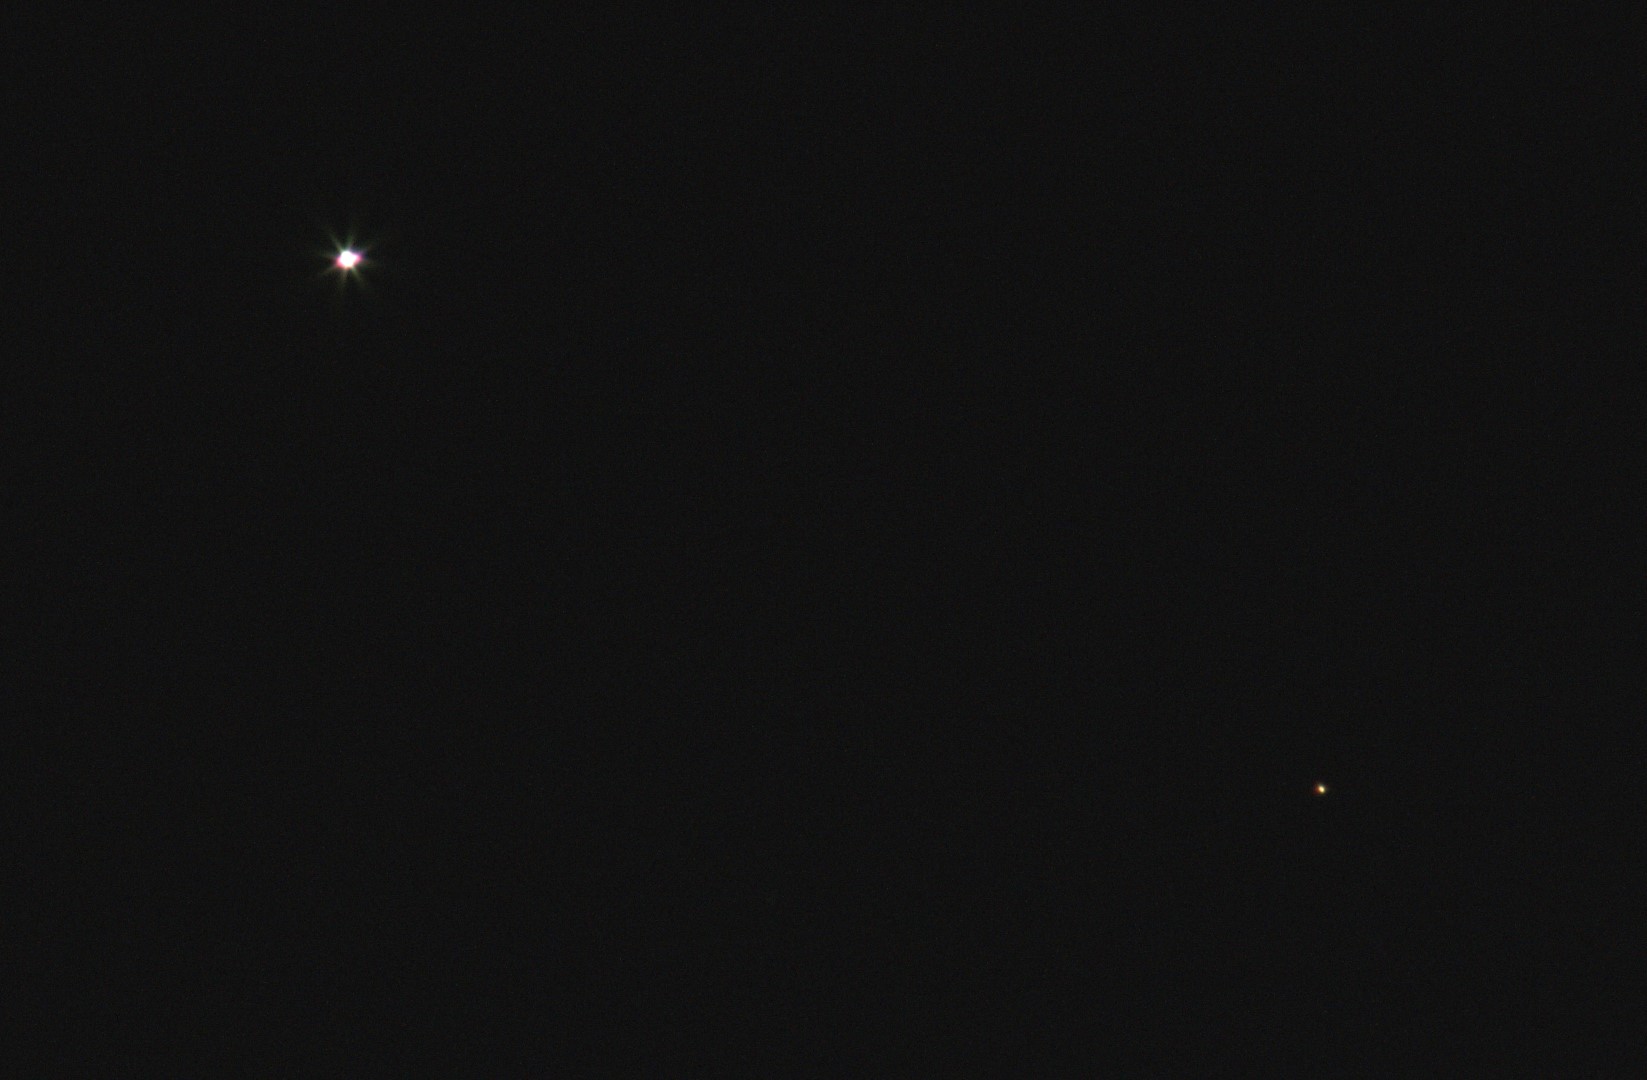
After a period of convalescence, I did manage to obtain some widefield camera shots of the planets, the ISS and simple night sky images in the summer. Whilst not as satisfying as prime focus photography, it was interesting and kept me sane during this otherwise difficult time.

1st July 2015. Conjunction of Jupiter to the right of Venus.
| No |
Date |
Object |
Name |
| 27 |
11/04/15 |
NGC 4438 |
Markarian’s Chain |
| 28 |
11/04/15 |
NGC 4565 |
Spiral galaxy-side |
JUNE TO SEPTEMBER
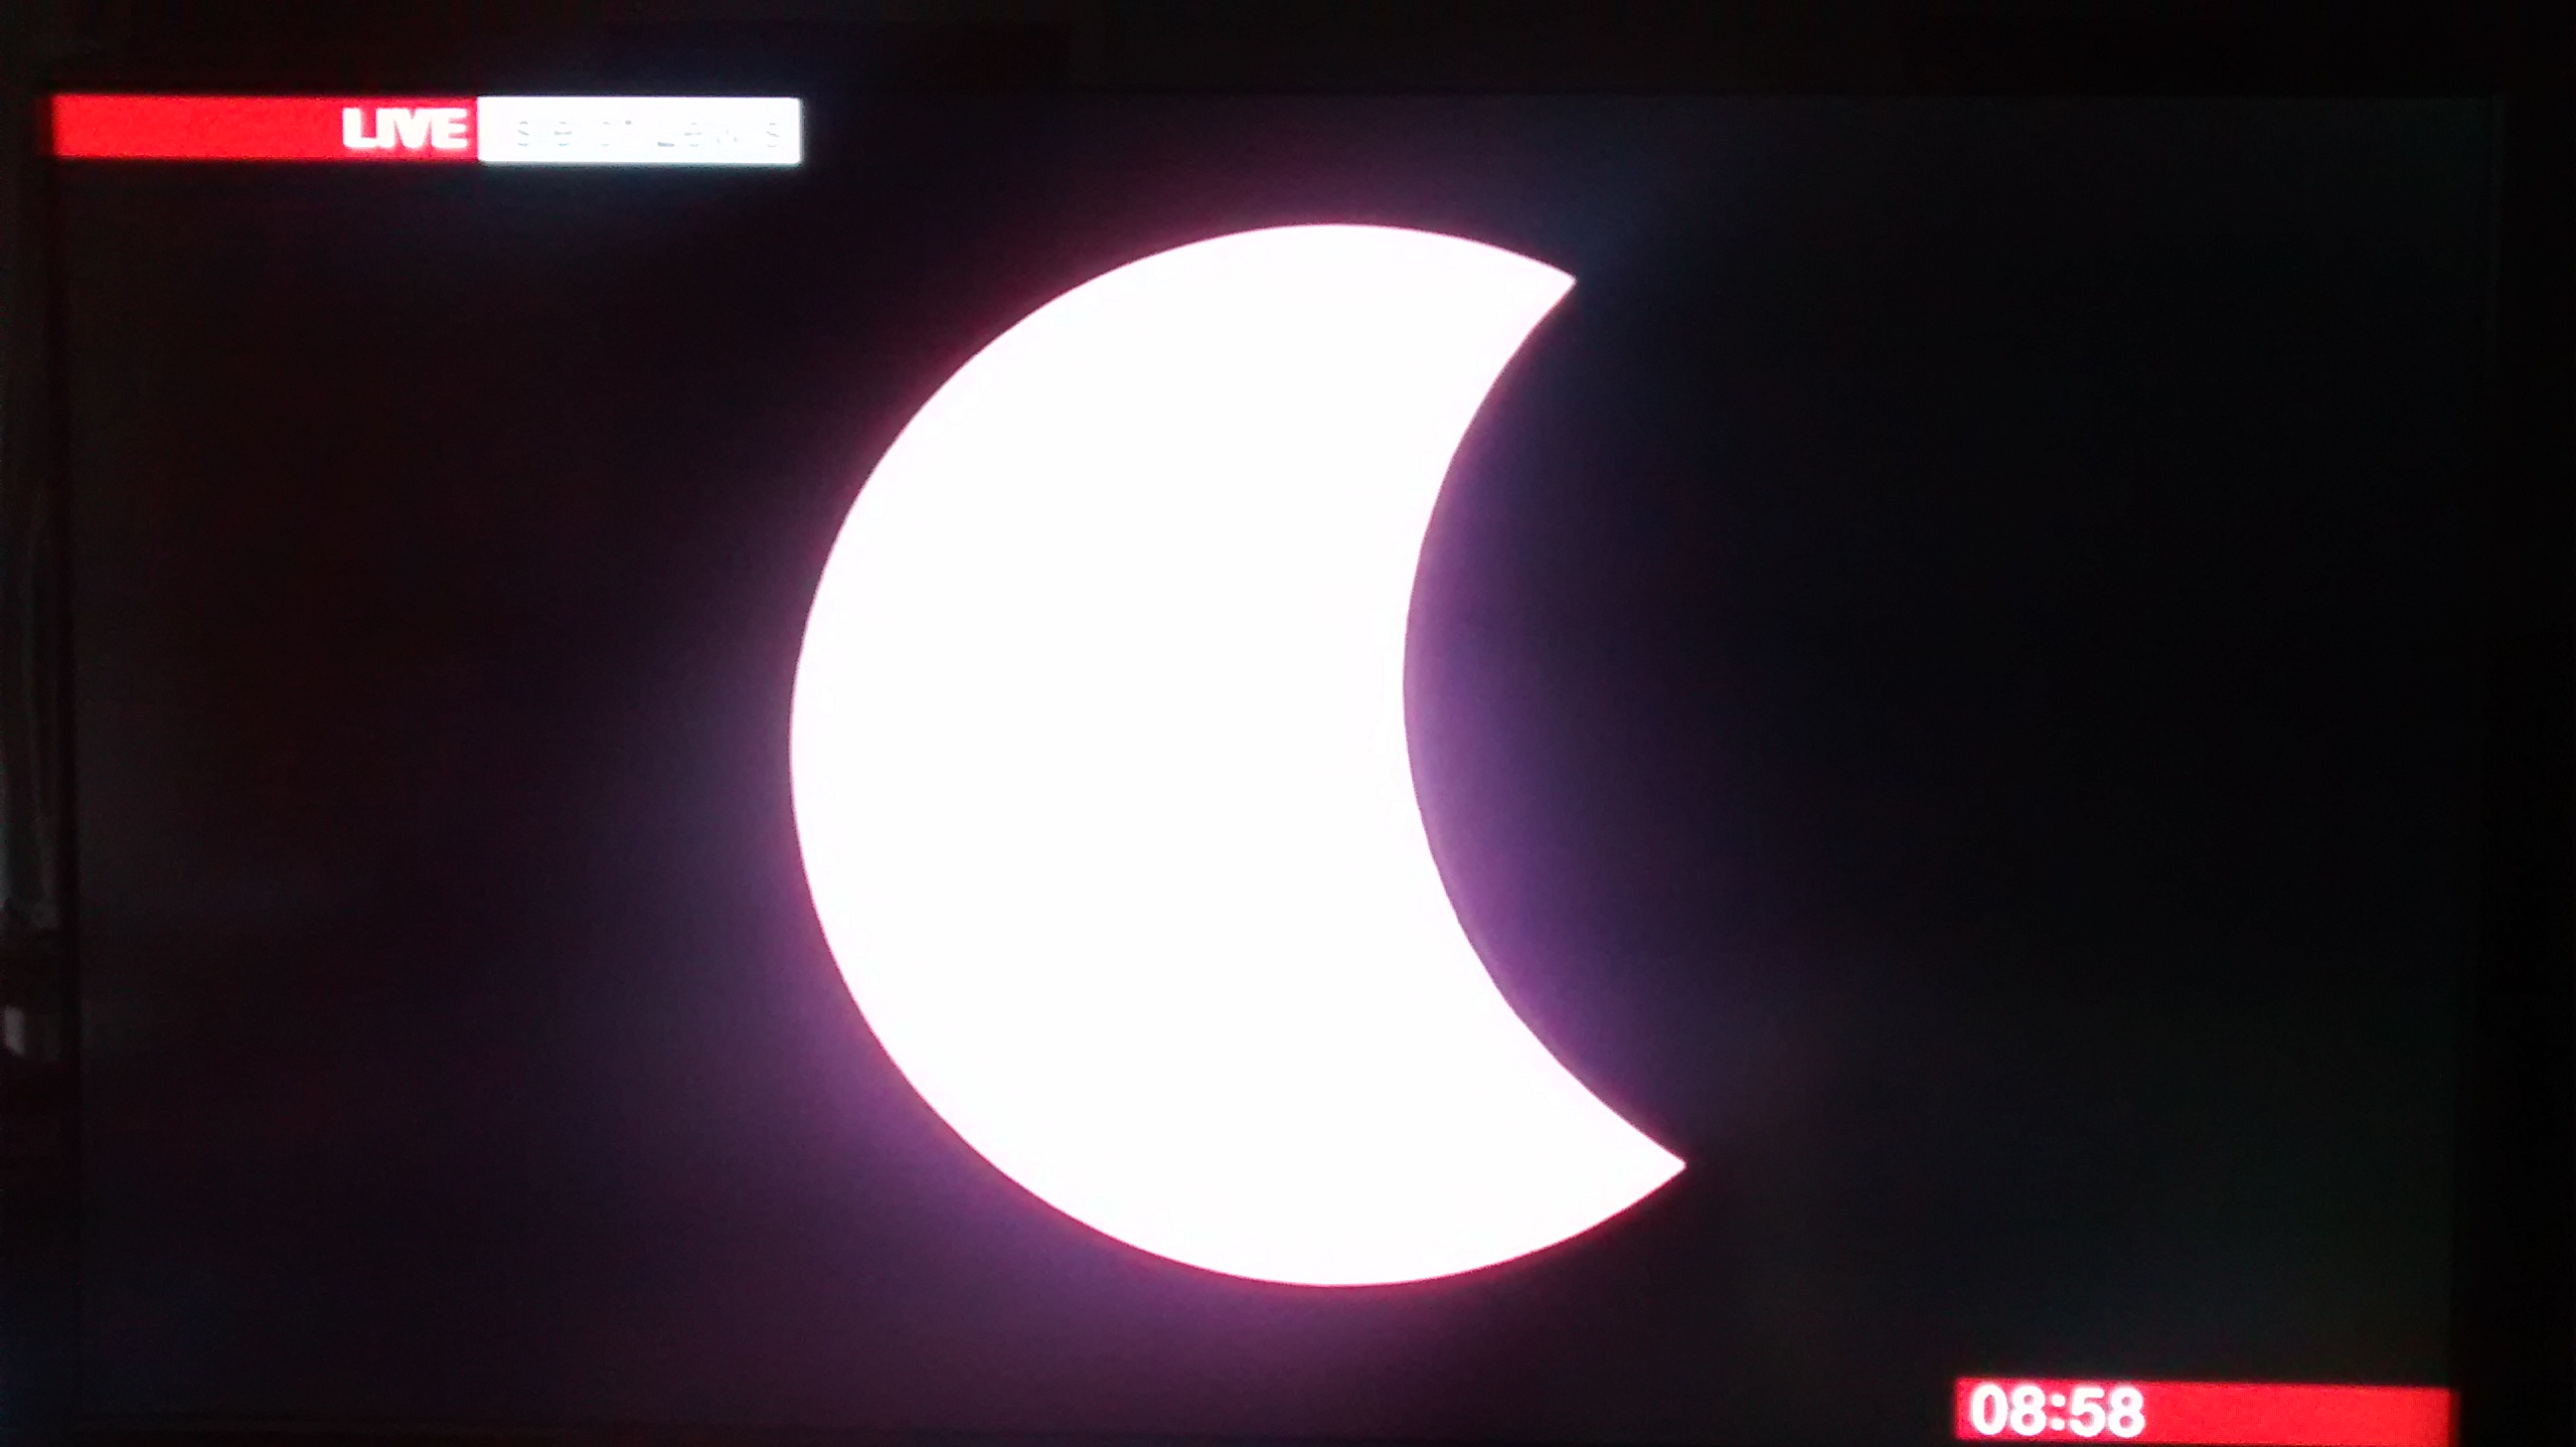
This period was more of the same until on 19th September, when at last I managed to set-up Fairvale Observatory for the first time since March, what a relief. As a bonus I was particularly chuffed to achieve a good image of the Andromeda Galaxy but the highlight of this period and the year was the lunar eclipse at the end of the month on 28th September.
For once everything was perfect: a clear sky all night with a perfect view of the eclipse from start to finish. I stayed up all night and would have to say it was one of the best, if not the best event I have so far experienced since taking up astronomy; apart from being an outstanding imaging opportunity, the ambiance throughout the eclipse was spellbinding. I was therefore very pleased to obtain an excellent set of images of the entire eclipse, mainly using a prime focus camera set-up with the WO GT81 telescope but also with an alternative camera and telephoto lens on a tripod. The memory of that night will stay with me for a long while and, in part, helped to make up for the lost time since my operation in April.

Eclipse Animation 28th September 2015
| No |
Date |
Object |
Name |
| 29 |
19/09/15 |
IC 5070 |
Pelican Nebula |
| 30 |
19/09/15 |
NGC 6979 |
Pickering inc Veil Nebula |
| 31 |
19/09/15 |
M15 |
Globular Cluster |
| 32 |
19/09/15 |
M31 |
Andromeda |
| 33 |
28/09/15 |
Lunar Eclipse |
Entry @ 1 sec intervals |
| |
28/09/15 |
Lunar Eclipse |
Totality |
| |
28/09/15 |
Lunar Eclipse |
Entry @ 1 sec intervals |
| 34 |
28/09/15 |
Lunar Eclipse |
Exit – camera + tripod |
| 35 |
30/09/15 |
IC 1318 |
Sadr Region (+NGC 6910) |
| 36 |
30/09/15 |
IC 1318 |
Sadr Region – Pt2 |
OCTOBER TO DECEMBER
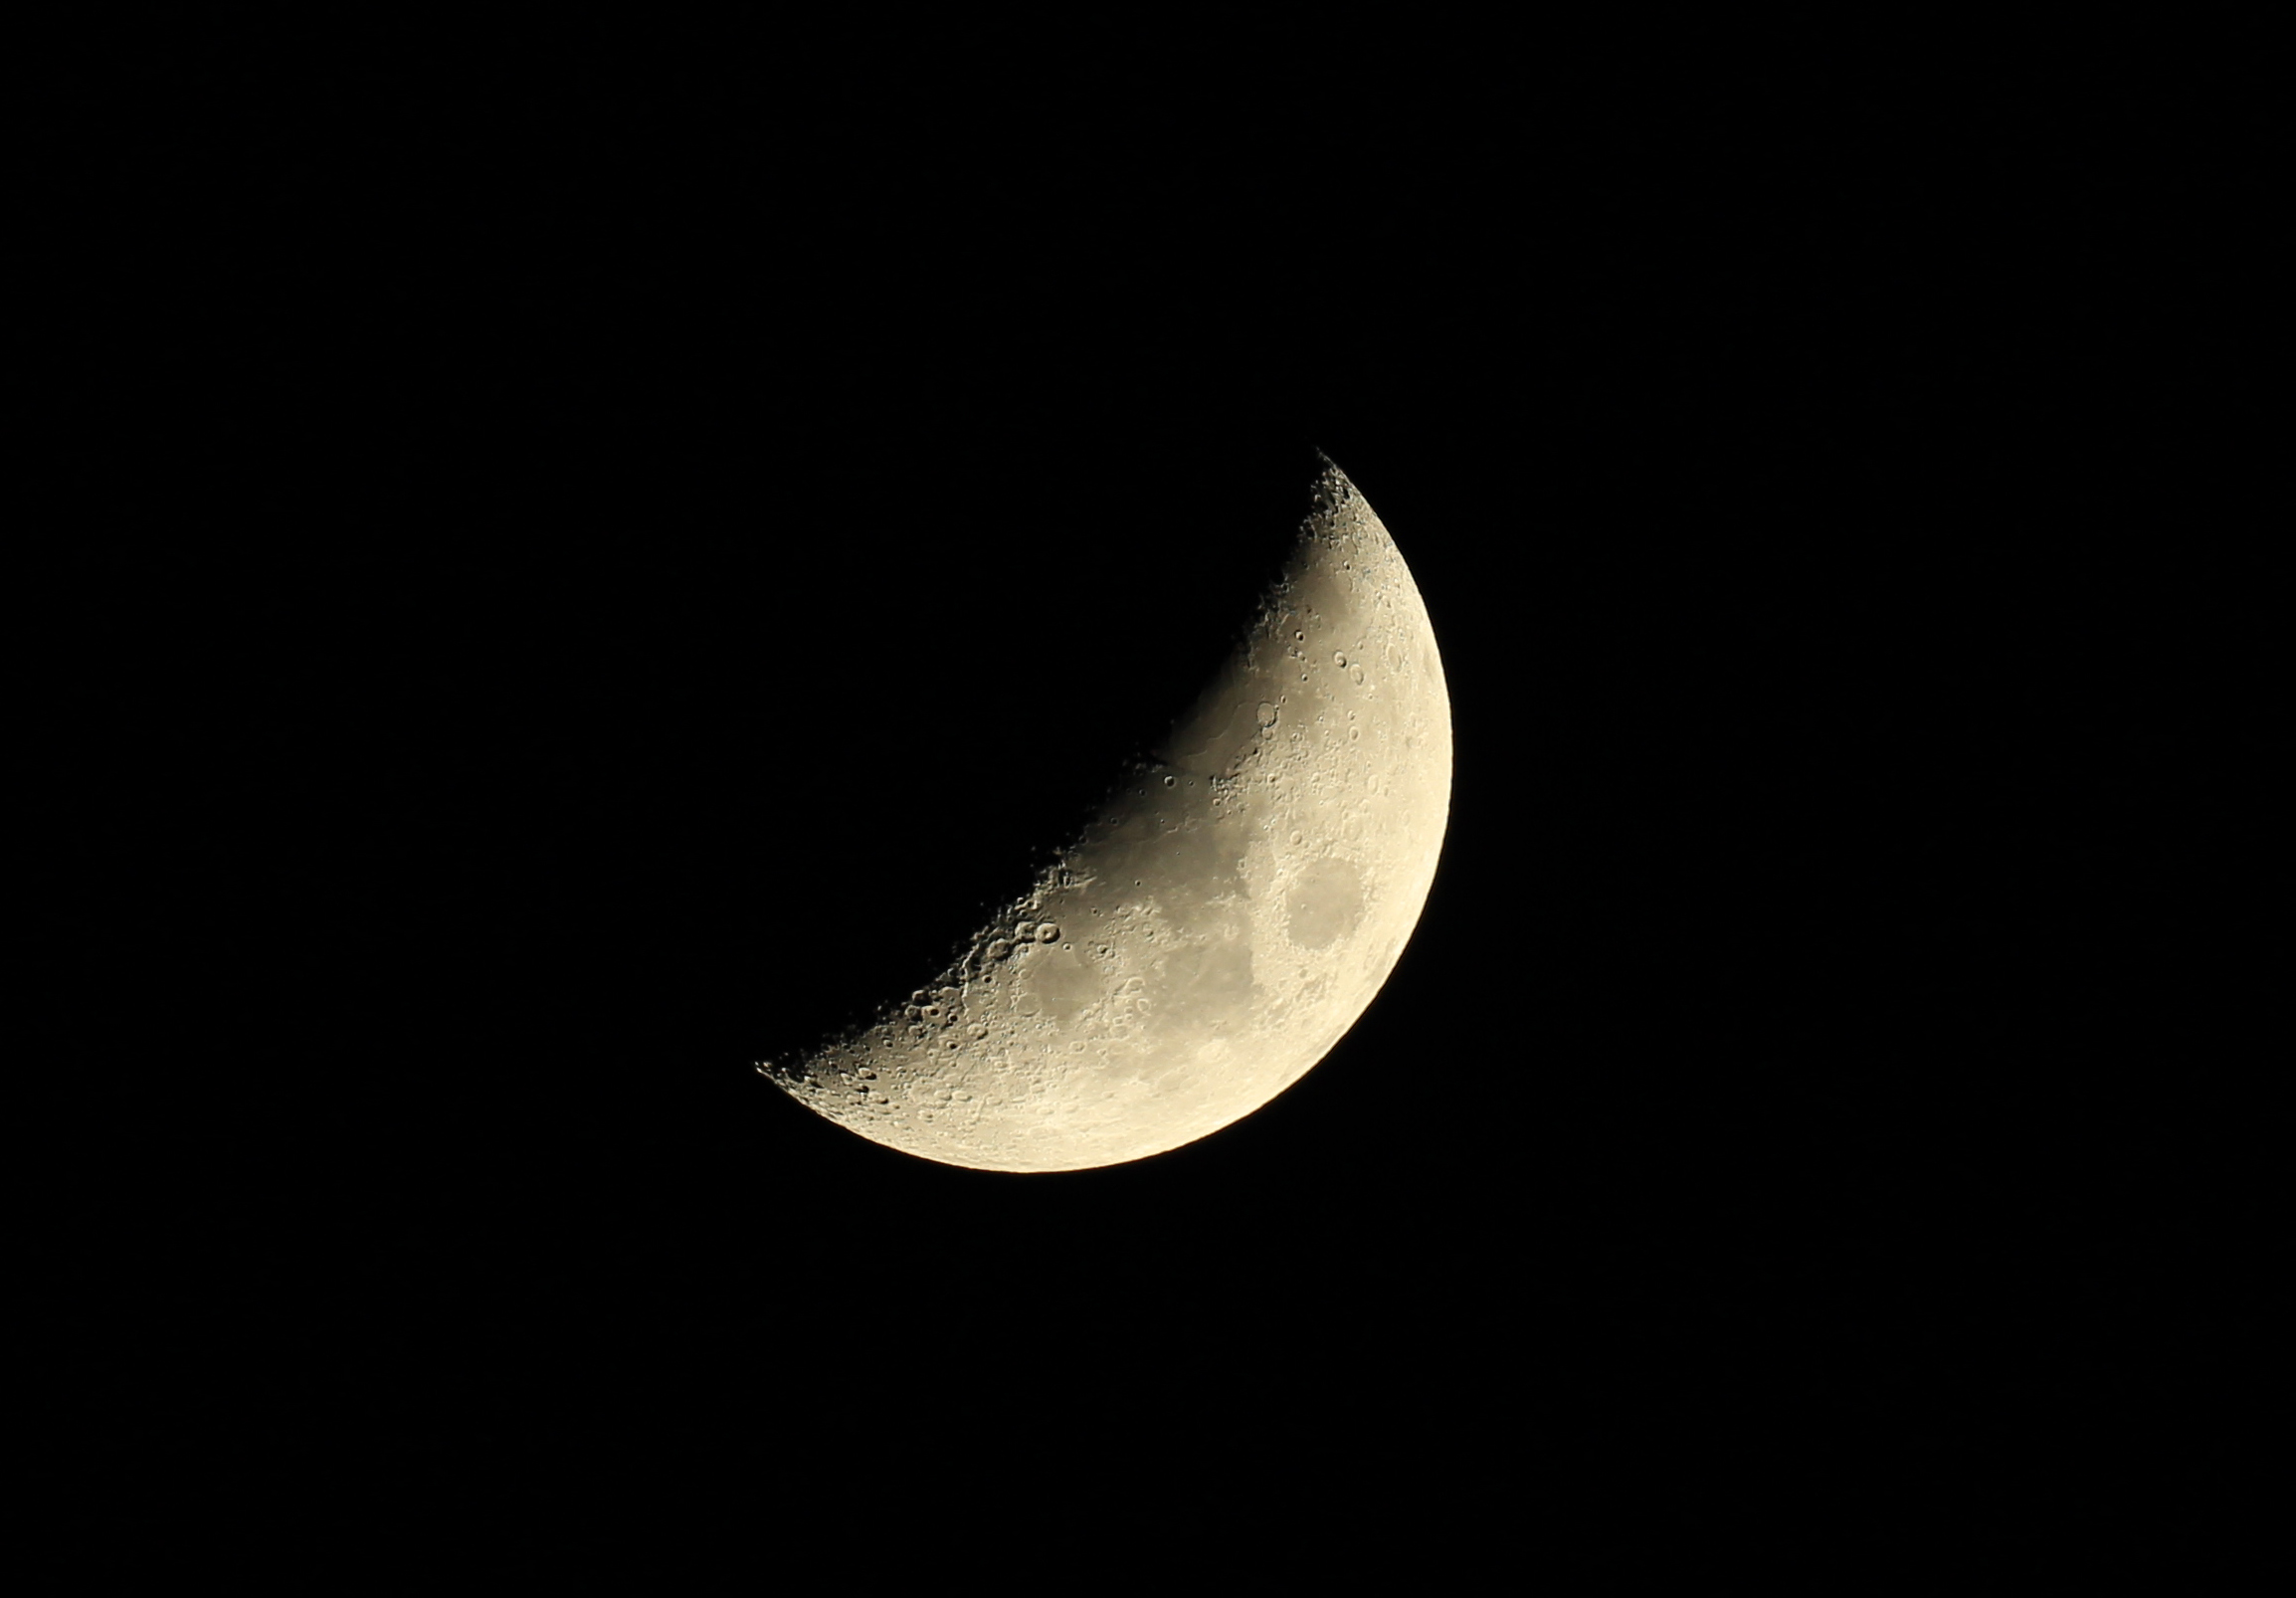
The final quarter of the year has been very frustrating due to the almost complete absence of suitable imaging conditions, mainly due to cloud cover but even when there was a few clear nights it was of course a full Moon – you can’t win! I was particularly unhappy as this time marks the arrival of the constellation Orion and all its wonderful imaging opportunities, for which I had new plans.
Given the short focal length of the William Optics GT81 and relatively small aperture, used with a APS-C cropped sensor DSLR camera the resulting field-of-view is a quite large and, where possible, this year I’ve therefore concentrated on objects of 2.5o to 3.0o apparent dimensions. Together with the modded camera this has resulted in some exciting new images of old and new objects.
However, large as the field-of-view is with this set-up, I have become increasingly aware of the simply enormous scale of some nebulous features such as Barnard’s Loop. As a result I have become more interested in widefield imaging using just a camera and tripod. Like prime focus imaging, widefield imaging will also benefit from achieving longer exposures through the use of tracking. Early in this period I was fortunate to purchase a Vixen Polarie lightweight tracking mount for this purpose, but due to the aforementioned conditions I have unfortunately been unable to use it very much. In fact it’s fair to say that other than some brief experimentation, it’s hardly been used at all so far. Notwithstanding, I can see the potential and have high hopes for future imaging opportunities when the clouds part and the Moon is absent.
The year finished with a couple of other purchases that I hope will assist with imaging in 2016:
- A new laptop – running Windows 10 with a core i7 Intel chip, 2 TB hard drive, 16 GB RAM, dedicated AMD graphics card and an HD 17.3” screen, which I hope will help improve post processing. Running my preferred Windows 7 operating system, I will continue to use the smaller 13” i5 chip laptop for mount and camera control.
- Ultra-Wide Angle lens – the truth is I’ve recently acquired this wonderful Sigma 10 – 22mm f3.5 lens for a trip to the Grand Canyon in April, however, I will of course also be using it with the Vixen Polarie when the skies clear.
| No |
Date |
Object |
Name |
| 37 |
09/10/15 |
NGC 6888 |
Crescent Nebula |
| 38 |
09/10/15 |
M 74 |
Spiral galaxy (near Pegasus) |
| 39 |
09/10/15 |
NGC 7814 |
Little Sombrero |
| 40 |
09/10/15 |
NGC 7479 |
Barred spiral galaxy |
| 41 |
09/10/15 |
M 31 |
Andromeda galaxy |
| 42 |
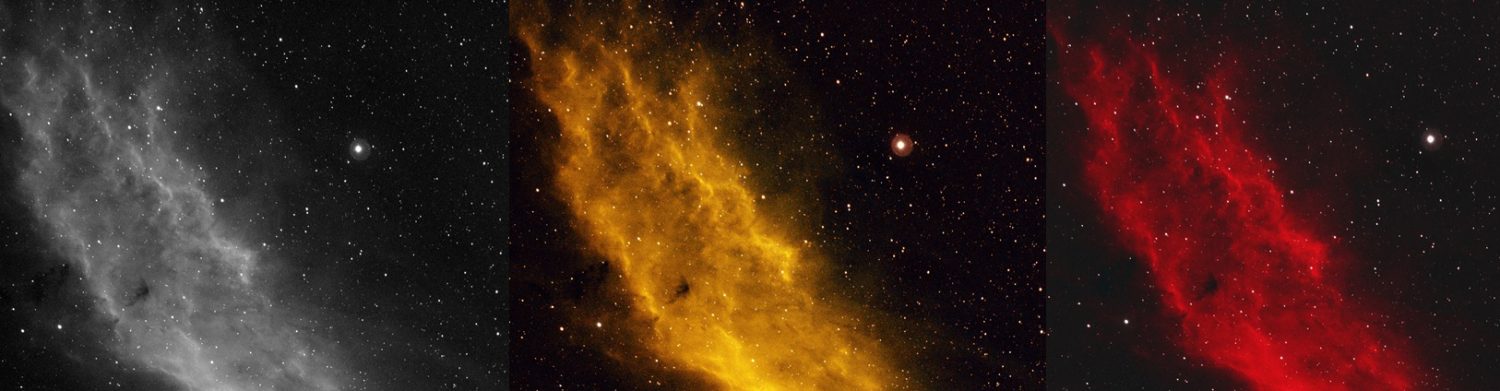
08/12/15 |
NGC 1499 |
California Nebula |
| 43 |
08/12/15 |
IC 405 |
Flaming Star Nebula |
| 44 |
08/12/15 |
NGC 2264 |
Cone Nebula |
| 45 |
09/12/15 |
M42 |
Great Orion Nebula etc |
| 46 |
08/12/15 |
Orion |
Constellation |
Favourite Images
Despite the lack of activity this year I have been fortunate to obtain some good images and I can only hope 2016 will be just as rewarding. Acting as judge and jury, my personal favourites in no particular order are:

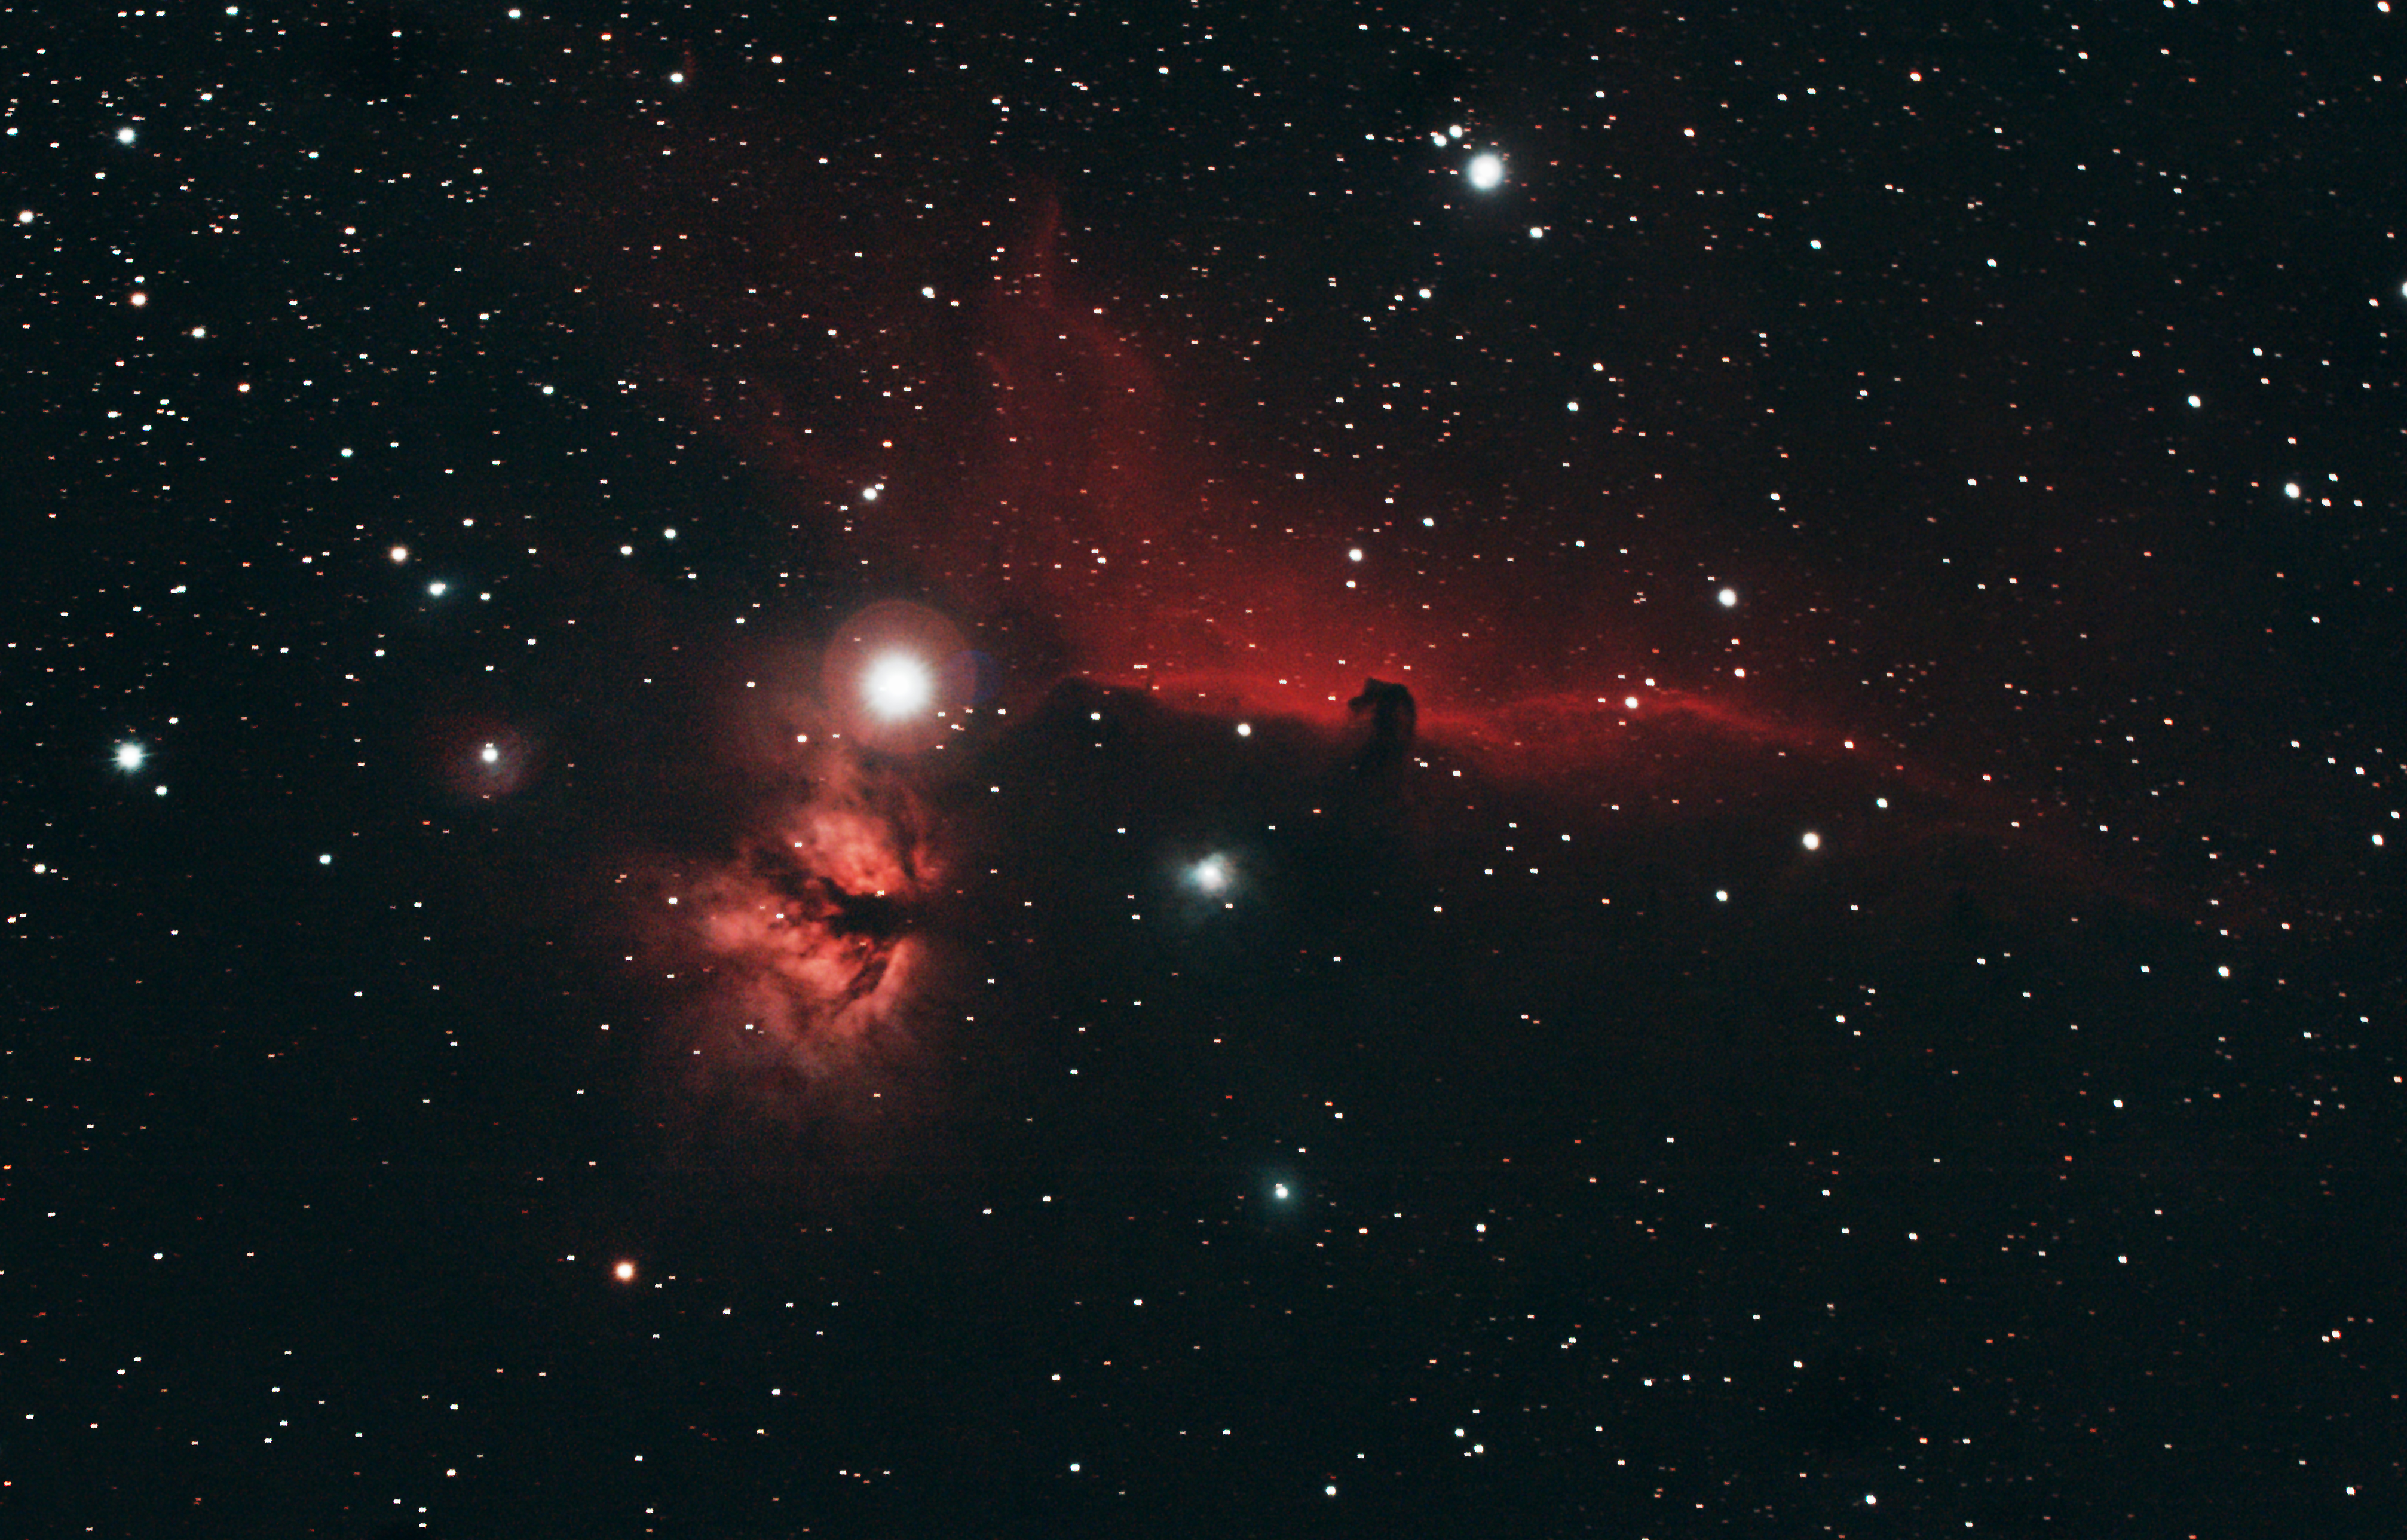
NGC 2024 Flame Nebula & Horsehead Nebula
WO GT81 + modded Canon 550D & FF | 10 x 180 secs @ ISO 800 & darks calibration | 8th February 2015

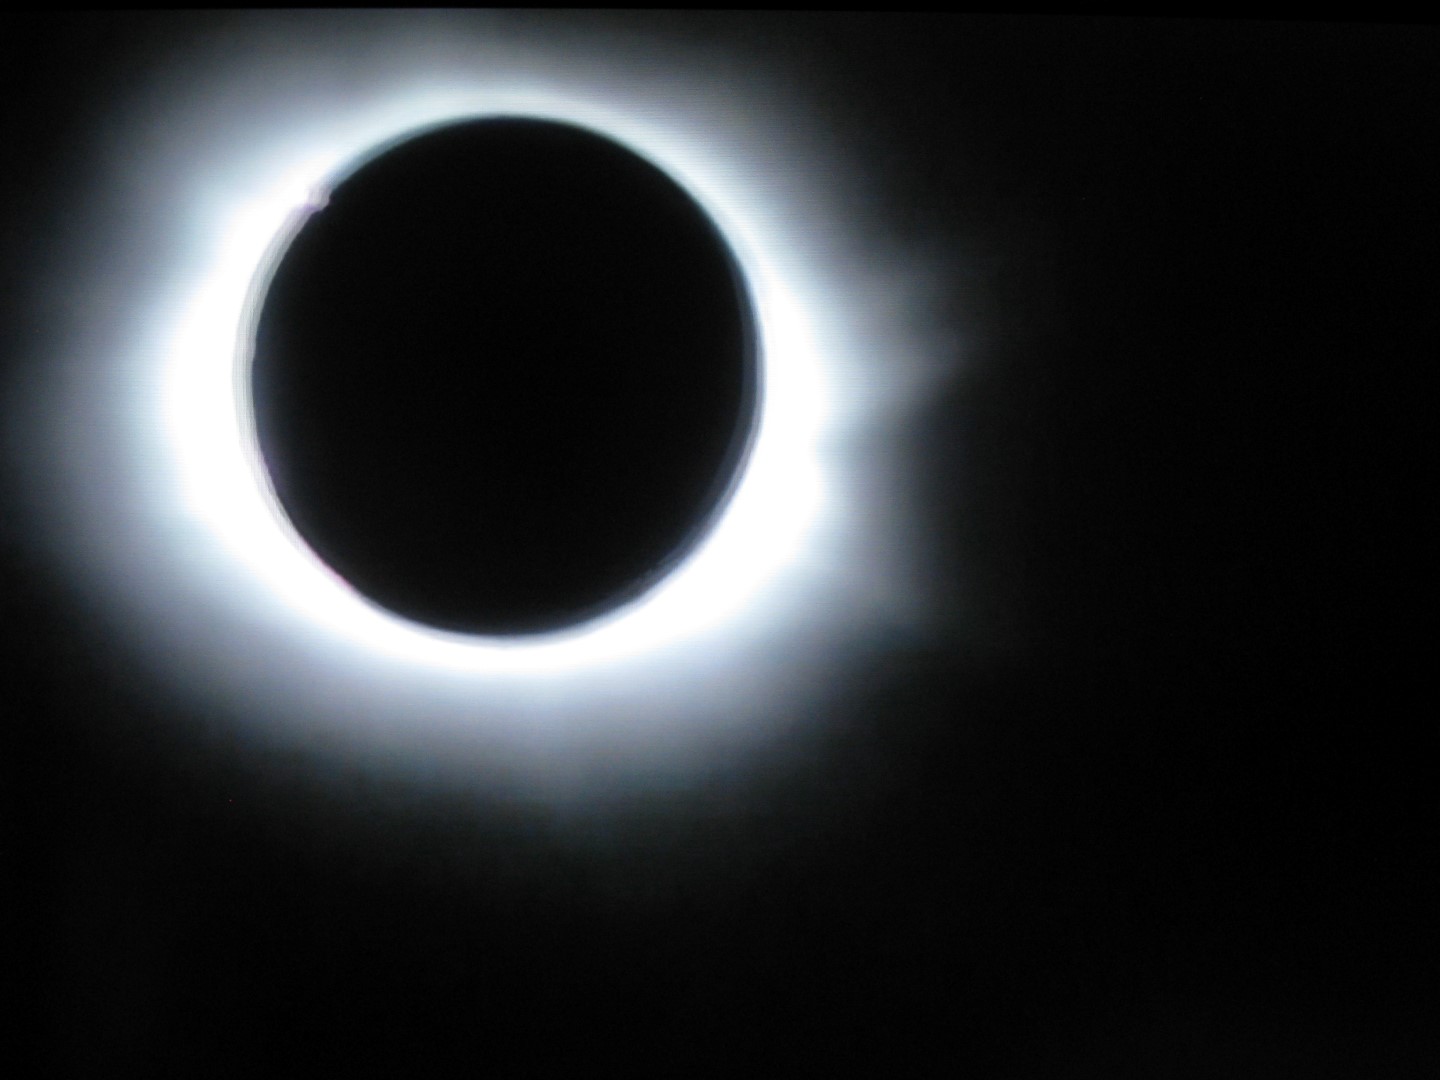
Eclipse: Inward sequence from umbral contact to totality
WO GT81 + Canon 700D + FF | 1/500 to 1/3 sec @ ISO 100 | 18th September 2015

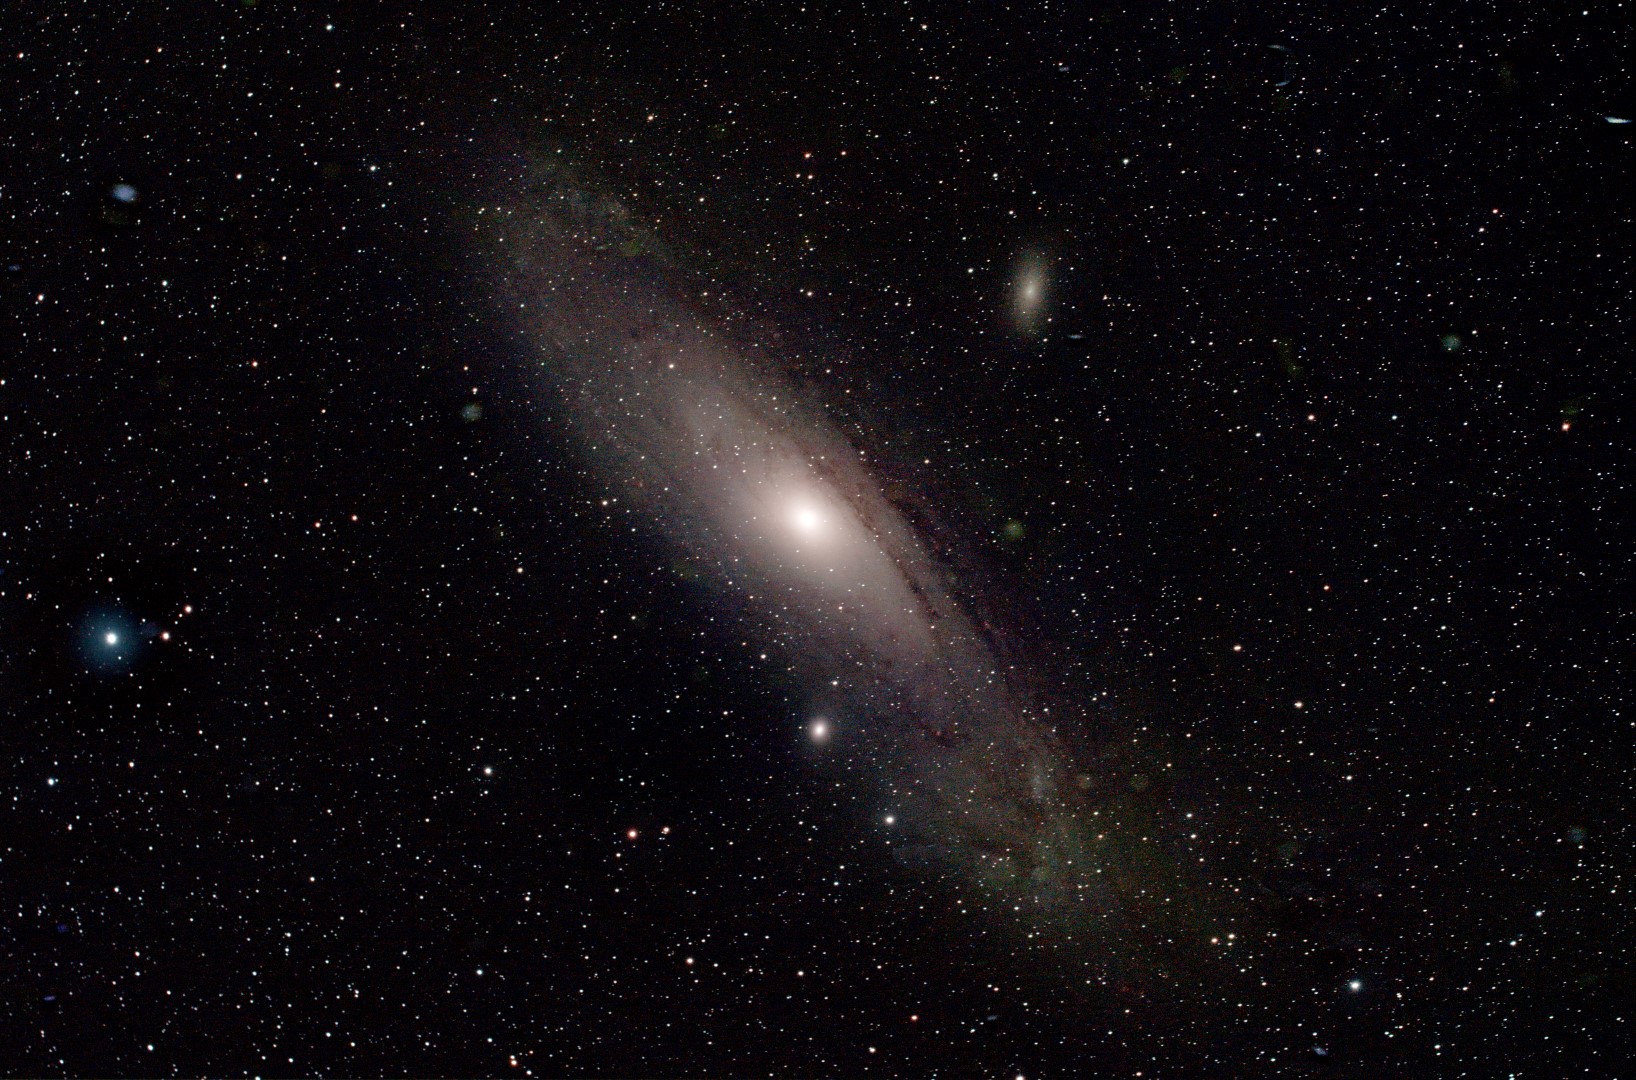
M31 Andromeda Galaxy
WO GT 81 + modded Canon 550D + FF | 9 x 120 secs @ ISO 1,600 | 19th September 2015

Goals for 2016
After the year that’s just finished I am reluctant to set out goals for 2016 but here goes:
- Increase imaging exposure times: This is a euphemism for (a) improving equipment set-up and alignment, and (b) start autoguiding. As previously outlined, I have been struggling with both of these issues but one way or another I have to overcome the problems in order to obtain exposure times of at least 5-minutes and hopefully longer;
- Improve processing: I was pleased to get to grips with Photoshop in 2015, albeit using a very old version, which together with other minor improvements to processing has added to the quality of the final images. However, I know that even now there is more to be teased out of the existing imaging data for which I am already considering new software;
- Start widefield imaging: First I just need clear skies in order to get out and start using the Vixen Polarie tracking mount from Fairvale Observatory, with the initial objective of imaging Barnard’s Loop, which has hitherto proved elusive to my current set-up. However, one of the attractions of the Polarie-DSLR-Tripod combination is its portability, which I’d like to put to good use in 2016 by visiting dark sky areas in the UK.
There are other possible developments which at the moment seem unlikely to eventuate but you never know: a larger probably SCT telescope, a cooled CCD camera, and / or a permanent observatory (well I can dream can’t I?).
So all things considered 2015 was a good but not great year. As a fundamental and important development I had really hoped to start autoguiding and thus increase exposure times but it was not to be. Certainly the loss of astronomy time between April and September was a major set-back in many different ways. Notwithstanding, during the remaining times available when I did manage to get outside I believe I achieved some of my best images to date and discovered many new and exciting objects in the night sky, which can’t be bad. In particular, I am sure the lunar eclipse in September will remain a highlight of my astronomy experiences for many years to come.

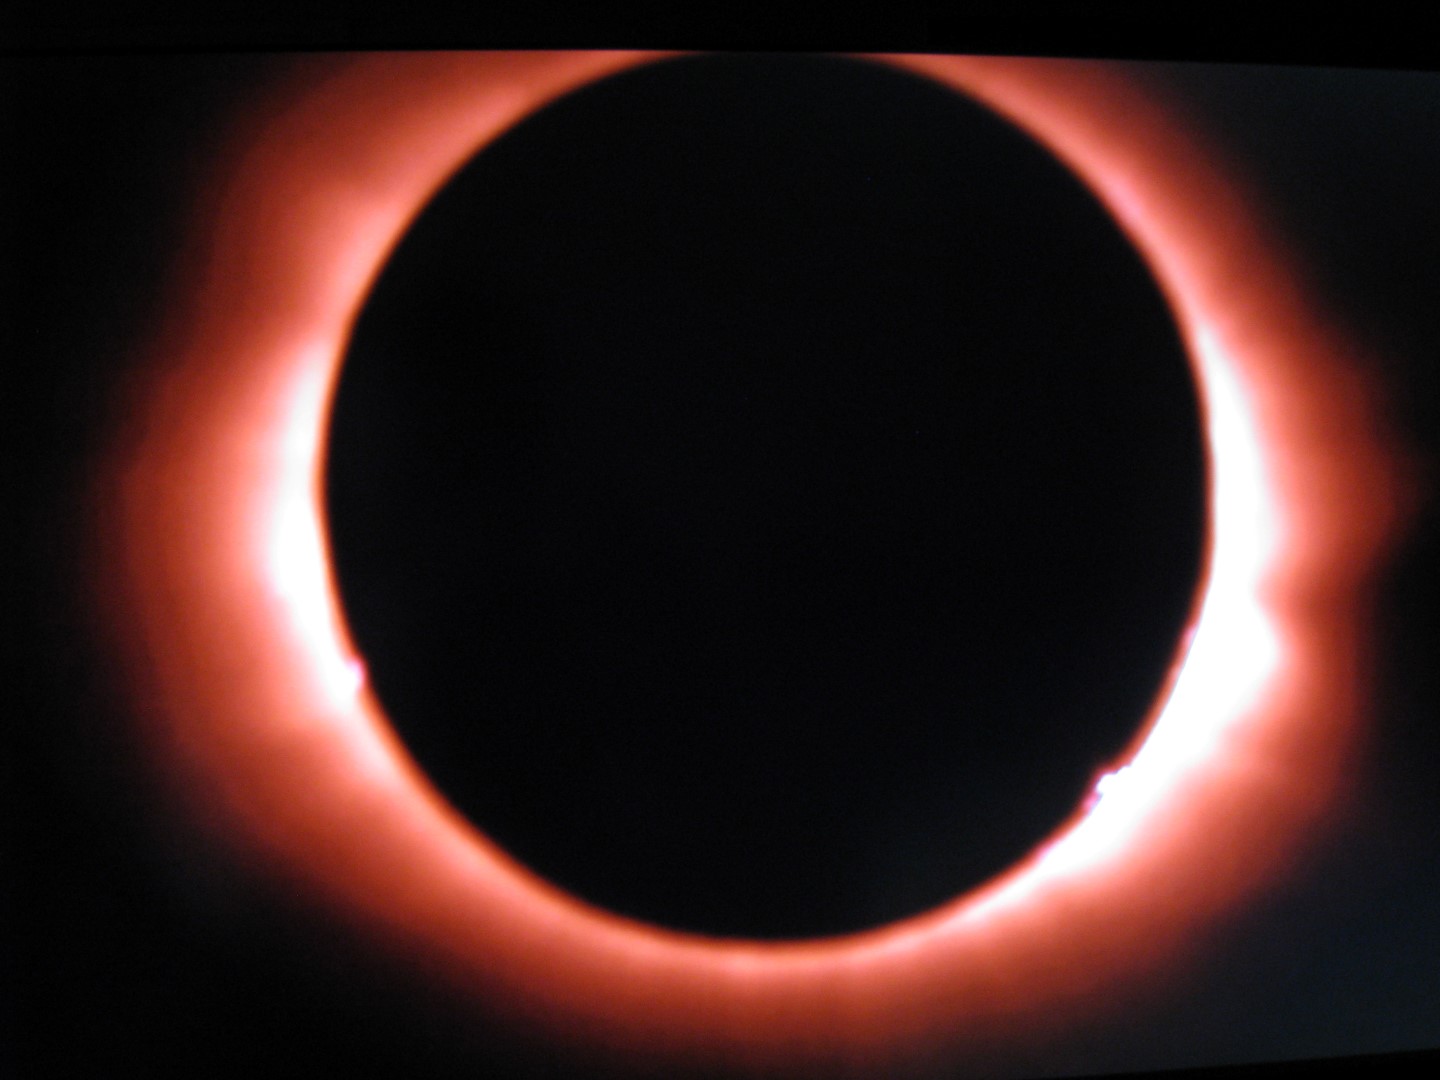
Harvest Moon at Totality
WO + Canon 700D + FF | 1/3rd Sec @ ISO 400 | 28th September 2015
I’m now looking forwards to 12-months of uninterrupted astronomy, clear skies and plenty to report in the WTSM blog at the end of 2016!
Watch this space!