It’s been a while since I last took a look at developments here at Fairvale Observatory (Part-1 & Part-2) and looking back it’s pleasing to see that progress has continued with positive results. After acquiring the William Optics GT81 refractor and AZ-EQ6 mount in 2014 I have been experimenting and enjoying the equipment’s significant abilities until recently but have now embarked on some new, potentially important improvements that hopefully will result in significant breakthroughs.
At the start perhaps the biggest problem for imaging was polar alignment, made very difficult here as my house almost completely obscures Polaris. It took some time but I’ve now overcome this by using the Synscan handset polar alignment technique, which now enables me to achieve an accuracy of just a few arc-seconds and has led to a significant increase in imaging times of at least 180 seconds.
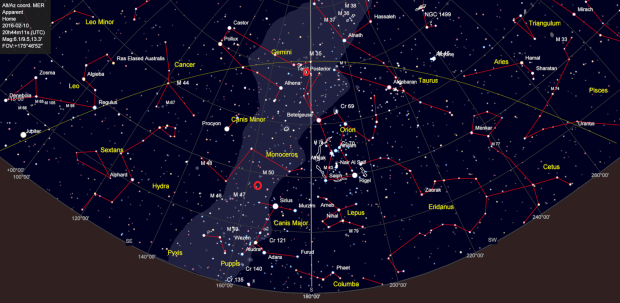
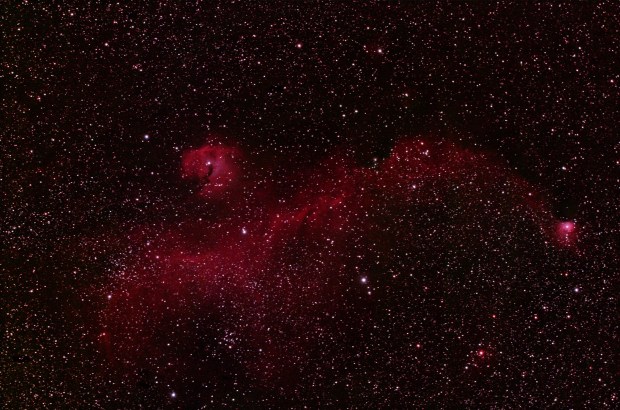
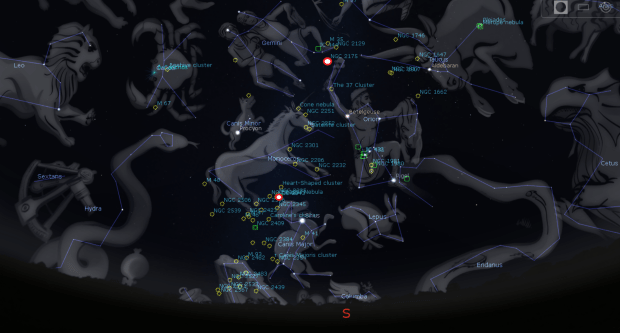
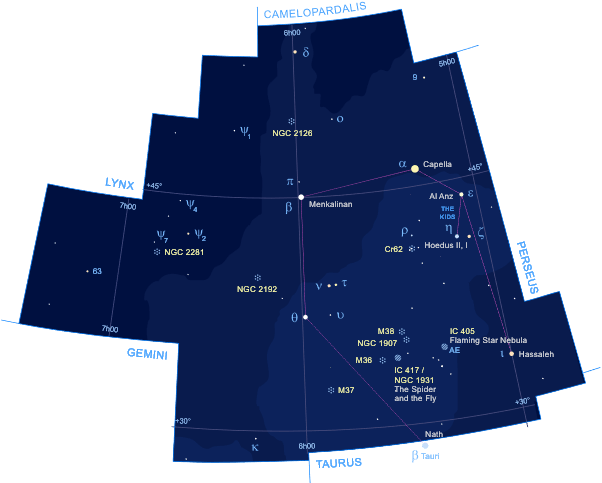
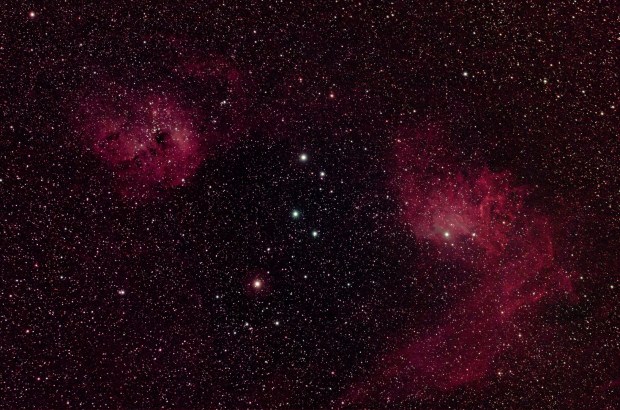
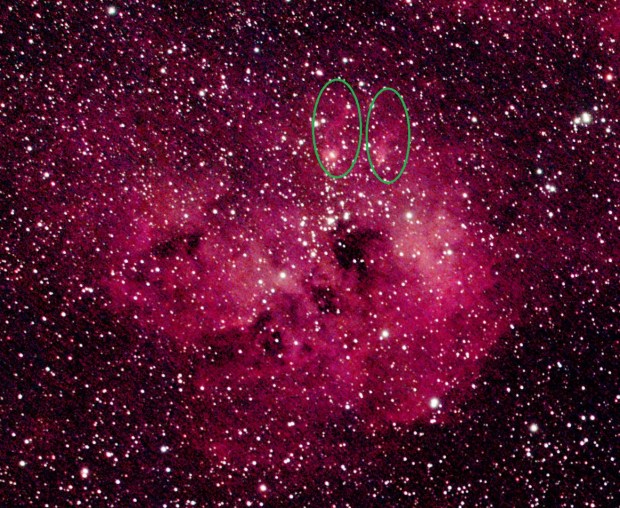
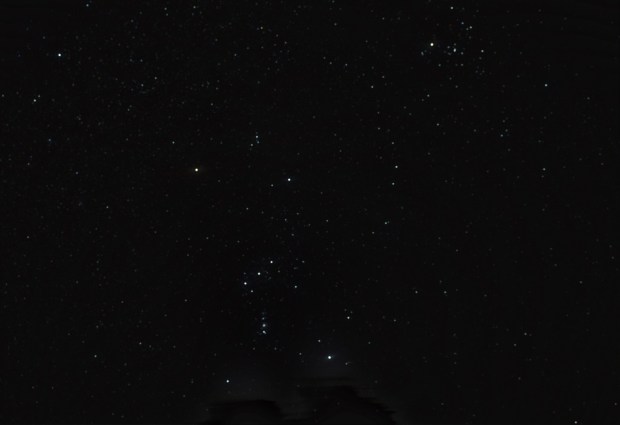
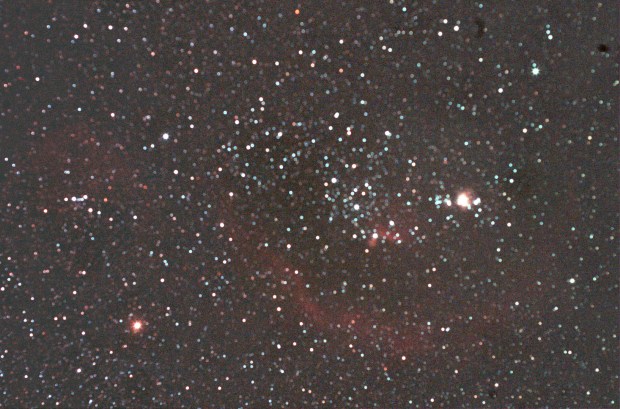
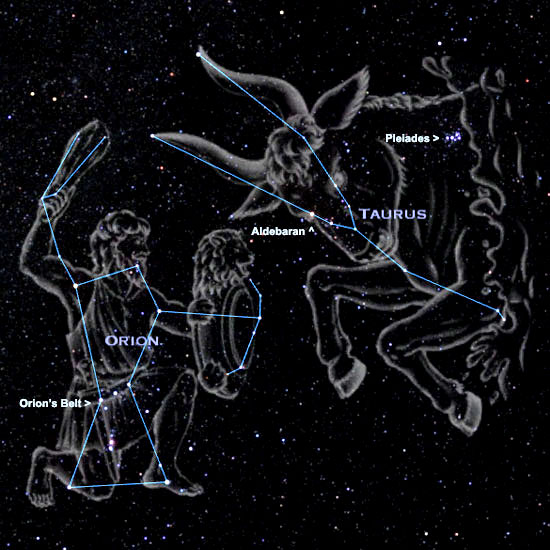
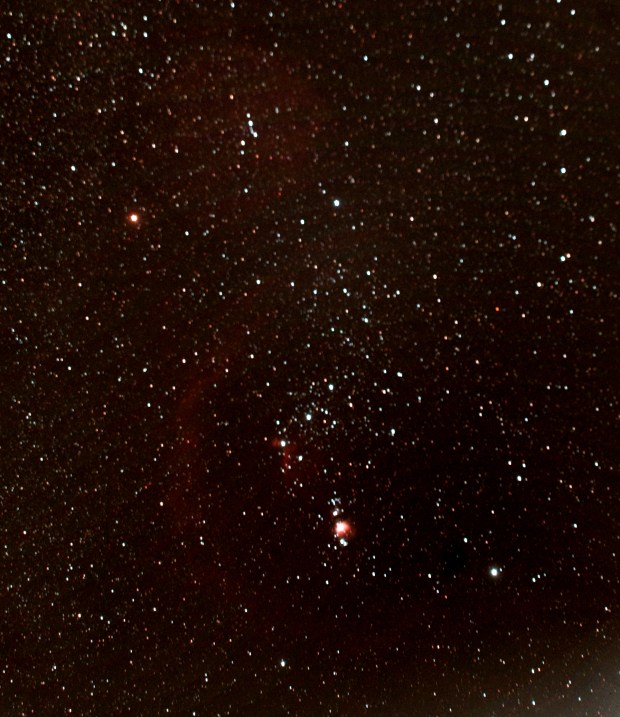
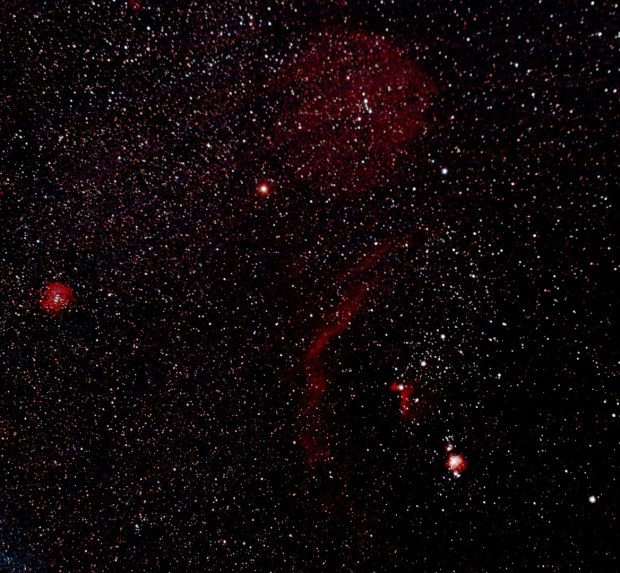
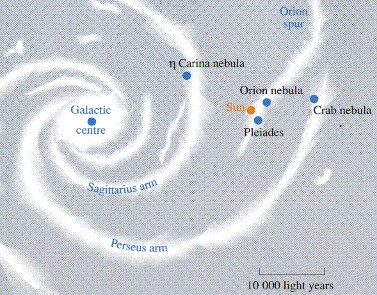
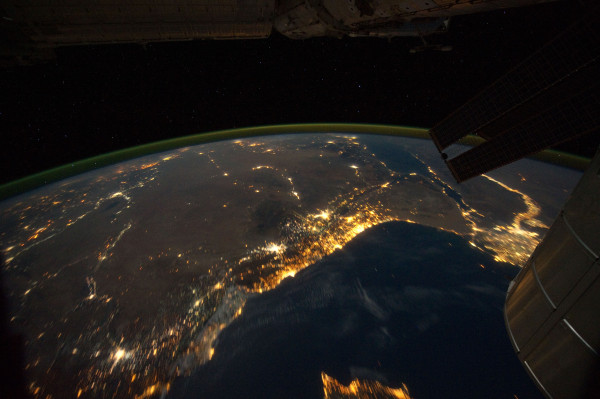
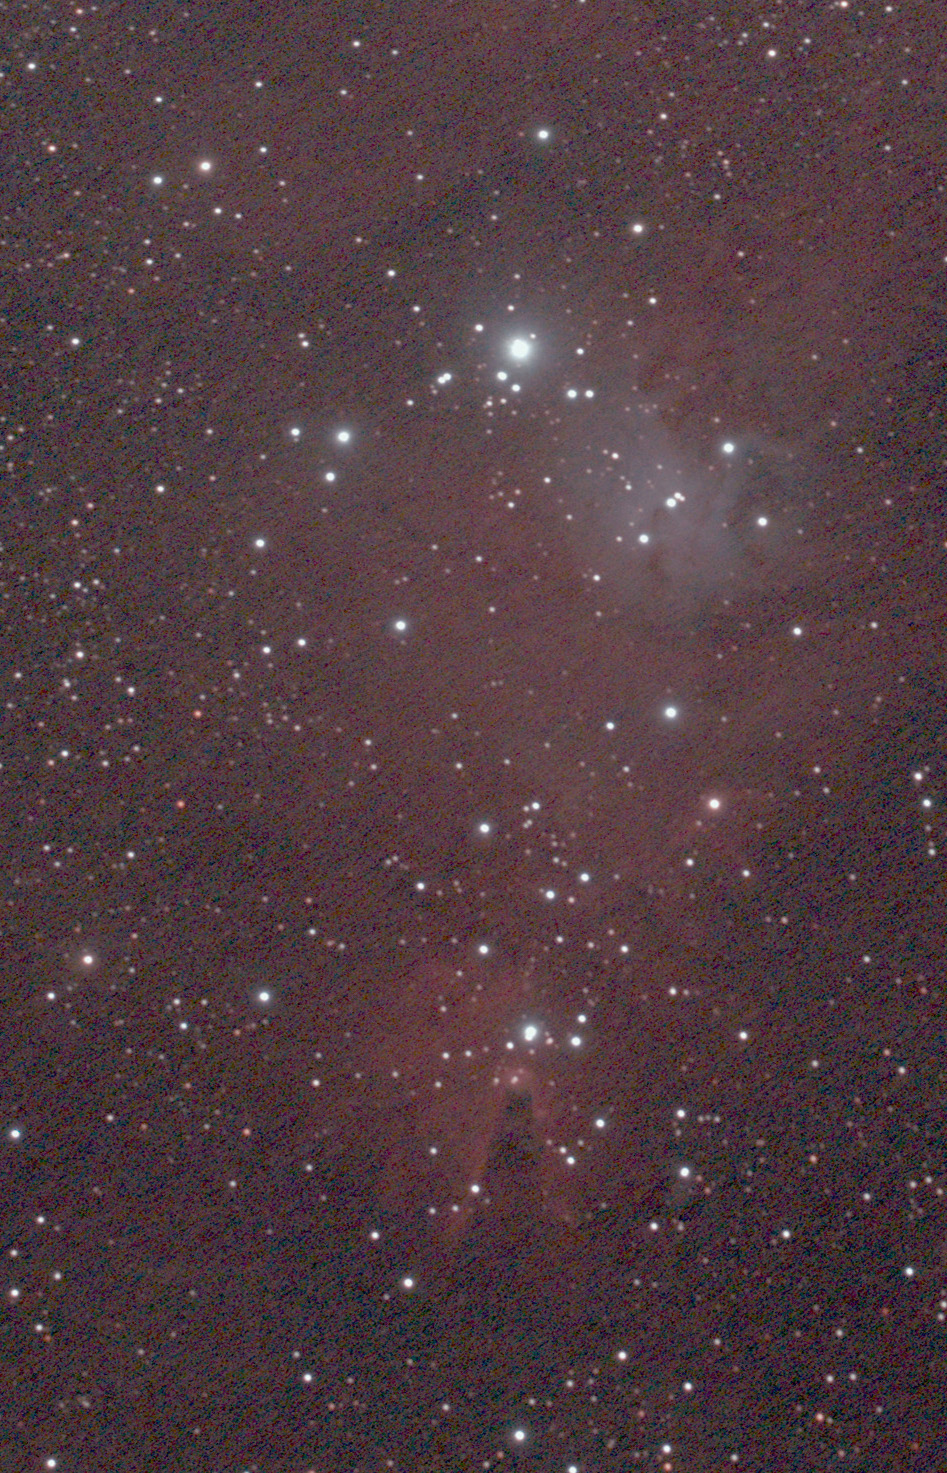
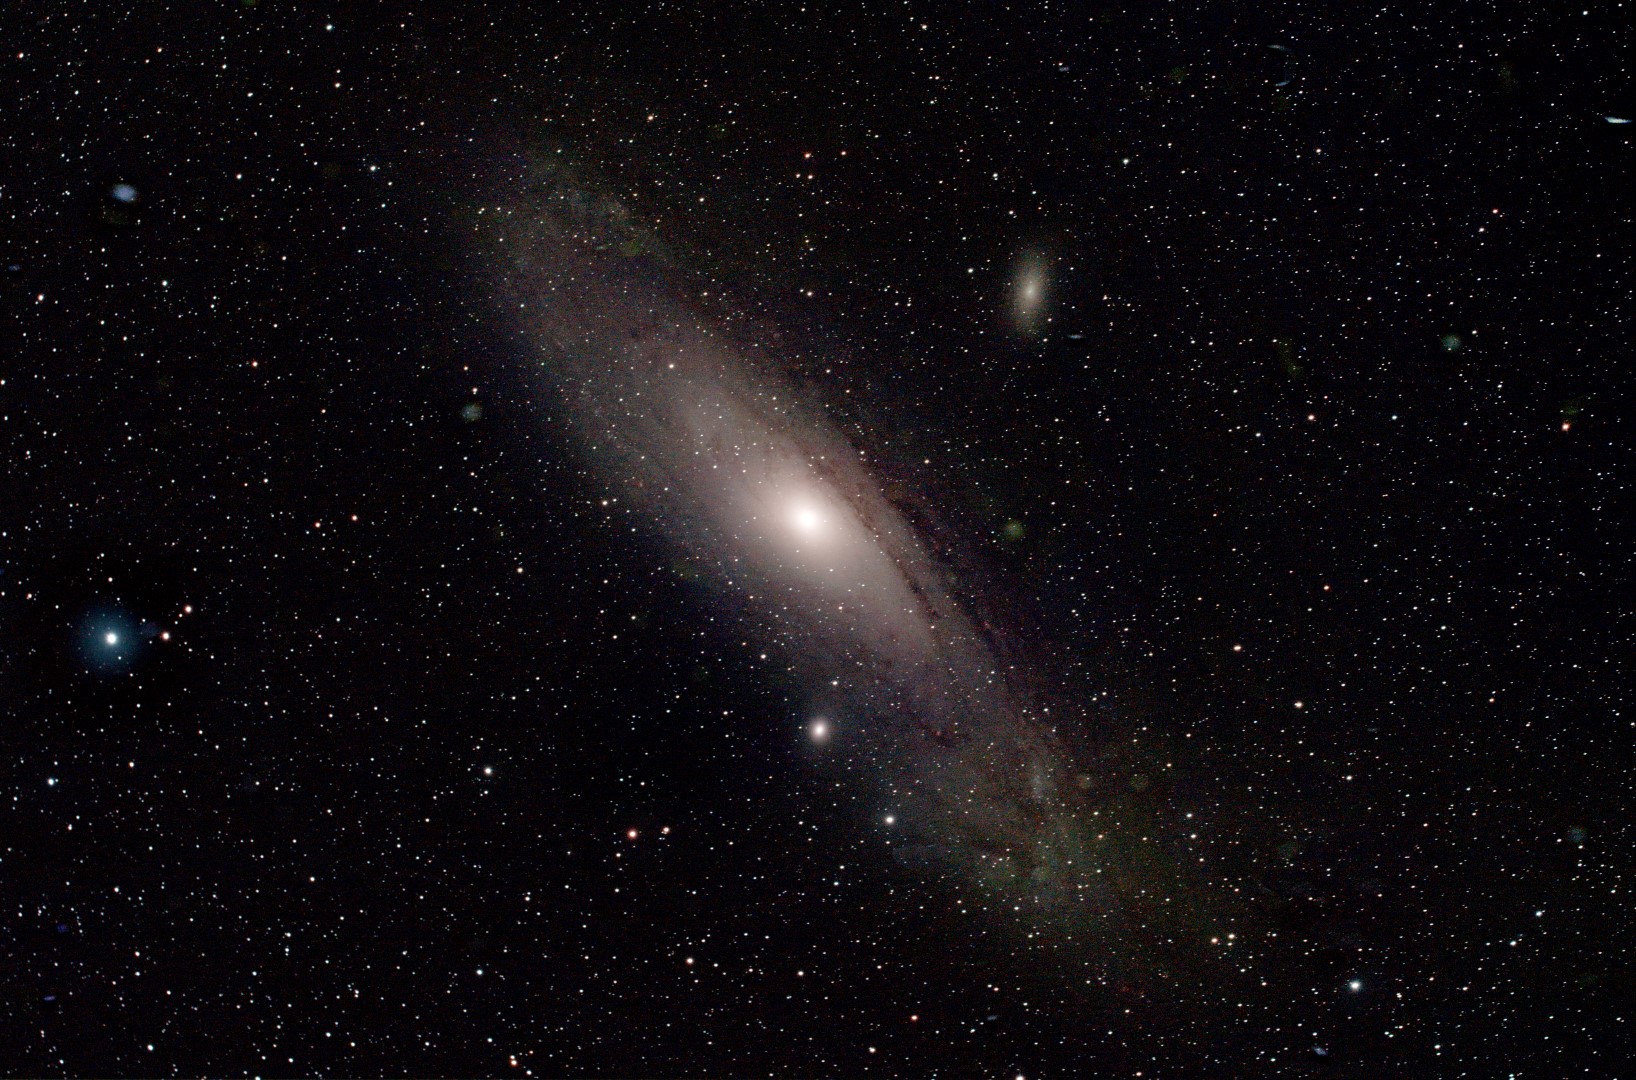
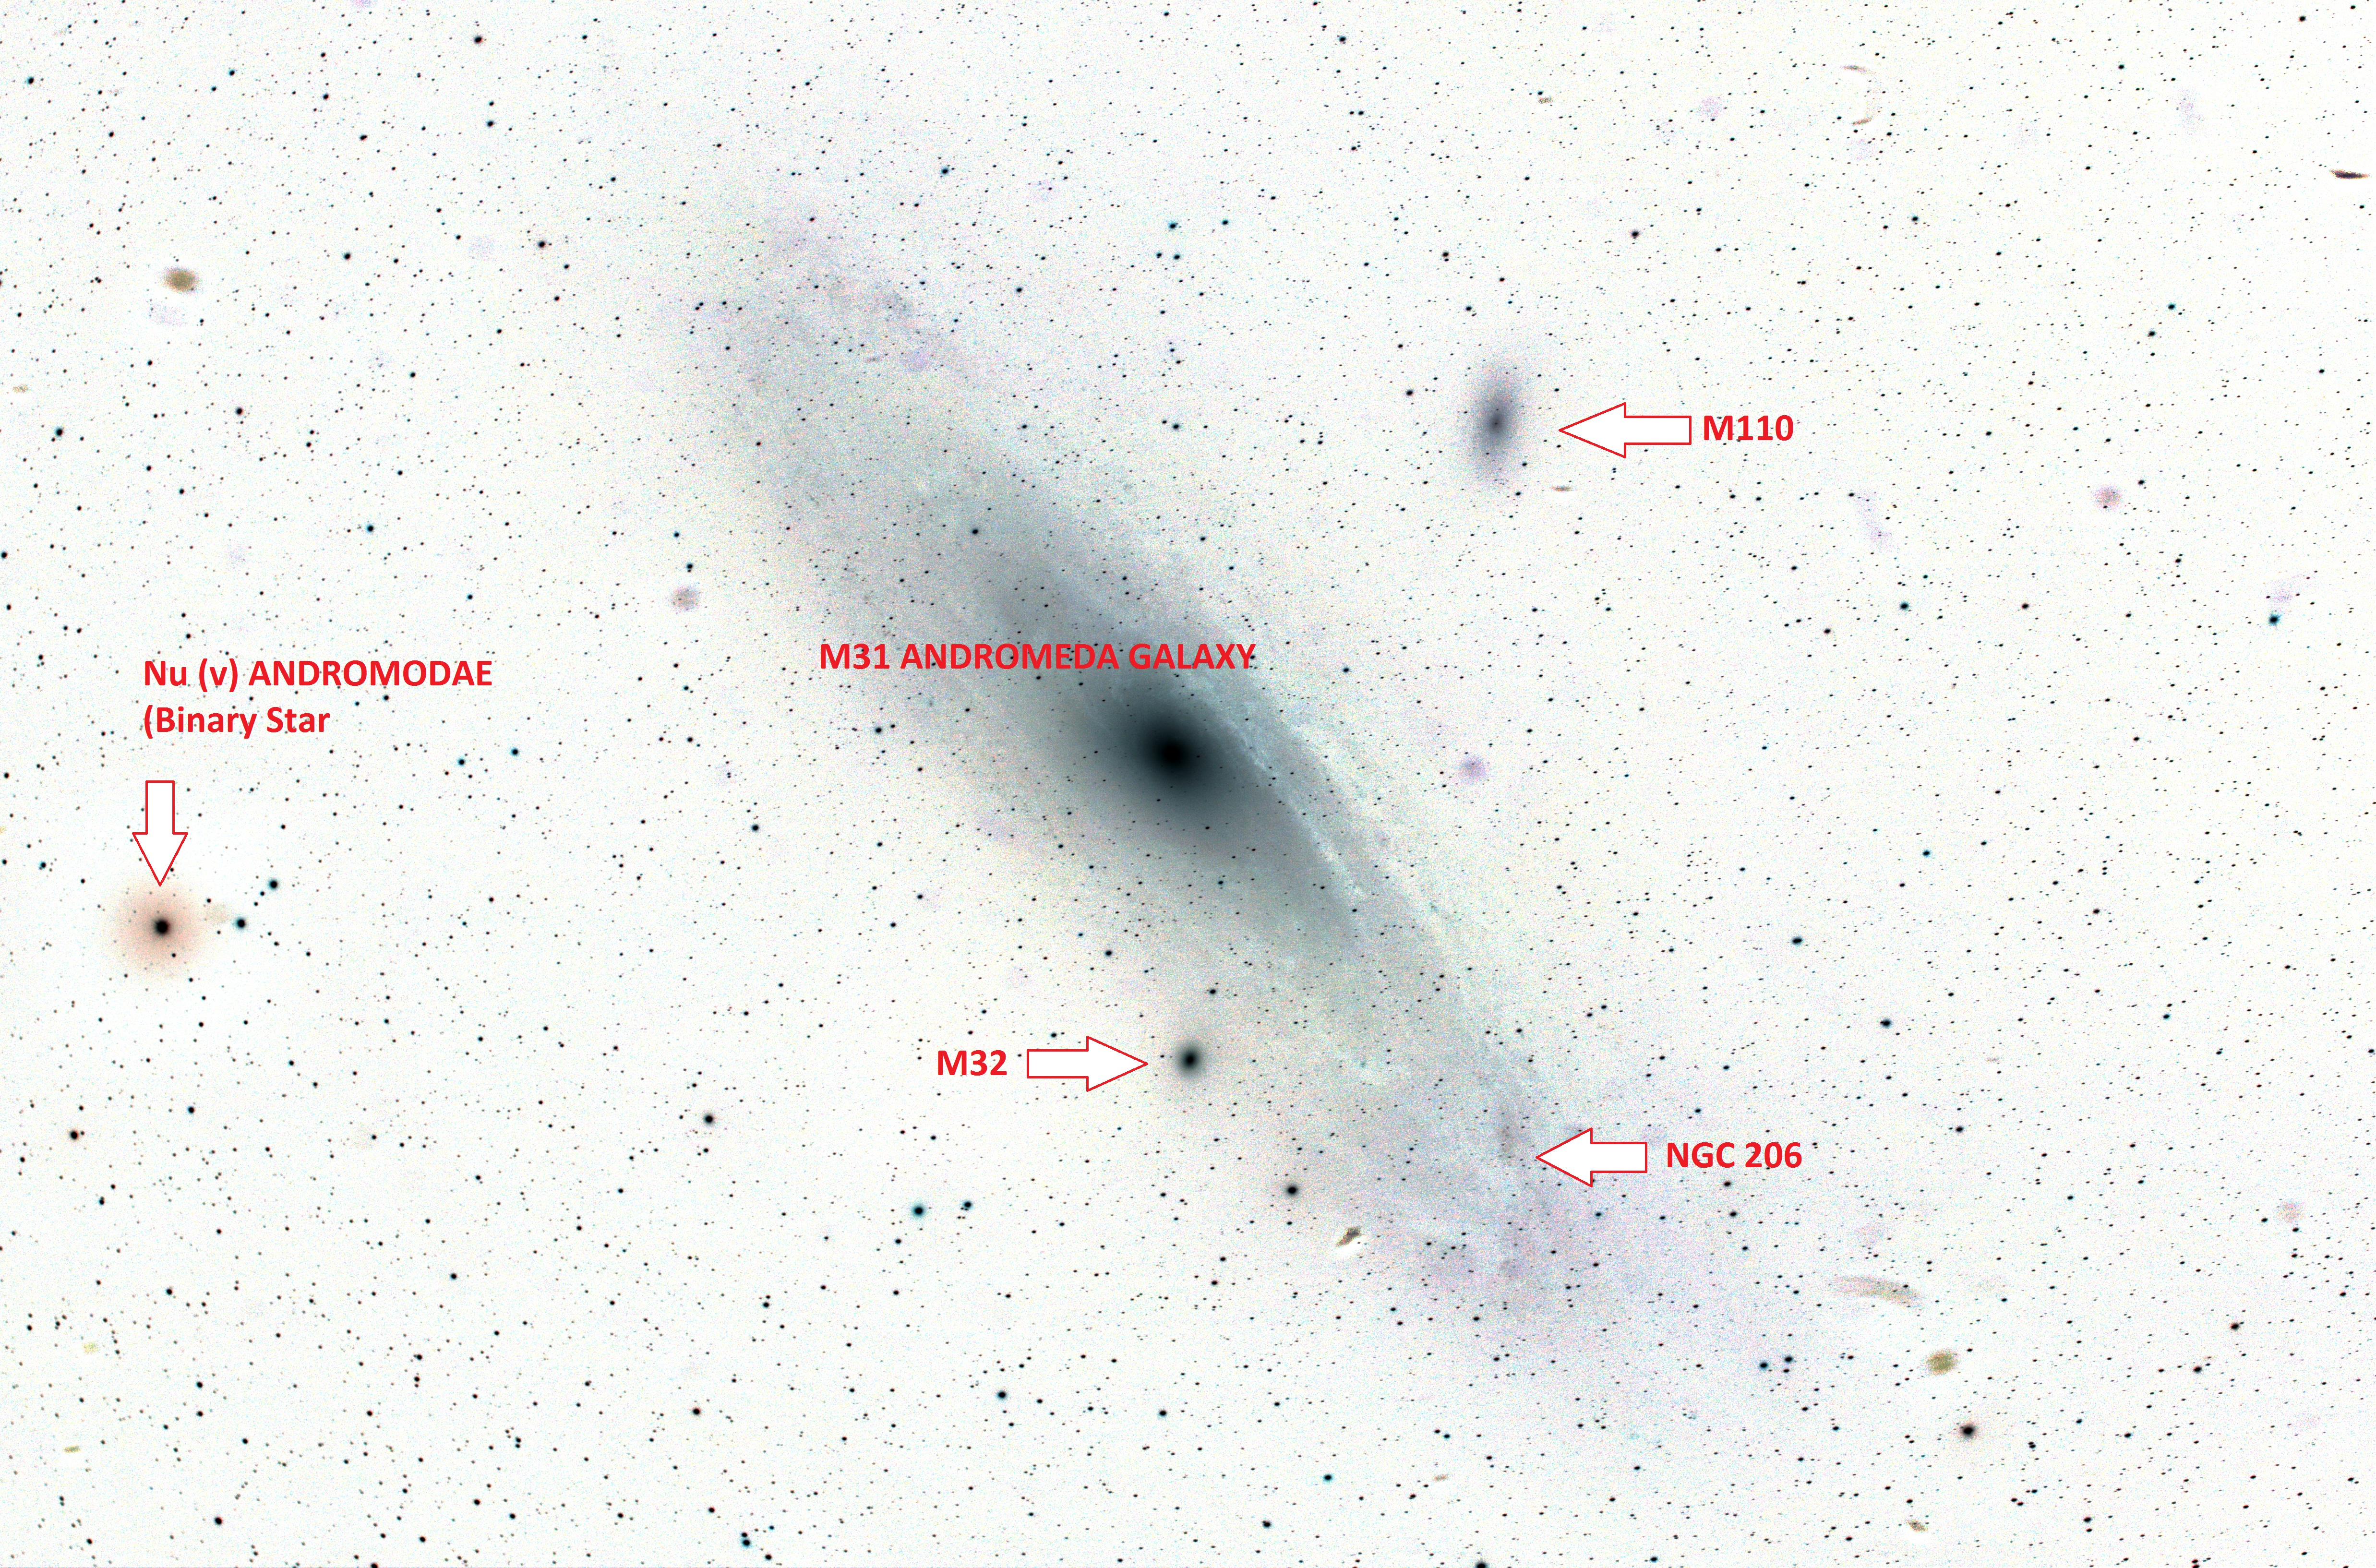
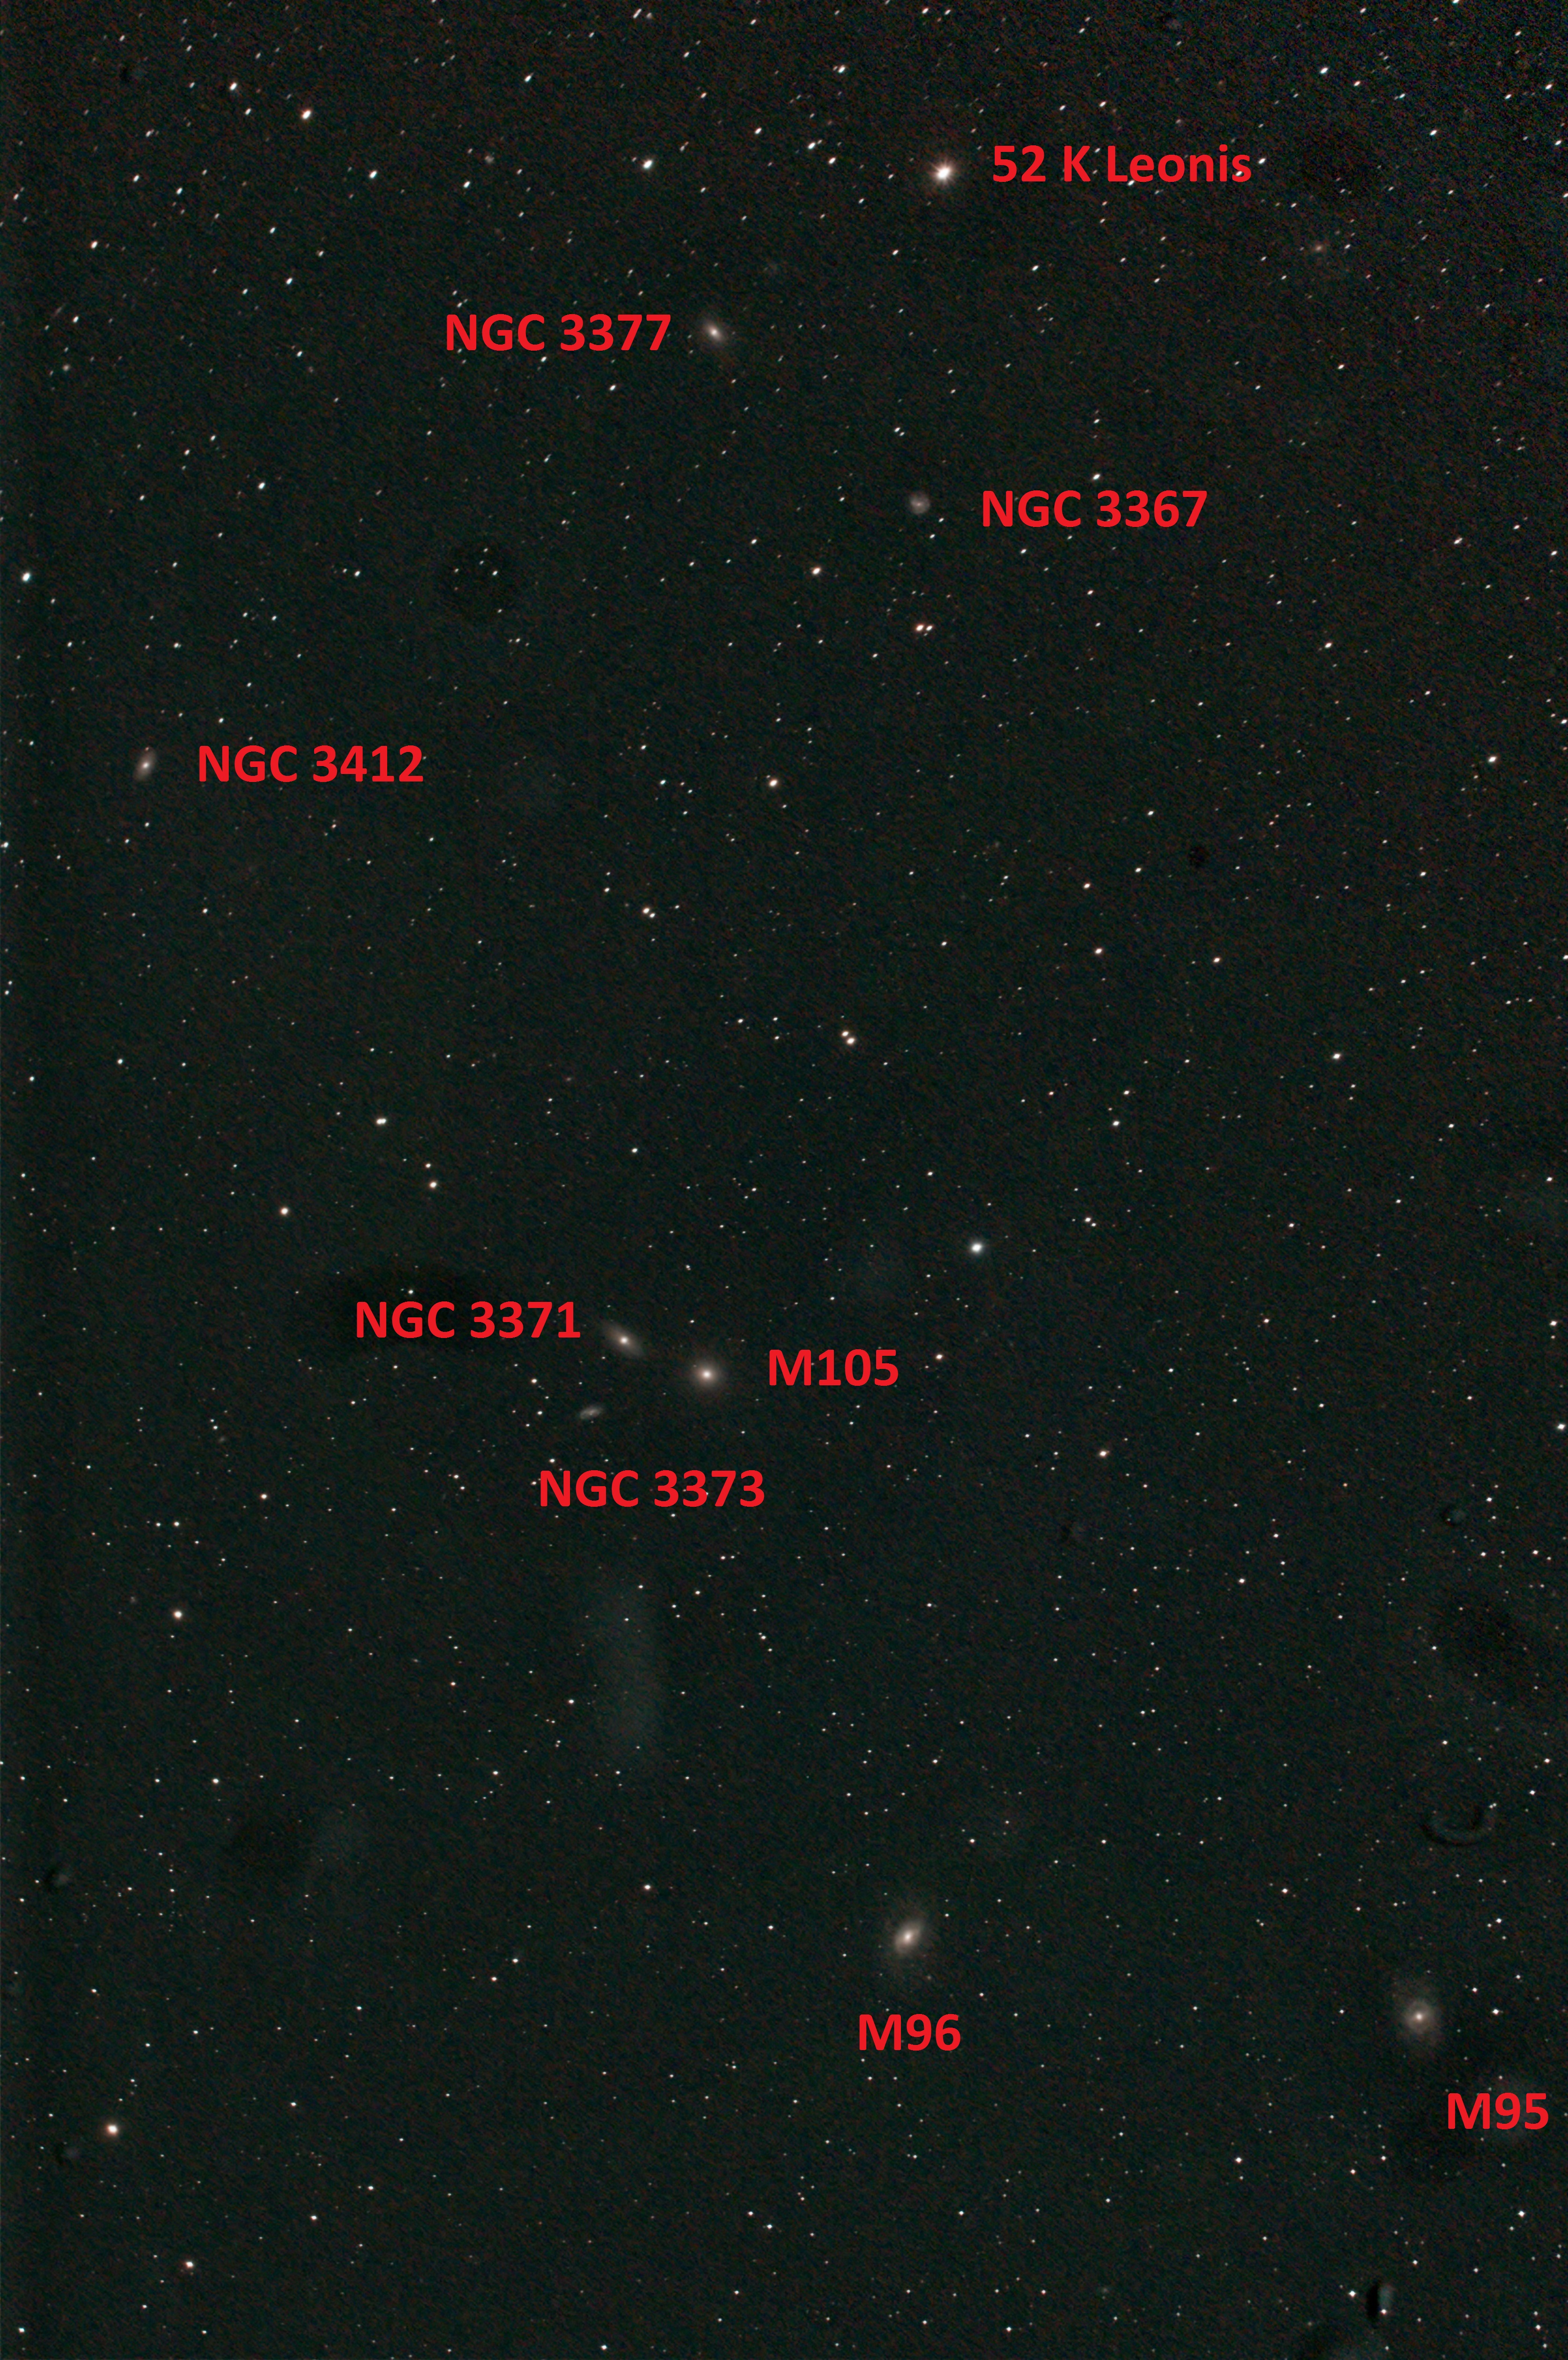
With the short focal length of the fast William Optics this level of alignment error works well and I’ve been pleased to obtain decent images of larger DSO features such as the Great Orion, Rosette and Veil nebulae i.e. near / middle distance objects, ideally at least 1o in size with an apparent magnitude of +7 or better. Once I’ve exhausted all these targets, and I have fortunately been discovering more and more, it’ll be time for another telescope!
The small things matter too and in this regard I’ve added a number of useful items:
- Made a solar filter and finder tube for the WO GT81;
- At last, I recently collected the cables together into two looms;
- Purchased a 12mm reticle to aid alignment;
- Astronomik CLS light pollution clip filter;
- Photoshop – an old version but I’ve been successfully using it for processing.
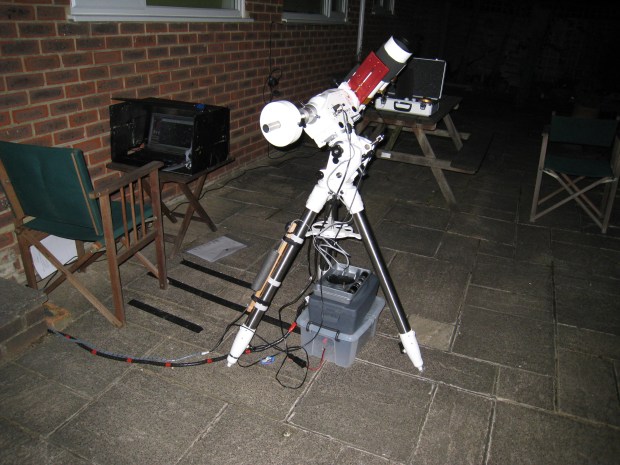
The set-up has become a lot tidier and logistics made easier by collecting the power and camera cables into two separate looms (camera loom not shown) and permanently attaching the HiTec Astro control cable to the mount – why didn’t I do this before?
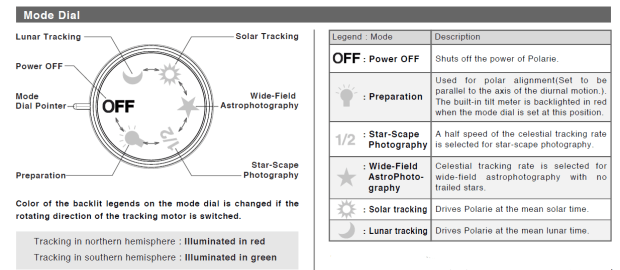
More significant additions that I’ve already reviewed include a modded Canon 550D DSLR, which together with improved tracking has revolutionised imaging and a recently a Vixen Polarie, that has transformed widefield photography and added a new dimension – transportability. It’s early days and I have not really got to grips with the Vixen Polarie yet but initial use suggests it’s going to be a very useful addition and potential game changer.
At the end of last year in Reflections I outlined my goals for 2016 and I am pleased to say that I have at last just started to establish the equipment and software to start autoguiding, the holy grail of astroimaging that when fully working should enable me to achieve exposure times significantly greater than present – which is likely to be at least another couple of months. For a while I have been successfully using EQMOD /ASCOM combined with Cartes du Ciel for tracking. There were some initial connection problems but now using a HiTec Astro EQDIR adapter and a better quality USB cable seems to have improved this matter; I’ve also recently secured it to the tripod making the set-up more stable and aiding logistics. I still polar align with Synscan before switching to EQMOD-Cartes du Ciel for additional star alignment, slewing and tracking.
Using EQMOD-Cartes du Ciel makes slewing to any chosen object much easier than Synscan but its use has introduced another operating problem. After slewing to a chosen object or star it is never exactly centred and some manual fine alignment is almost always necessary at this point. The problem is that this requires being at the eyepiece, which of course is not located by the computer, which means frequent toing and froing between the two locations and a lot of guesswork when adjusting the mount from the computer. In reality this is not very practical and I have therefore just purchased a gamepad that links wirelessly to the computer and allows mount adjustments to be made when at the eyepiece. It’s not quite set up yet but nearly and I’m impressed; ASCOM even allows you to add WAV files that speak to you when making changes – sounds like a gimmick but when in the dark with lots of items to attend to it is actually very useful and will hopefully reduce the possibility of making mistakes.
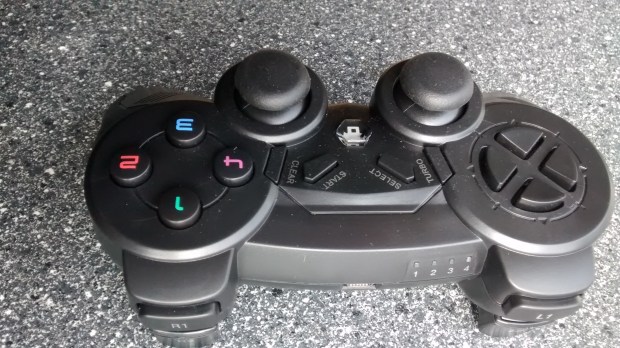
Wireless gamepad provides extensive control of critical alignment functions without being at the computer: front x4 buttons are assinged to set various slew rates, the mount-telescope can be directed either via the rear (shown right) joystick or POV buttons on the right, button-1 parks and button-2 syncs. Other buttons have yet to be allocated.
It had been my intention to use the ZWO ASI 120MC webcam for guiding, in fact I upgraded to this at the time of purchasing in 2014 for this very purpose as it has a specific port for ST4 autoguiding directly with the mount. However, very recently a Starlight Express Lodestar X2 guide camera came up second-hand and being widely acknowledged as one of the best guider cameras available I couldn’t resist! Of course, despite its pedigree like most things with astroimaging it has not been that simple to get working.
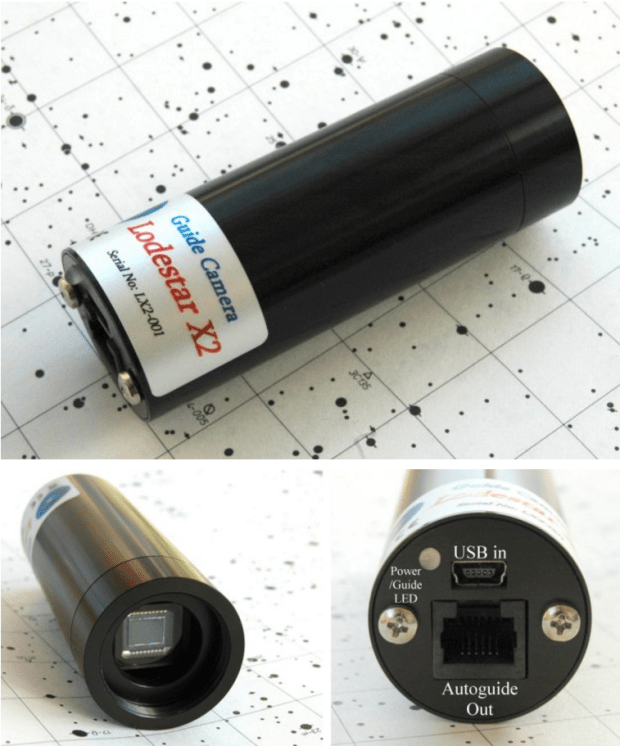
Starlight Express Lodestar x2 Guide Camera can be used either via the mount’s ST4 port or via ASCOM and the computer for pulse guiding – I’m doing the latter.
Despite being a dedicated guide camera with high operating specifications, at first I could not obtain any sort of image to prove it was even working but by transferring the lens from the ZWO camera and fiddling with the software I eventually got an image, phew! It’s important to say here that for guiding it is also necessary to use suitable guiding software and I‘m inevitably using PHD2, which itself is full of wonderful features and mischief that I am at the early stage of learning and trying out with the camera.

William Optics 50mm x 200mm with focus tube and Lodestar guide camera – after lengthy experimentation, insertion of a x2 Barlow barrel eventually achieved focus.
At this early stage the other inevitable obstacle has been achieving focus. The William Optics GT81 telescope conveniently comes with its own guidescope rings that elegantly form an integral part of the OTA shoe attachment. With guiding as a long term goal, I therefore obtained the matching 50mm William Optics guidescope at the time of purchasing the main telescope, which until now has been sitting in its box as I built up the courage to put it all together and attempt guiding.
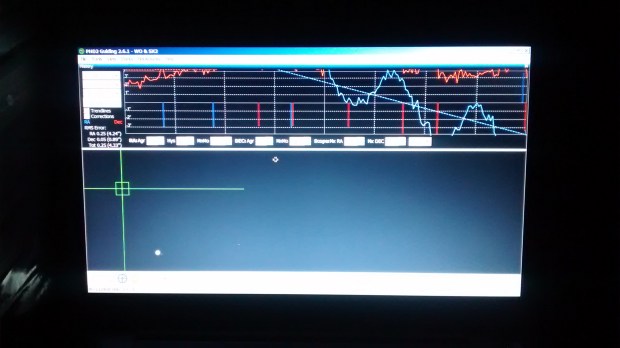
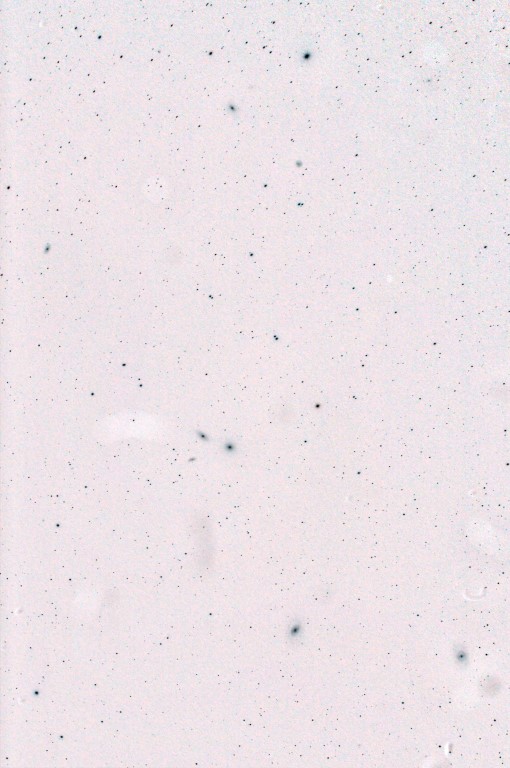
The black art of autoguiding and infamous PHD2 screen; I have just for the first time got the camera and PHD2 working together: focussed, calibrated and guiding. The nature of the blue (RA) and red (DEC) traces indicates there’s still much to learn but at least it’s working and holds much promise for future imaging!
As a matching guidescope and a dedicated top-of-the-range guide camera I assumed it would all fit together and with a little adjustment focus could be obtained, right? Wrong. I played with the camera’s position but failed to get any idea where the point of focus was. Next time I initially had the same result but by now knew that the camera was working so persevered and by using the barrel from a x2 Barlow with the lens removed eventually found focus, about 2cm back from the maximum position achieved using just the guidescope + focus tube and camera. I know that there are many makes of equipment and permutations but surely a matched guidescope and standard, best-in-class guide camera should be designed to work together from the outset?
So what’s next? I am hoping that after a few more sessions with the guide scope and PHD2 I will able to start autoguiding properly. However, two years of astronomy and an early look at PHD2 tells me it probably won’t be that easy. Notwithstanding, two years of astronomy also tells me that perseverance is essential and usually pays off. Watch this space!