“Light thinks it travels faster than anything but it is wrong. No matter how fast it travels, it finds that darkness has got there first, and is waiting for it.” Terry Pratchet, Reaper Man.

It may seem something of a contradiction that as astronomers we seek very dark places and skies in order to see light, light that may have travelled millions of light years to get here – light travels 6 trillion miles in one year. For human beings the perception of darkness differs with the mere absence of light, due to the effect of afterimages that are produced by the unstimulated (by light) part of the eye. Typically our eyes will take between 20 and 30 minutes to fully adjust to darkness, at which time the eye becomes between ten thousand and a million times more sensitive than in daylight.
Objectively the Bortle Dark-Sky Scale describes nine levels of darkness and thereby quantifies the astronomical observability of celestial objects and impact of light pollution http://en.wikipedia.org/wiki/Bortle . With digital photography the colour of a point is described on the camera’s sensor by three RGB (red, green, blue) values, each ranging from 0 to 255. Thus when each pixel is fully illuminated each colour component measures 255 or for an RGB image 255,255,255. Conversely when all values are zero or 00,00,00, it appears black. However, the night sky is not black but measures somewhere between 10 and 30 when imaged.

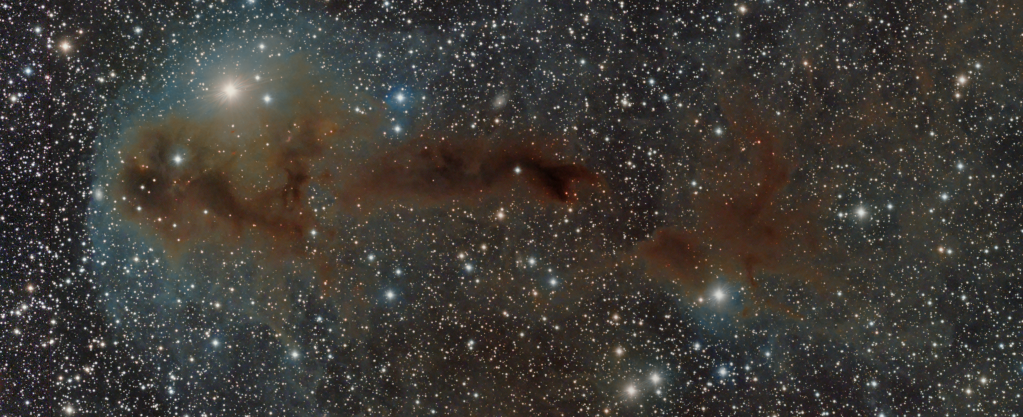
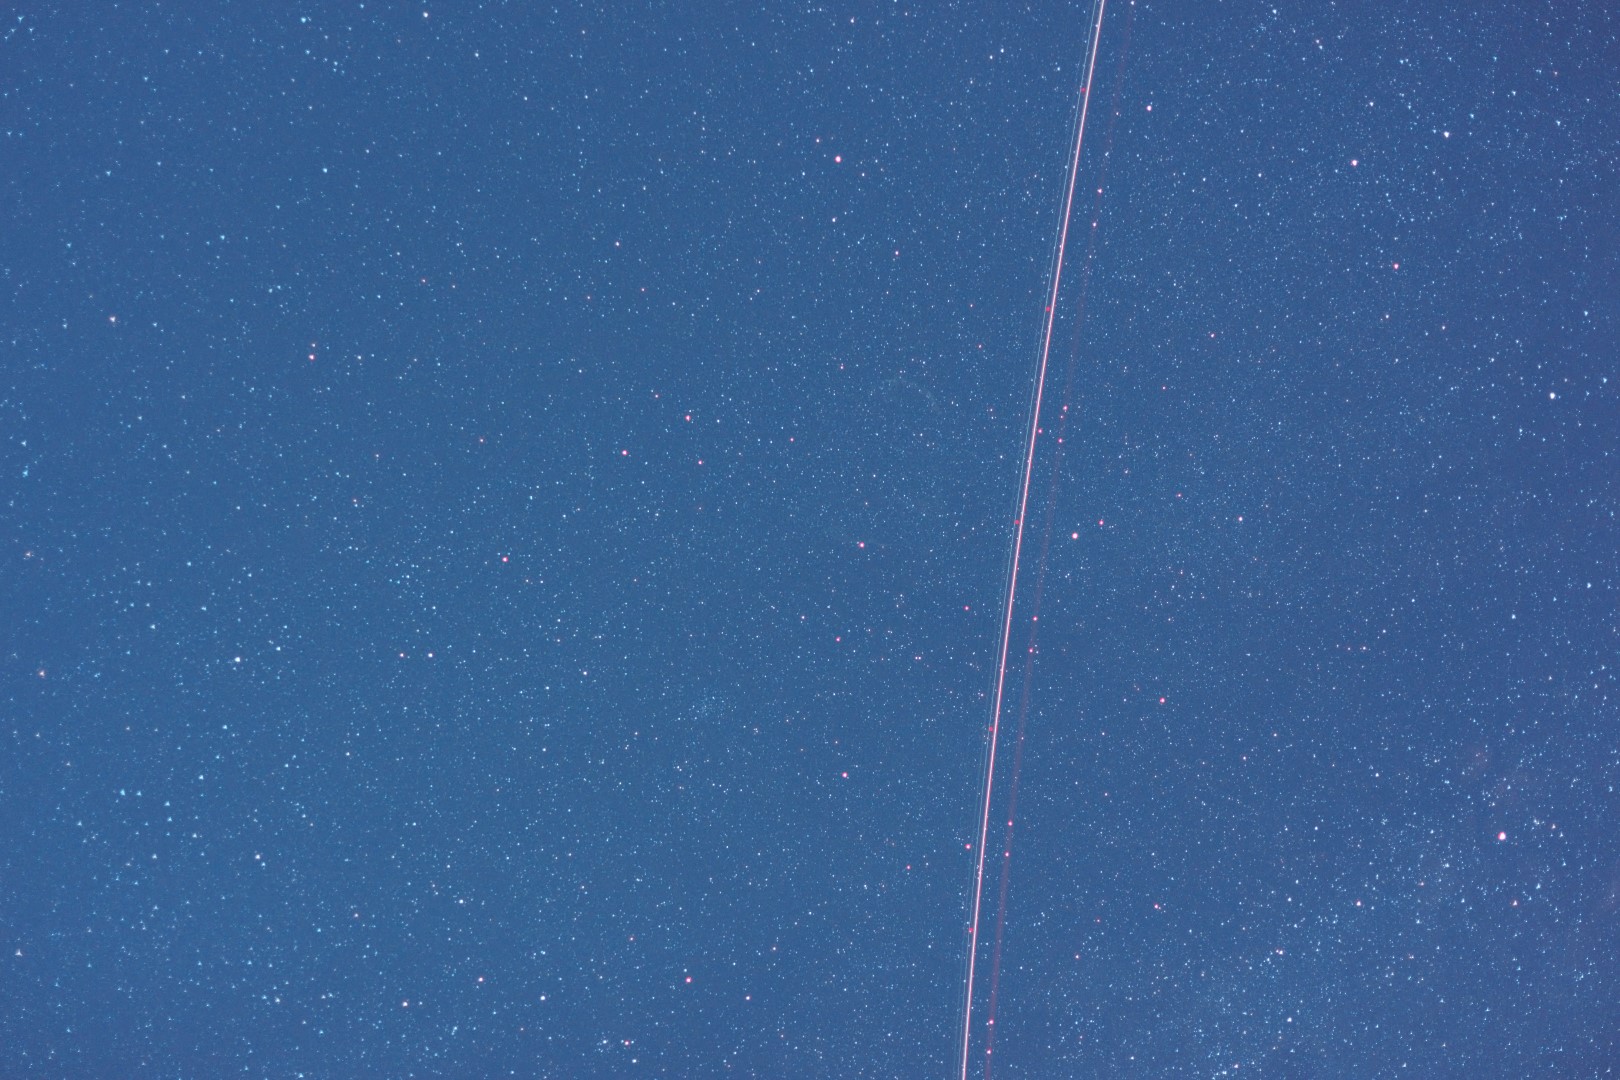
Night sky image (Eastern Veil) with dark point set at 0,0,0

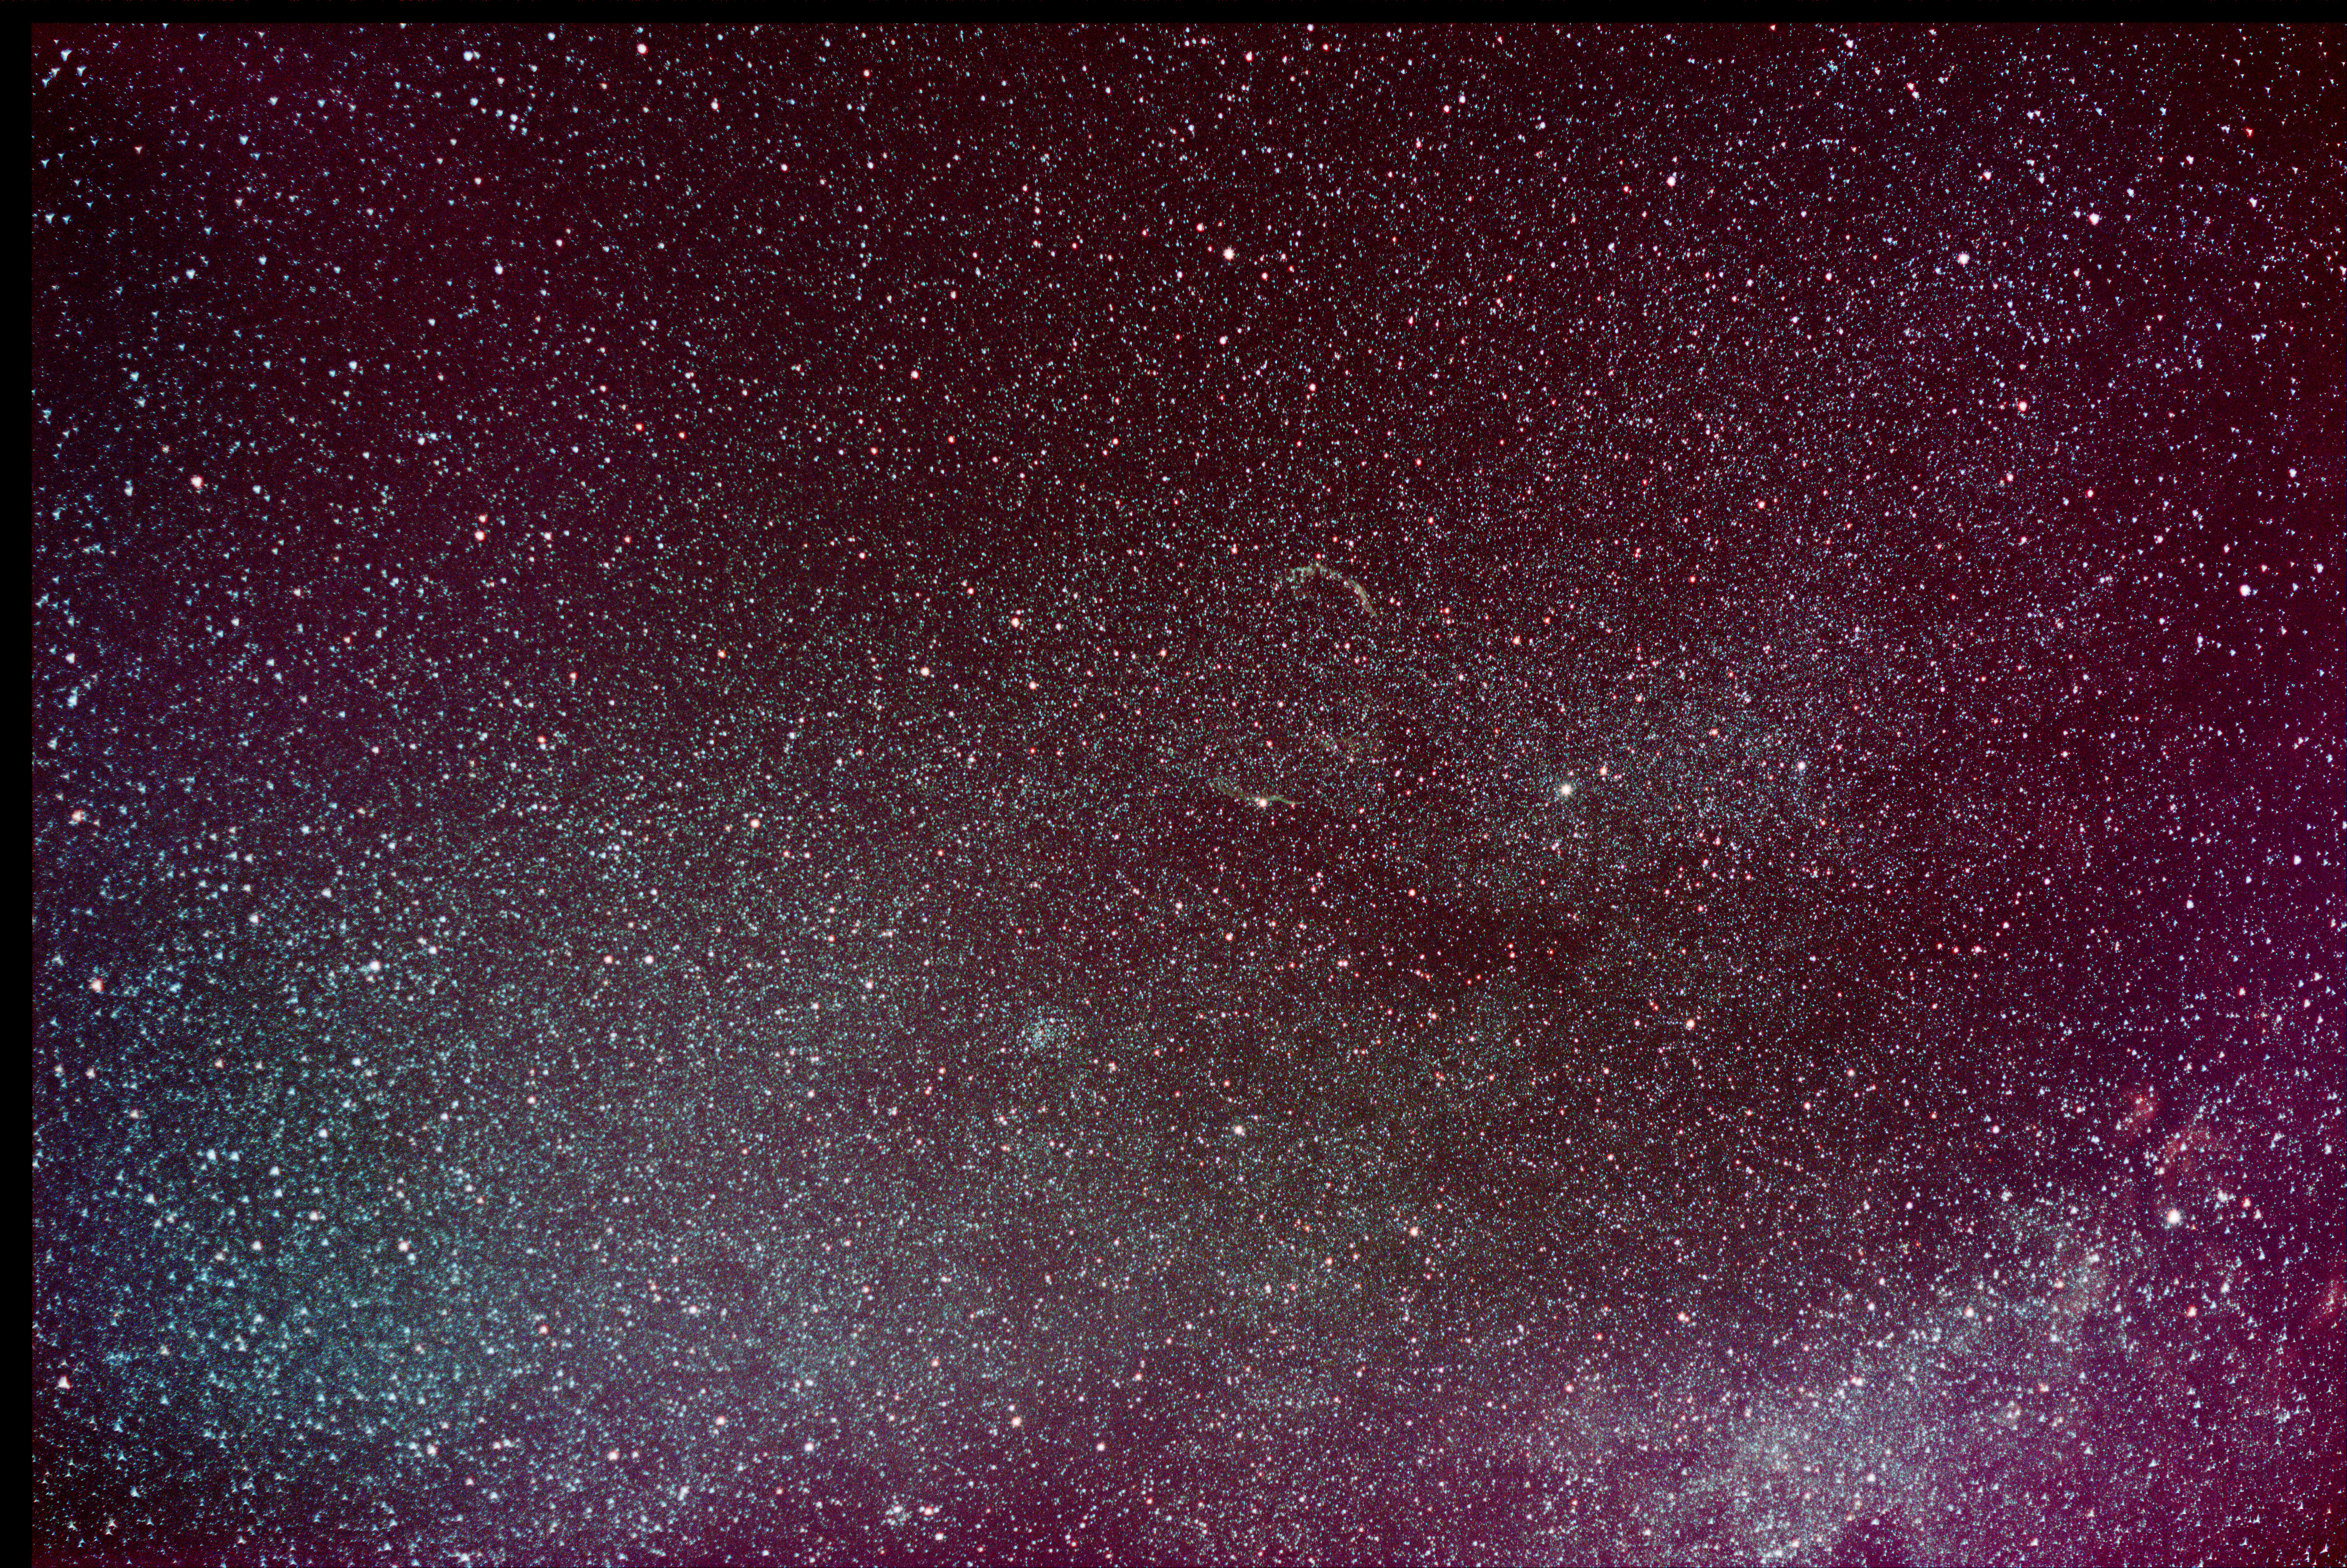
Dark sky image (Eastern Veil) with dark point set at 20,20,20. This approximates best to the natural darkness of the night sky.
There are even four subdivisions to describe approaching darkness at night:
Civil Twilight: begins at sunset and ends when the sun is 6o below the horizon or more practically, it can be described as the period after sunset during which terrestrial objects can still be clearly distinguished. Normally the end of civil twilight is usually 20 to 30 minutes after actual sunset.
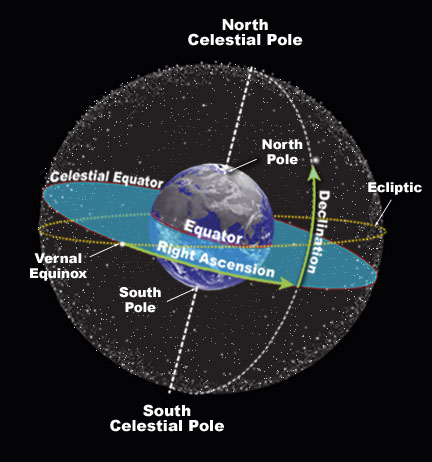
Nautical Twilight: describes the period when the sun is between 6o and 12o below the horizon, during this time it is now possible to take reliable star sightings at sea. It may more commonly be described as nightfall but it is still not strictly dark yet.
Astronomical Twilight: defined as the period when the sun is now between 12o and 18o below the horizon. To the casual observer this may be considered dark but it’s not, only when Deep Sky Objects such as nebulae and galaxies can be viewed is it fully dark.
Therefore, only after this sequence is completed, which takes almost two hours after sunset here at Fairvale Observatory at this time of the year, does true astronomical night or darkness occur. The excellent FLO Clear Outside weather forecast website, which is linked on the front page of this website, shows the current timings for each of these periods every day along the top horizontal bar, just below the hourly sub-division headings.
Obviously this has a major bearing for astronomers and perhaps more so for astrophotography. So sensitive is the camera’s sensor that when using long exposures the cumulative light recorded, even in a dark-sky environment, may result in a bright image that will need to be corrected during processing. Notwithstanding, the holy grail for astronomers is a dark, clear sky and the biggest enemy (other than bad weather and cloudy skies) is light pollution, which is spreading inexorably across the globe.
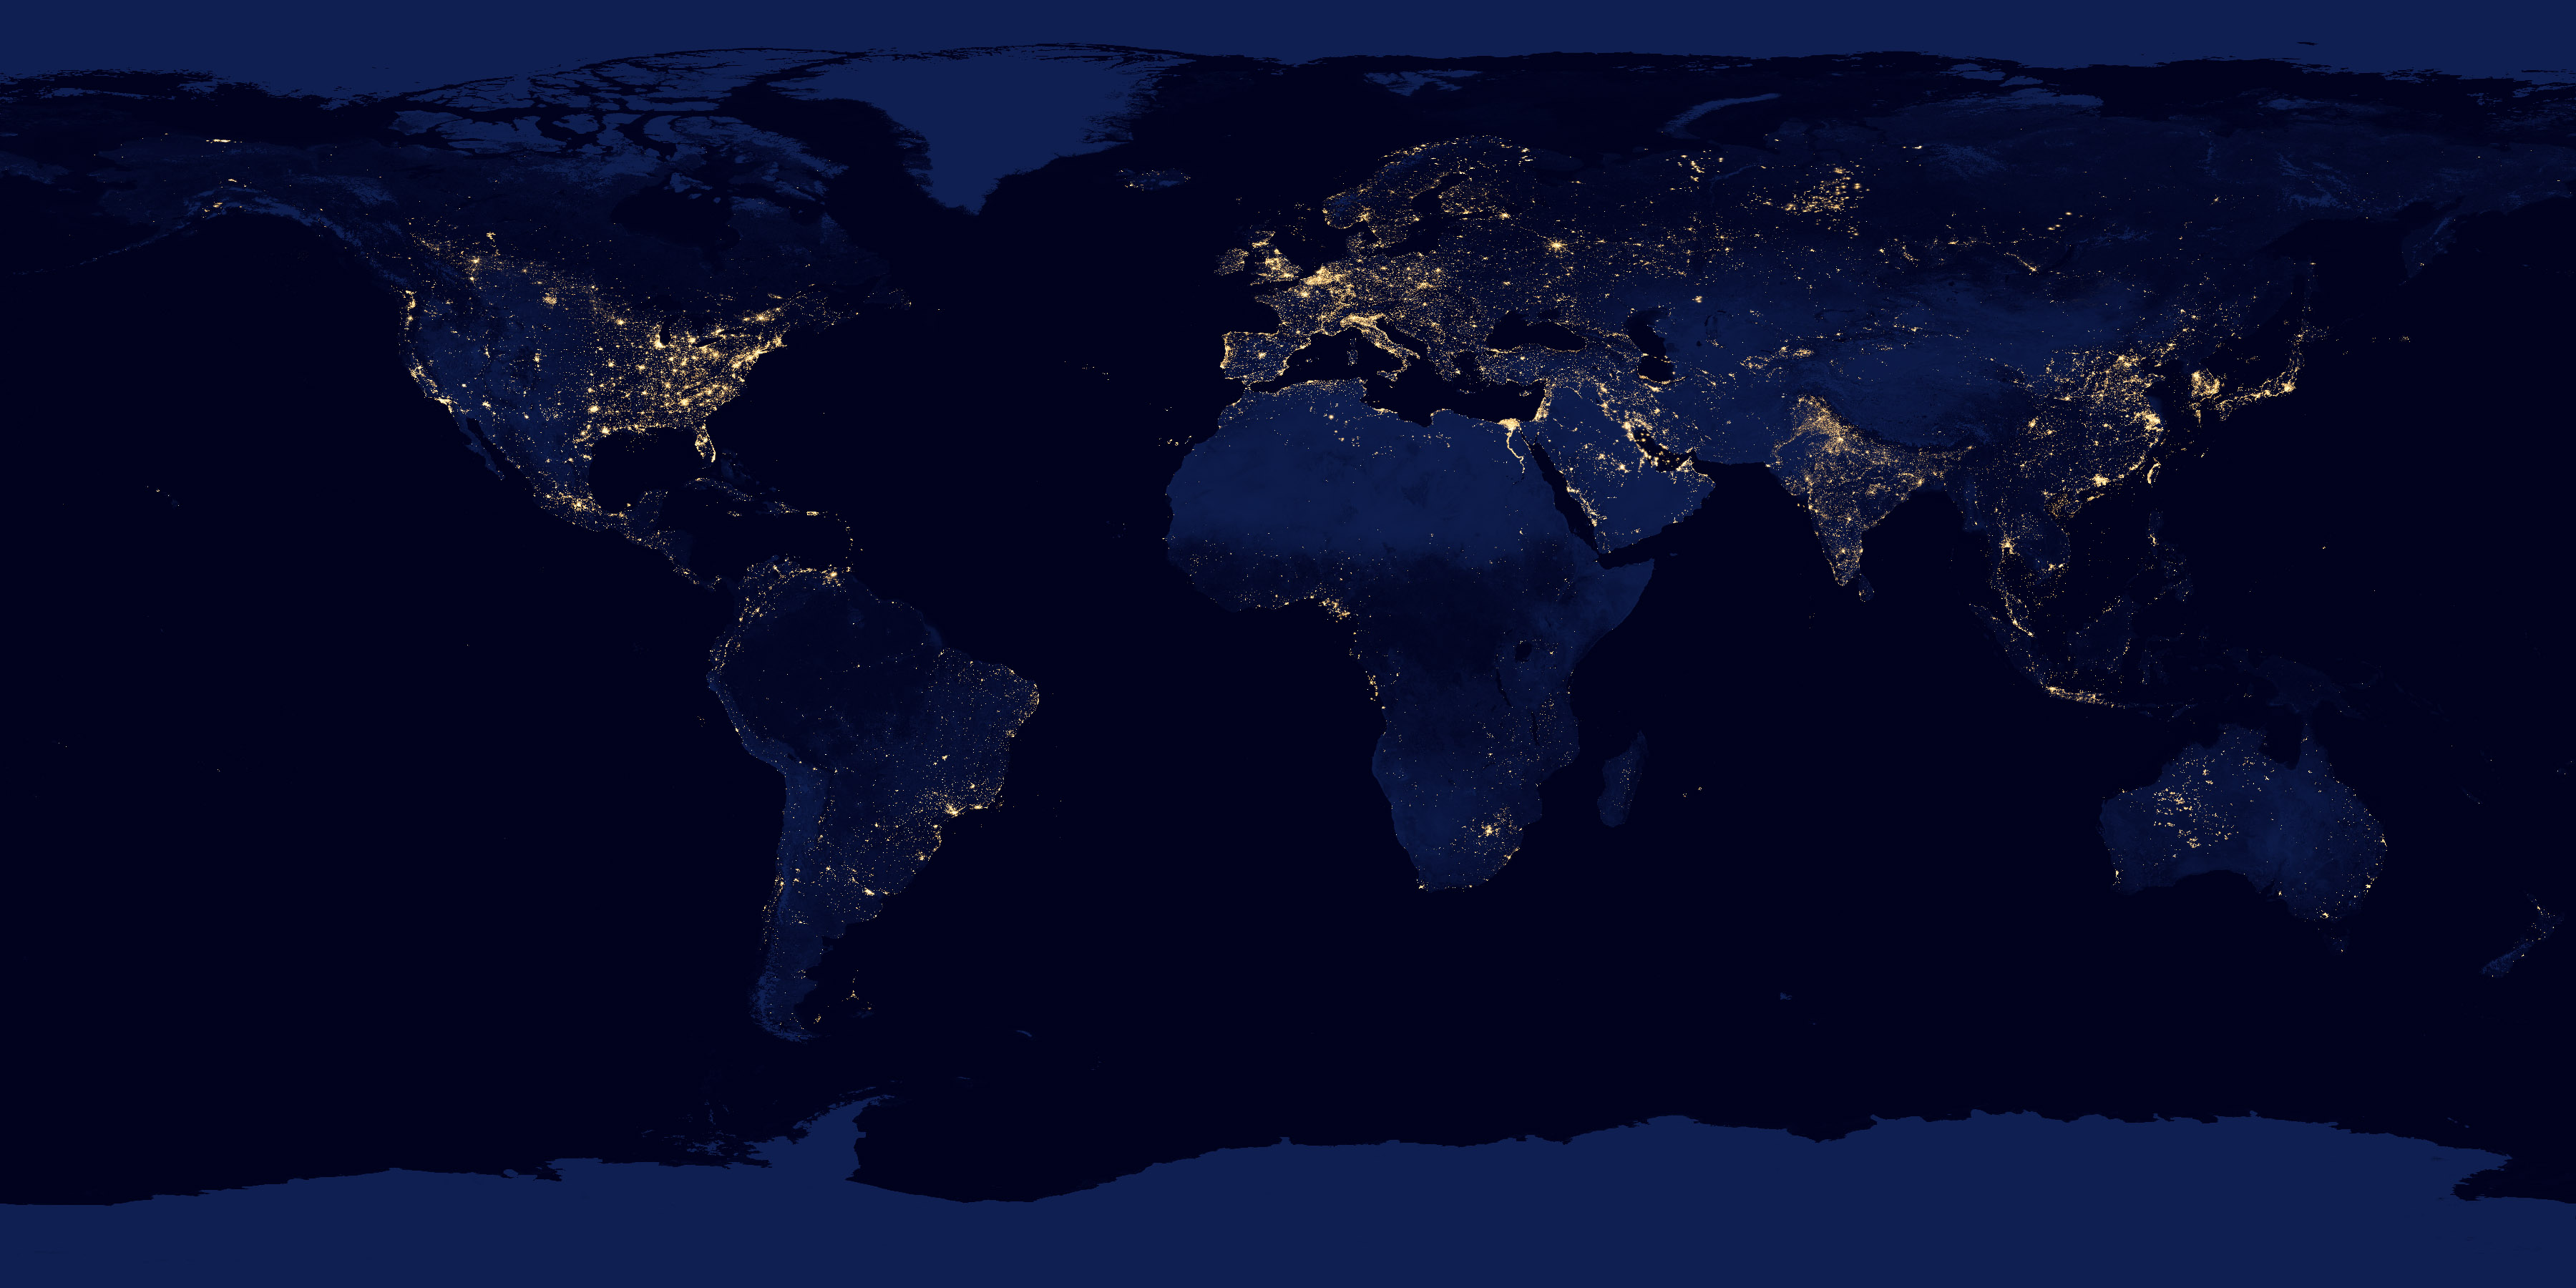
At the beginning of this post is a NASA picture of the Earth at night, produced as a composite of image data from the Suomi National Polar-orbiting Partnership (NPP) satellite, taken in April and October 2012 over a period of 312 orbits. NPP passes over any given point on Earth’s surface twice every day, flying 824 kilometres (512 miles) above the surface in a polar orbit, circling the planet about 14 times a day http://earthobservatory.nasa.gov/Features/IntotheBlack/ . Away from the cities much of the other light from wildfires, fishing boats, gas flares or mining operation is also visible. Whilst undeniably a beautiful picture, for astronomers it highlights one of the major obstacles we are up against, light, or more accurately light present here on Earth. The night sky before the invention of the commercial light bulb by Tomas Edison in 1878 must have been a wonderful sight; I doubt that Messier (1730-1817) would have successfully catalogued all his 110 objects as easily with today’s skies.

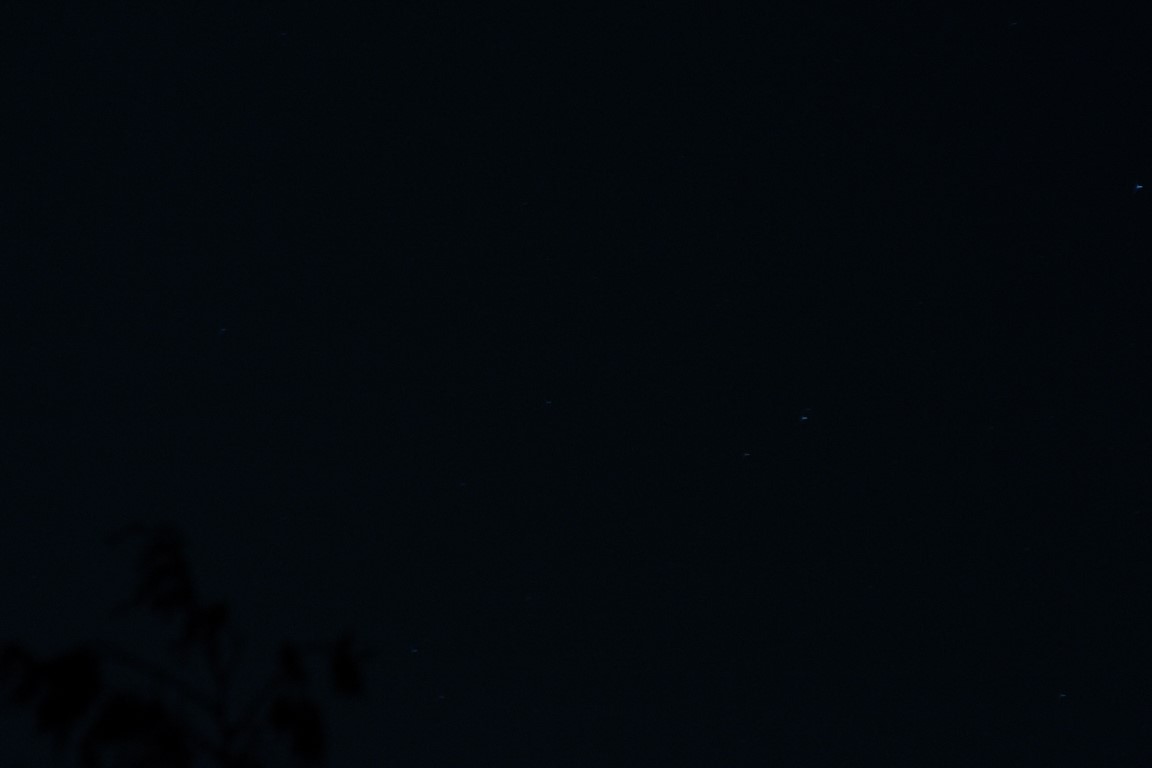
The dark side of the world, with light just over the western horizon.