We are lucky to have dark sky parks in the UK, which are defined as: an area, usually surrounding a park or observatory that is kept free of artificial light e.g. Exmoor National Park, Galloway Forest Park and Kielder Forest, Northumberland. The transformation of the sky through the absence of man-made light is truly incredible – apart from the greatly increased clarity with which the stars can be better seen, it is the emergence of otherwise feint or nearly invisible DSO objects experienced in these conditions that is exciting for astronomers.
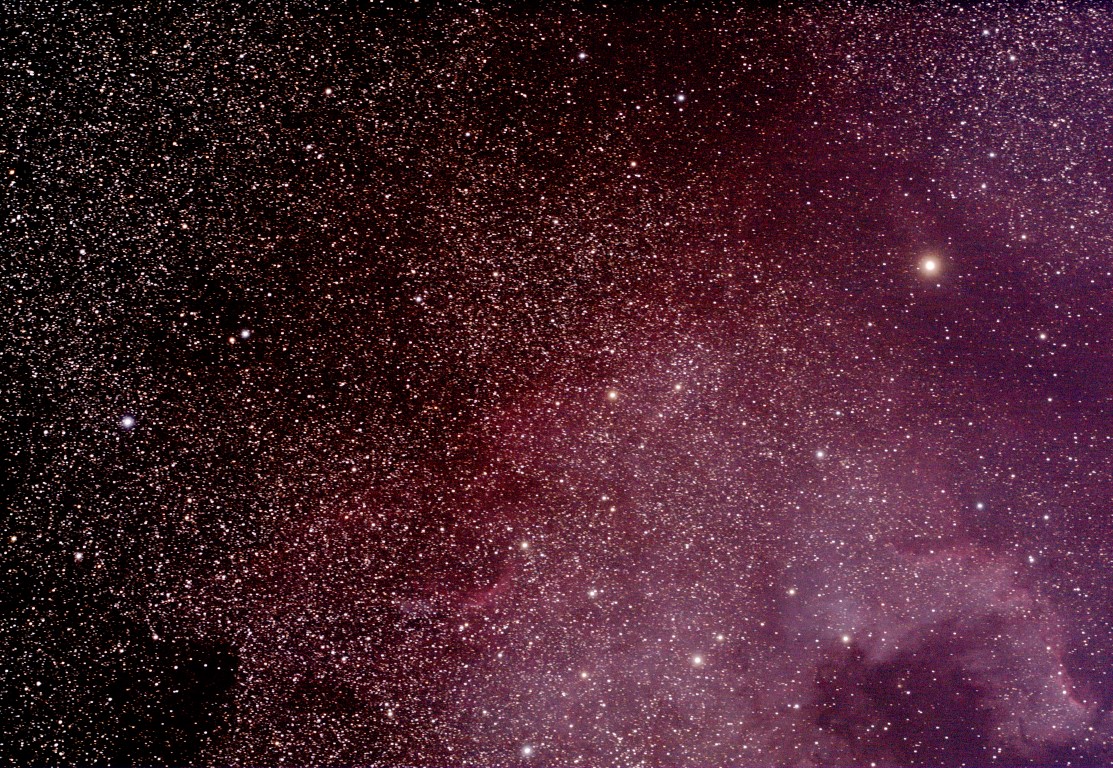
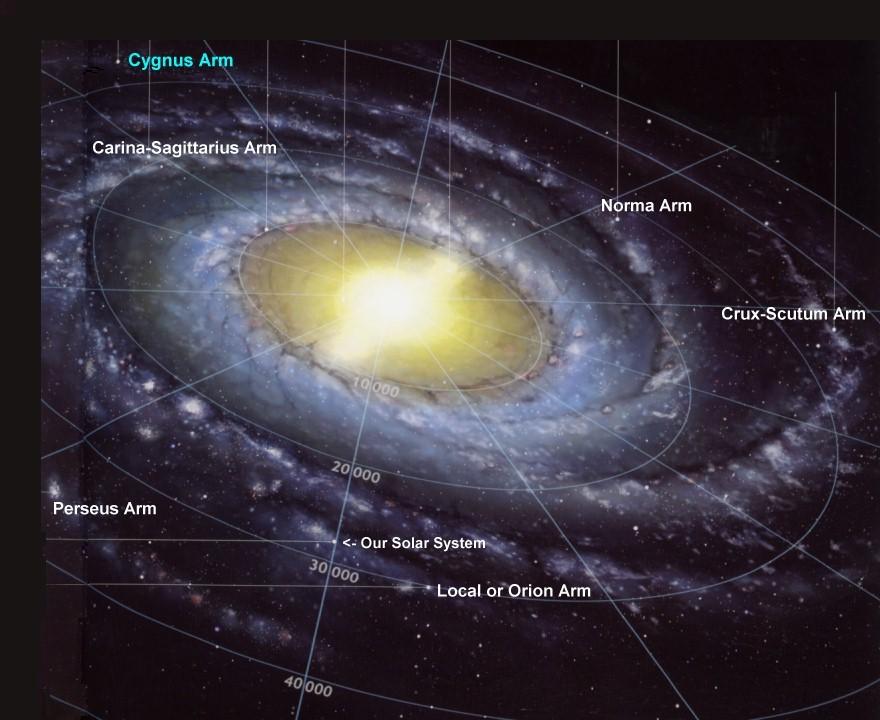
During my life I have been fortunate to see a number of really exceptional ‘dark skies’ around the world, which in my opinion significantly beat the dark sky parks here in the UK. The most memorable were in the Kalahari Desert and the middle of the Red Sea during a scuba diving trip, which were to use a phrase straight from the sixties (I was there but can’t remember it!) – mind blowing! Living on Earth probably the most striking feature of a dark sky is the ability to look clearly through the Milky Way galaxy in all its wonder, which thus appears as a creamy band crossing the sky – we are in fact looking edge-on through the millions of stars that make up our galaxy. Without wishing to overly digress at this point, our Solar system within which we live is on the edge of the spiral Orion Arm, located about two thirds of the way from the centre of the galaxy – 25,000 light years away. http://www.universetoday.com/65601/where-is-earth-in-the-milky-way/
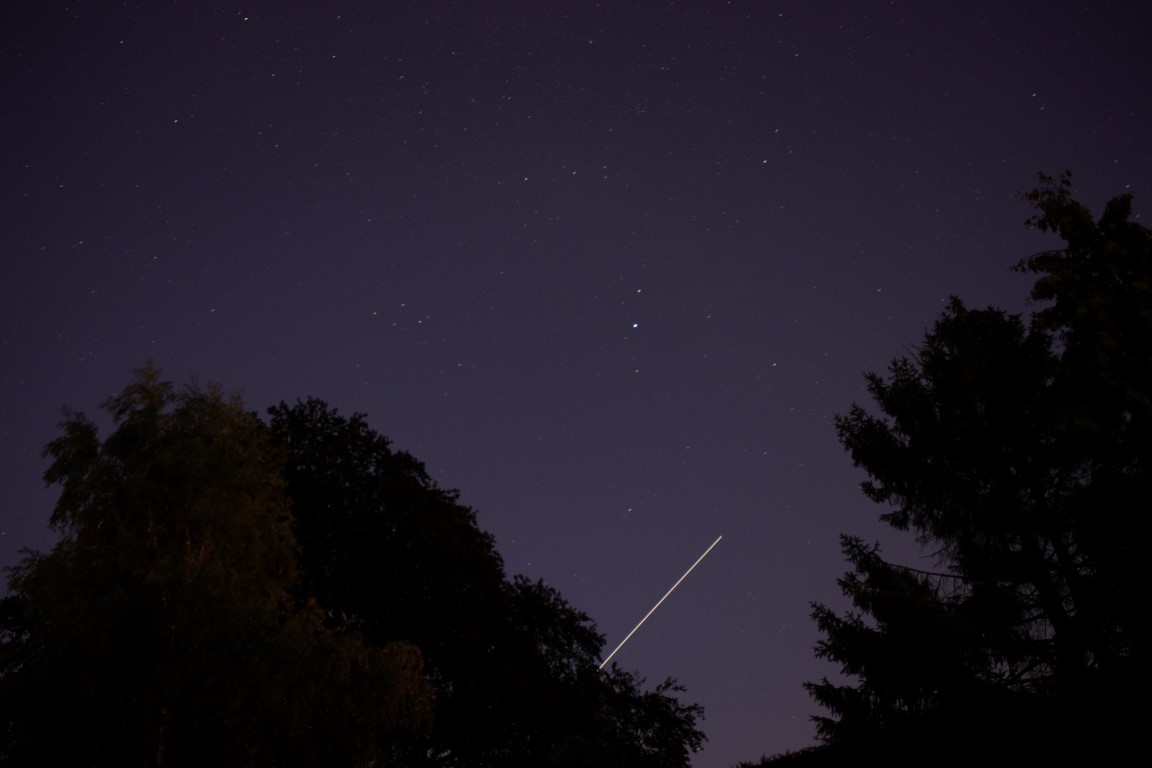
Given such an amazing setting it is disappointing to live in South East England here at Fairvale Observatory, with London just to the north and Gatwick airport to the south, thus significantly reducing the light quality of the sky and making astronomy hard work. Just to make matters worse, I have to contend with houses and trees obscuring the sightline in almost every direction, passing aircraft (see previous blog on the ISS) and the ubiquitous street light. Furthermore, even on a clear night for much of the month the Moon poses a significant obstacle to astronomy as it floods the sky with its reflected sun light.
Notwithstanding, good nights (relatively) do occur and last Sunday was one of them. It was completely clear from dusk until late in the night, the Moon (last quarter) obligingly did not rise until almost midnight and, thanks to the aforementioned houses and trees, did not impact on Fairvale Observatory until after 1.00 a.m. Furthermore, as the temperature was unseasonably cool as a result of dominant northerly winds, the air was still; which all added up to a great night for astronomy and imaging in particular. And so it was that I set about trying to image my next set of targets with mixed but generally good results. I have learnt that planning is everything in astrophotography, so using Stellarium I previously sought out those objects that would be high in the sky and were located on or about the celestial meridian; such a position reduces the thickness of the Earth’s atmosphere through which the light has to pass on its way to the camera sensor and thus improves the image quality.
I tried, once again unsuccessfully, to image NGC 7000, the North American Nebula – not through lack of photographic prowess but, I think, because I had not located it properly in the sky – another day then? Similarly I failed to capture NGC 6888, the Crescent Nebula. However, against what was a good, dark sky at Fairvale Observatory I had better luck with M27, the Dumbbell Nebula and, photographed my first galaxy, at last! I will deal with the galaxy in my next blog so, for now, will focus (pun intended!) on M27.
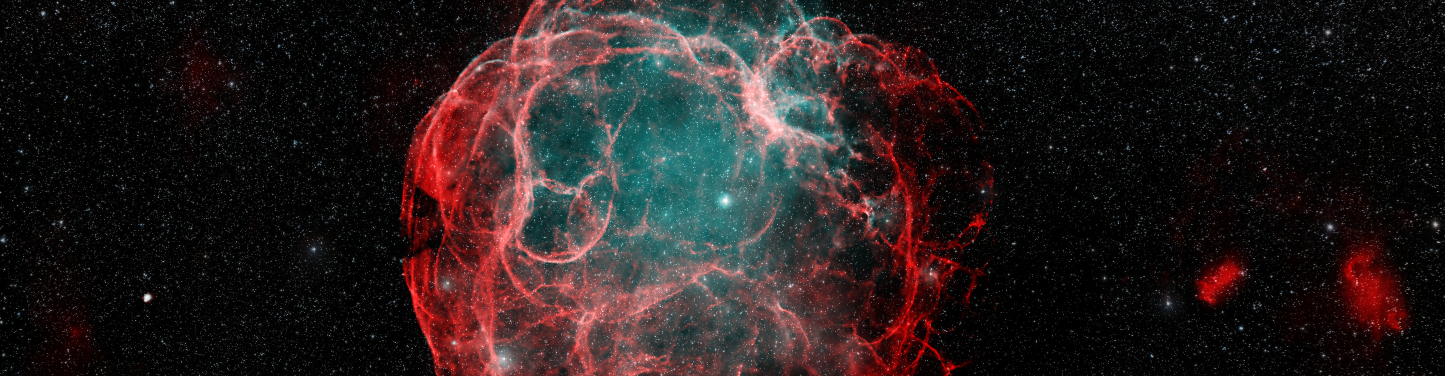
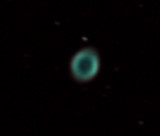
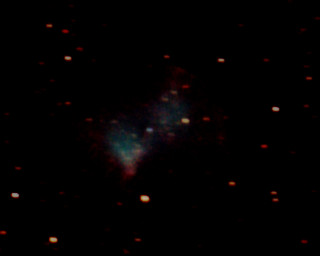
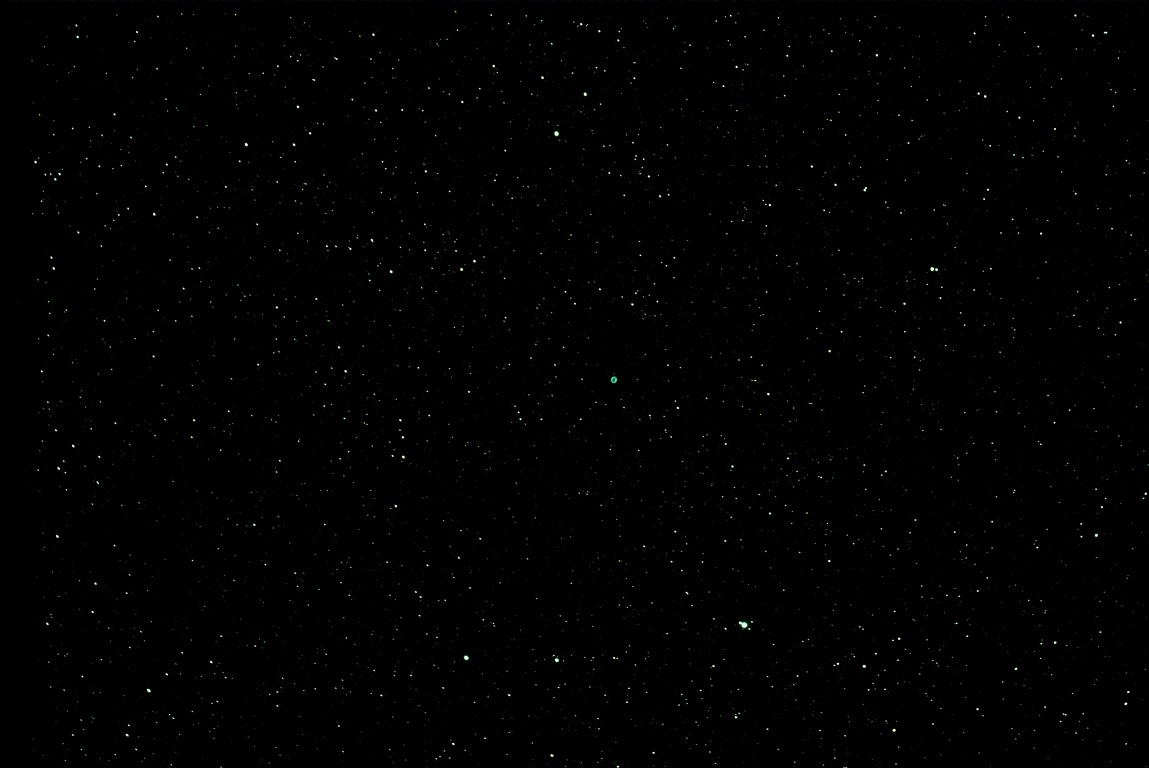
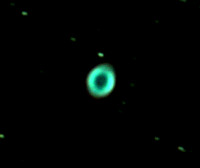
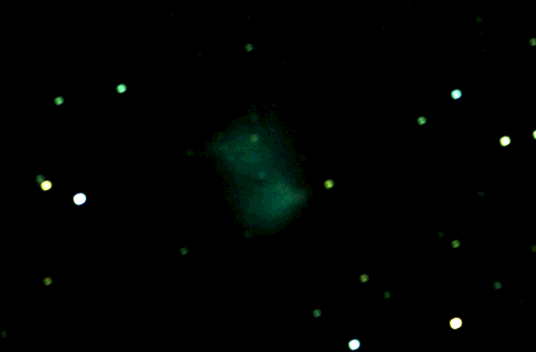
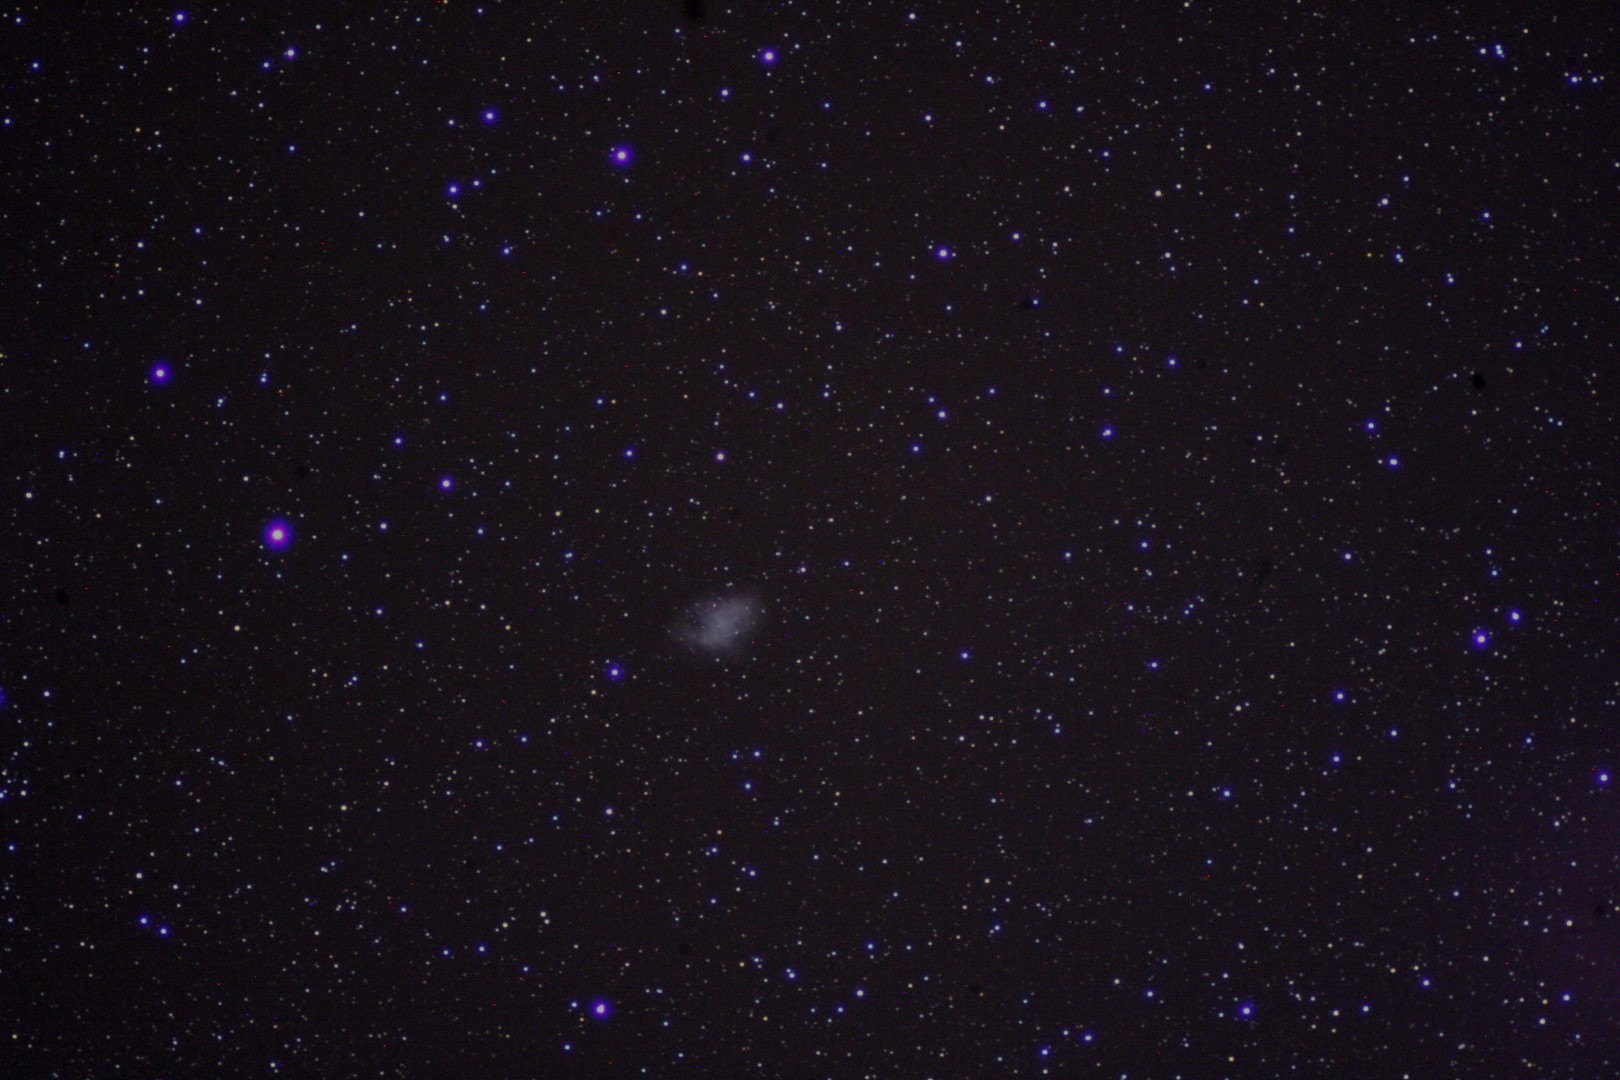
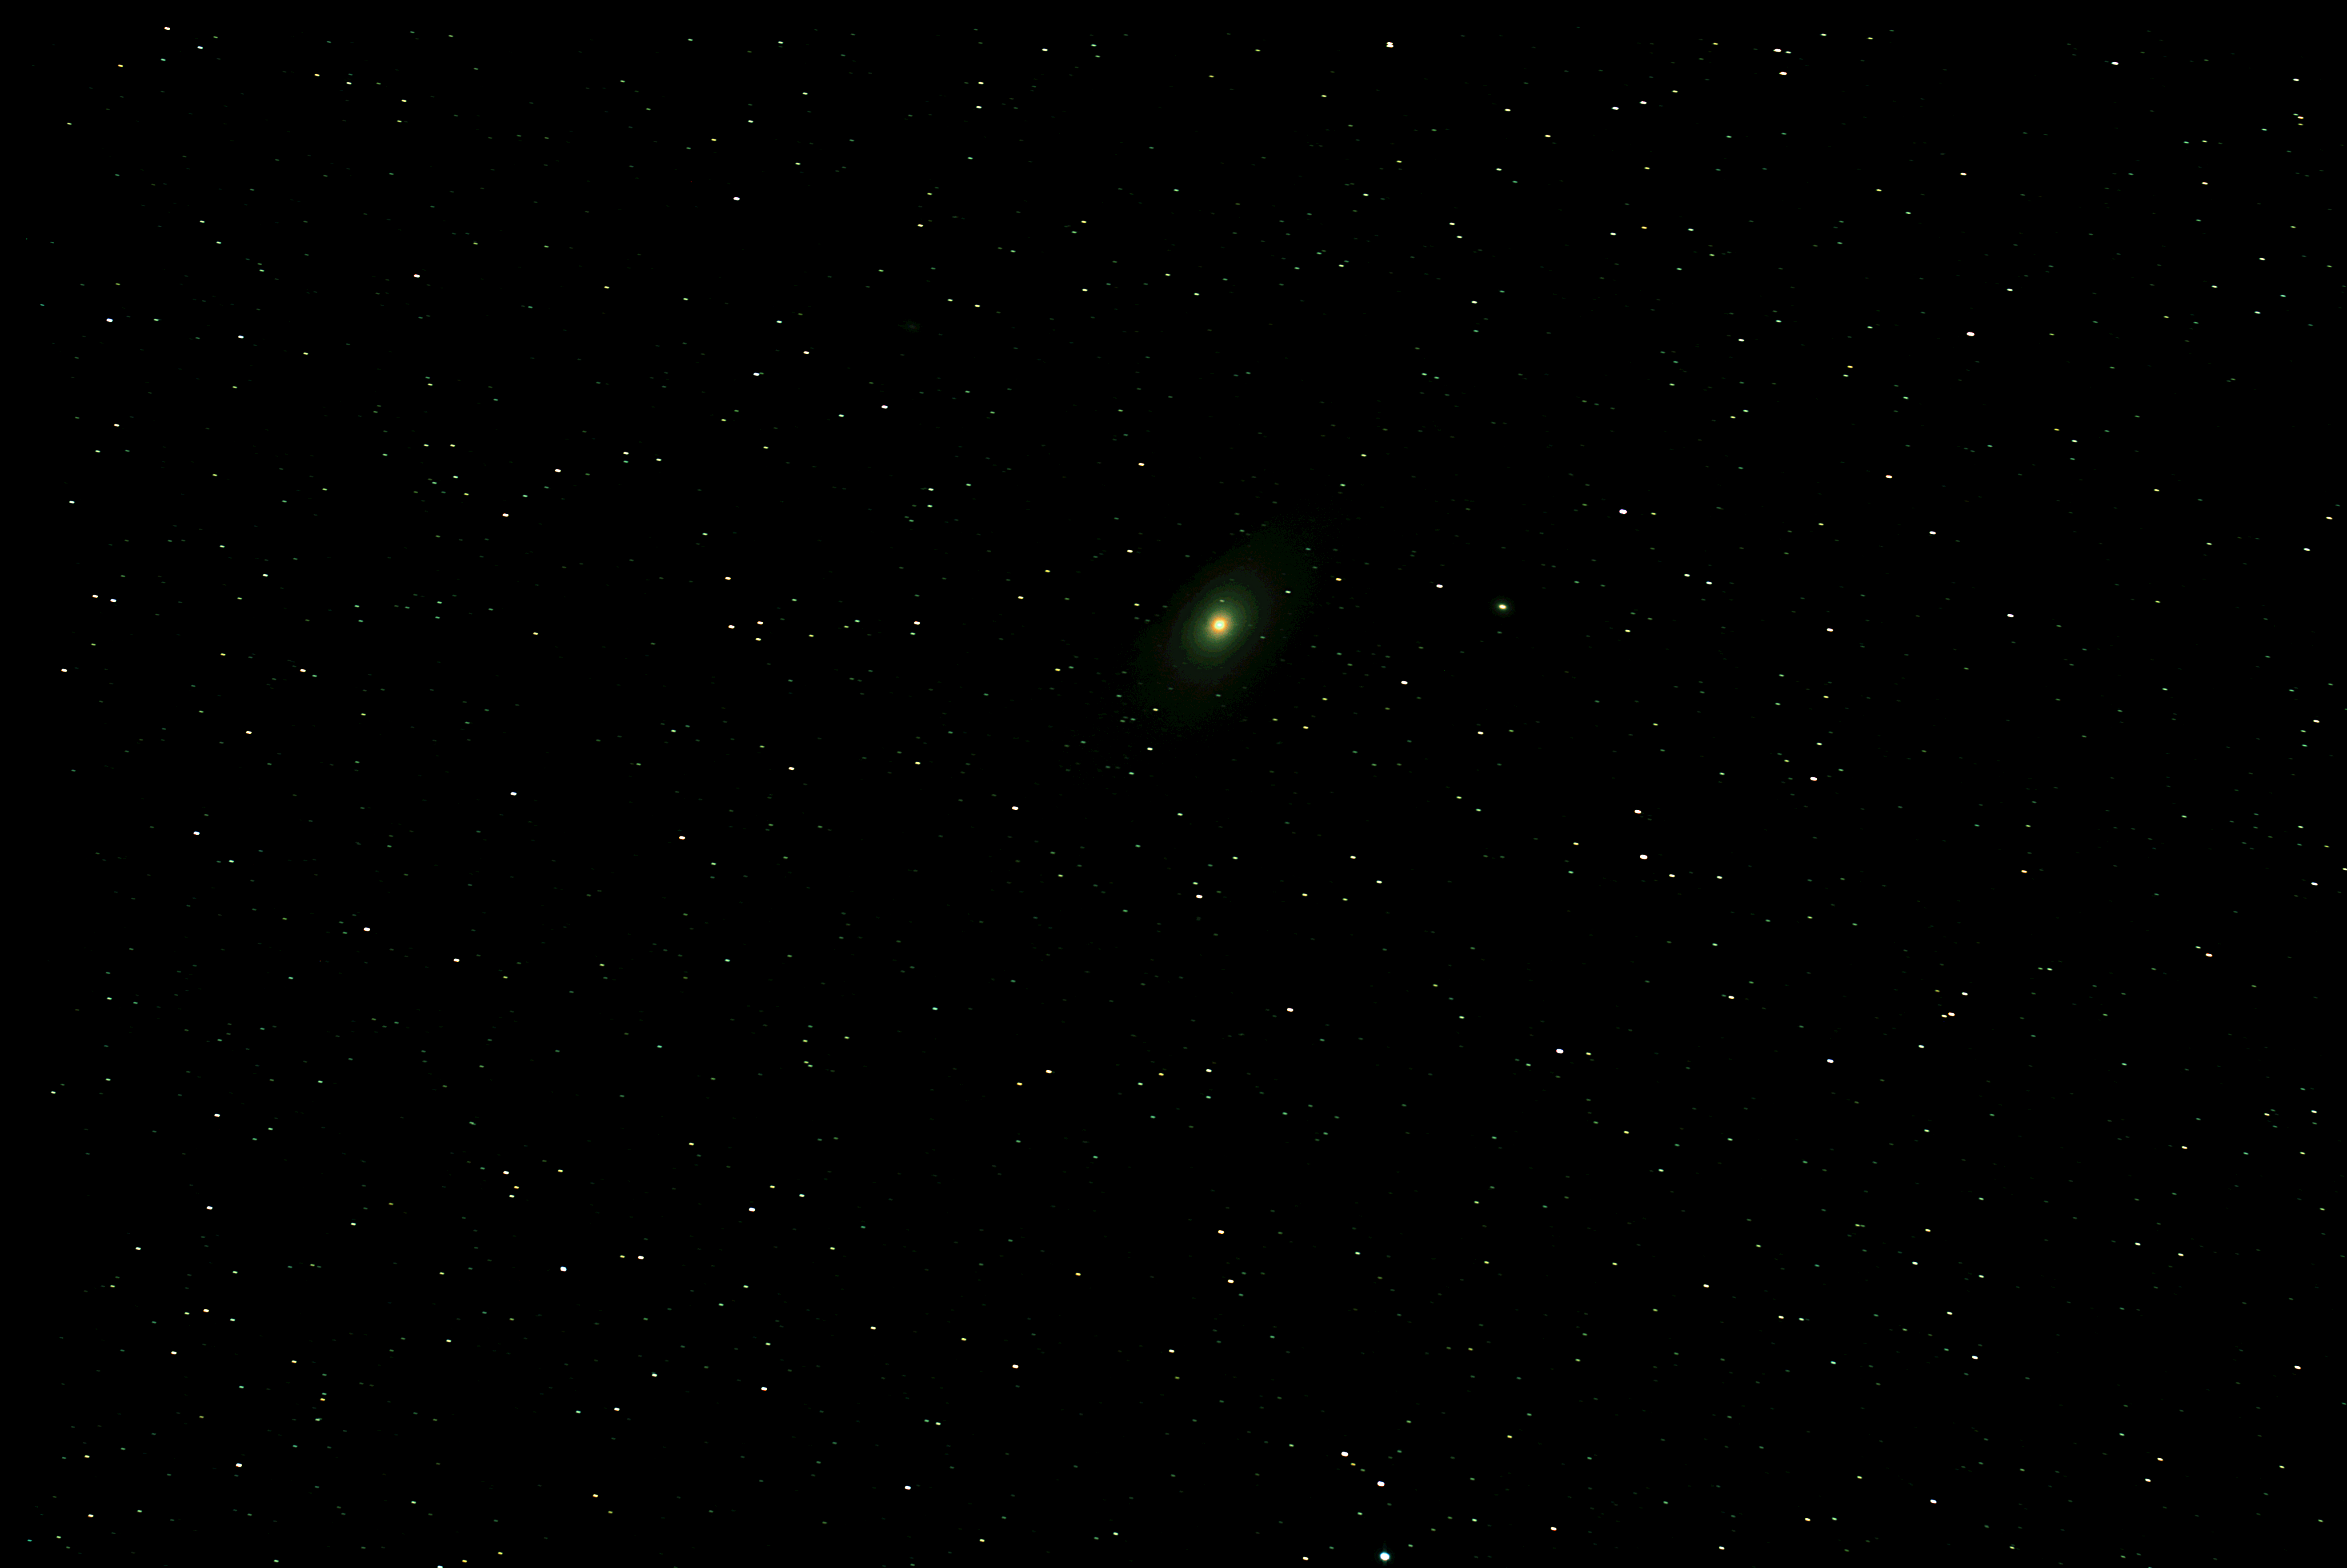
My first image of a nebula taken by DSLR was only a couple of weeks ago, M57 or the Ring Nebula. This time the target M27 was another Planetary Nebula (nothing to do with planets) of similar size but at 1,360 ly distance is almost 1,000 ly closer to Earth than M57, providing better imaging conditions; that’s 1,000 ly the light does not have to travel before reaching the camera. At the moment I am still experimenting with the new equipment and seeking out new objects just for fun and, as a result, mostly taking a small set of short exposures (<=60 seconds) subs (pictures) and darks before stacking and processing – in this case about 10 each. The resulting picture quality leaves plenty of room for improvement when I eventually get the guide scope working, together with other planetary and alignment software but in the meantime I am very happy and excited by these results. The wider, original photograph perhaps shows the Nebula best, which is also known as the Apple Core Nebula, a form that is just discernible from these images. For the moment, my quest to capture new objects is going well, assisted greatly by the dark skies we are fortunate to have at the moment here at Fairvale Observatory.

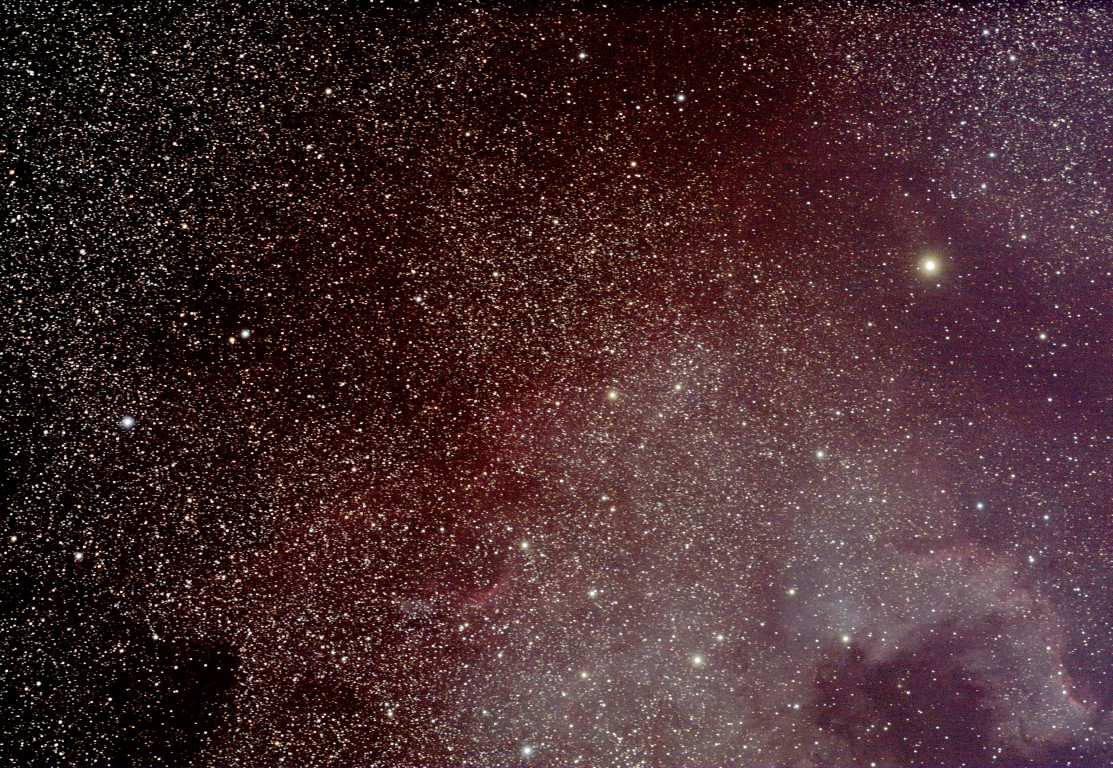
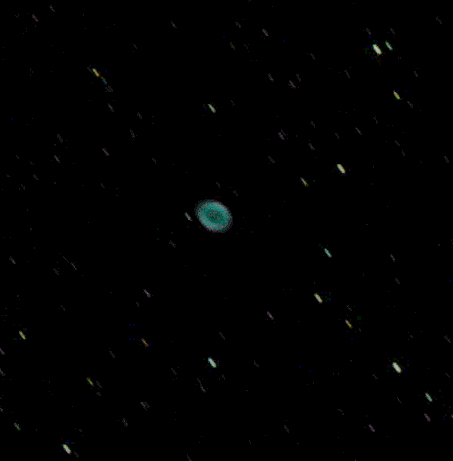
Wide sky view – M27 the Dumbbell or Apple Core Nebula is located just off-centre at about 2 o’clock Canon 700D | EO GT81 + FF | 10x40secs @ ISO 800

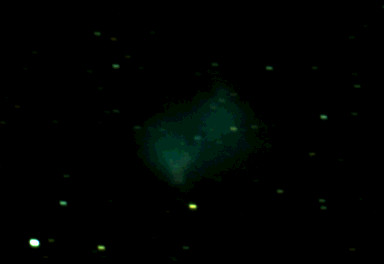
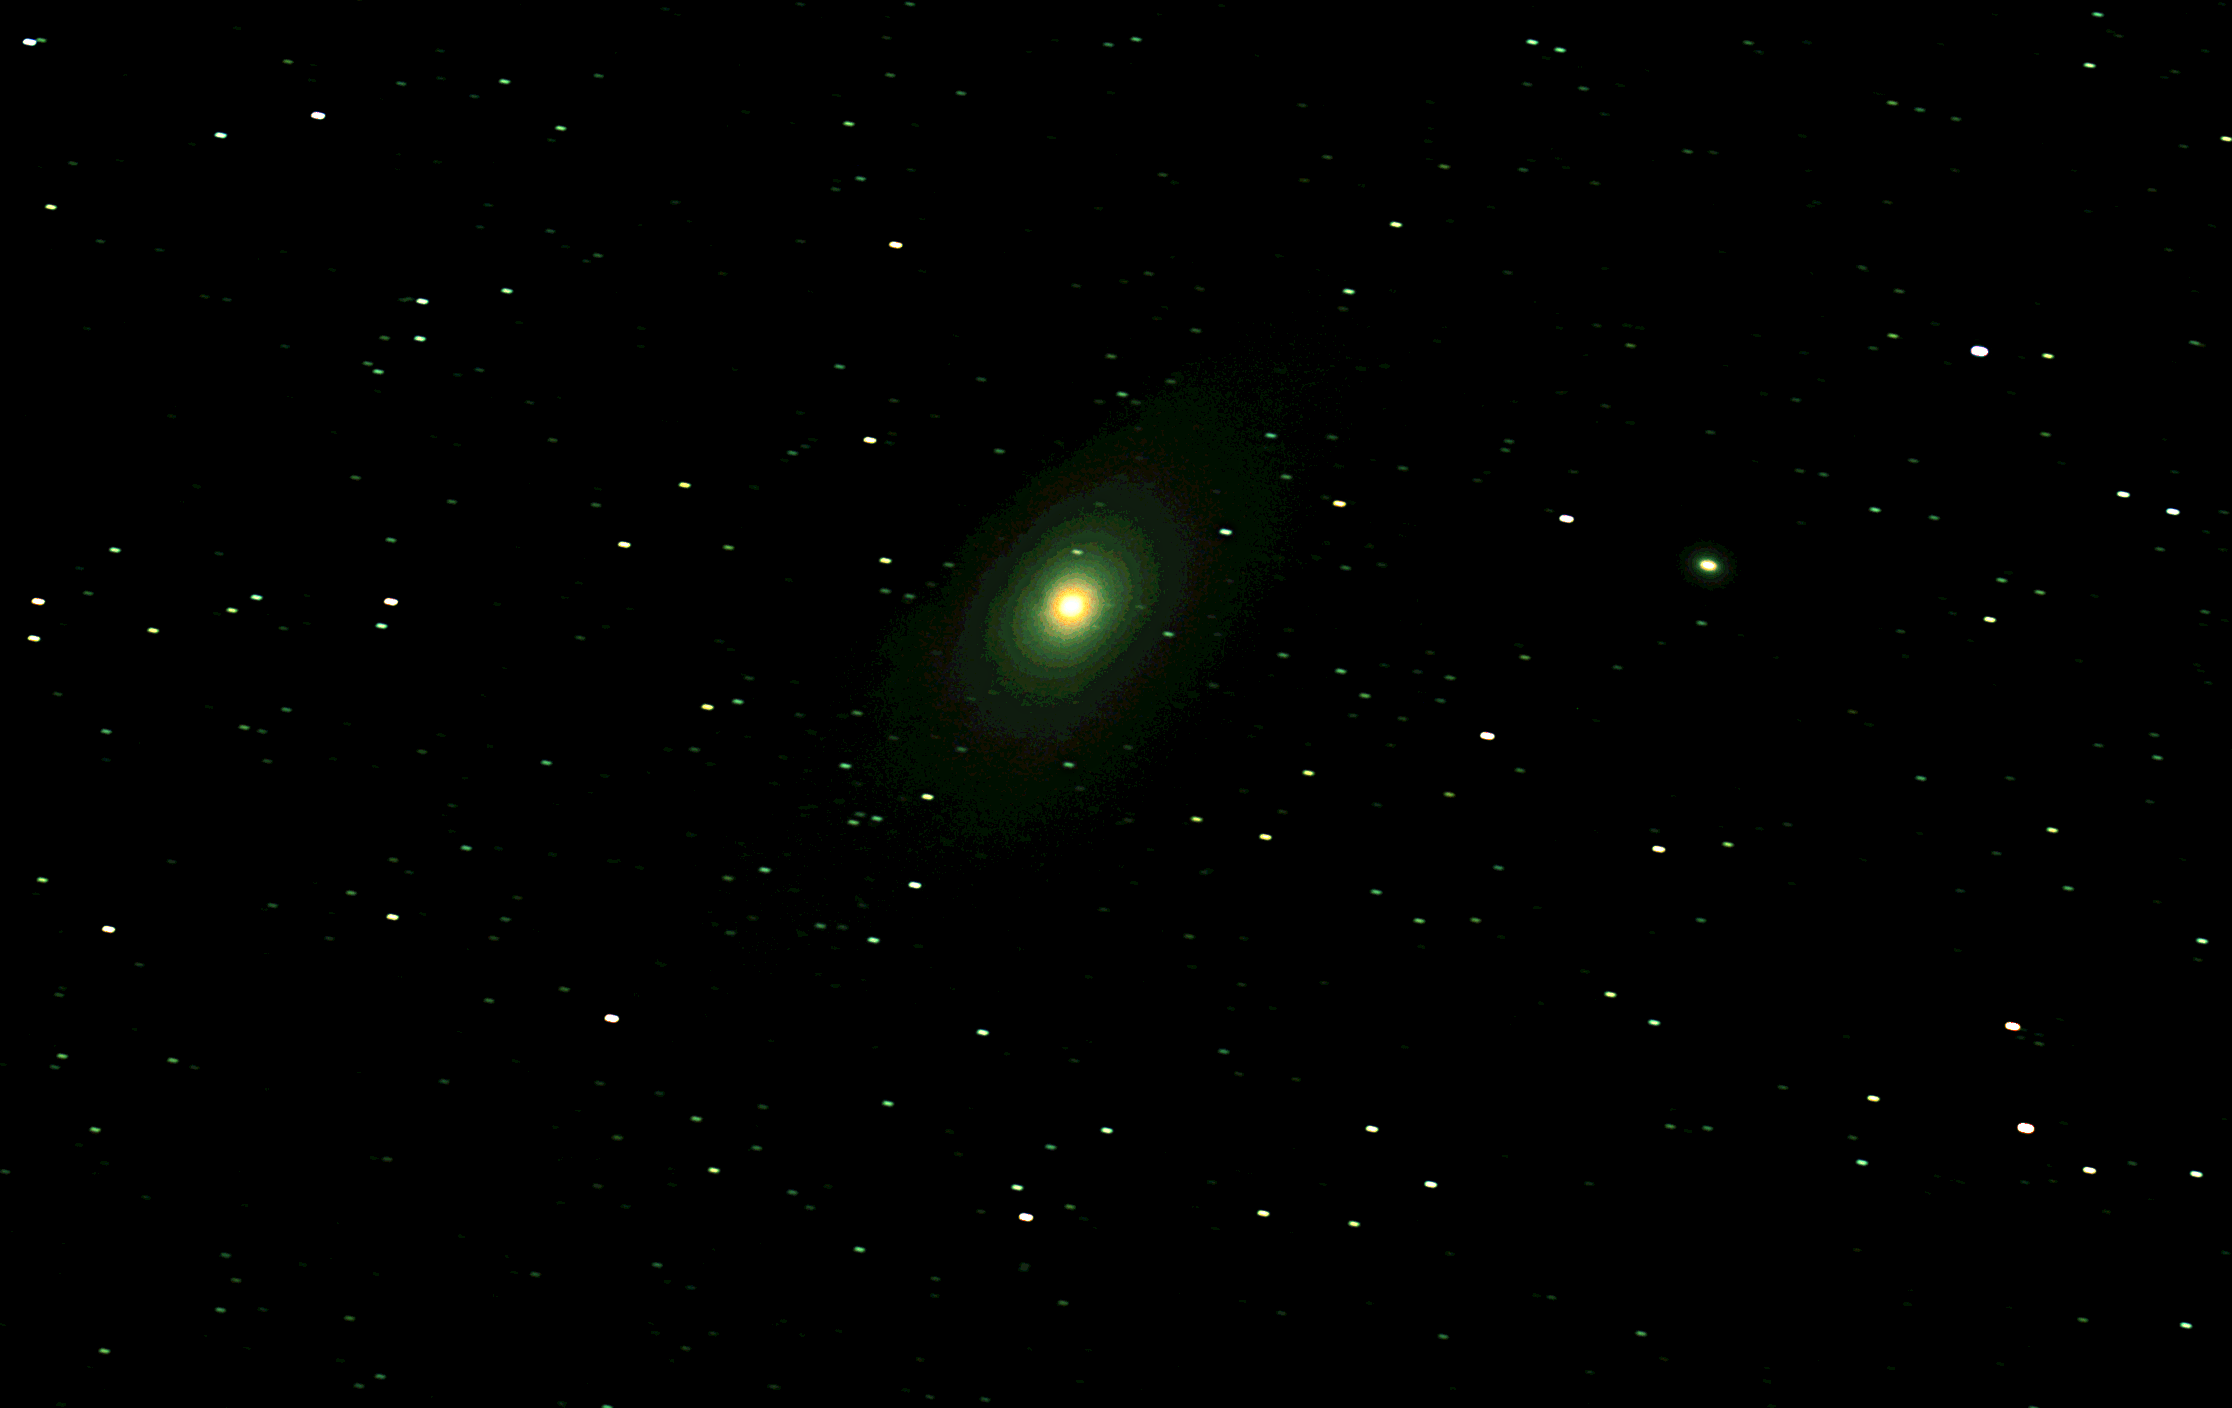
M27 cropped from previous photograph; it will be interesting to see how much clearer pictures can eventually be obtained with better alignment and longer exposures