It’s Halloween time of the year and I don’t like it. My problem is that in the UK this used to be a minor event, treated as a bit of fun for some and ignored by most. However, it’s been given the North American makeover and pumped up as a big deal, mainly on commercial grounds. Grrrrr!
Less seasonable has been the weather, which thankfully continues to be warm and sunny with occasional clear night skies. Hooray! A great combination enhanced further by the appearance of winter astronomy objects and since last weekend’s change of clocks 1-hour backwards, darkness from early evening. What’s not to like for the astronomer? Starting at 6 pm I was therefore able to spend more than 7 hours on Monday night imaging a procession of DSOs as they approached and passed the meridian. Moreover, I achieved almost perfect alignment and for the first time was able to obtain good exposures of between 120 and 180 seconds; had I tried I suspect even longer periods could have been achieved.
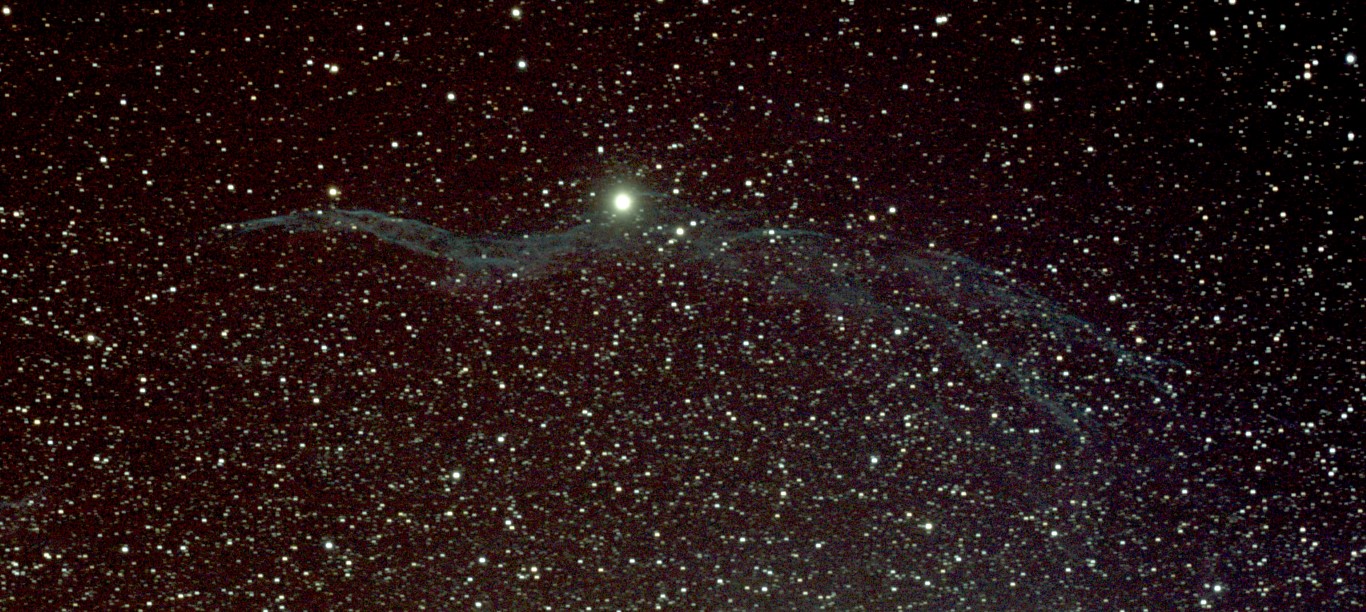
First off the rank was the Veil Nebula, part of the even larger Cygnus Loop, a massive supernova remnant. Located about 1,470 light years away and between 5,000 and 8,000 years old, much of this this emission nebula is not in the visible spectrum and what is is feint and difficult to image. I have already obtained a good photograph of the Western Veil of the nebula, also known as NGC 6960 or the Witch’s Broom https://watchthisspaceman.wordpress.com/2014/10/04/the-witchs-broom/ . Now with such good conditions and my best ever alignment, I decided to turn my attention to the Eastern Limb, or NGC 6992 and NGC 6995.
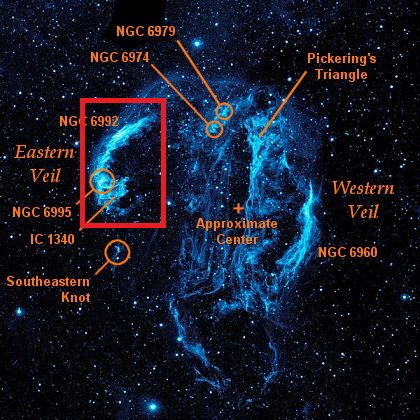
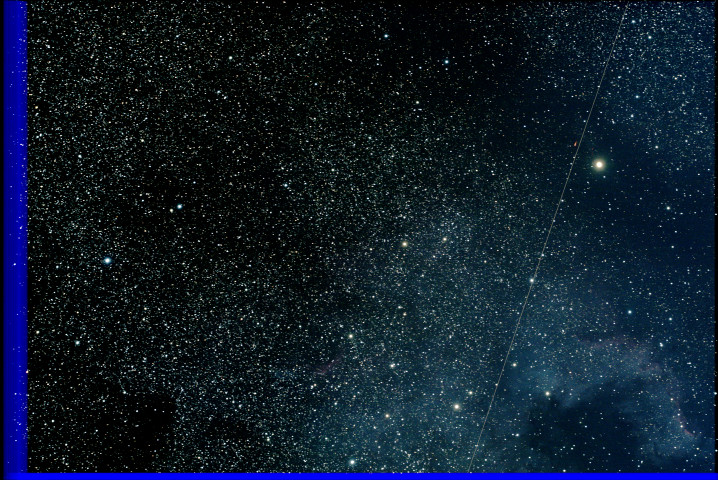
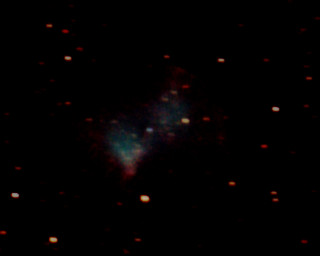
Cygnus Loop (Veil Nebula) in untraviolet light. Image area of the Eastern Veil highlighted by red box.
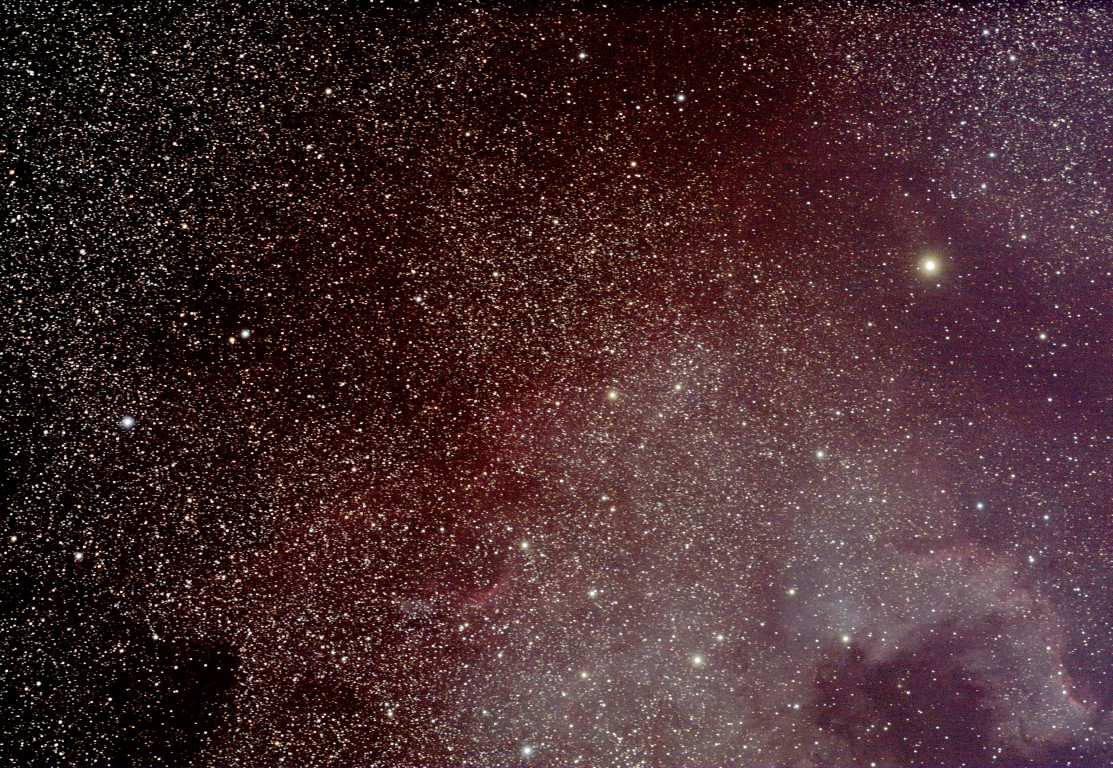
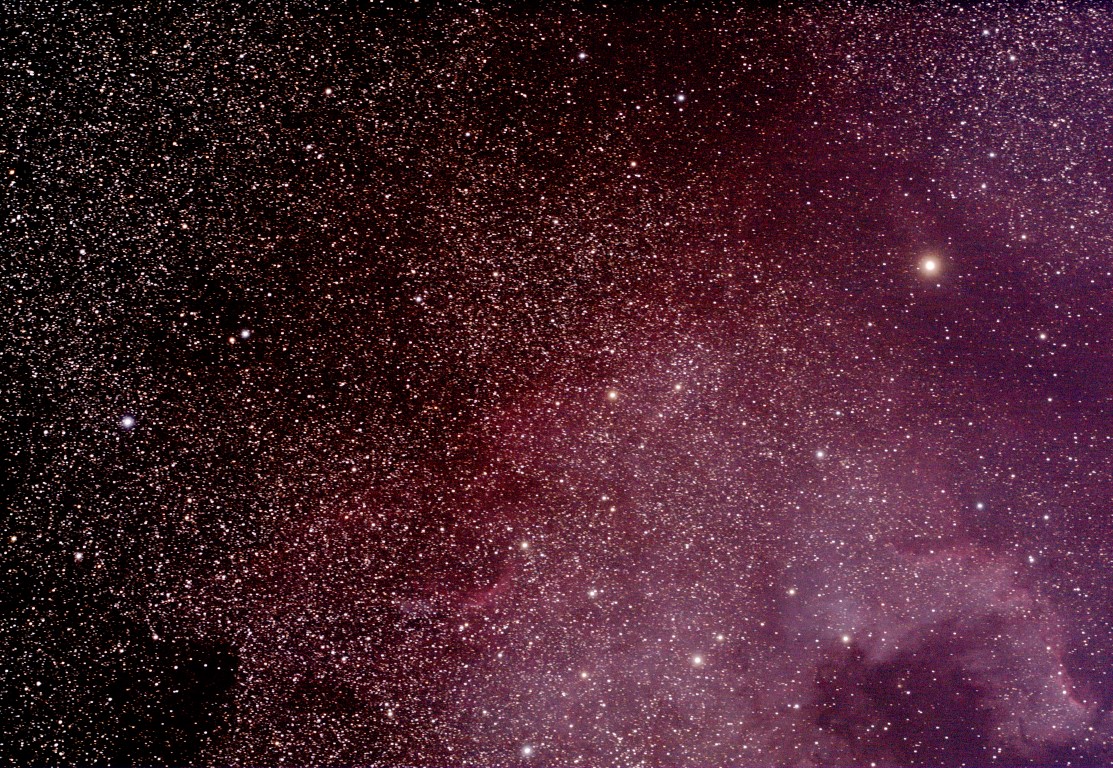
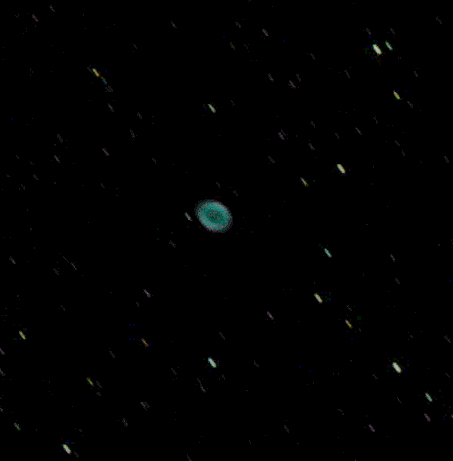
Using the new CLS light pollution filter and 30 x 120 second exposures, the resulting image from the camera immediately showed the full extent of this magnificent object, even before processing. Post processing the feature really comes to life, with large billowing waves of nebulous ionized gas and interstellar dust. The brighter, right-hand side (northern) of NGC 6992 trails off to the left (southerly) section of NGC 6995, also known as the Bat Nebula – well it is Halloween!
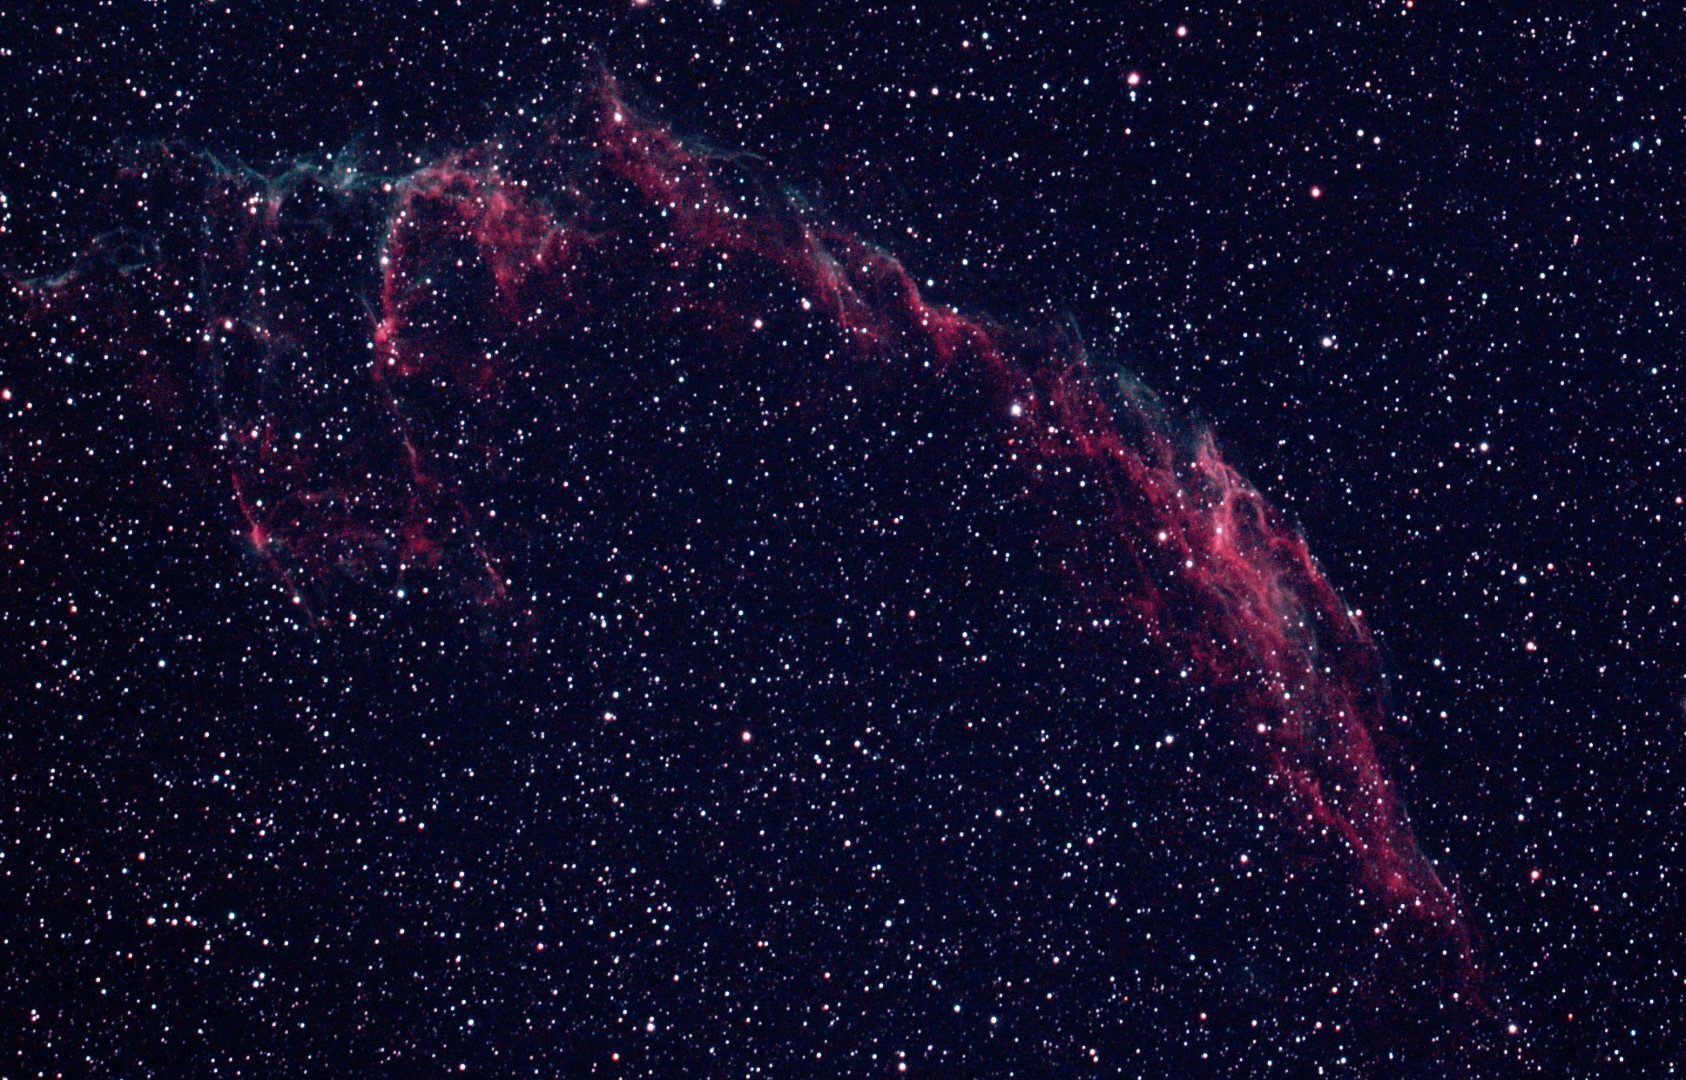
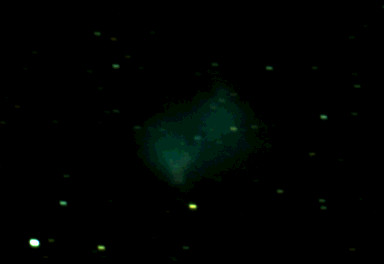
Eastern Veil Nebula – NGC 6992 (right) & NGC 6995 (left).
WO GT81 + Canon 700D & FF | 29 x 120 secs + darks/bias/flats @ ISO 1,600
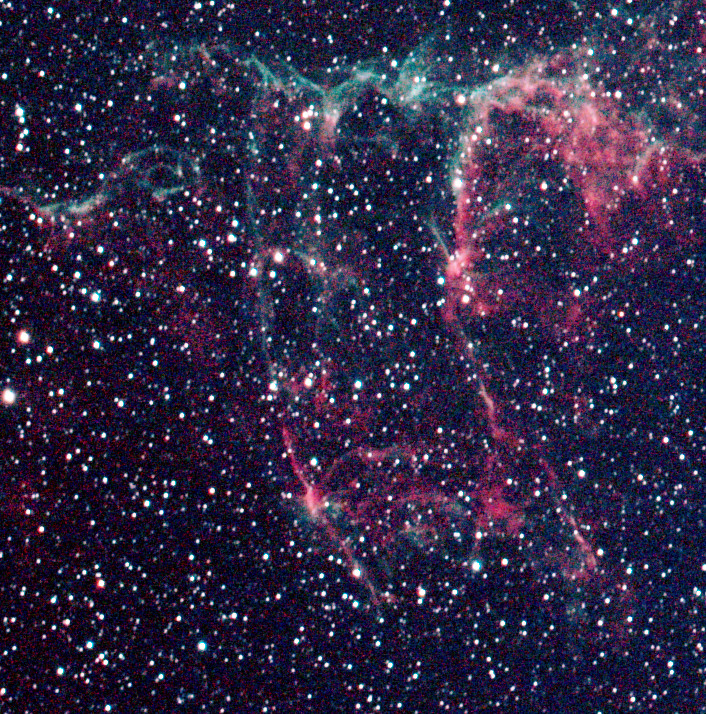
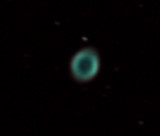
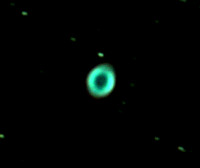
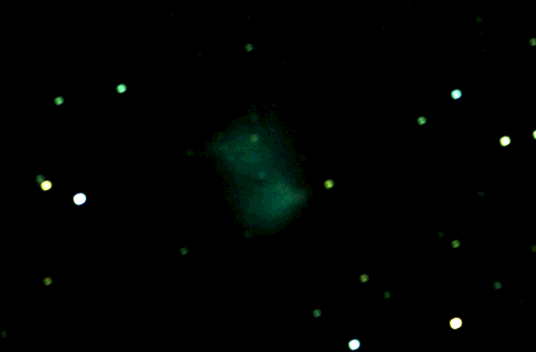
NGC 6995 AKA The Bat Nebula (look carefully and you’ll see him!)