The process of DSLR astrophotography can be broadly divided as four main steps:
- Preparation – equipment, targets / photographic plan;
- Set-up – mount, telescope, camera, control (mount & computer);
- Capture – settings (exposure, ISO, f-stop), frames (Subs, darks, bias & flats), tracking;
- Processing – stacking & post-processing.
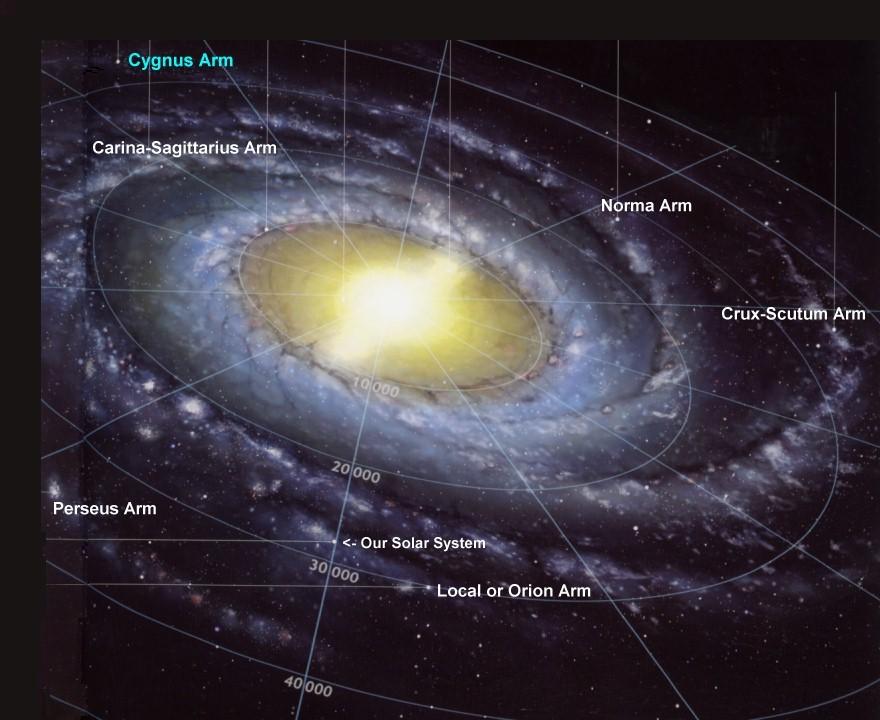
I am only just starting to delve into the final phase, which is another of those black arts and can, which if understood and used well, unlock detail otherwise hidden in each picture. This is where the difference between film and digital photography becomes most evident.
A digital photo is made up of a series of pixels. Each of the pixels in a digital photo corresponds to a photosite (also called a pixel) on the camera’s sensor. When hit by light (a photon) the photosite generates a small electric current, which is measured by the camera and recorded in a file – commonly as JPEG or in DSLR astrophotography the RAW format.
JPEG files record the colour and brightness information for each pixel with three eight bit numbers, one for each of the red, green and blue channels. DSLR cameras (like computers) use the binary system number system (a series of two digits – I or 0); the highest number in 8-bit notation is therefore 11111111. As a result each eight bit channel records on a colour scale of 1 to 255, or a theoretical maximum of 16,777,216; the human eye can detect between 10 and 12 million colours maximum.
RAW files dedicate more bits to each pixel, which does not equate to more colours but greater tonal graduation – the image is said to have more colour or bit depth. The theoretical number of tones recorded by my 700D 14bit DIGIC sensor is therefore 4.39 trillion!!! Post processing such RAW files therefore has potential access to vast amounts of information, resulting in the possibility of greater detail and subtlety.
At the moment my DSLR processing software is quite basic (relatively, it’s still very sophisticated):
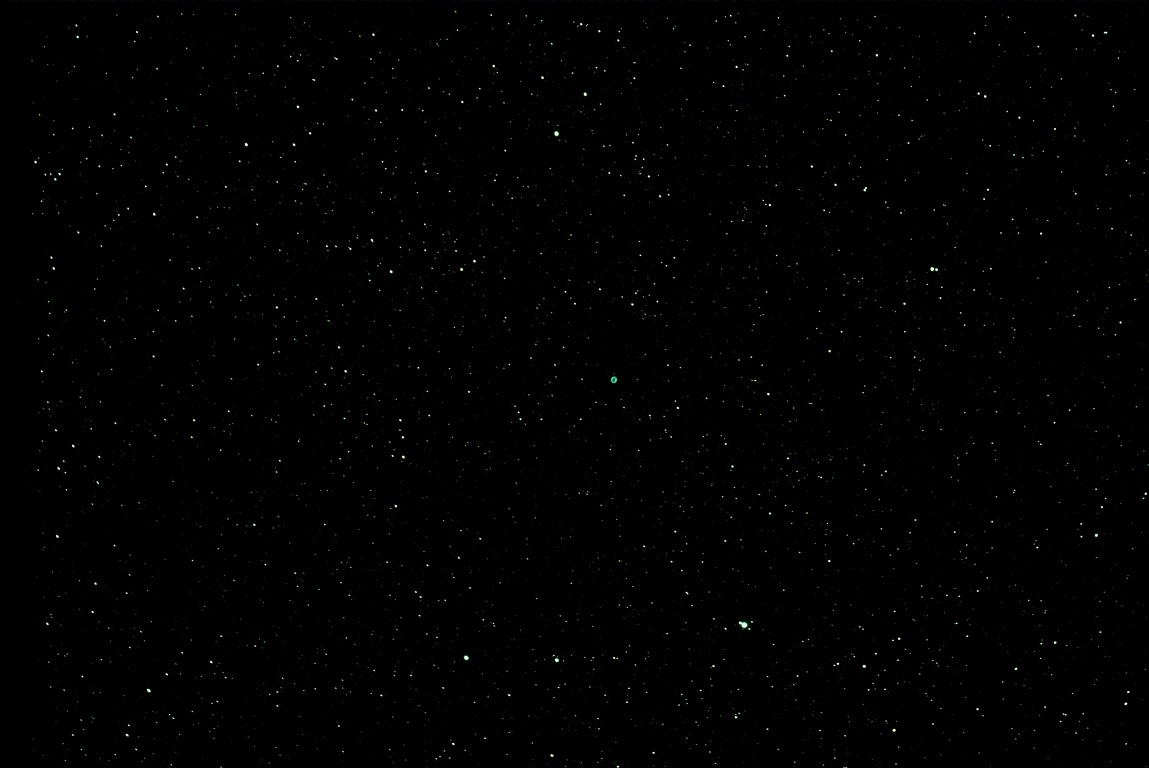
Deep Sky Stacker – used to compile the sequence of original RAW images in order to produce a single, optimized picture containing the ‘best’ data set possible from all the images. Other correction images may be also combined in this process to reduce such problems as sensor noise but, for the moment, I have limited these to just ‘darks’ (taken with the lens cap on) to help eliminate so-called hot pixels.
GIMP – free online post processing software use to finish the stacked image, by ‘stretching’ the colour ranges levels and adjusting tones and sharpness hitherto unseen detail emerges, often transforming the original photograph; the detail was originally captured by the camera in the RAW file but must be processed in this way to ‘release’ detail that would not otherwise be seen .
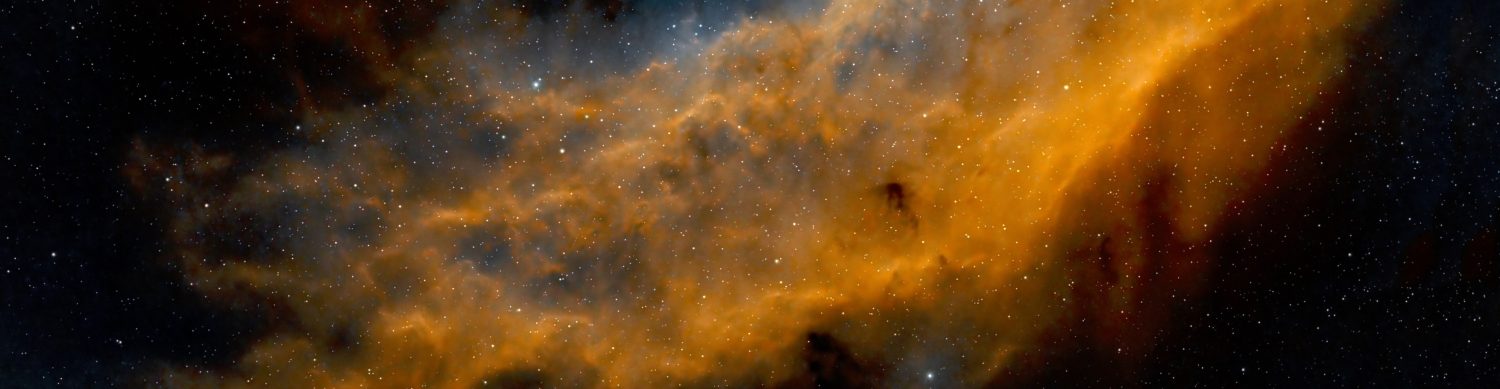
Through the application of these techniques modern astrophotography is able to reveal new and transform details of old wonders of the Universe.
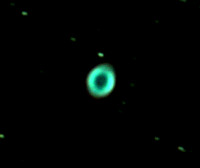
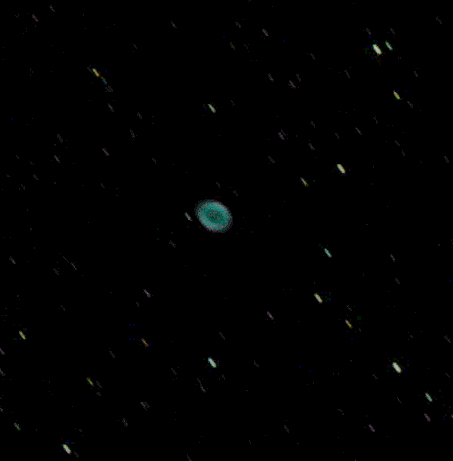
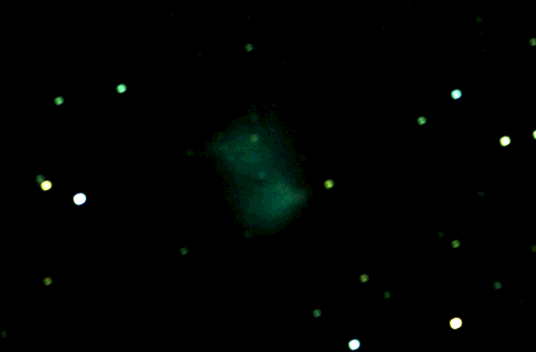
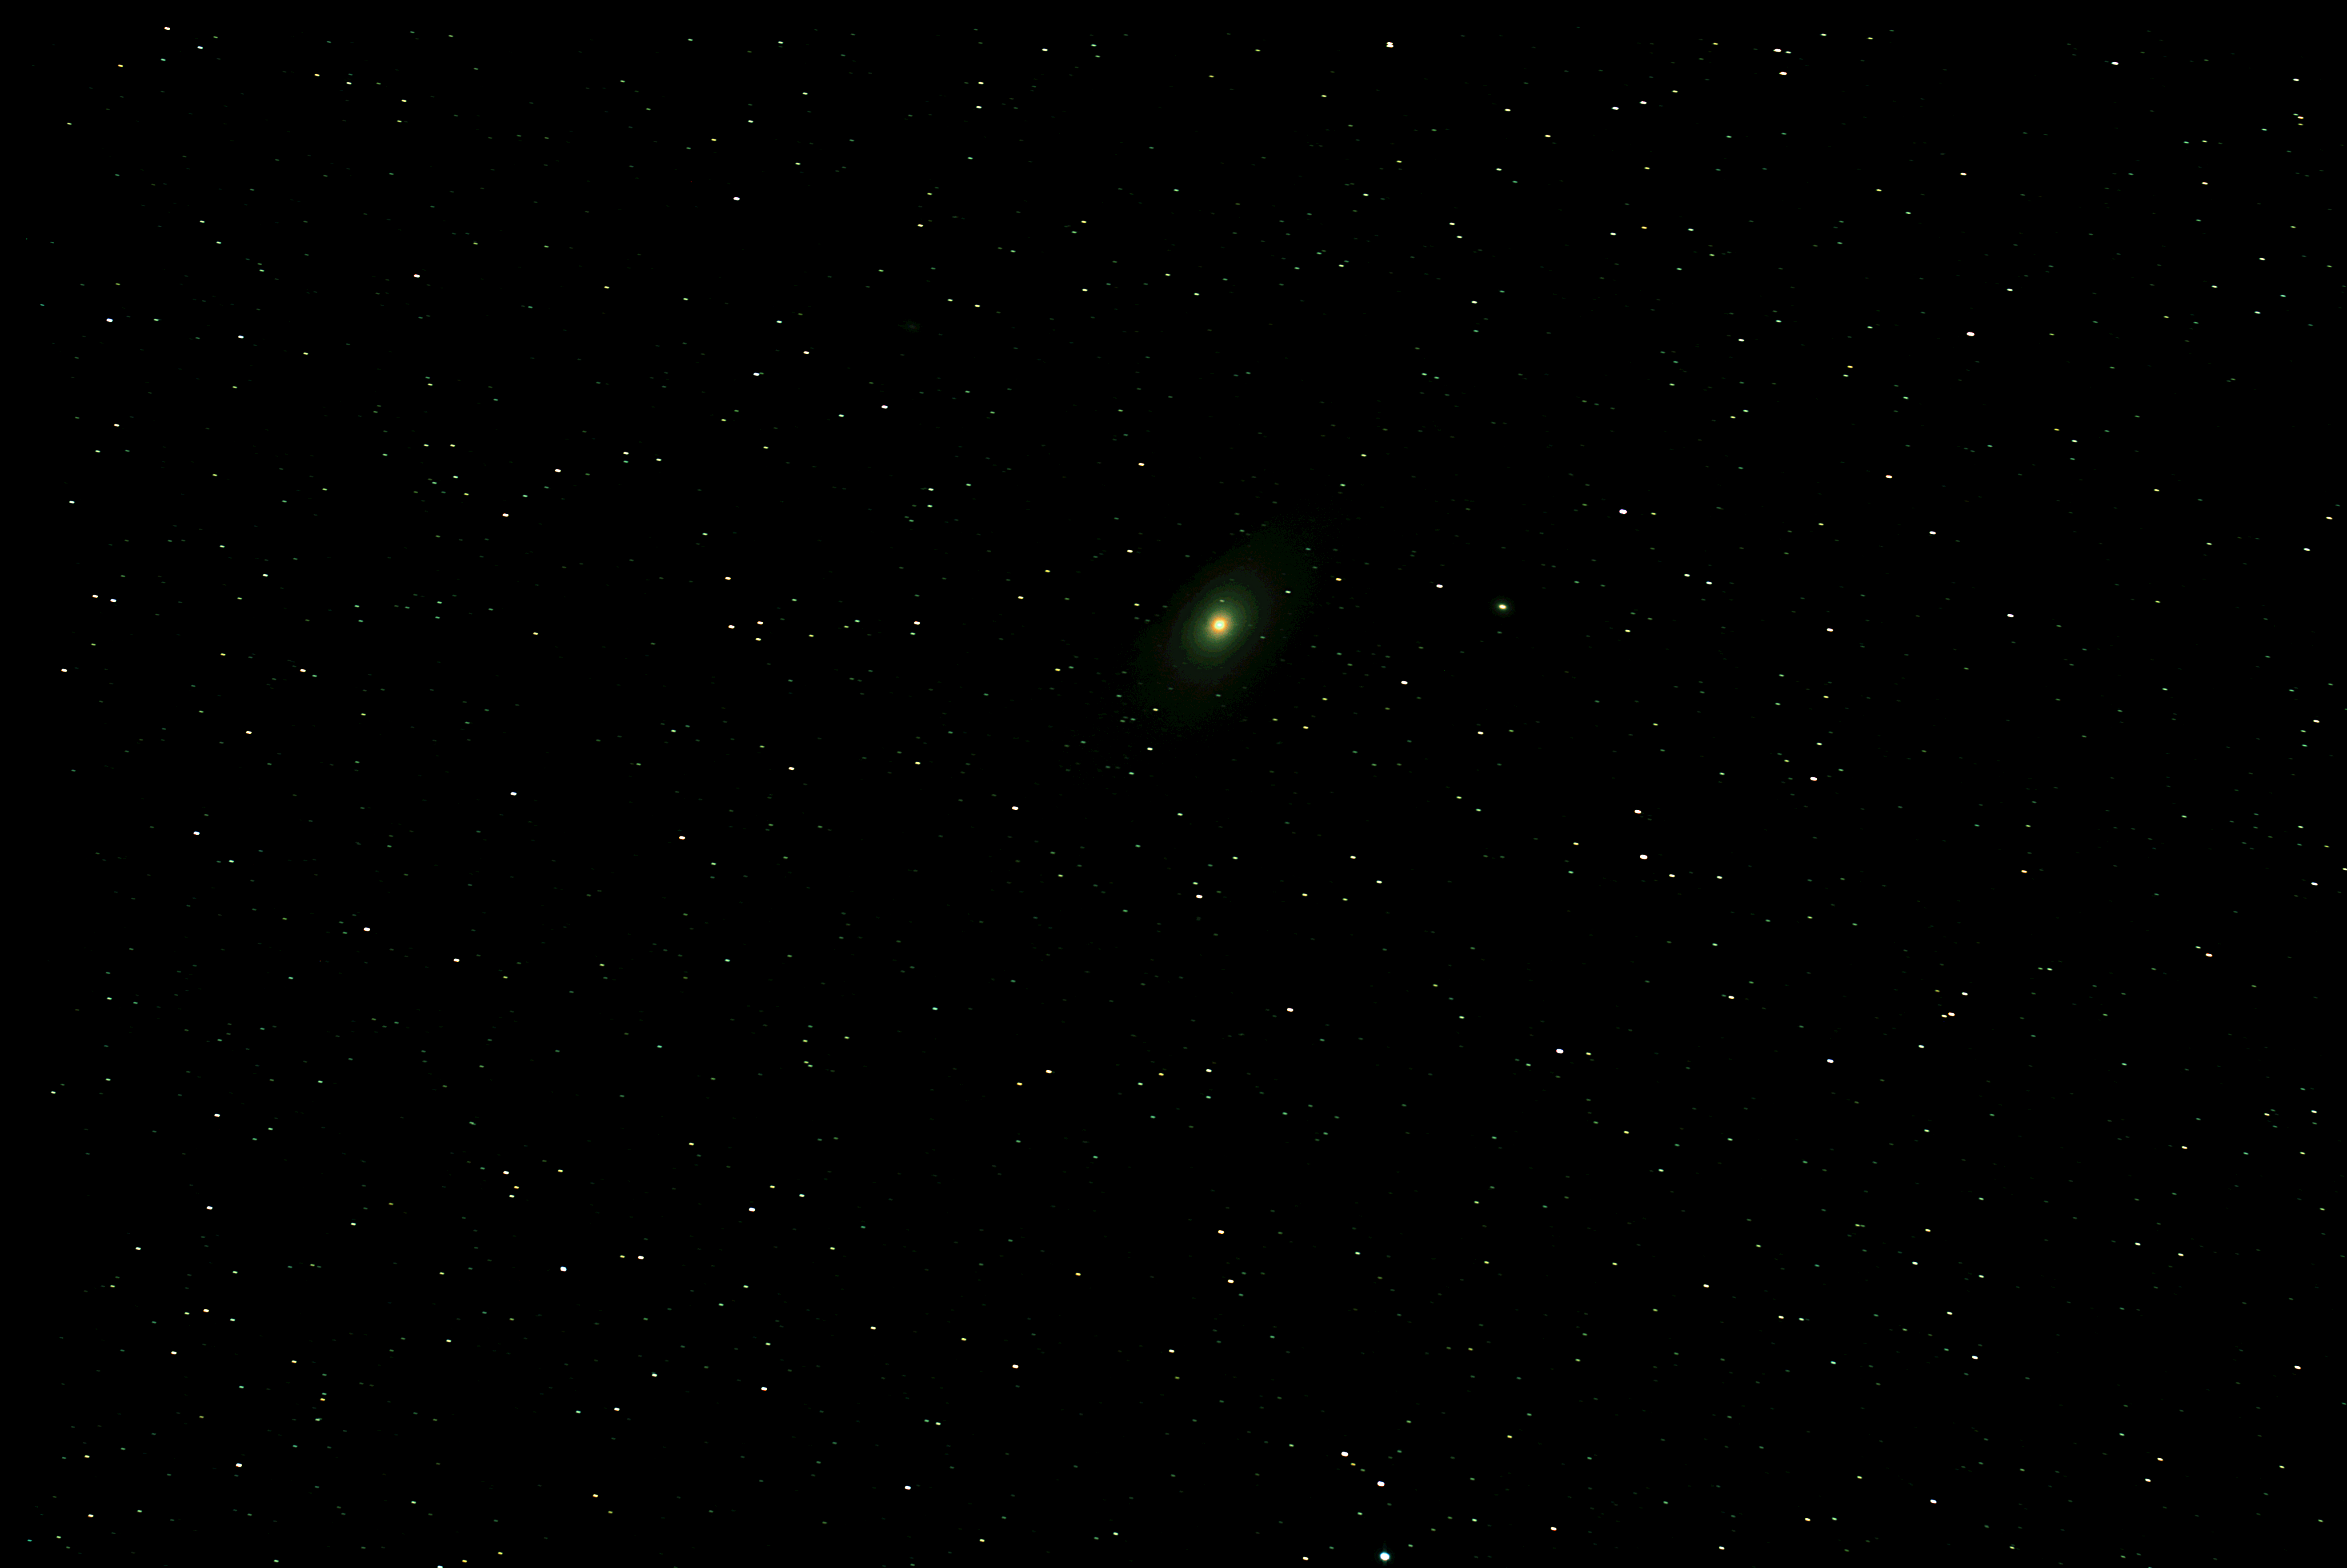
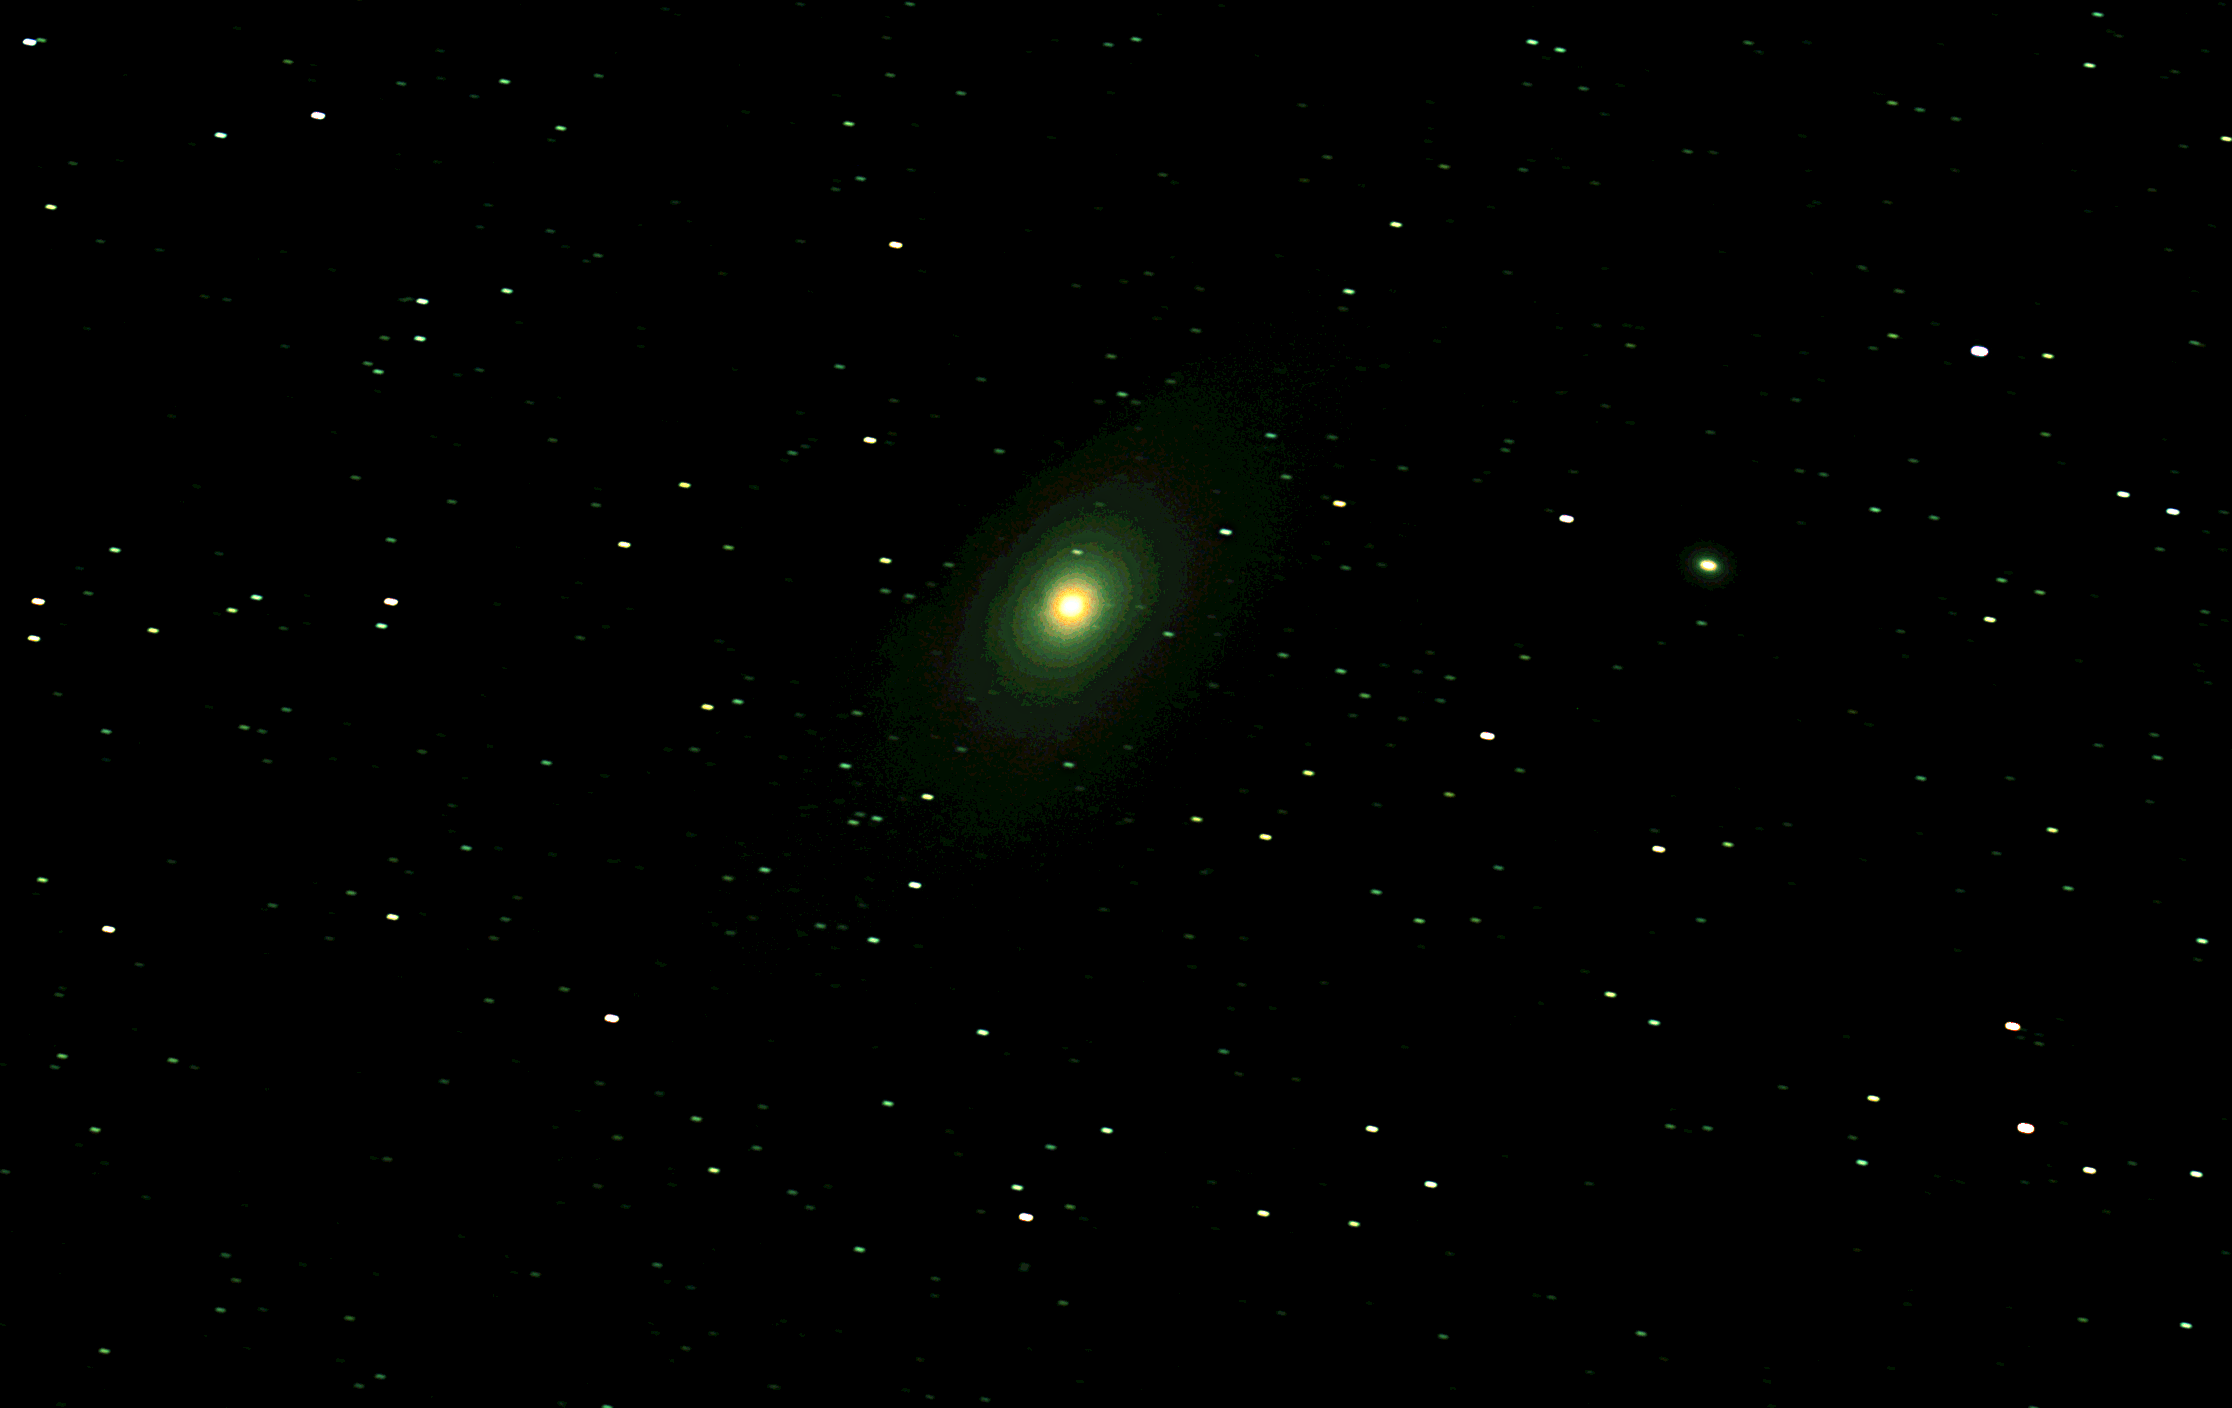
Whilst GIMP is very good, a better (more detailed and expensive) post-processing software used in astrophotography and by photographers and graphic designers is Photoshop. Mrs G uses an old version of Photoshop and taking the previous images of M27 and M57 has teased further detail, in particular colour, from these images with great effect. With 4.39 trillion potential colour tones the devil is in the detail and is always worth looking for.
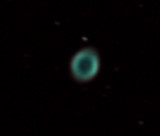
M57 – additional Photoshop post-processing brings out more colour (see previous blog for comparison)
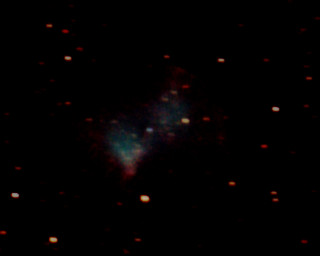
M27 – Photoshop post processing has also ‘found’ more colour in this image too