
My astrophotography journey started just over 10-years ago and looking back, it’s clear that my timing was fortuitous, as over this period we have seen several developments that have completely transformed the hobby for amateurs.
- Wide availability of high-quality telescopes for relatively modest prices
- Development of CMOS sensor cameras
- Major advances of image capture and processing software
- Introduction of AI to image processing
And the changes just keep coming.
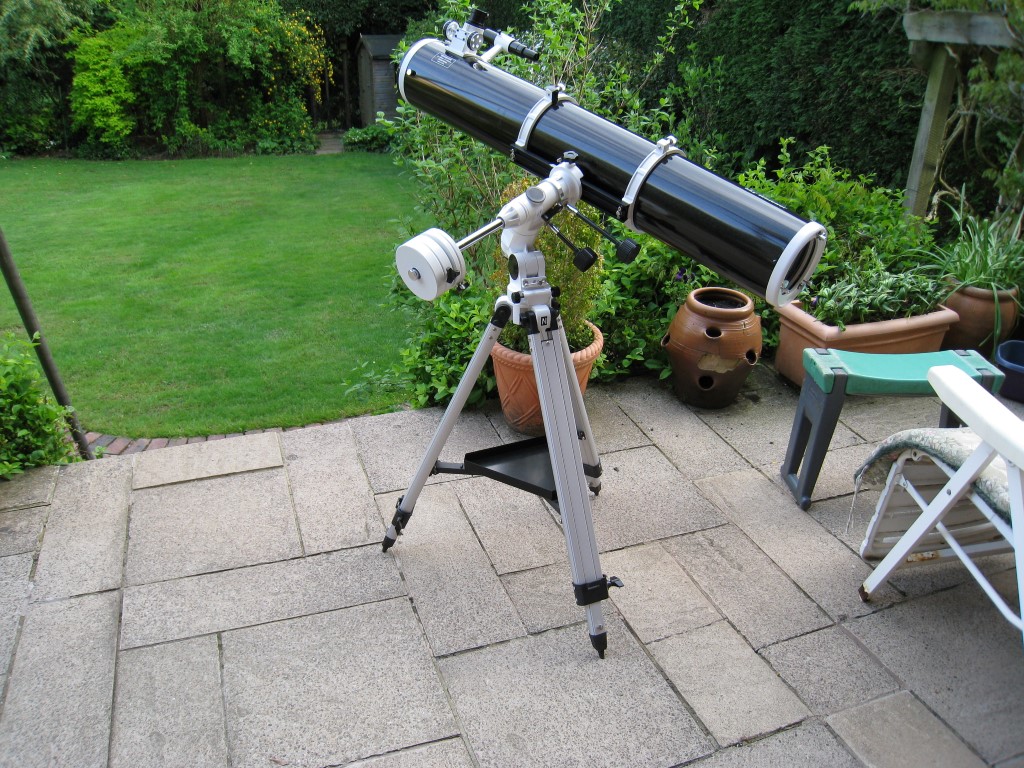
When not imaging or processing, I’m sure that many astrophotographers spend too much time looking online at new equipment, particularly telescopes and cameras! However, when my journey started in about 2014, it didn’t take long to discover that perhaps the mount is the most important piece of equipment. I started observing with a Skywatcher 150PL on a EQ3-2 mount ( see above ) but soon thereafter discovered astrophotography, which required the addition of a small motor for tracking. It was fun but completely inadequate for good imaging, so then moved onto a William Optics GT81 triplet refractor on a Skywatcher AZ-EQ6 GT mount ( see below ), which completely changed everything and, more importantly, gradually resulted in better images.
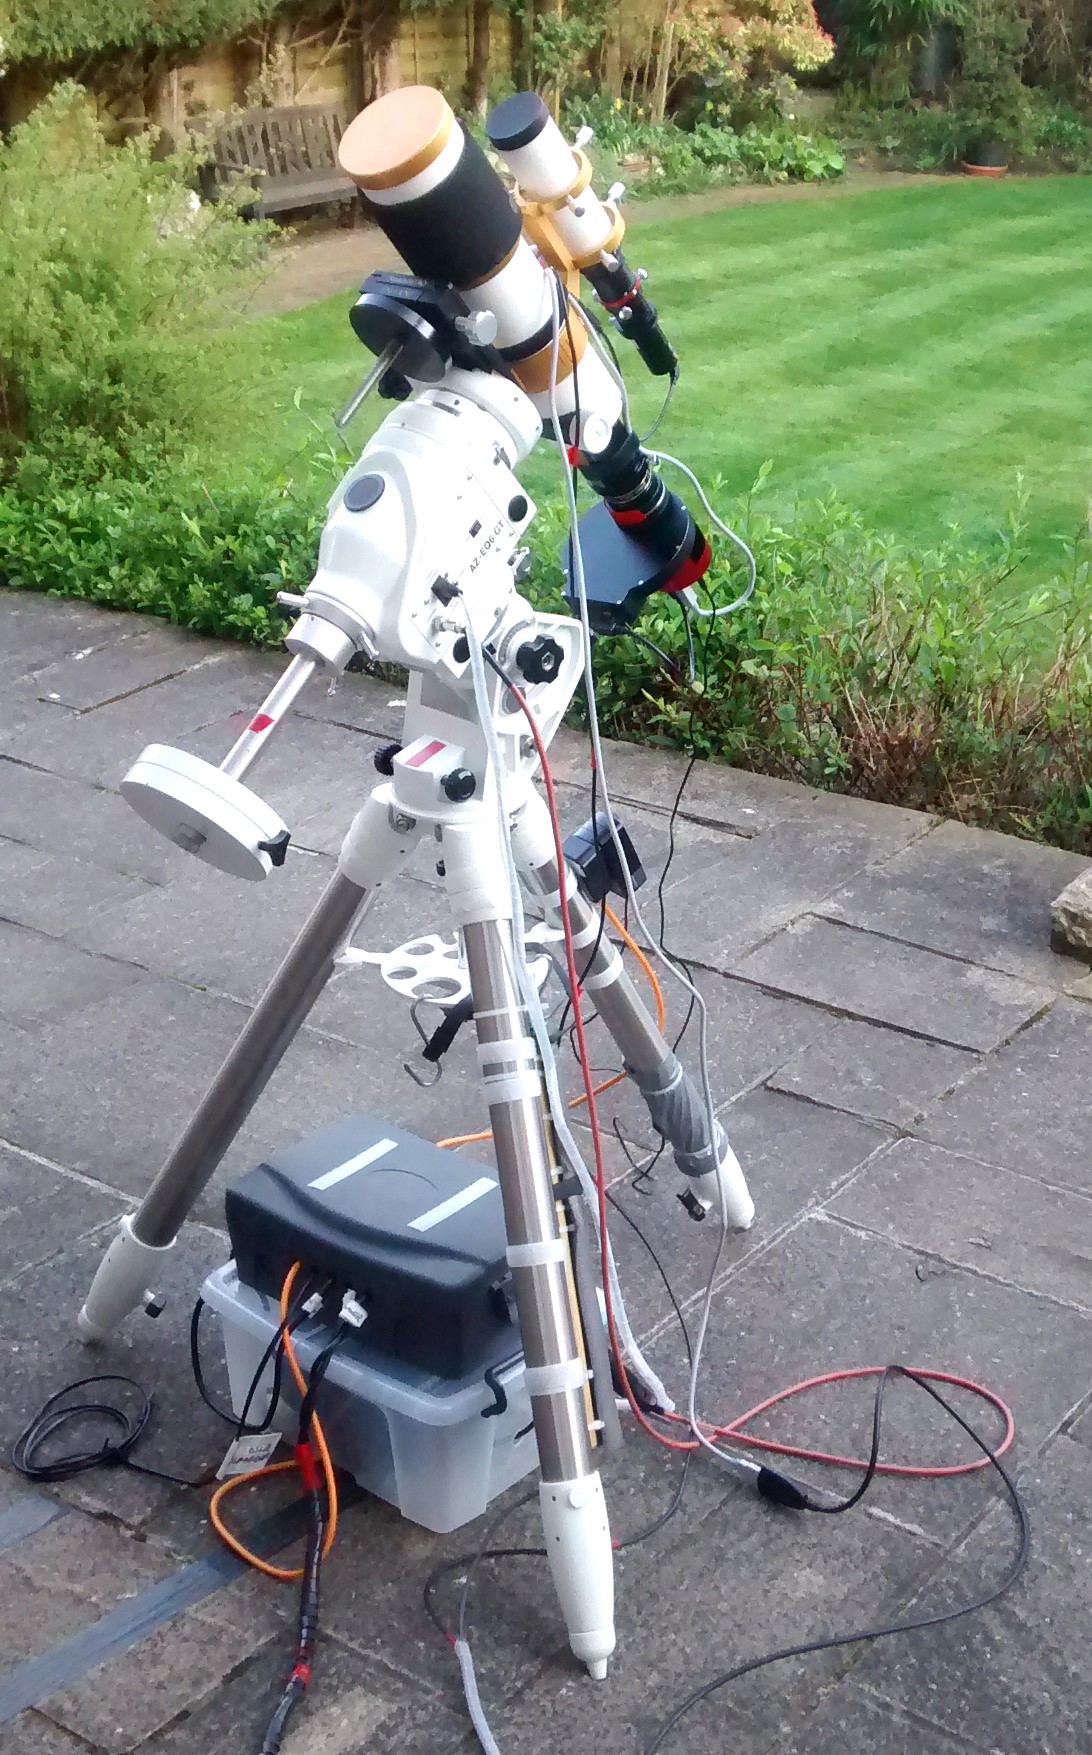
I continue to use the AZ-EQ6 GT, which technically remains an excellent mount, but it is very heavy and frankly has become more and more tedious to set-up and take down each time, whilst moreover, my back is finding it too much hard work. It is said that necessity is the mother of invention and so a completely new type of mount slowly emerged on the market last year, that is now becoming nothing less than a revolution. It seems too good to be true, but its features are:
- Small & light weight
- High load capacity that doesn’t require counterweights
- No need to be balanced
- High torque
- Low if any backlash
Apart from the weight issue, commonly used GEM mounts are based on worm gears, which inevitably suffer from backlash, that can be a major problem for astrophotography. Although this can be minimised with good set-up and various software, it will always remain a problem. The new harmonic drive or strain wave mounts are based on completely different technology, that surprisingly has been used for many years in avionics and robotics, making it tried and tested technology. A strain wave mount uses a flexible spline and a rotating elliptical plug to transmit motion and achieve high precision and torque, which allows for large payloads in a compact and portable package ( see images immediately below ) . Click HERE for more technical information. Initially there were only a few manufacturers of Harmonic / Strain Wave mounts but now the word’s out and all manufacturers are rushing to join the game.


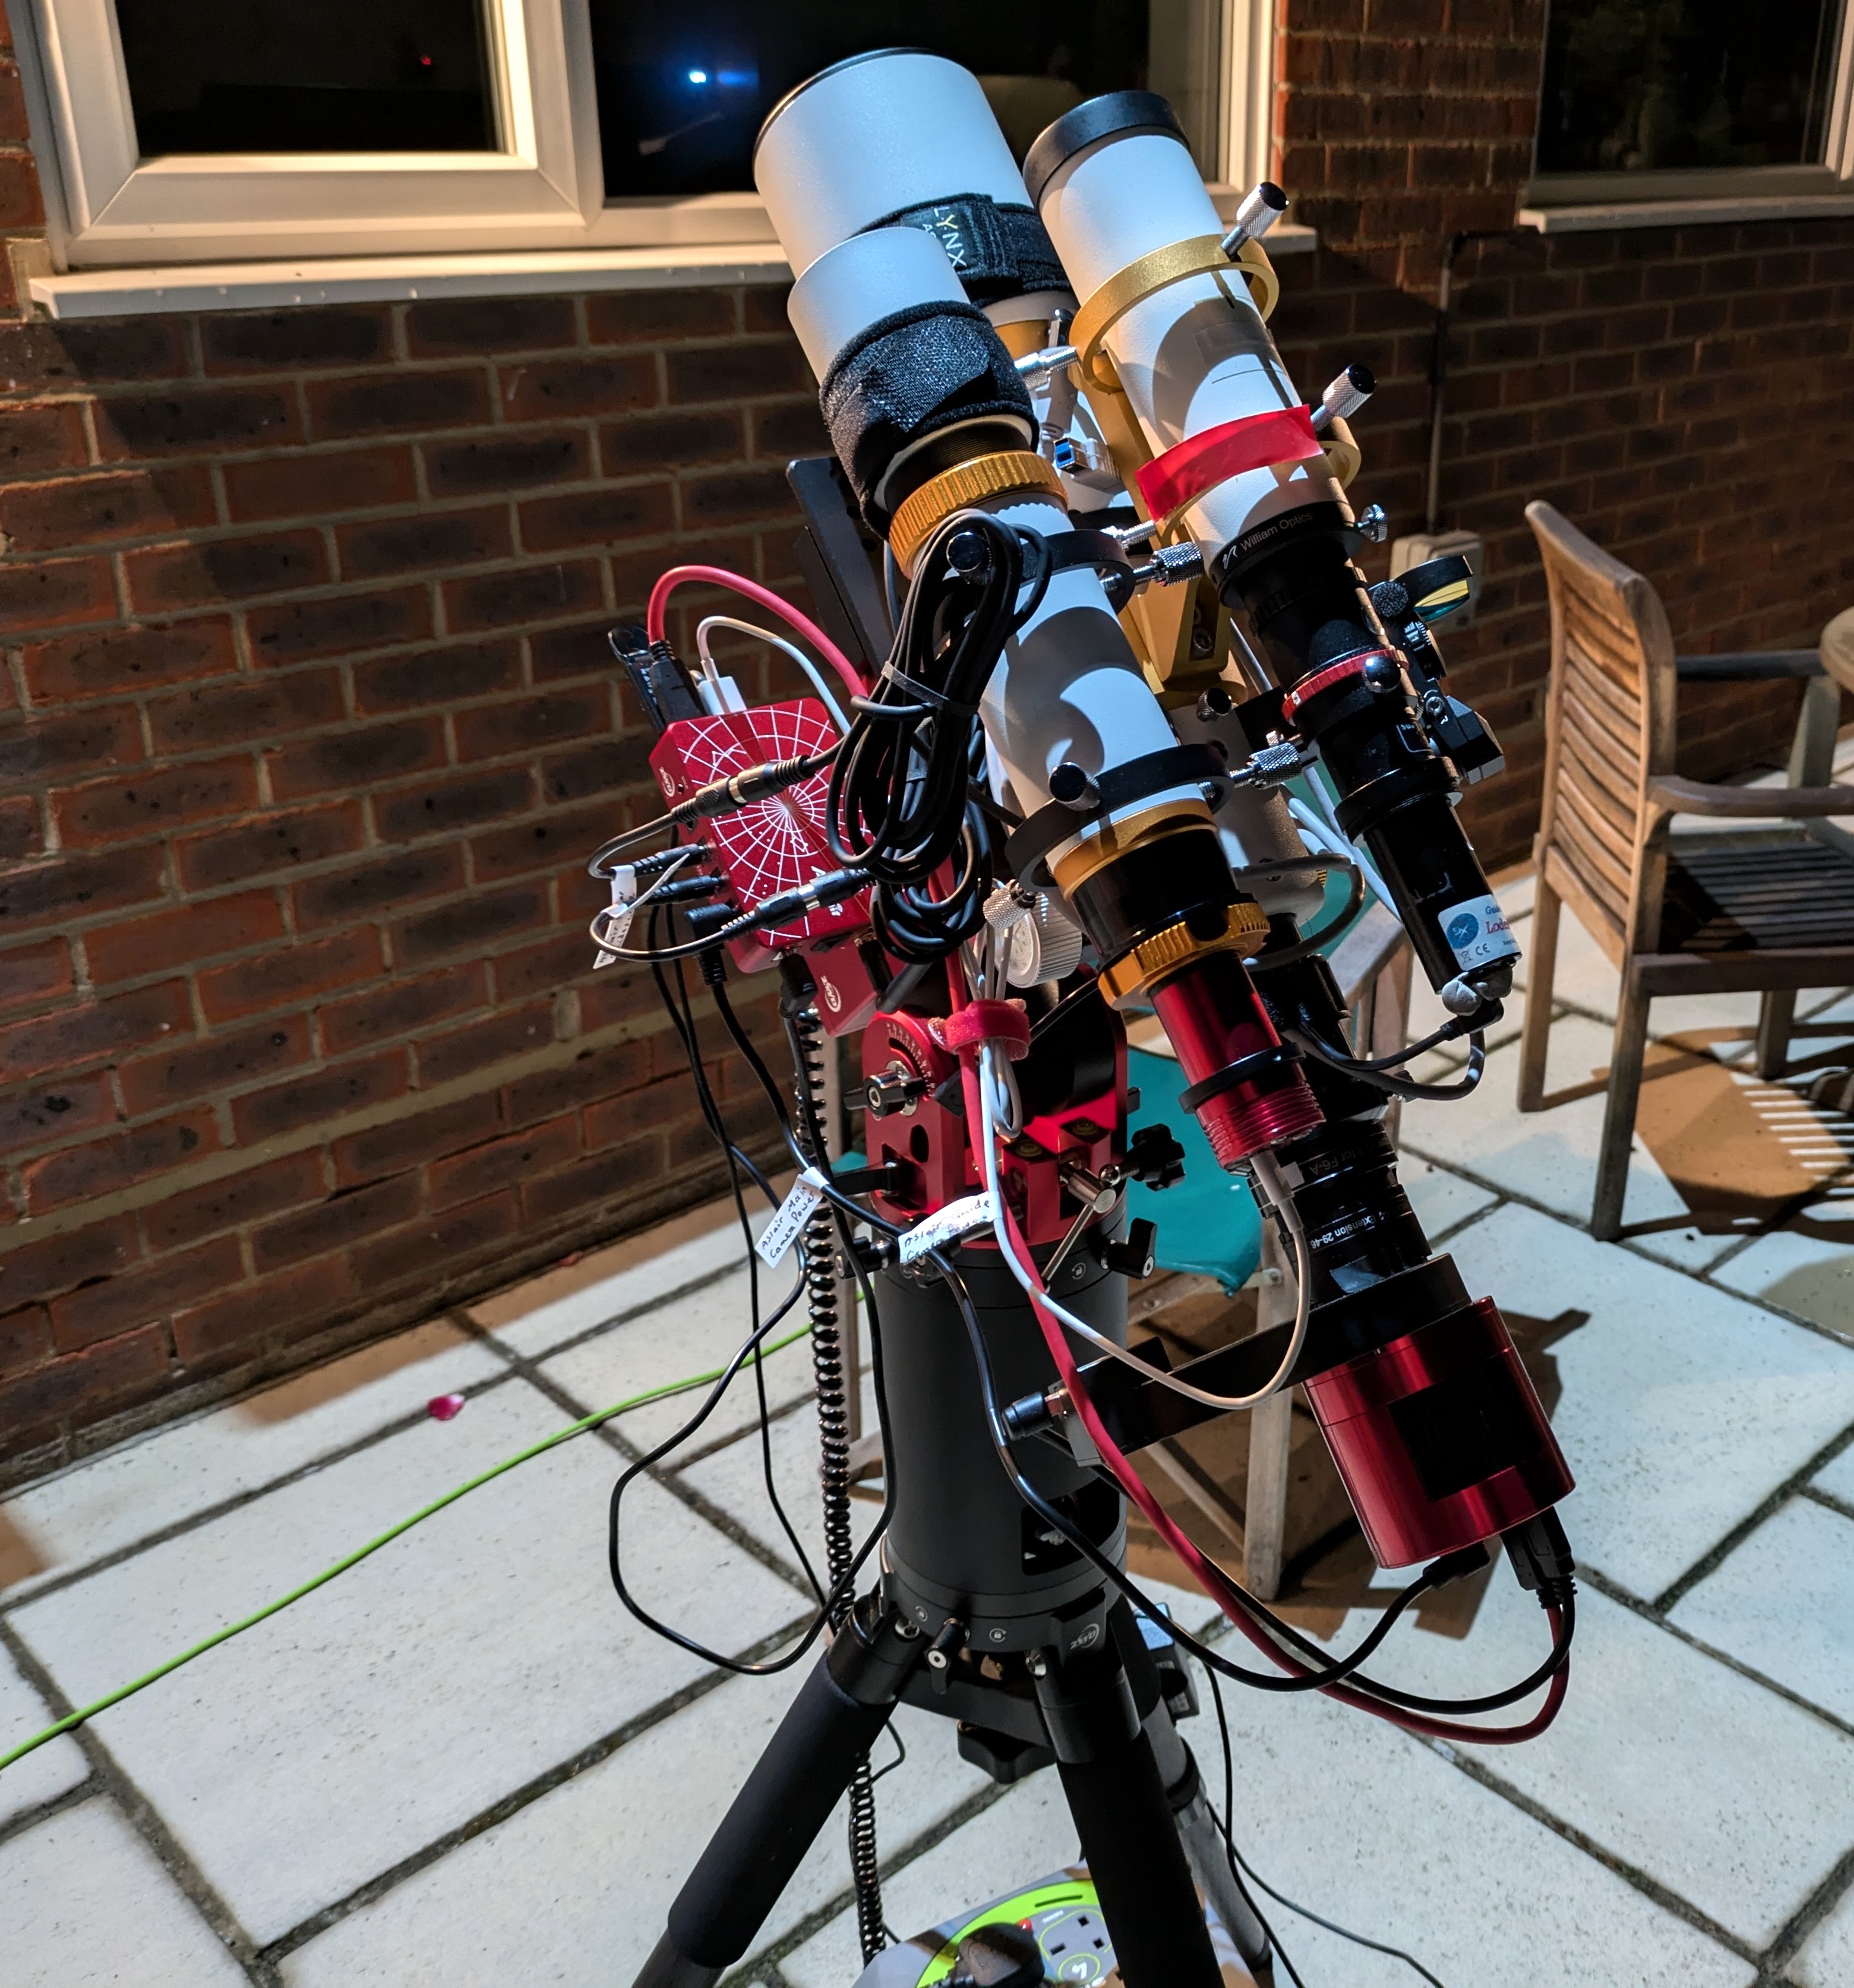
Over the past decade the Chinese technology company ZWO Optical have emerged as a dominant force and leading innovator in astrophotography; I’ve been using various excellent ZWO CMOS cameras since 2015. It was therefore no surprise that ZWO were amongst the first to launch a Harmonic Drive mount, initially the AM3 then the AM5 which is what I purchased earlier this year; the main difference between the two is capacity, the AM5 being greater. For various reasons, personal and being busy imaging with the AZ-EQ6 GT, I only got round to using the AM5 in August ( see below) and have not been disappointed.
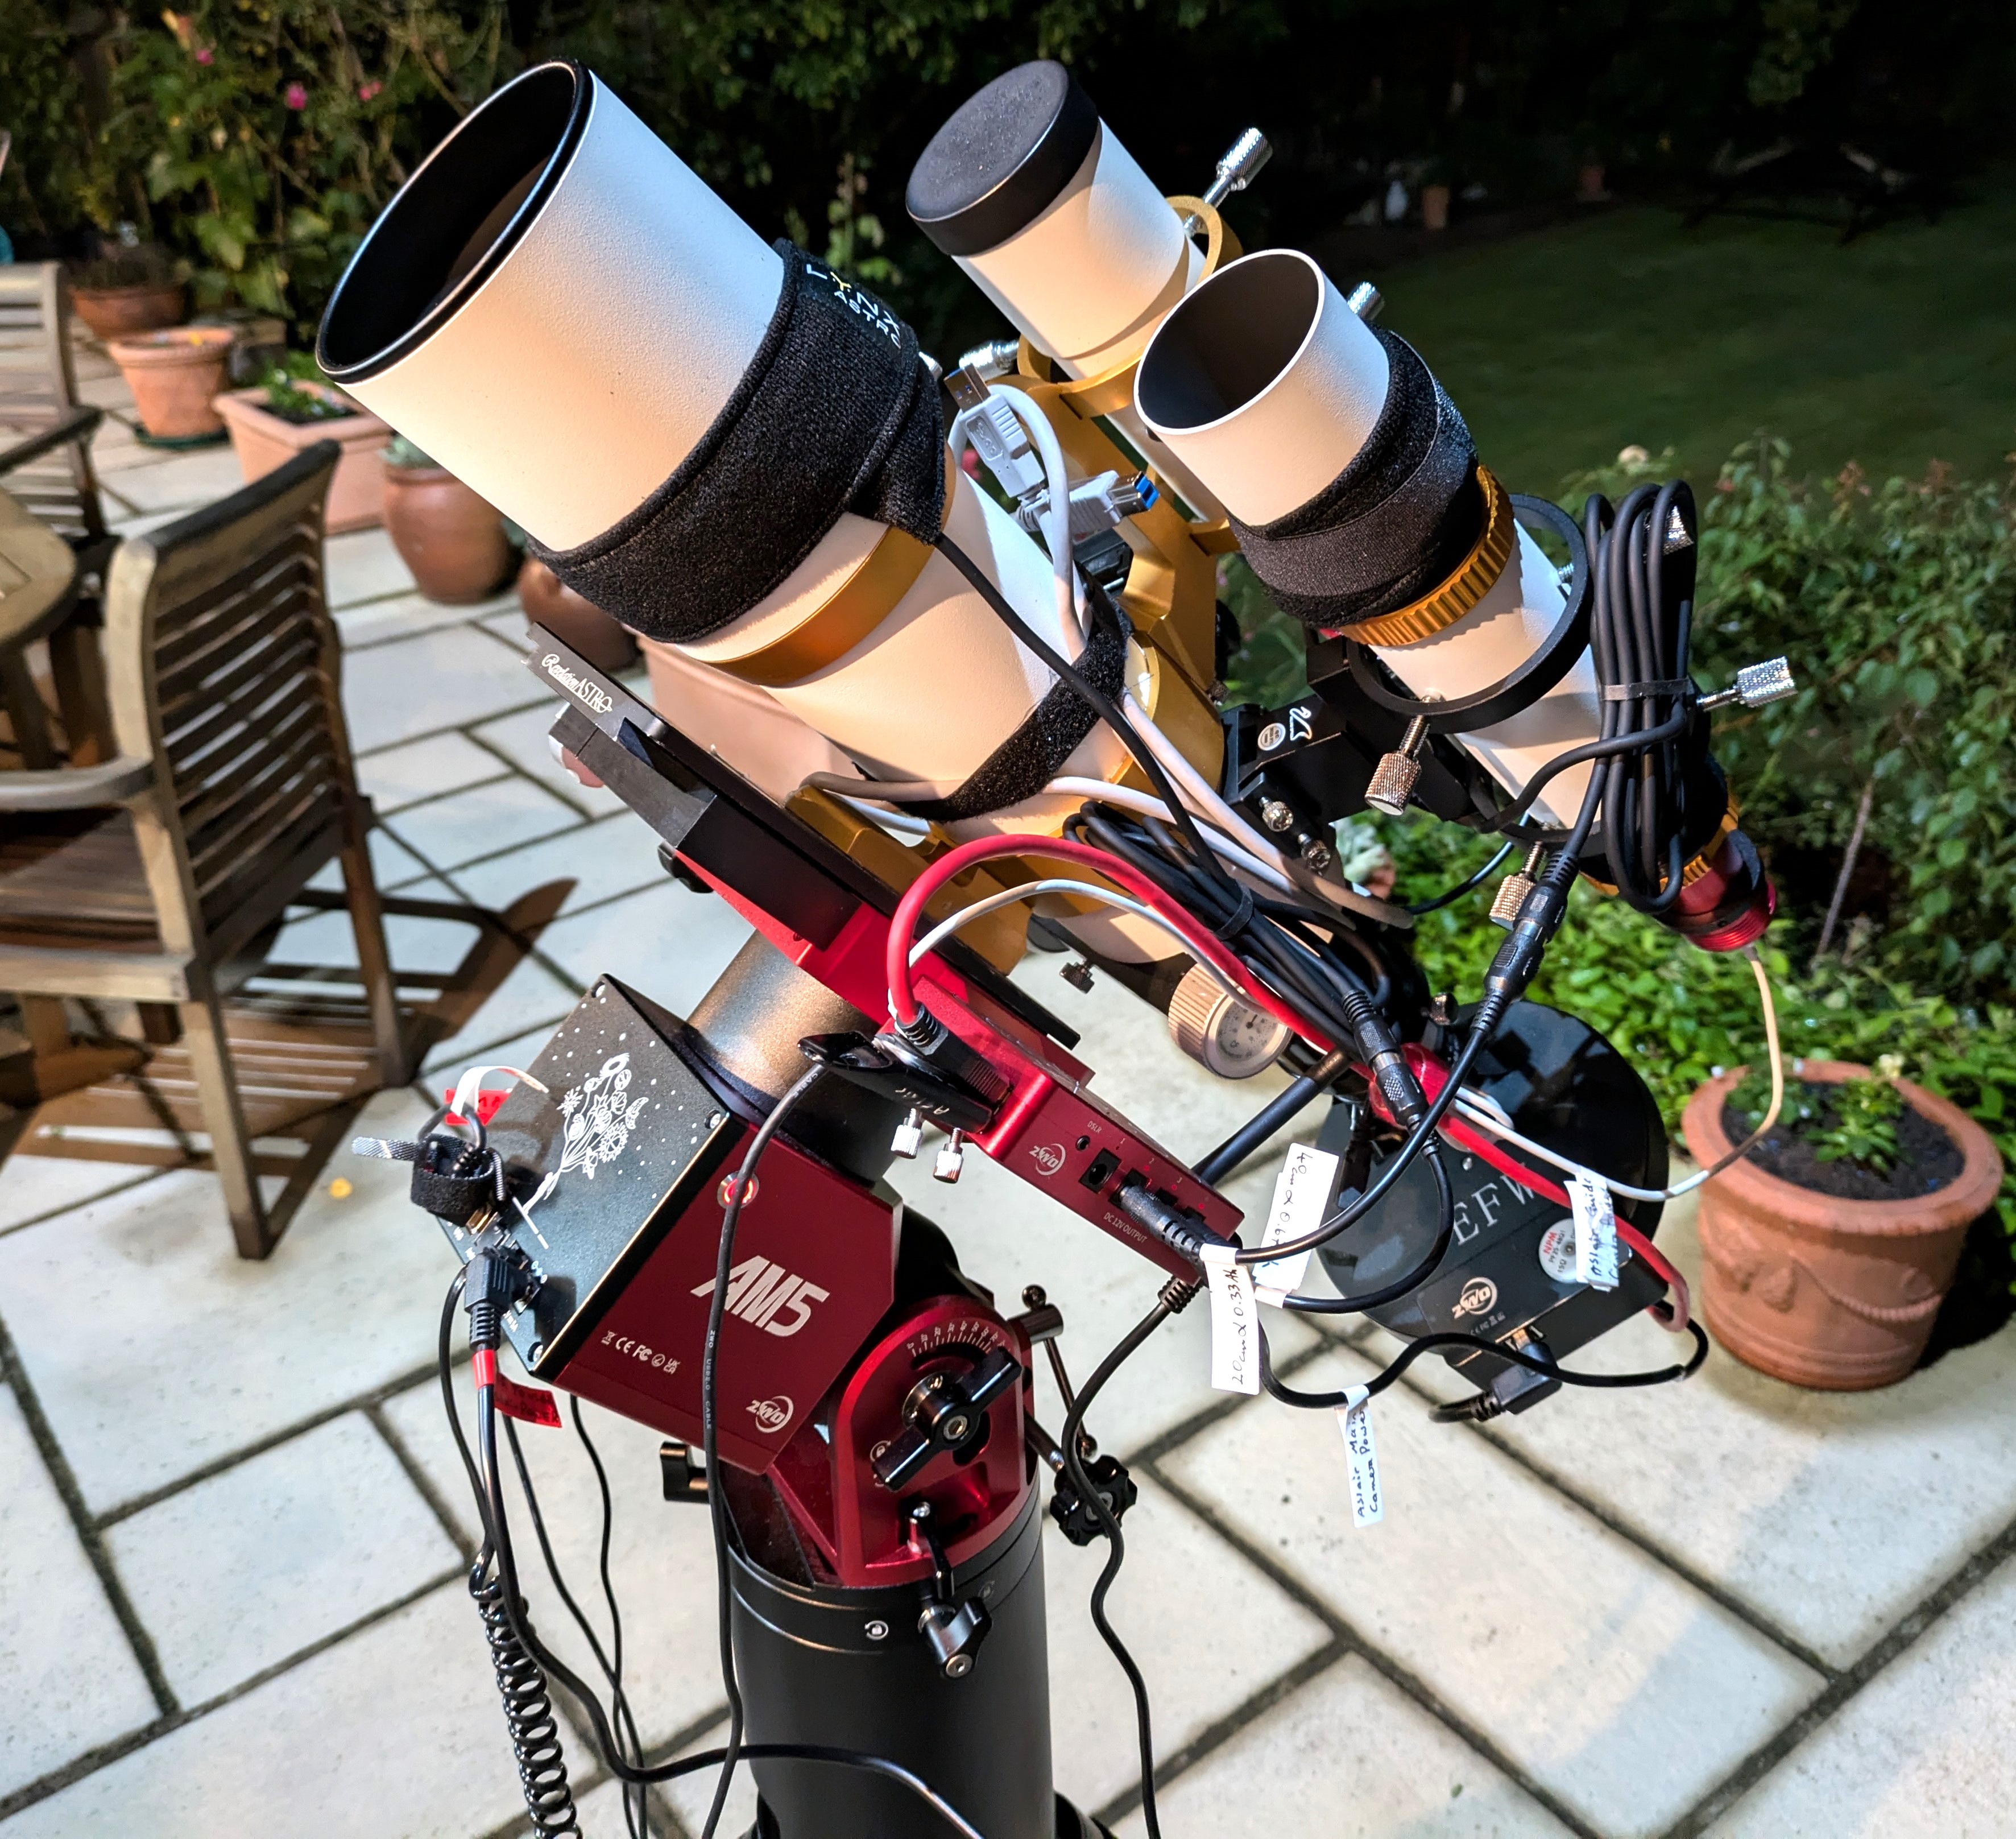
One of ZWO’s quirks is that, where possible, their equipment is often only compatible with other ZWO products. It can be a bit of a problem but given the quality of their equipment I’m not usually put off. Notwithstanding, the AM5 will fit some other tripods but in this case, I chose to purchase the excellent and super lightweight ZWO TC40 carbon fibre tripod, together with the ZWO PE200 pier extension, which reduces the likelihood of the OTA / camera colliding with the tripod. Like my previous experience of ZWO equipment, everything is well designed and exceptionally well made. Moreover, it is substantially lighter than my AZ-EQ6 mount!
Although not essential, to reduce the set-up / take-down time as well as provide convenient integrated control and capture software, I also chose to get ZWO’s well tested and popular ASIair Plus, which can easily be attached either to the mount or scope. Basically, it is a very small astrophotography computer / controller, which can also help manage various power requirements such as cameras and dew straps. Finally, and because for now I wanted to piggyback my existing William Optics GT81 scope which uses a Lodestar X2 guiding camera that is incompatible with the ZWO equipment, I added a dedicated 50mm William Optics 50mm guide scope with a ZWO ASI120MM mini guide camera.
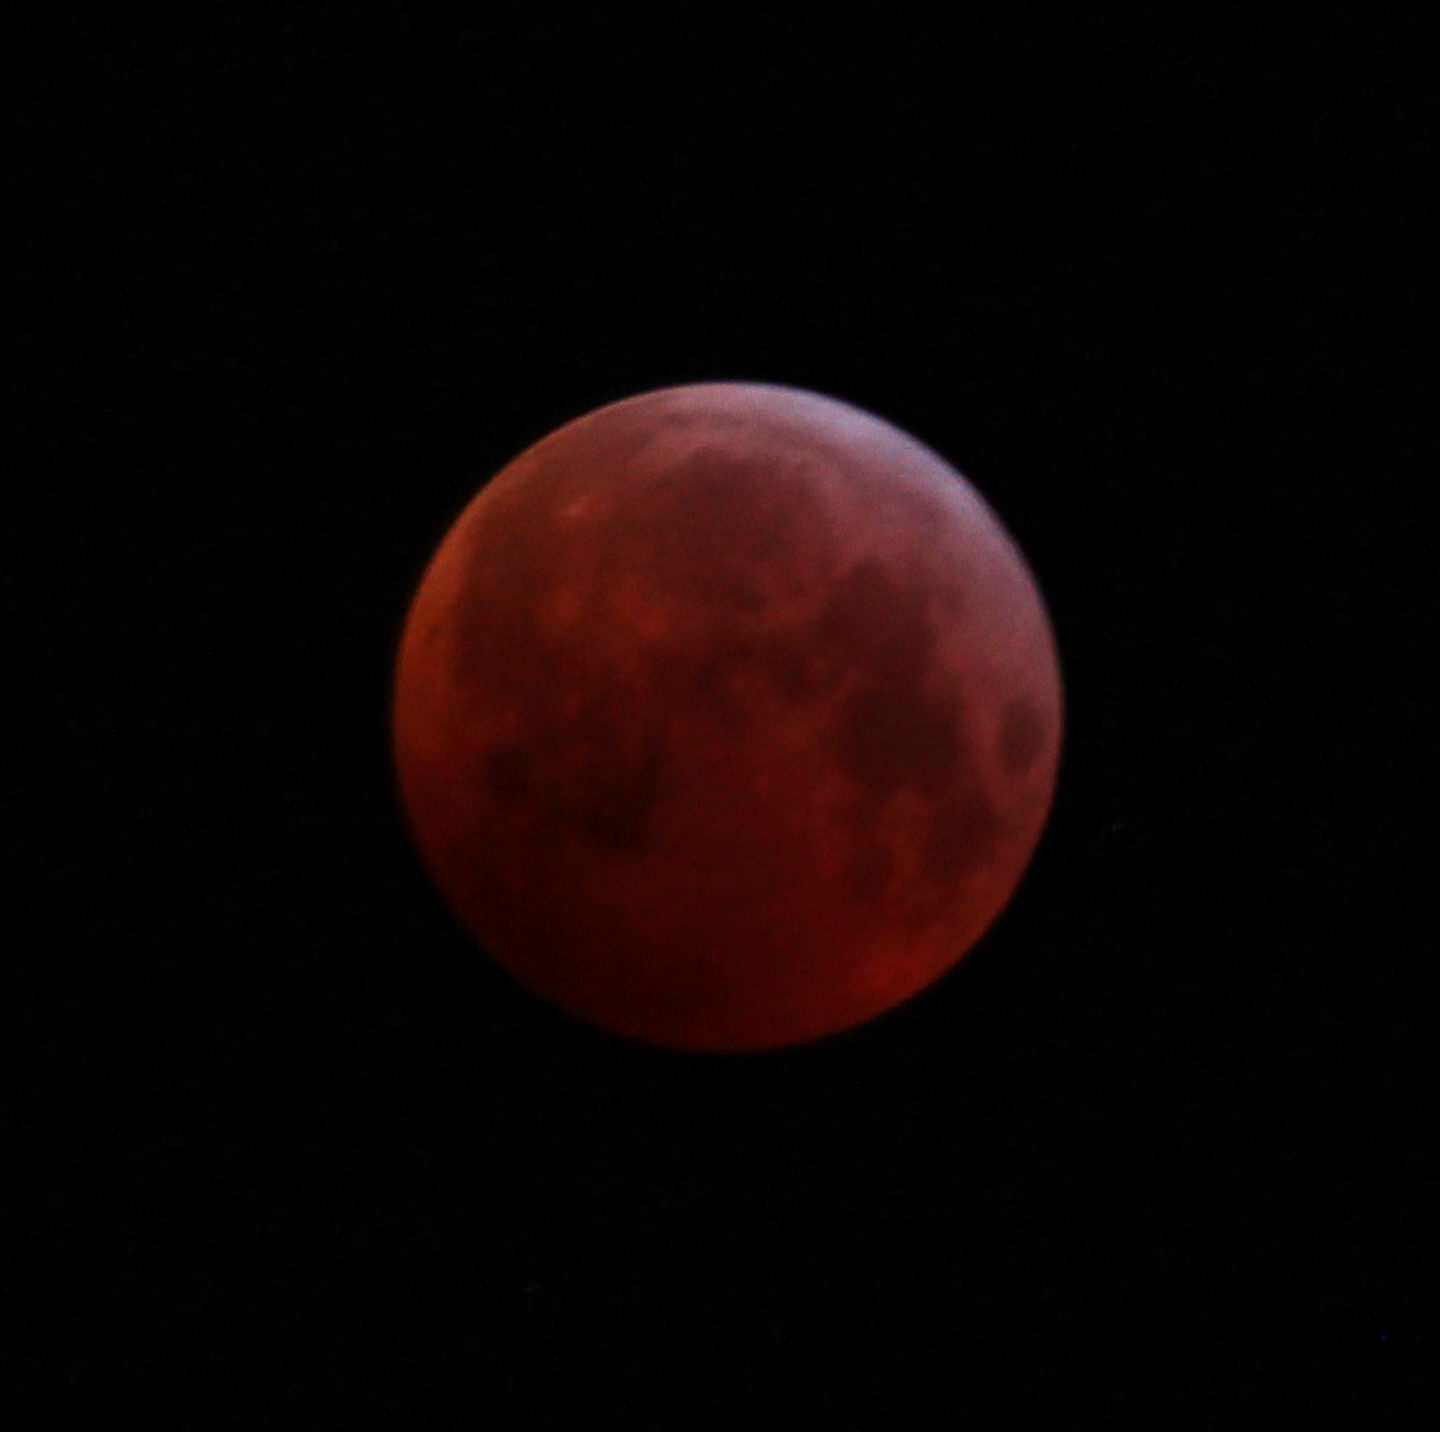
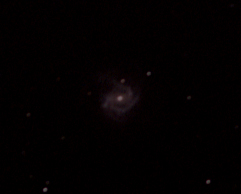
Finally, only in recent weeks have I had the chance and weather conditions to set-up and try out this new equipment. The early results have been good so far and I hope the limited integration time of the image here will be just a taster of what is to come. The AM5 itself has been a breeze to use and its light weight and set-up is clearly going to revolutionise my astrophotography but the ASIair plus is also a significant game changer that I’m still getting to grips with.
The ASIair plus delivers an excellent and mostly, easy-to-use experience, which with time I’m sure I’ll get to love but to miniaturise and streamline operating compared to my current set-up and control equipment and software, I find it lacking in finesse. Notwithstanding, it is an incredible piece of equipment that works very well with the AM5 mount. I am particularly impressed by the Polar Alignment and Meridian Flip functions, of which the latter is just amazing!
All-in-all the weight and convenience of the AM5 together with the other ZWO equipment is likely to result in a better and importantly, fun time when imaging. In particular, with a truly portable set-up I’m hoping to revisit the end of my garden, from where I can see the north sky and all its objects, hitherto obscured by my house, and maybe even get to image at some dark sites, we shall see – these are certainly changing times, which so far I’ve really enjoying.
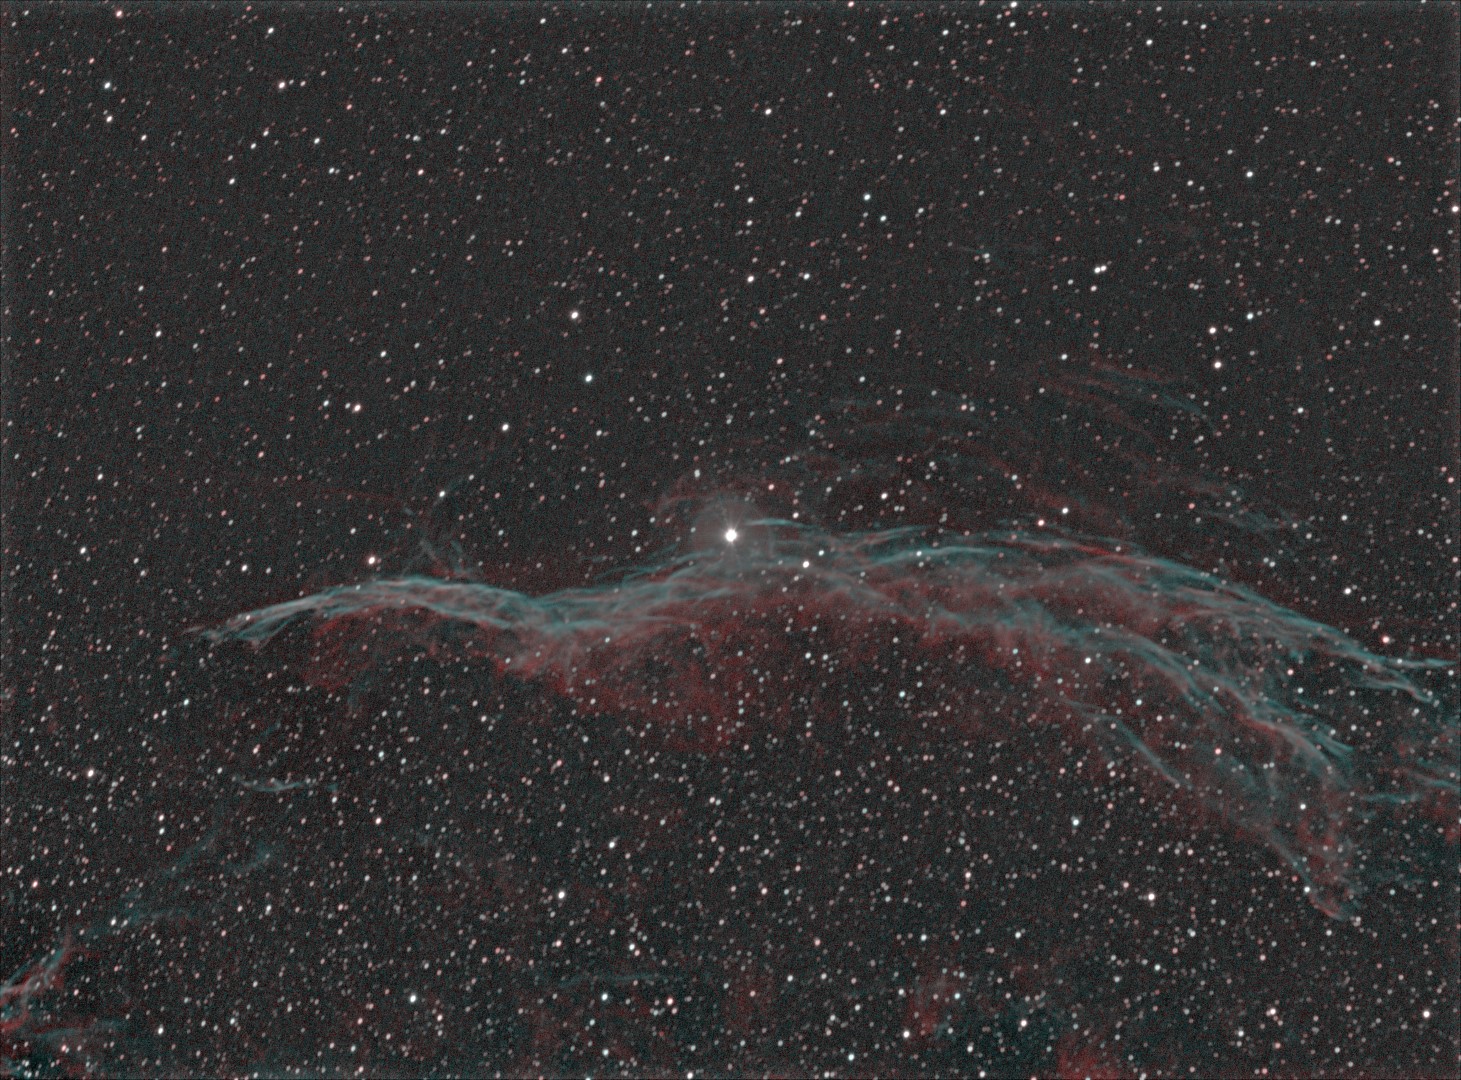
| IMAGING DETAILS | |
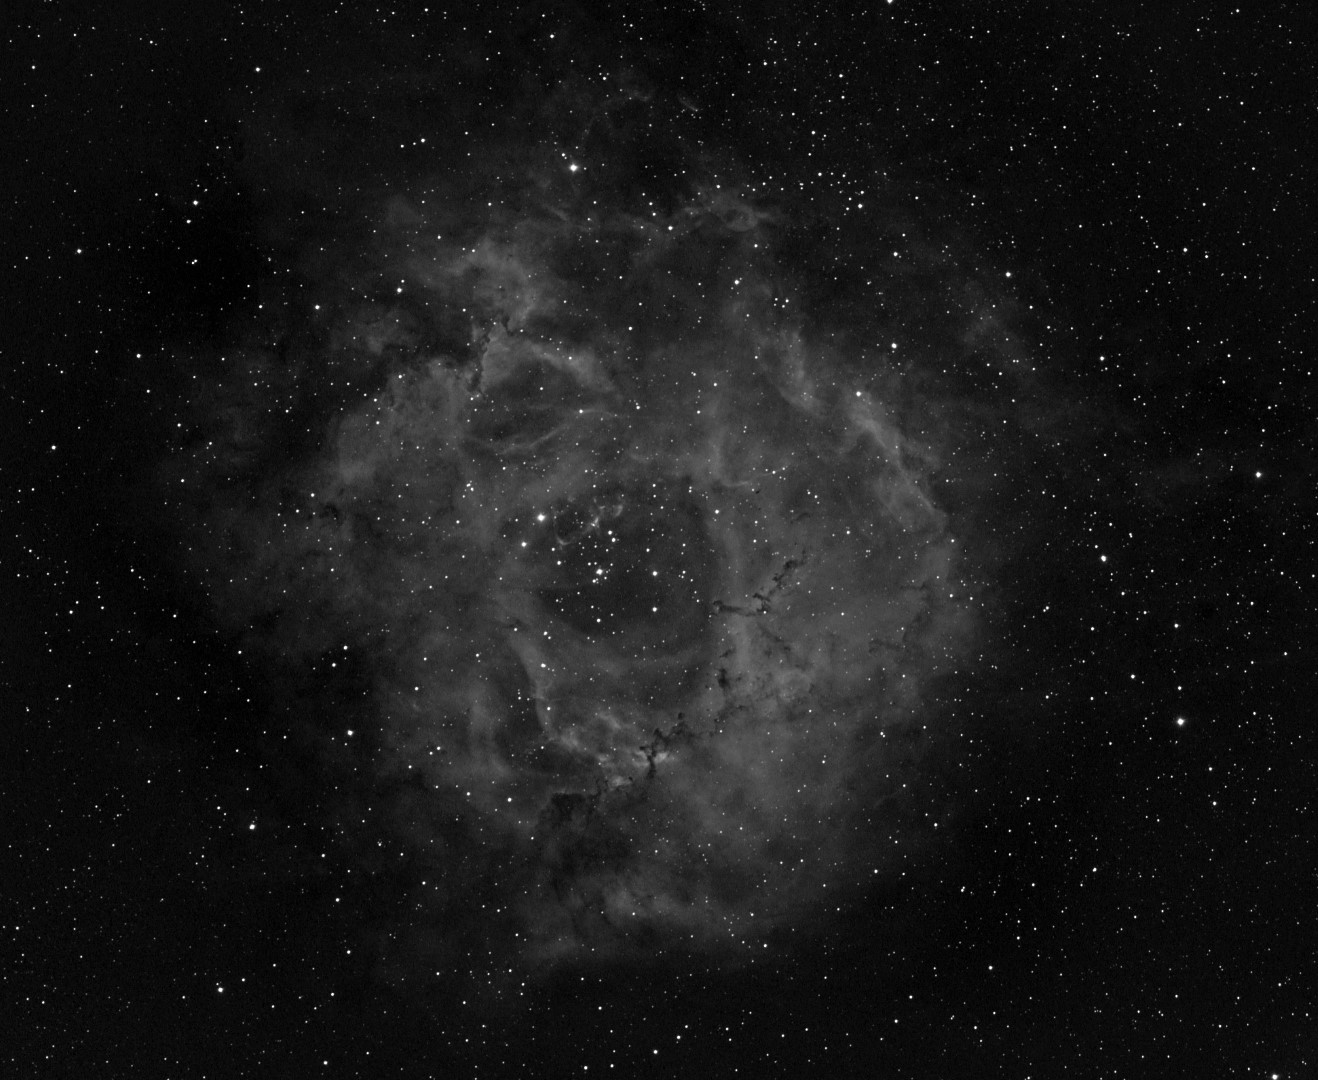
| Object | NGC 7000 North American & Pelican Nebulae |
| Constellation | Cygnus |
| Distance | 2,590 light-years |
| Size | 120 x 100 arc mins |
| Apparent Magnitude | Various |
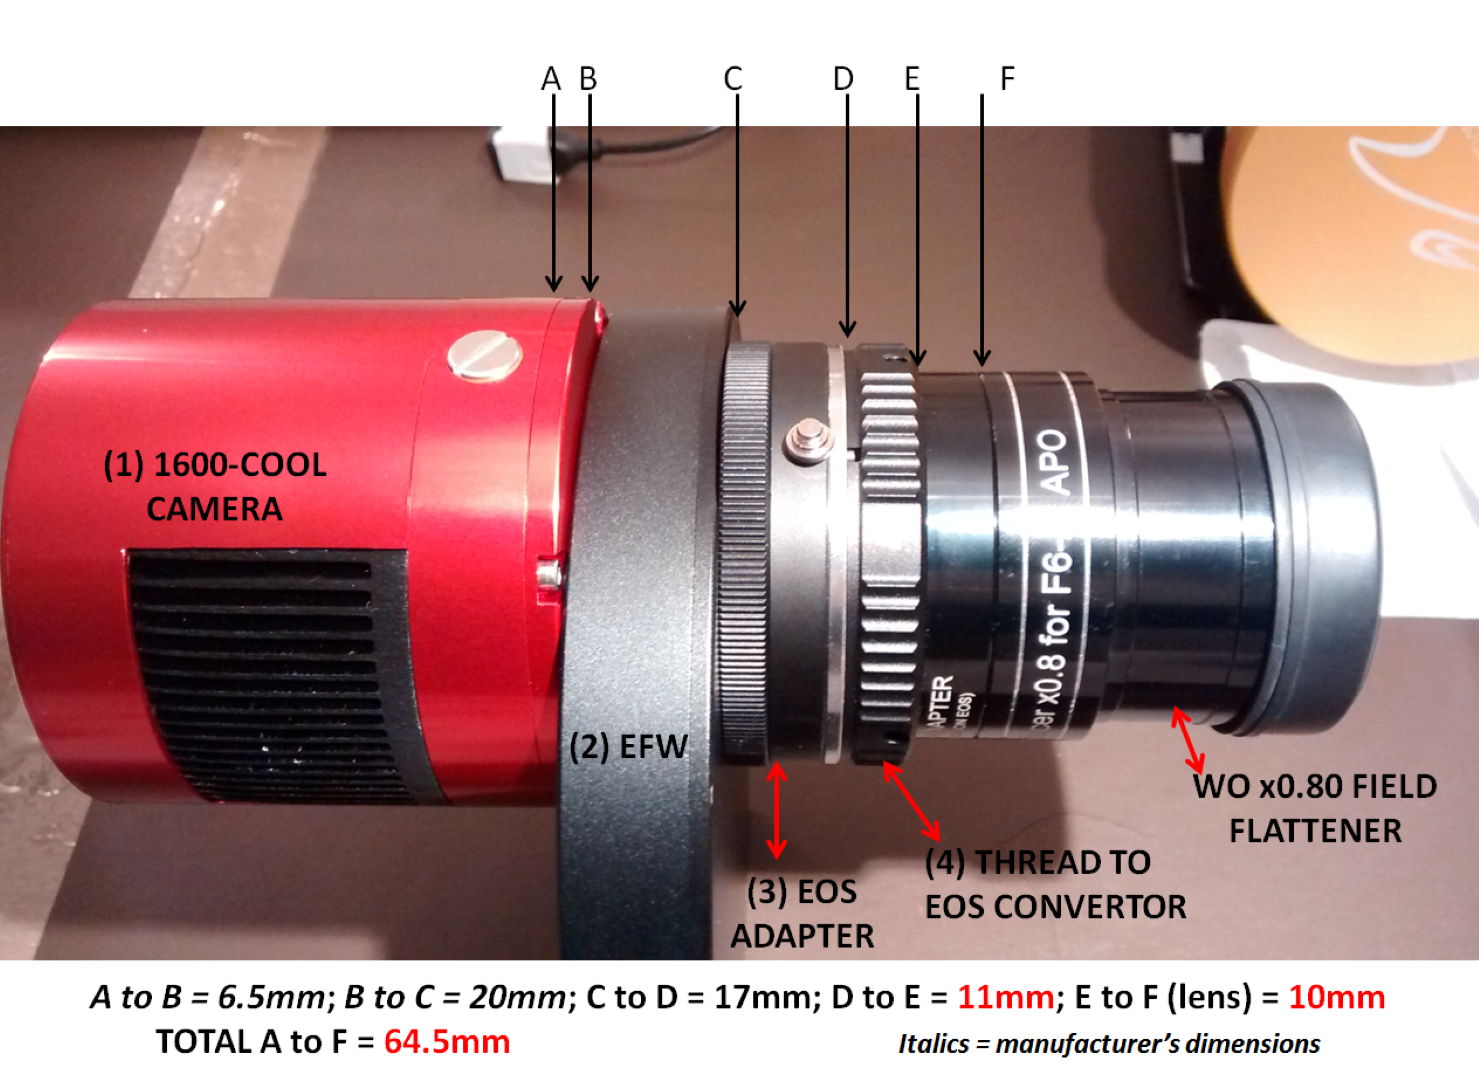
| Scope | William Optics GT81 + Focal Reducer FL 382mm f4.72 |
| Mount | ZWO AM5 + ASIair plus |
| Guiding | William Optics 50mm guide scope |
| ZWO120MM mini guide camera | |
| Camera | ZWO ASI294MM CMOS sensor |
| FOV 2.87o x 1.96o Resolution 2.50”/pix Max. image size 4,144 x 2,822 pix | |
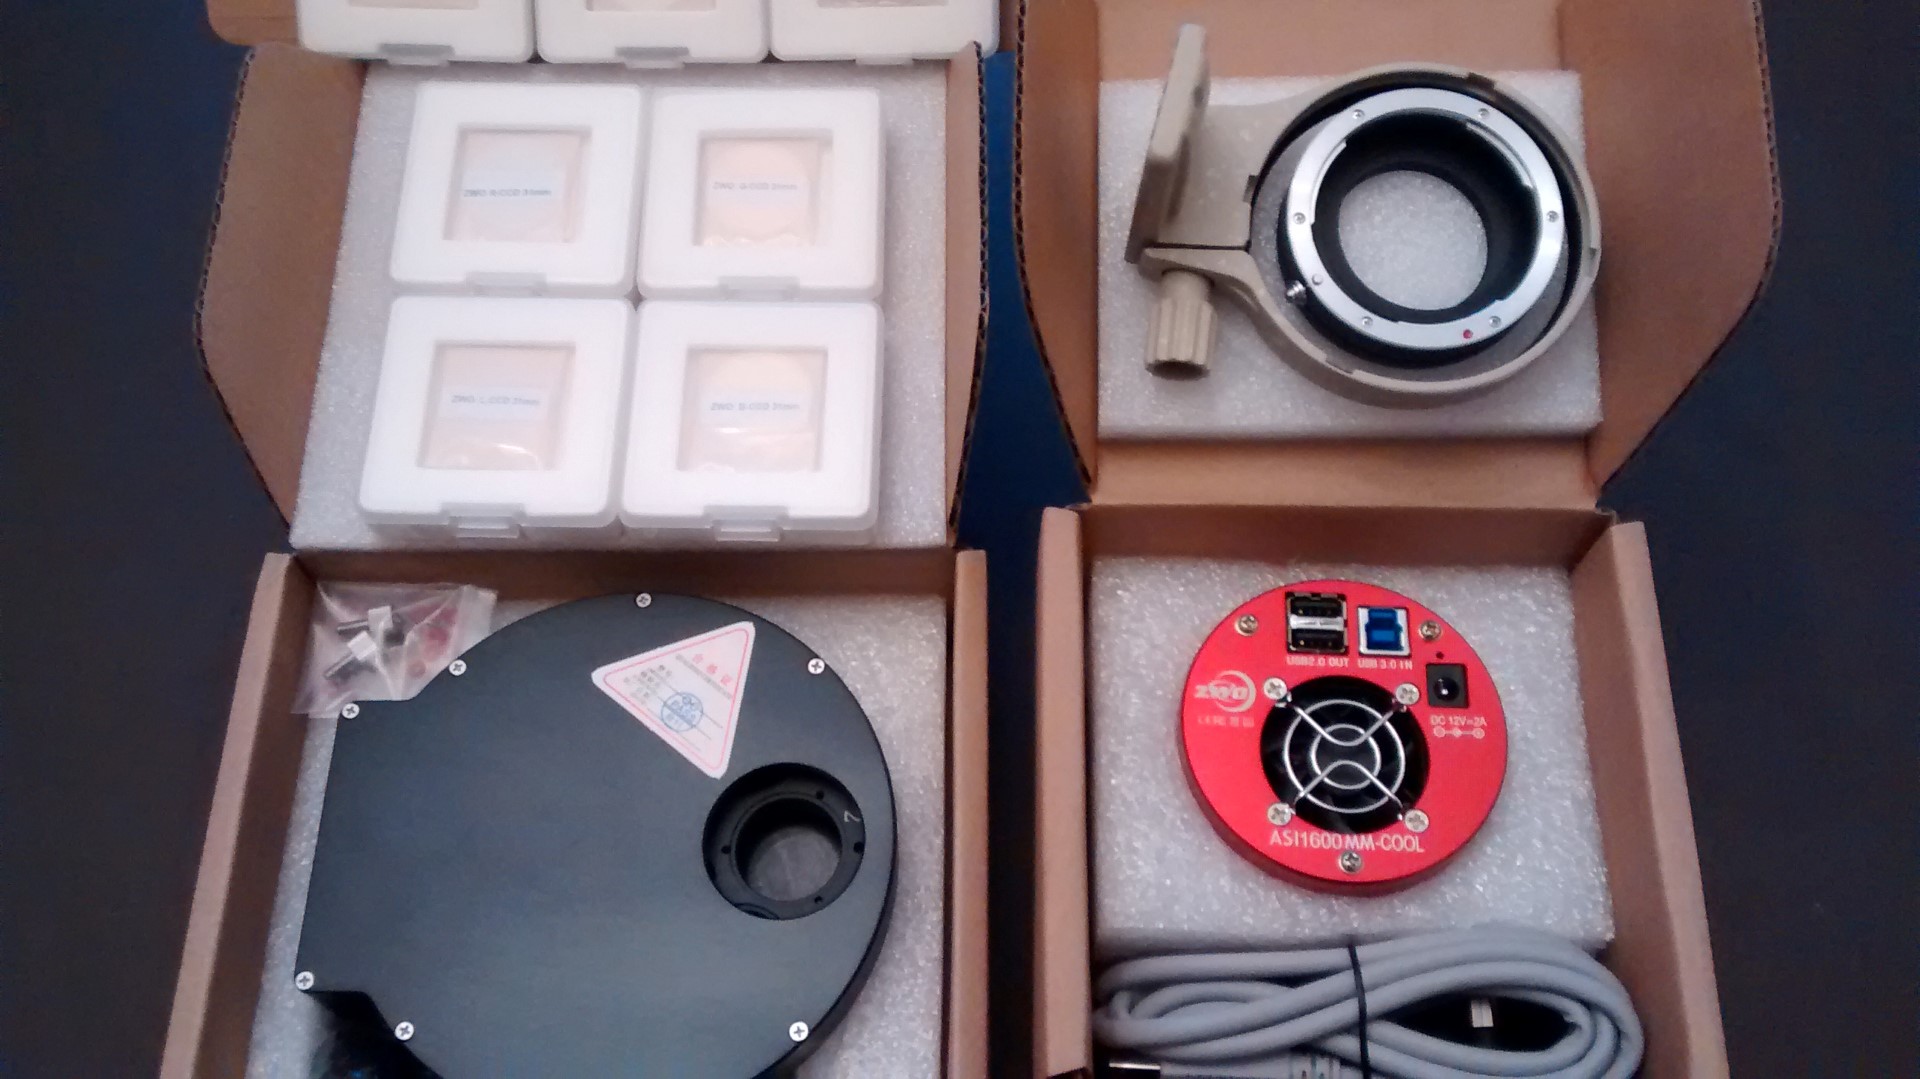
| EFW | ZWOx8 EFW & 31mm Chroma Ha, OIII, SII filters |
| Capture & Processing | ZWO ASIair plus, Deep Sky Stacker & PixInsight v1.8.9-3 |
| Image Location & Orientation | Centre = RA 20:55:42.97 DEC +44:20:53.80 Top = North |
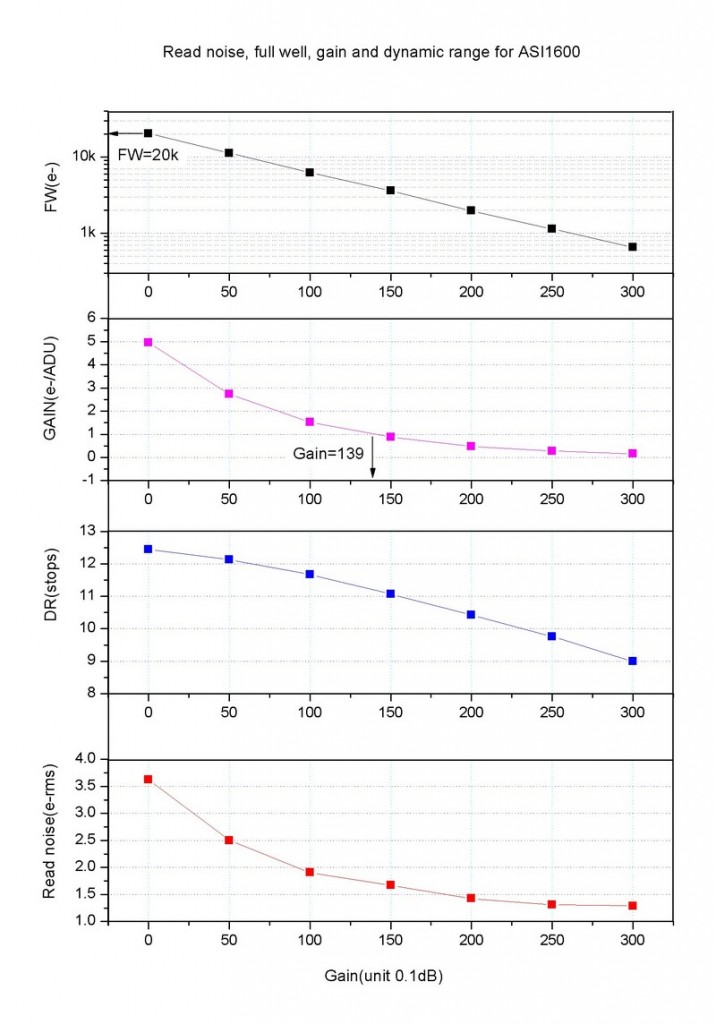
| Exposures | Ha x11 + OIII x13 + SII x13 x 300 sec Total Integration Time: 3hr 05 min |
| @ Gain 120 @ -20oC | |
| Calibration | 5 x 300 sec Darks 10 x NB Flats & Dark Flats @ ADU 32,000 |
| Location & Darkness | Fairvale Observatory – Redhill – Surrey – UK Typically Bortle 5-6 |
| Date & Time | 11th September 2024 +22.00h |
| Weather | Approx. <15oC RH >=60% 🌙 55% Waxing |


")
")
