As our nearest star, the Sun is an obvious target for astronomy and with all this nice summer weather at the moment, that’s exactly what I’ve been doing. The statistics of the Sun are, of course, mind boggling and the views can be truly amazing http://http://en.wikipedia.org/wiki/Sunen.wikipedia.org/wiki/Sun .
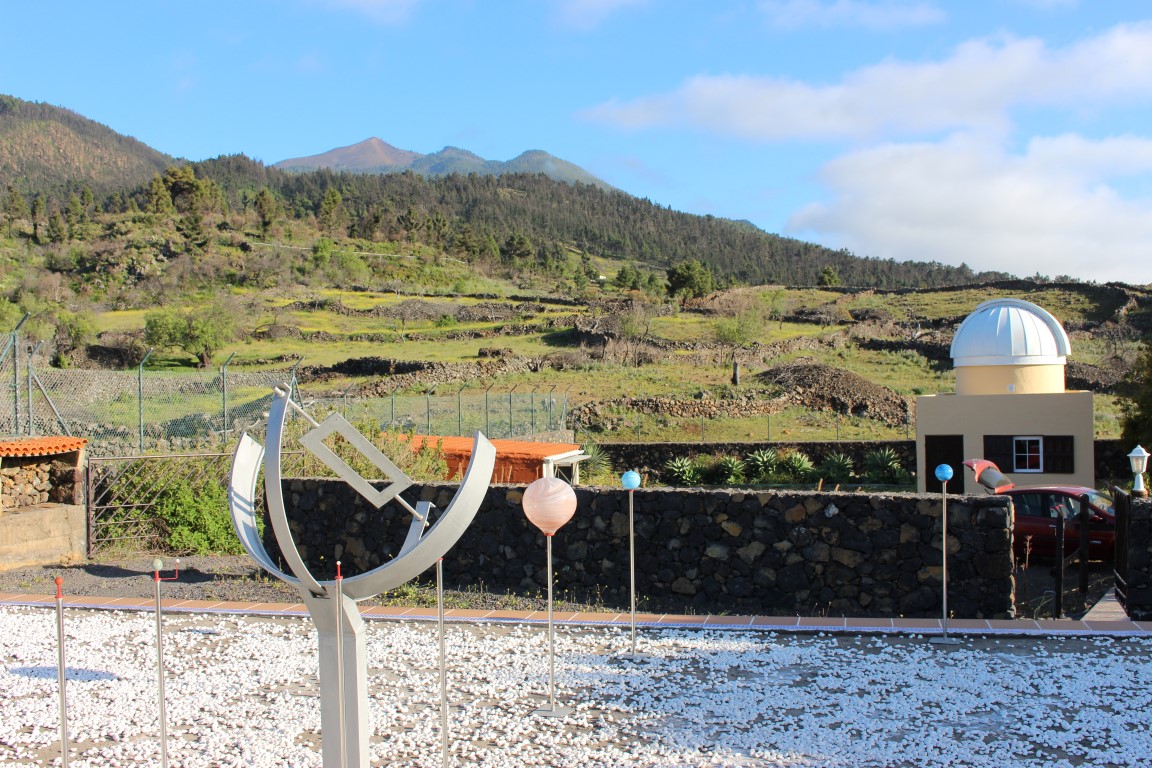
I first saw the sun through a telescope whilst in La Palma earlier this year https://watchthisspaceman.wordpress.com/2014/08/06/la-palma-nice-one-joan/ both using Joan’s 15″ Mak Cassegrain + solar filter and his beautifully constructed helioscope, which bounced the Sun’s light / image from the outside, through a hole in the wall of the observatory, which was then focused perfectly on a screen:
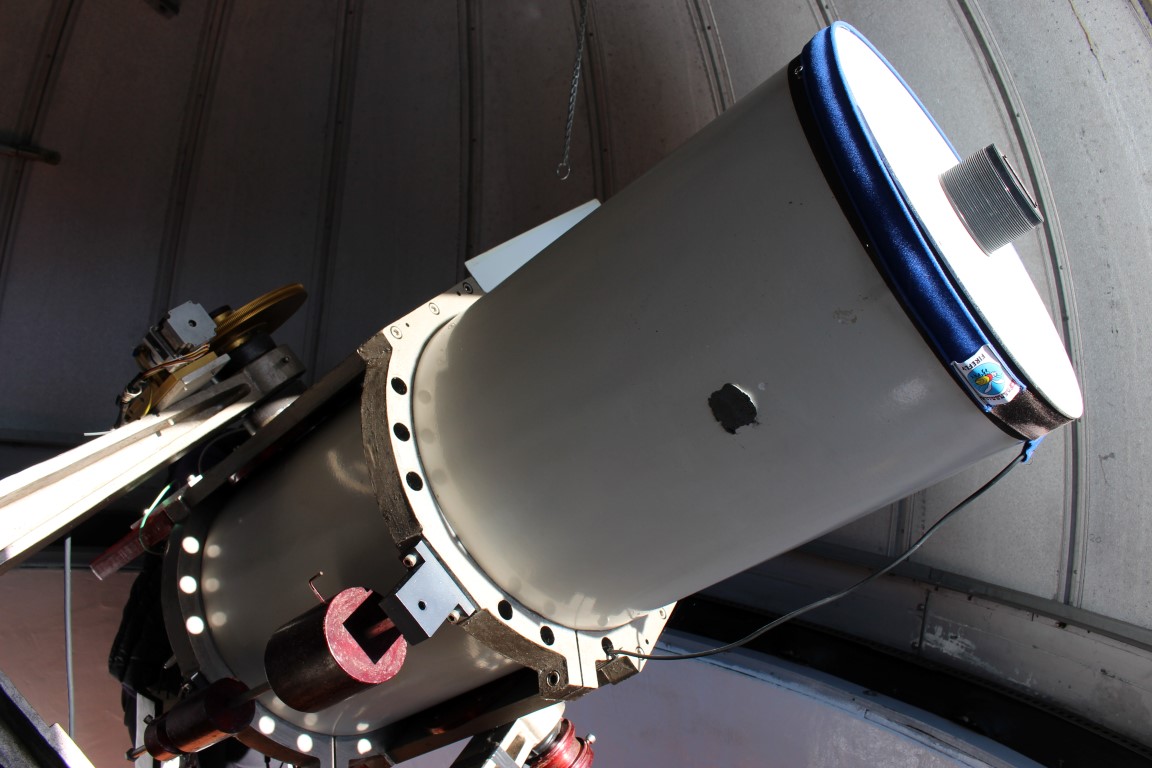
Mak + white light filter
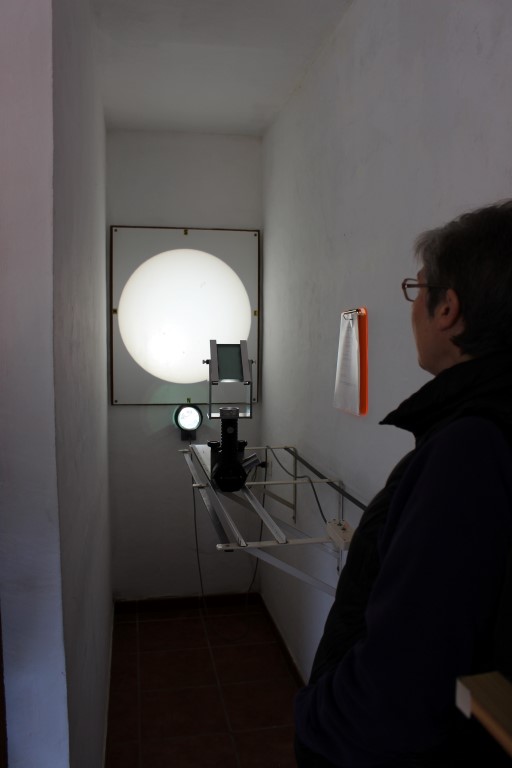
Heliograph focus track after collecting the sun’s image outside
Final heliograph image of the Sun’s surface
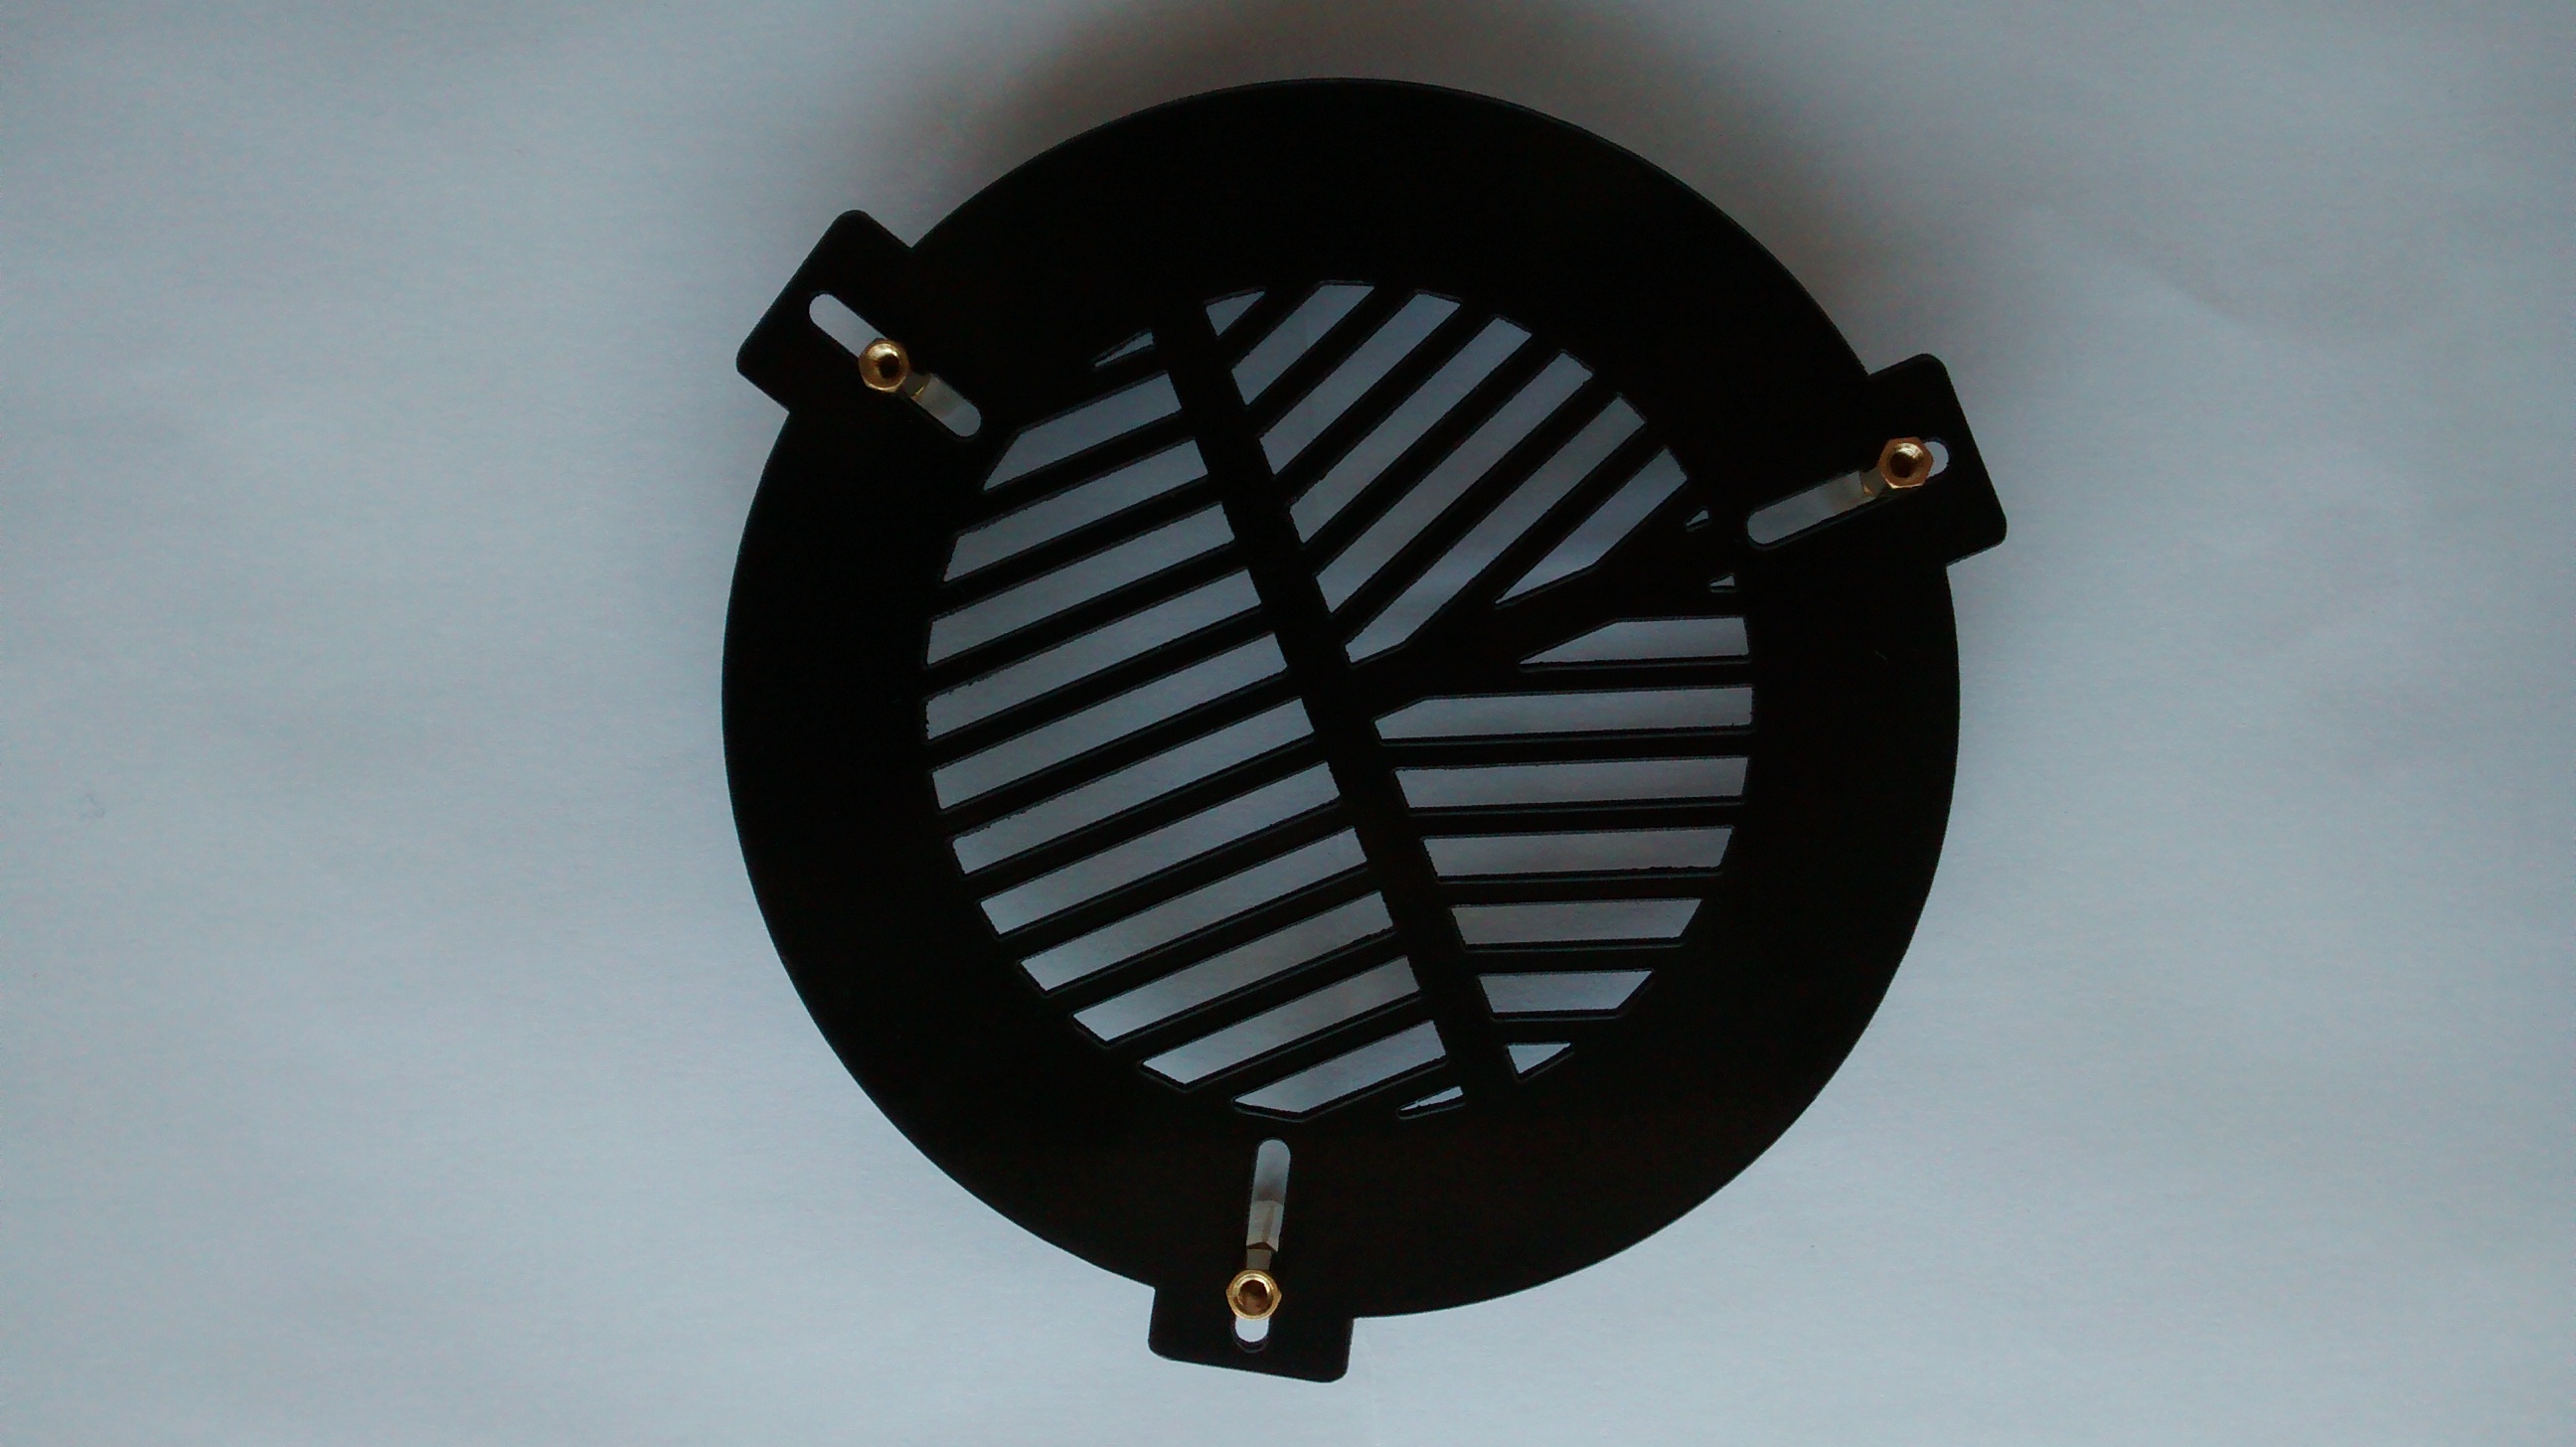
Rightly or wrongly I decided to use my SW 150PL Newtonian to view the sun, with a larger, open OTA there should be better ventilation and it just seems less complicated (& cheaper) than the refractor for the moment. The standard method, which I also used, is to place a Baader Astro Solar Safety Film in front of the OTA. This looks a lot like cooking foil but is much more sophisticated and expensive, basically reducing the light from the Sun to a narrow, harmless wavelength http://www.365astronomy.com/solar-filter-for-150mm-newtonian-telescopes-p-2933.html. You can buy this film in A4 sheets and make your own filter but I bought the type that was already made and fitted snugly into the end of the OTA:
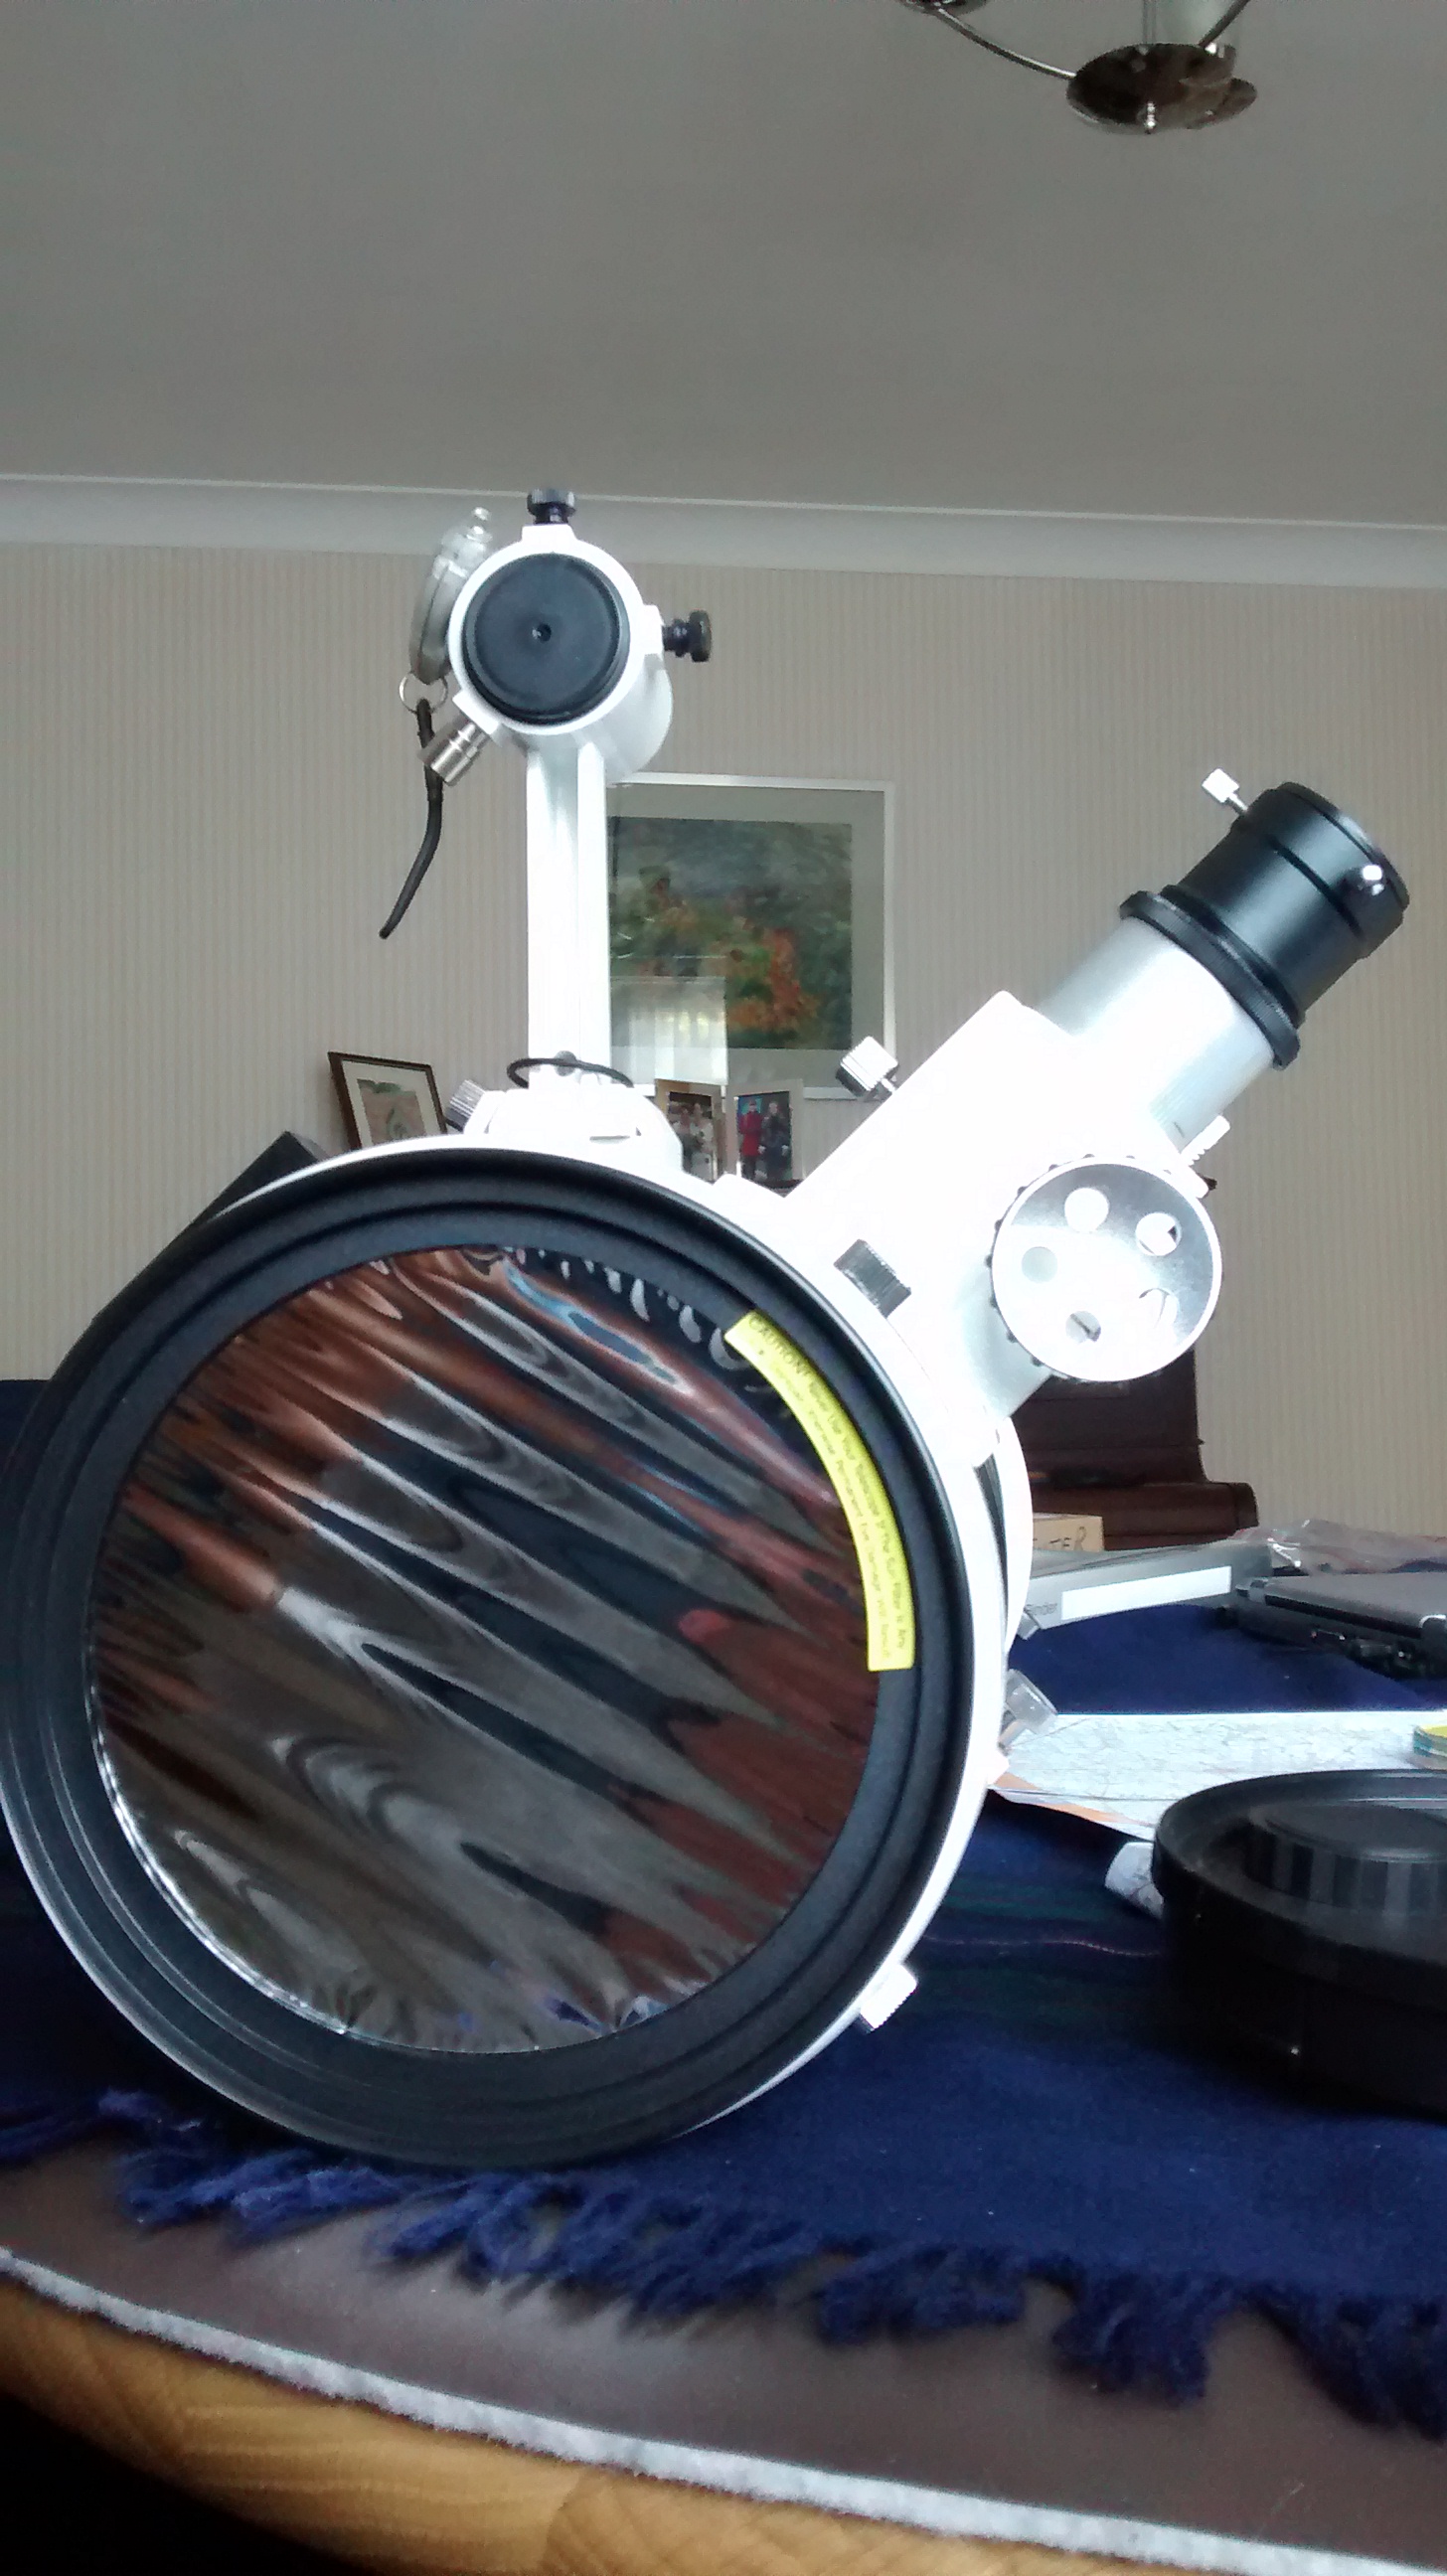
Solar filter fitted inside the 150PL – also note solar finder in the finderscope bracket (see below for description)
To be honest, I was uneasy at the prospect at looking at the Sun which, if undertaken incorrectly, could result in the loss of sight – so I didn’t want to risk the DIY route. Whilst on this theme, it is essential to thoroughly check the filter each time before use to check for holes, even a pin prick could be dangerous and result in injury. In addition, whilst in use but not being attended – maybe gone off for a cup of tea – it is said that birds can be attracted to the shinny filter and can peck holes! I have therefore made a cardboard cover to put over the filter whilst away from the scope for this reason:
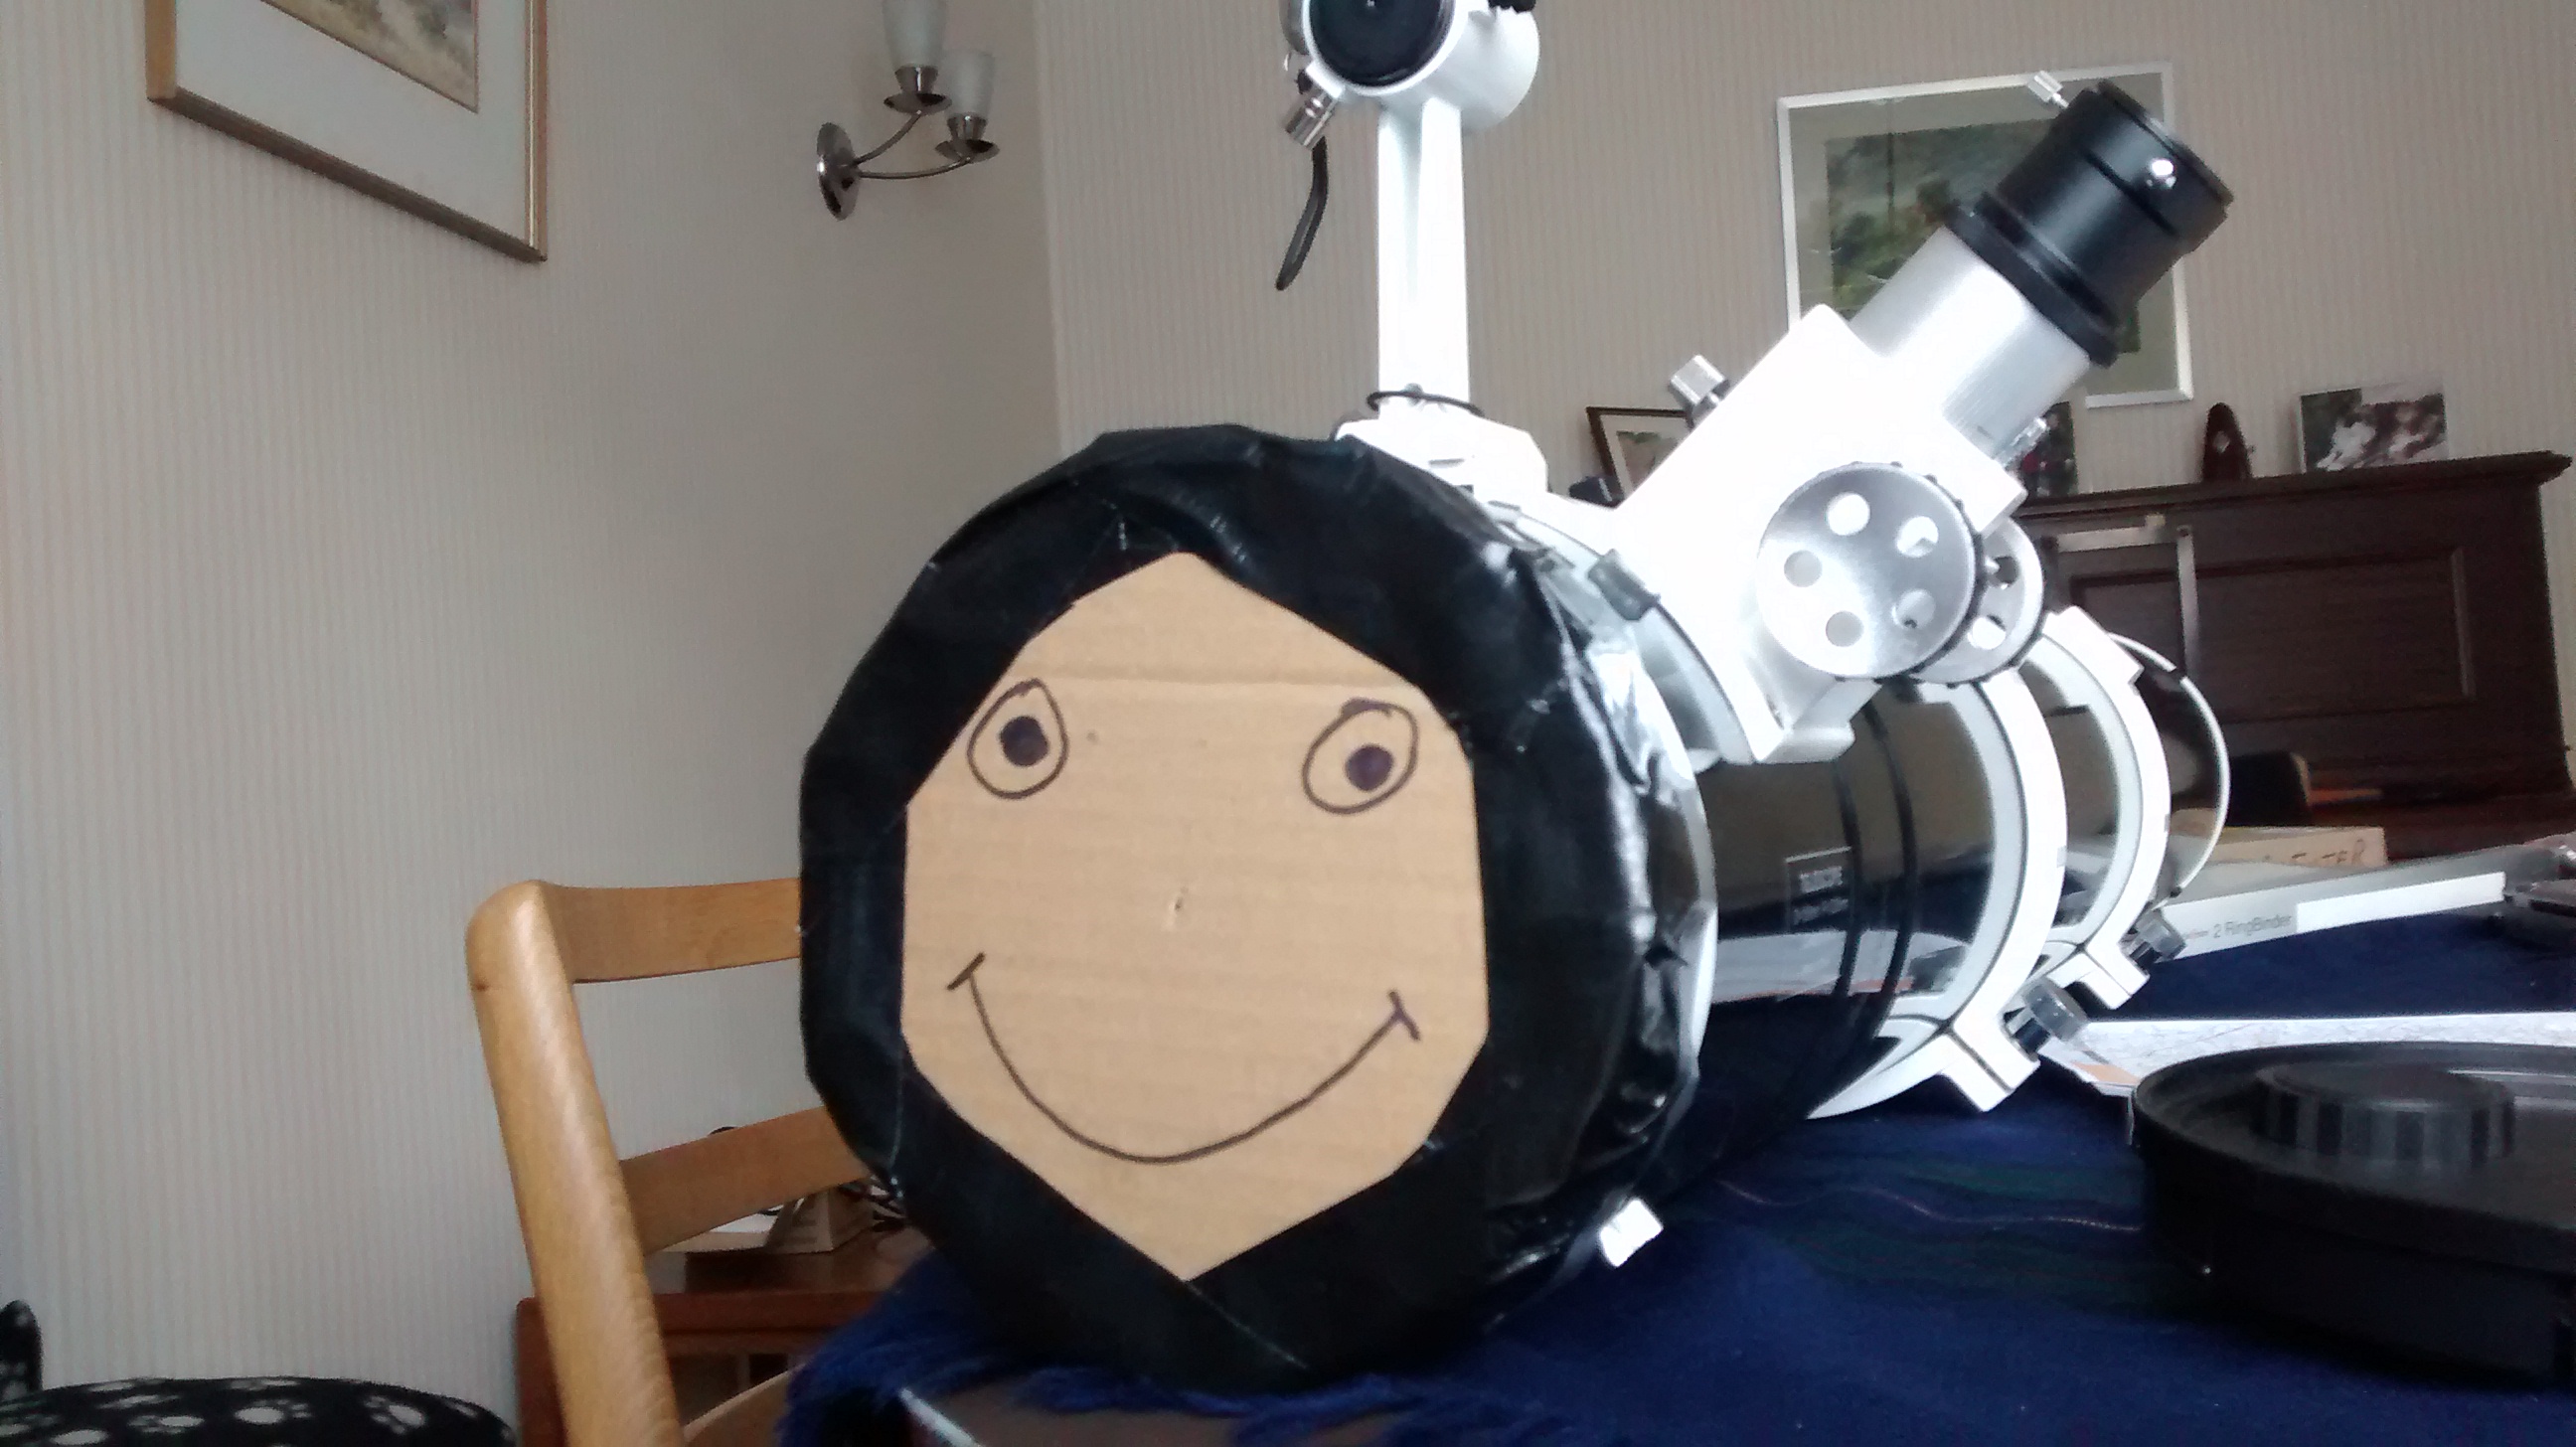
Crude and cheap cardboard cover but it might save your eyesight!
At this point I realised that finding the sun to view i.e. lining it up, is not as easy as it might seem – after all you cannot just look directly at the sun and point the scope, for obvious reasons. One method is simply to use the OTA’s own shadow, so that when it is lined up with the sun its shadow will be at its minimum. There are also numerous gadgets out there to buy (there always is in astronomy). However, I came across a DIY version that frankly I think is difficult to beat – it costs nothing and takes seconds to make! This guy deserves an award for such a design http://pembsastronomers.freeforums.org/how-to-make-a-solar-finder-in-three-seconds-t485.html.
Basically it is a 35mm film canister, with a black top on a clear container: wrap the container in black electric tape and pierce a very small pinhole in the top. In my case it slipped straight into the finderscope bracket (thus also also allowing proper alignment with the scopes viewing axis) and then you manoeuvre the scope until the beam of sunlight that passes though the pinhole, falls directly at the centre of the base of the canister, which acts as a screen. Genius!

35mm canister with small, pinhole in the top
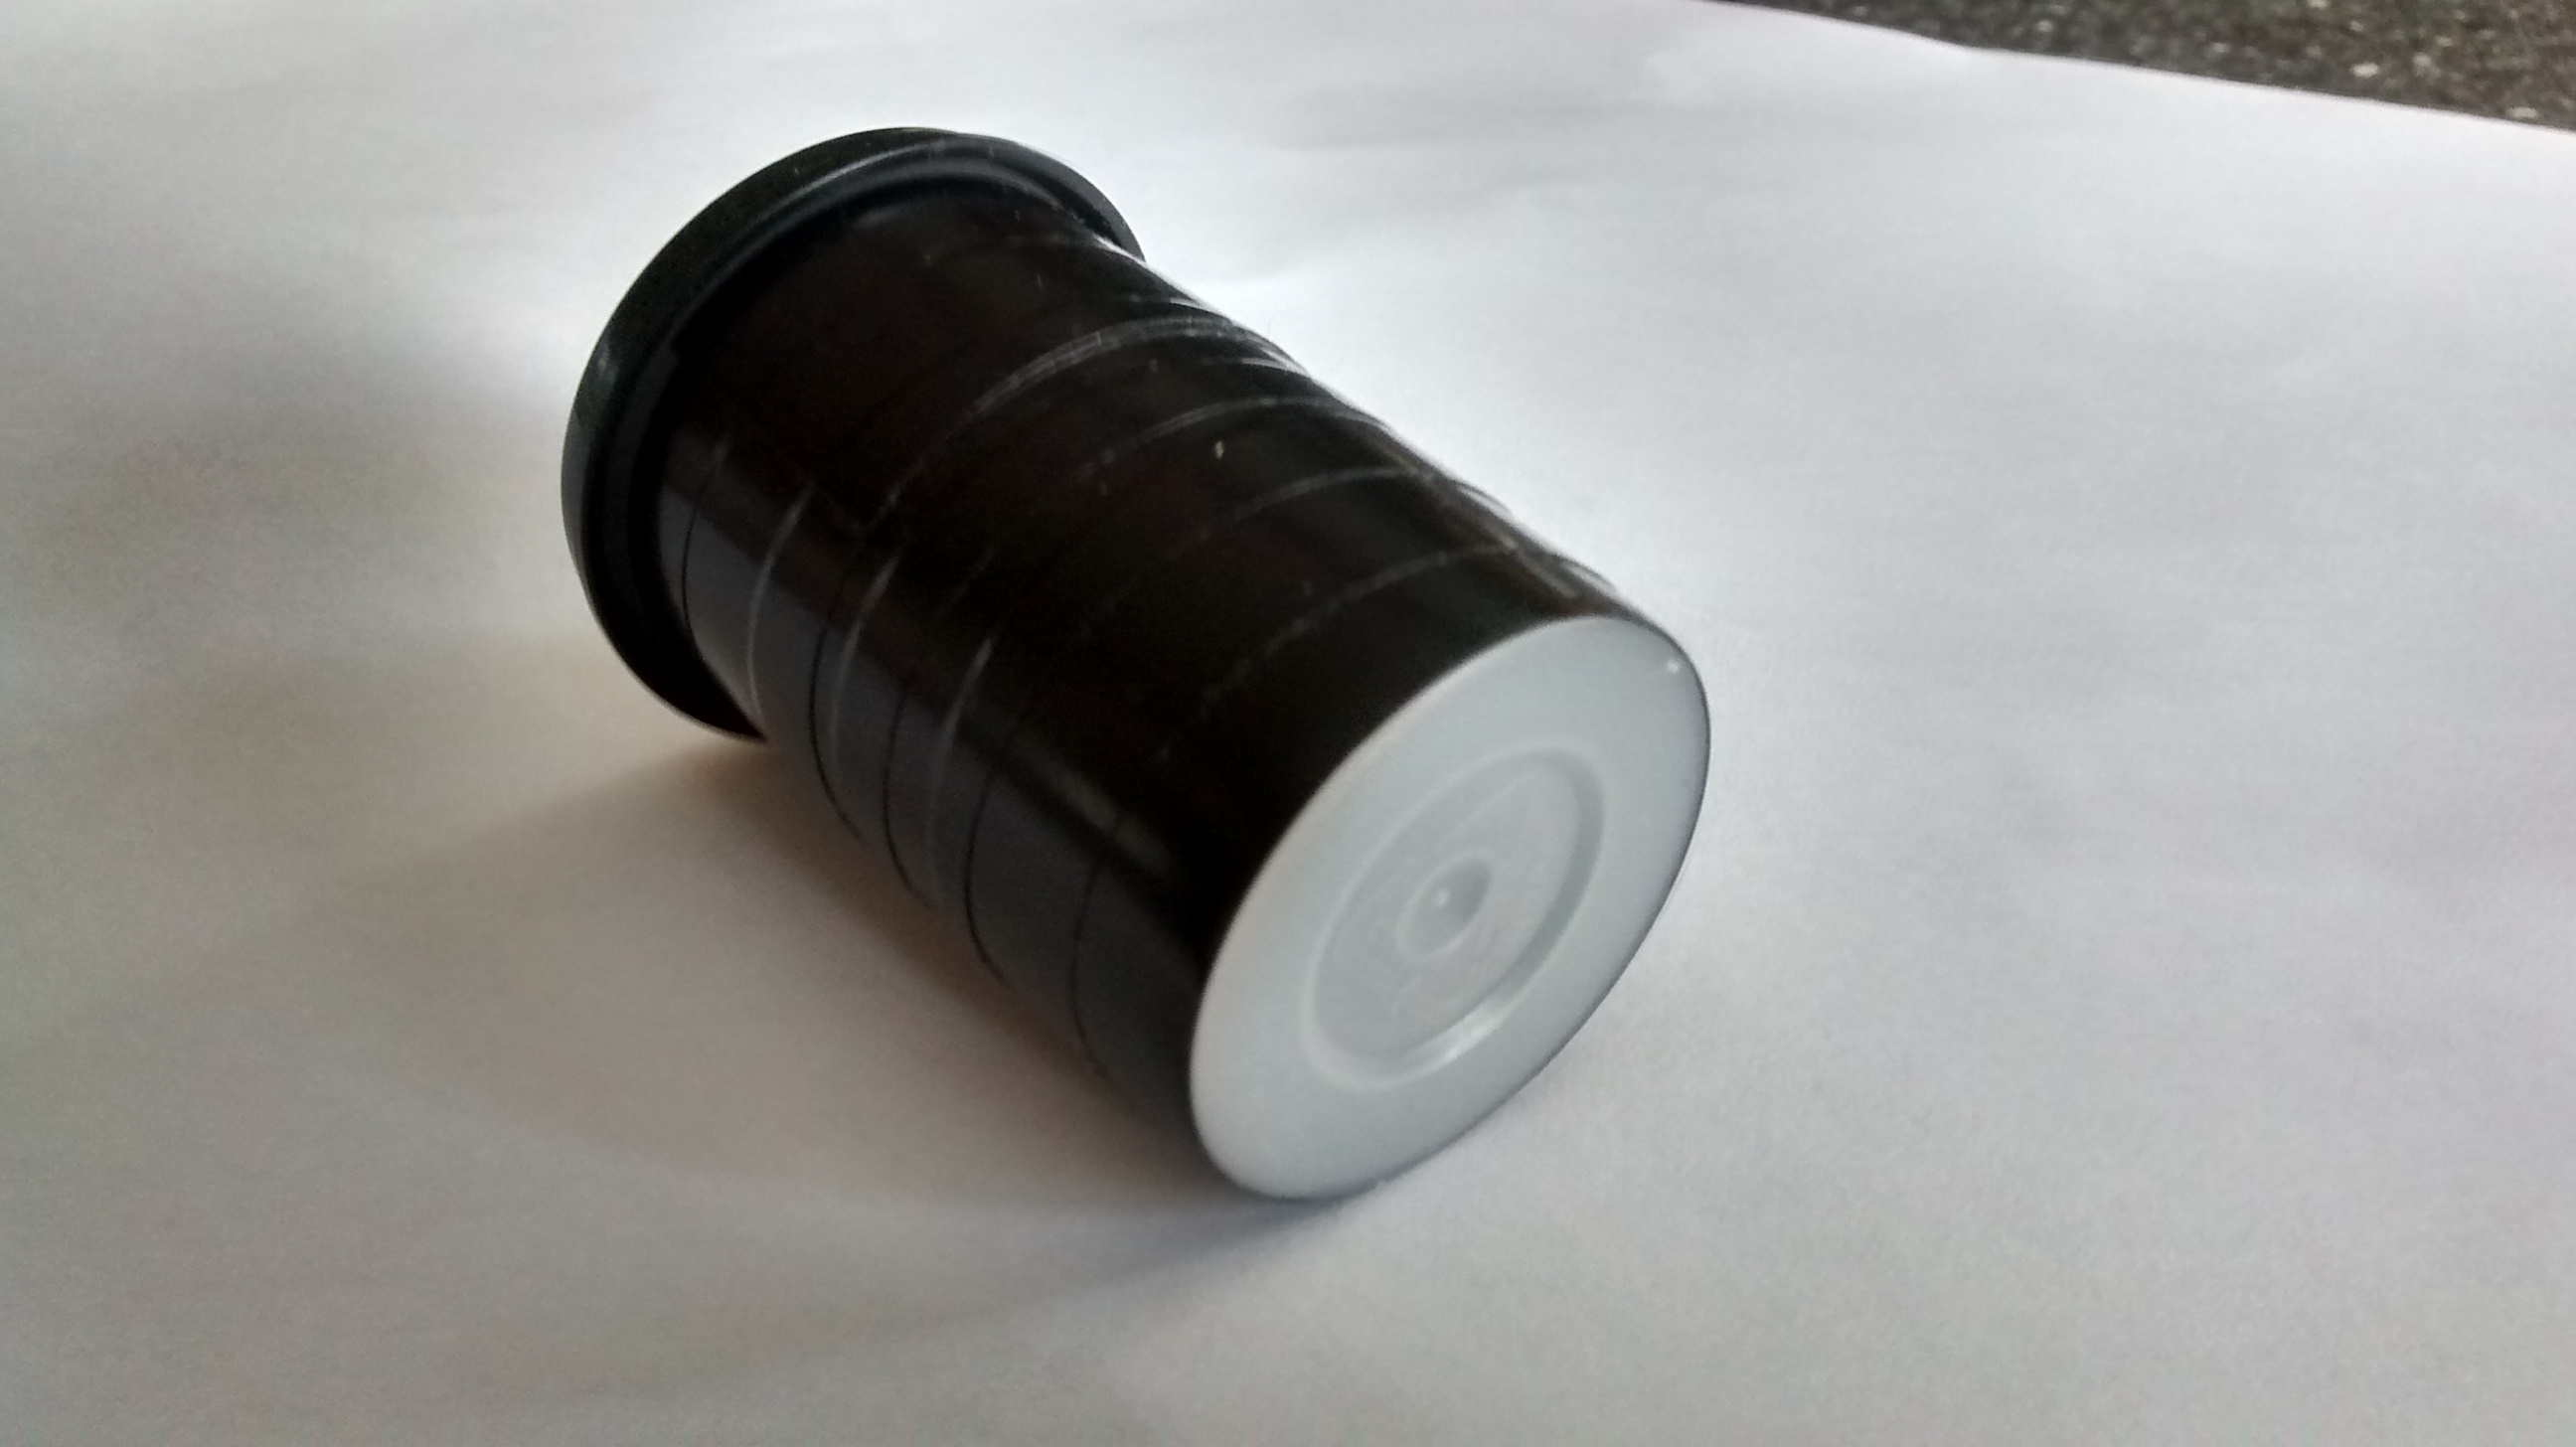
Using a clear canister wrapped in black tape, the base acts as a screen. Sunlight passes through the pinhole which then appears as a small, bright spot on the base of the canister – moving this to the centre of the base by adjusting the orientation of the scope ensures the scope is directly aligned with the Sun for viewing.
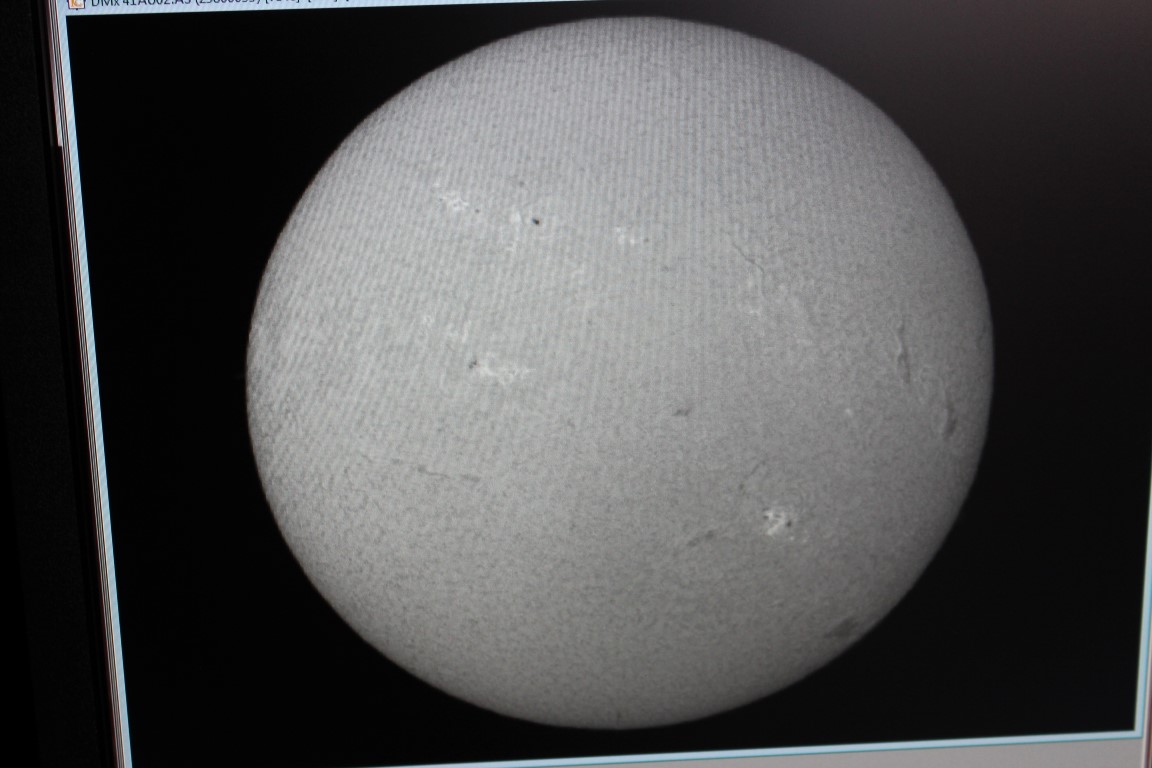
Using the Baader Solar Filter produces a white light image, in particular showing sunspots:

The DSLR photo mosaic segments would not line up perfectly but the sunspots are clear to see and more prevalent than a couple of weeks ago. Notwithstanding, the 11-years sun spot cycle is not as expected, with the number of spots quite low at the moment. Skywatcher 150PL & 2x Barlow 1/40th sec at ISO100
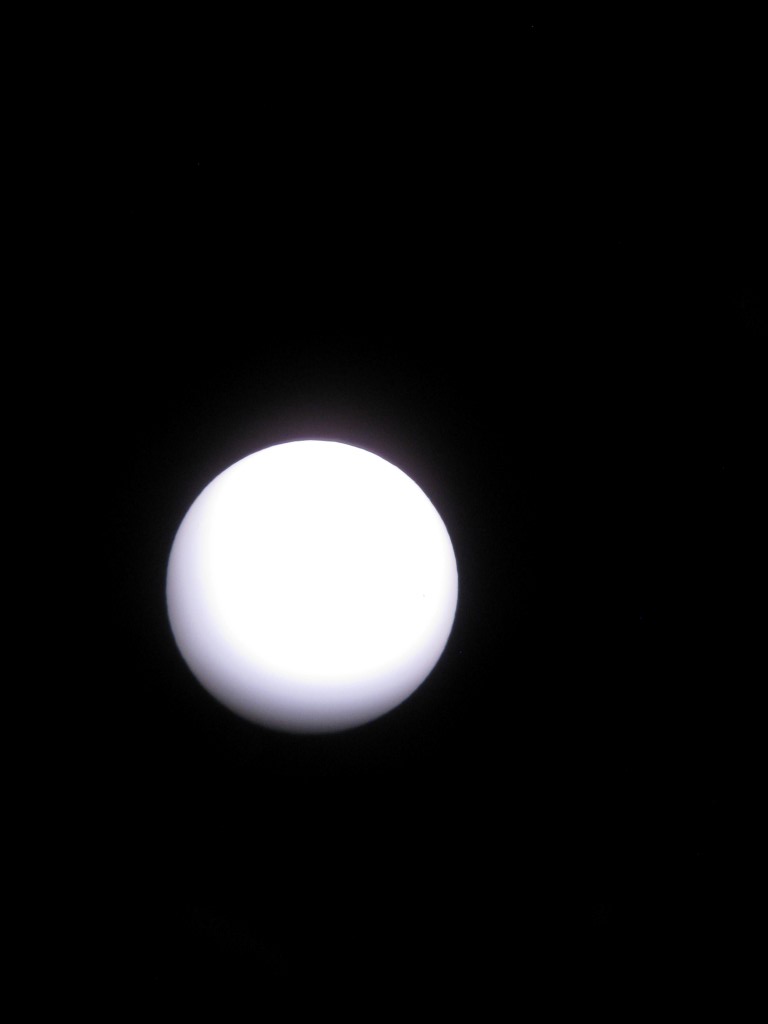
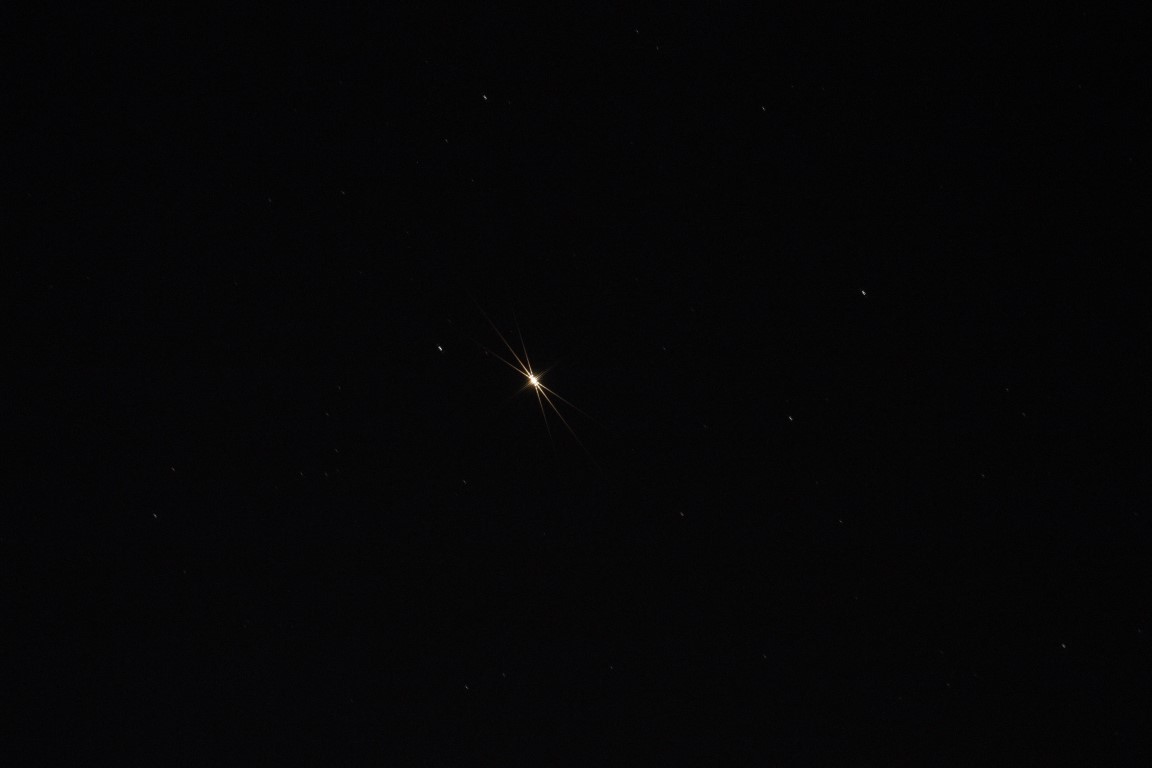
Compact camera afocal image – lacks detail but you get the whole of the sun in the frame.
For the moment I’m quite pleased with the view but would eventually like to improve things. Still looking at white light, the Herschel Wedge looks like a good attachment that could instead be used with the WO refractor http://en.wikipedia.org/wiki/Herschel_wedge . This deflects most of the light and heat and, supposedly, produces a superior image – it’s inevitably quite a bit more expensive. The holy grail is a hydrogen-alpha scope, of which the Coronado PST is probably the most popular, not least because it is financially cheaper http://www.meade.com/products/coronado/coronado-personal-solar-telescope-pst-0-5-angstrom.html but if you are really flush with cash this will do the job nicely http://www.telescopehouse.com/acatalog/Lunt-152mm-H-alpha-OTA—B1800-BF—Feather-T—P-Tuner.html . The point of the H-alpha scope is that it works at a different wavelength that, unlike white light, enables the Sun’s prominences to be seen, dream on.
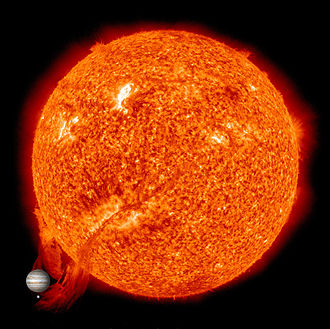
For scale that’s Jupiter down there in the lower, left hand corner