Copernicus was right!

OK it’s not news but a tribute to the man who opened our eyes to the way the Solar System works.

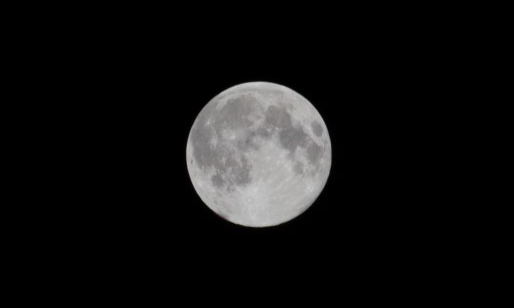
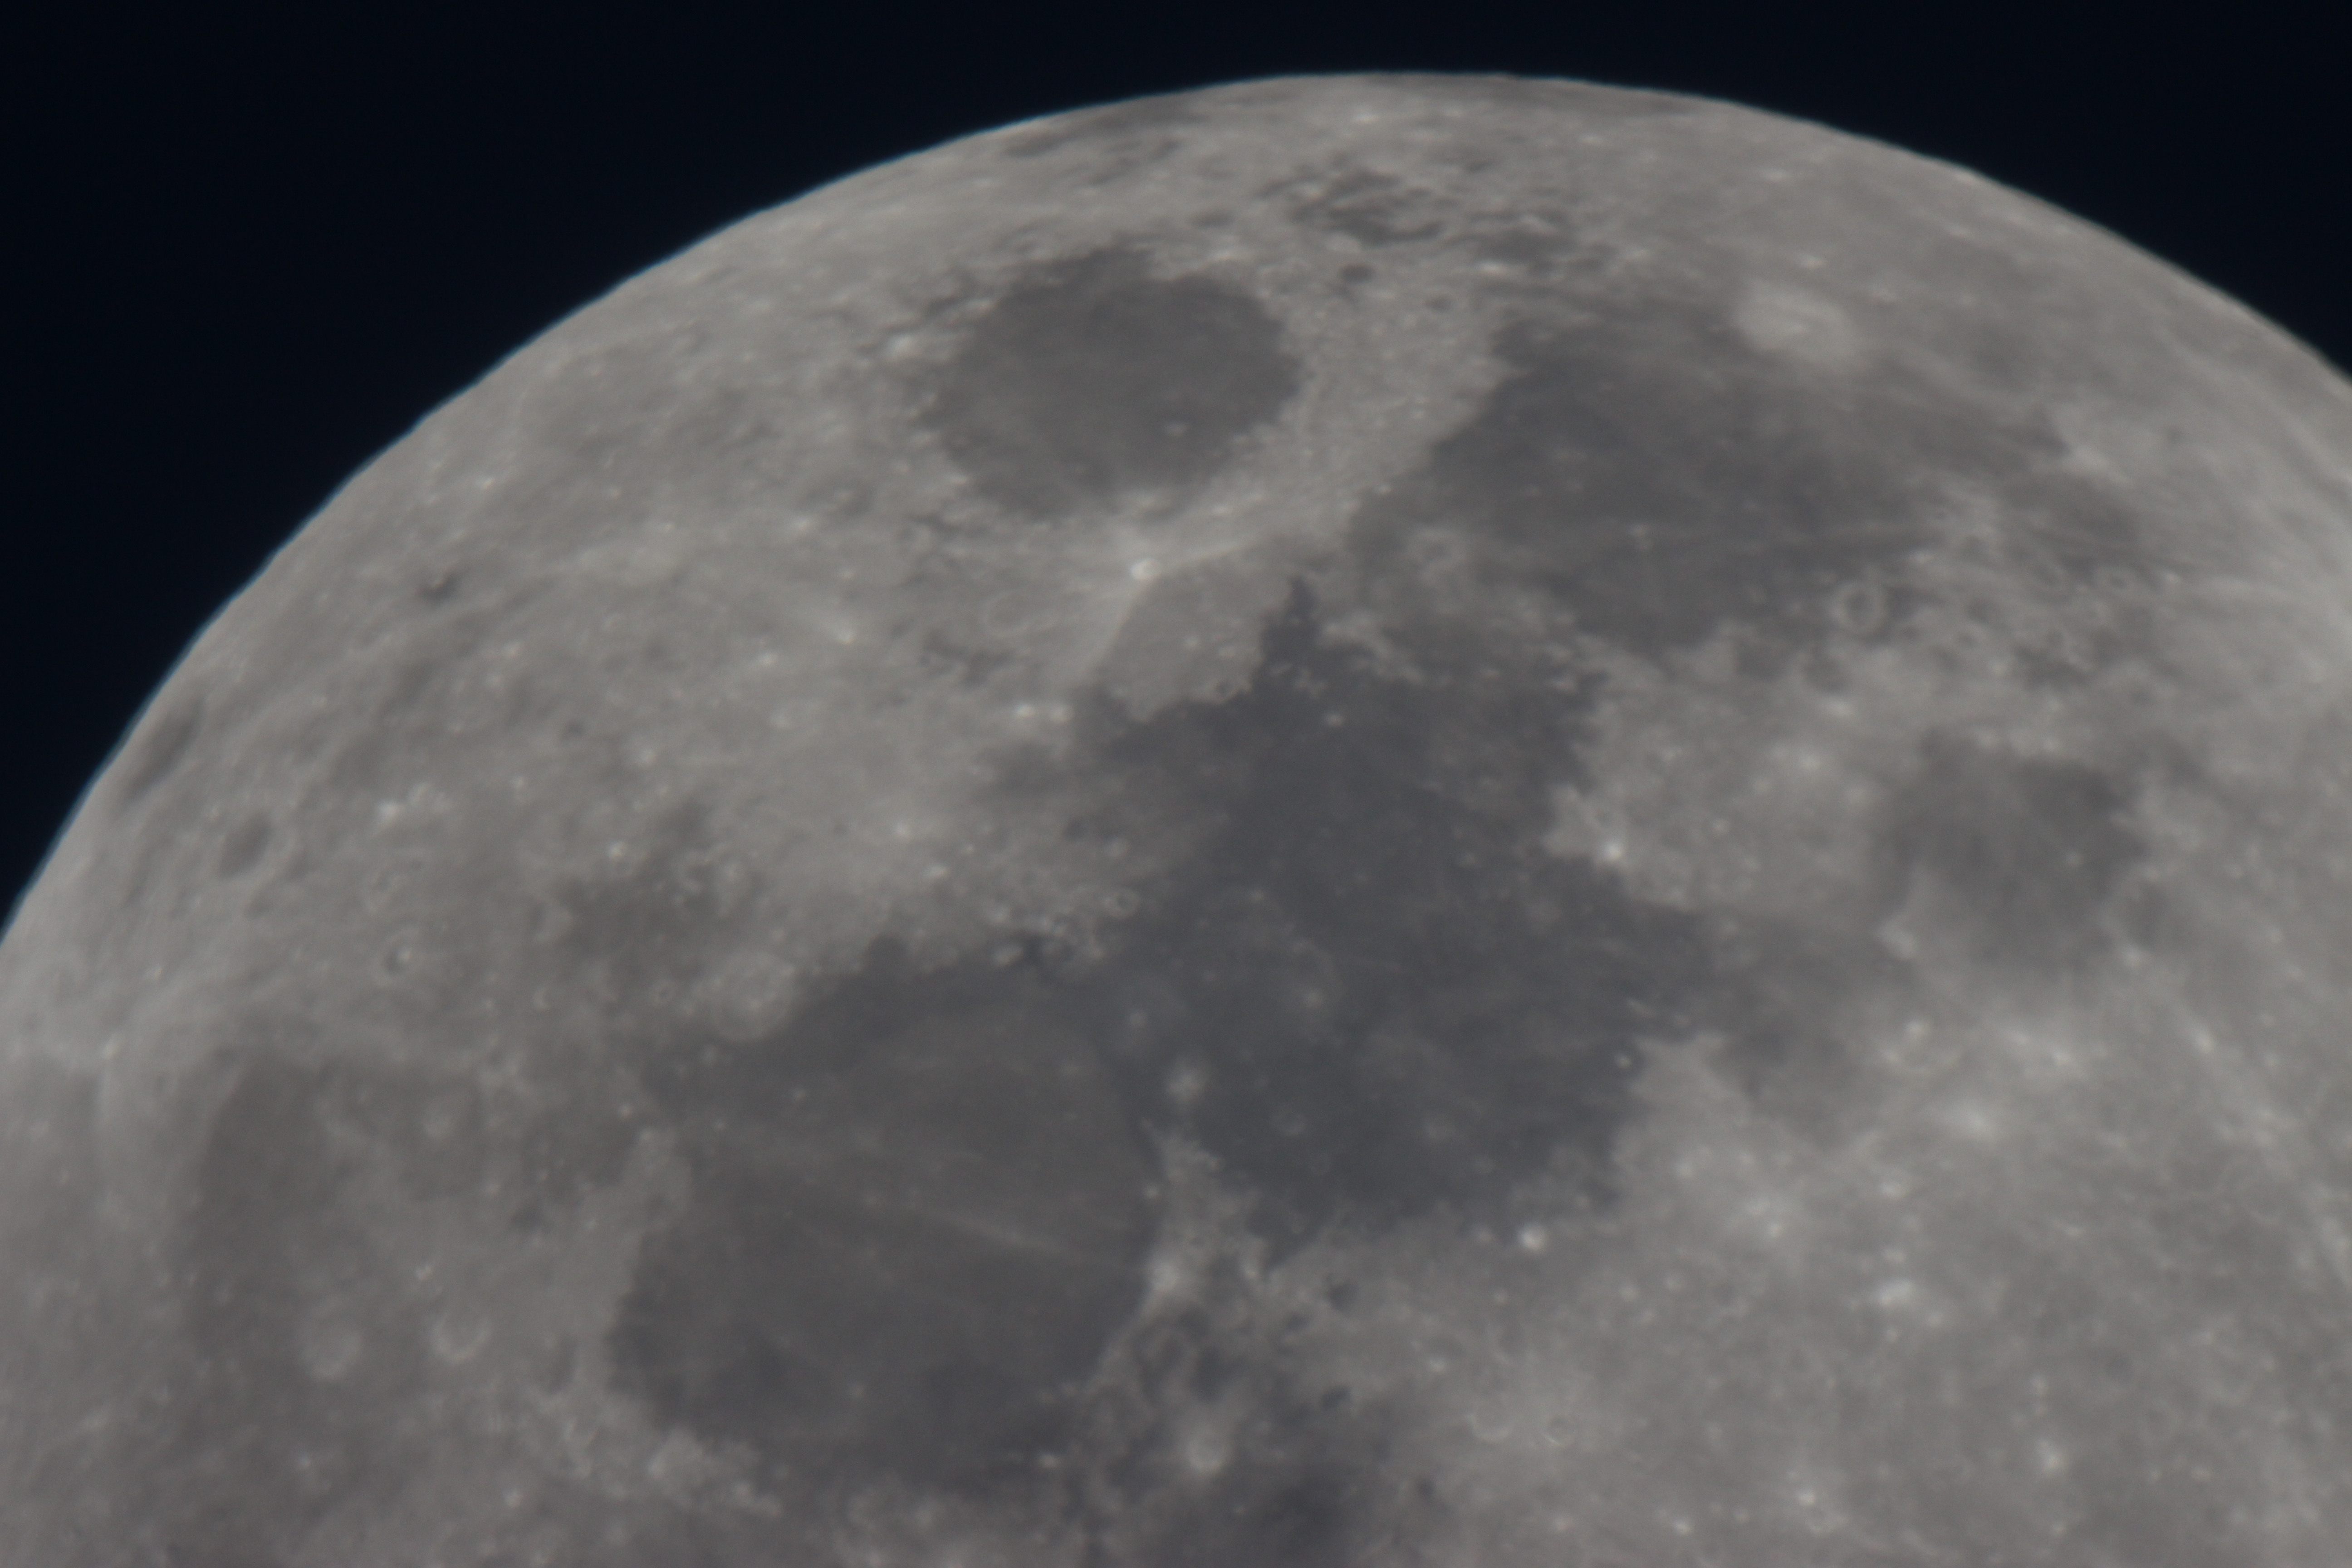
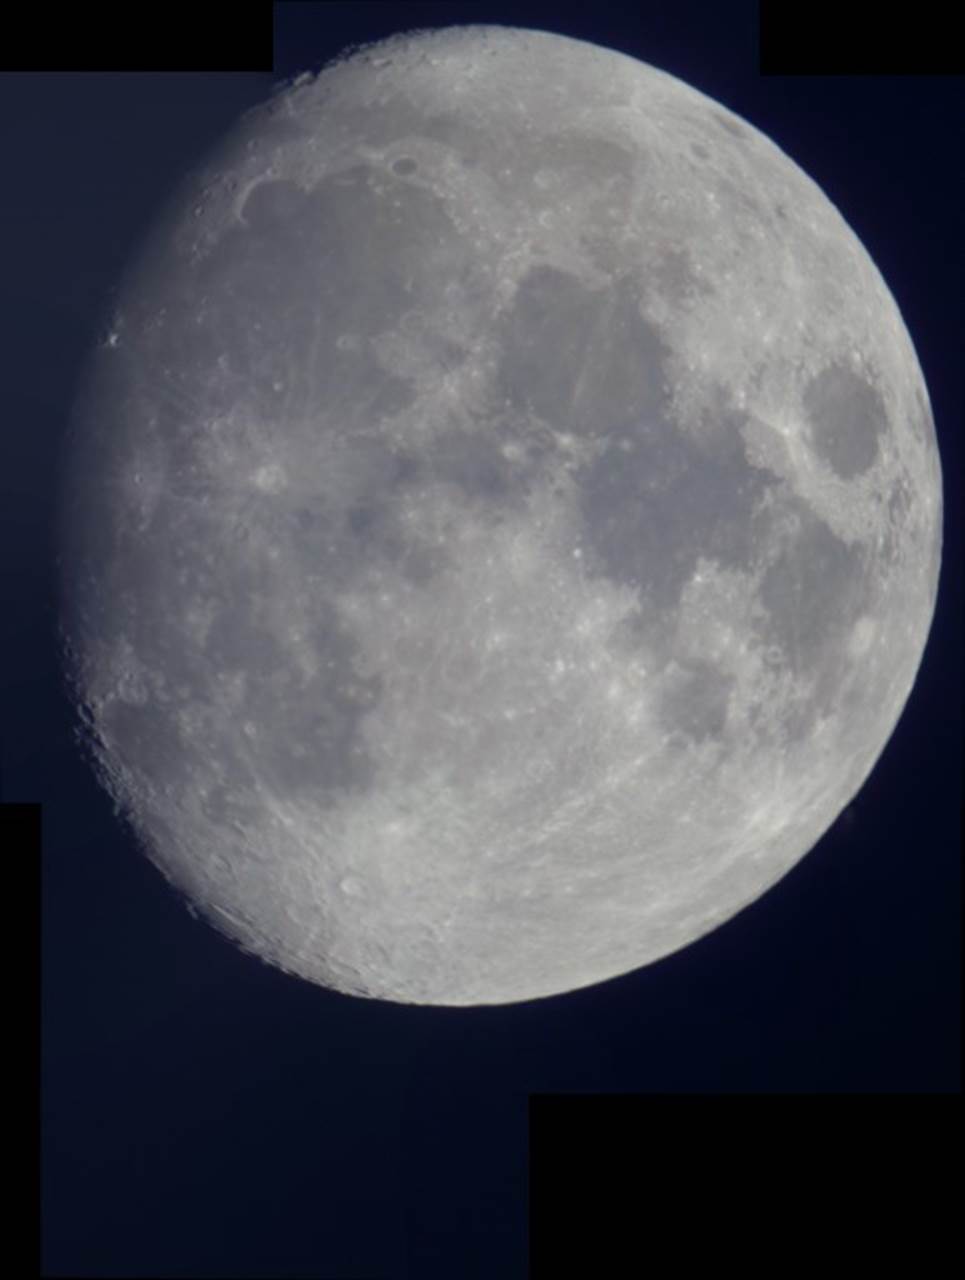
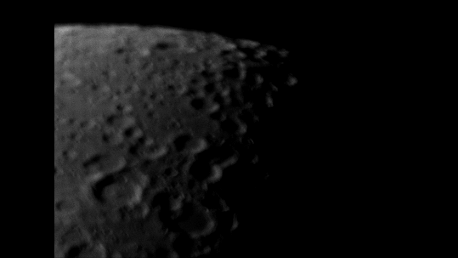
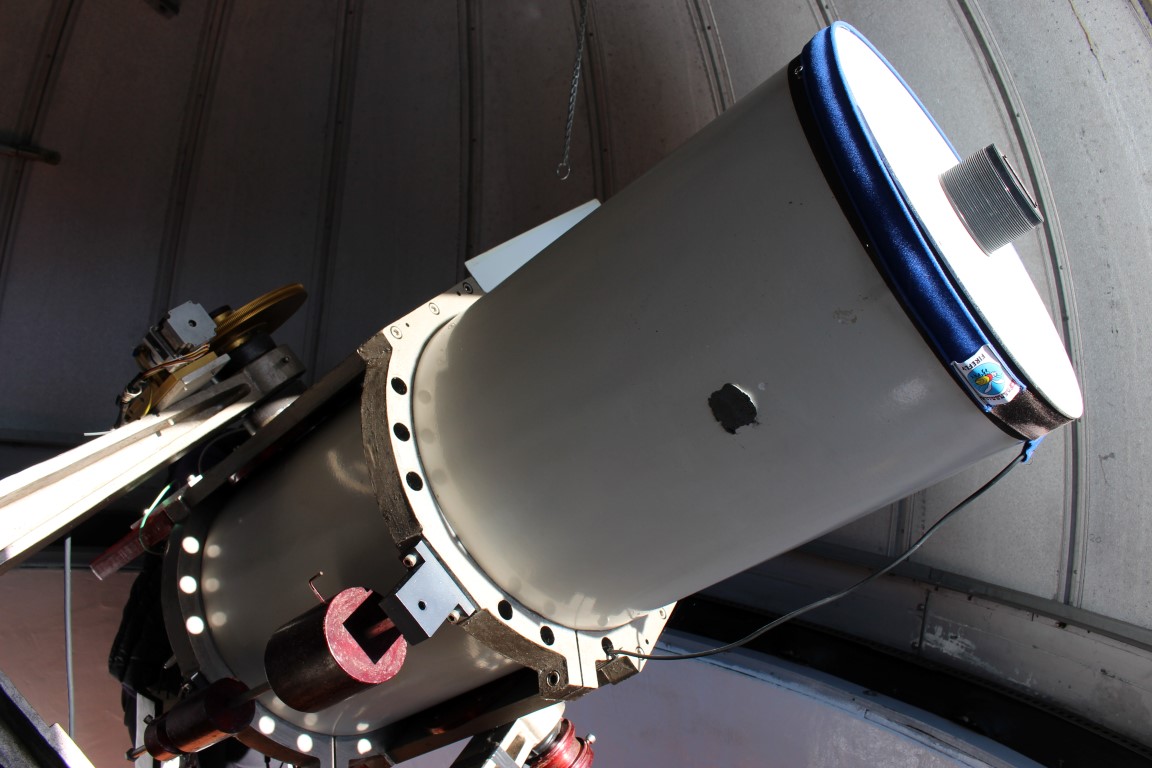
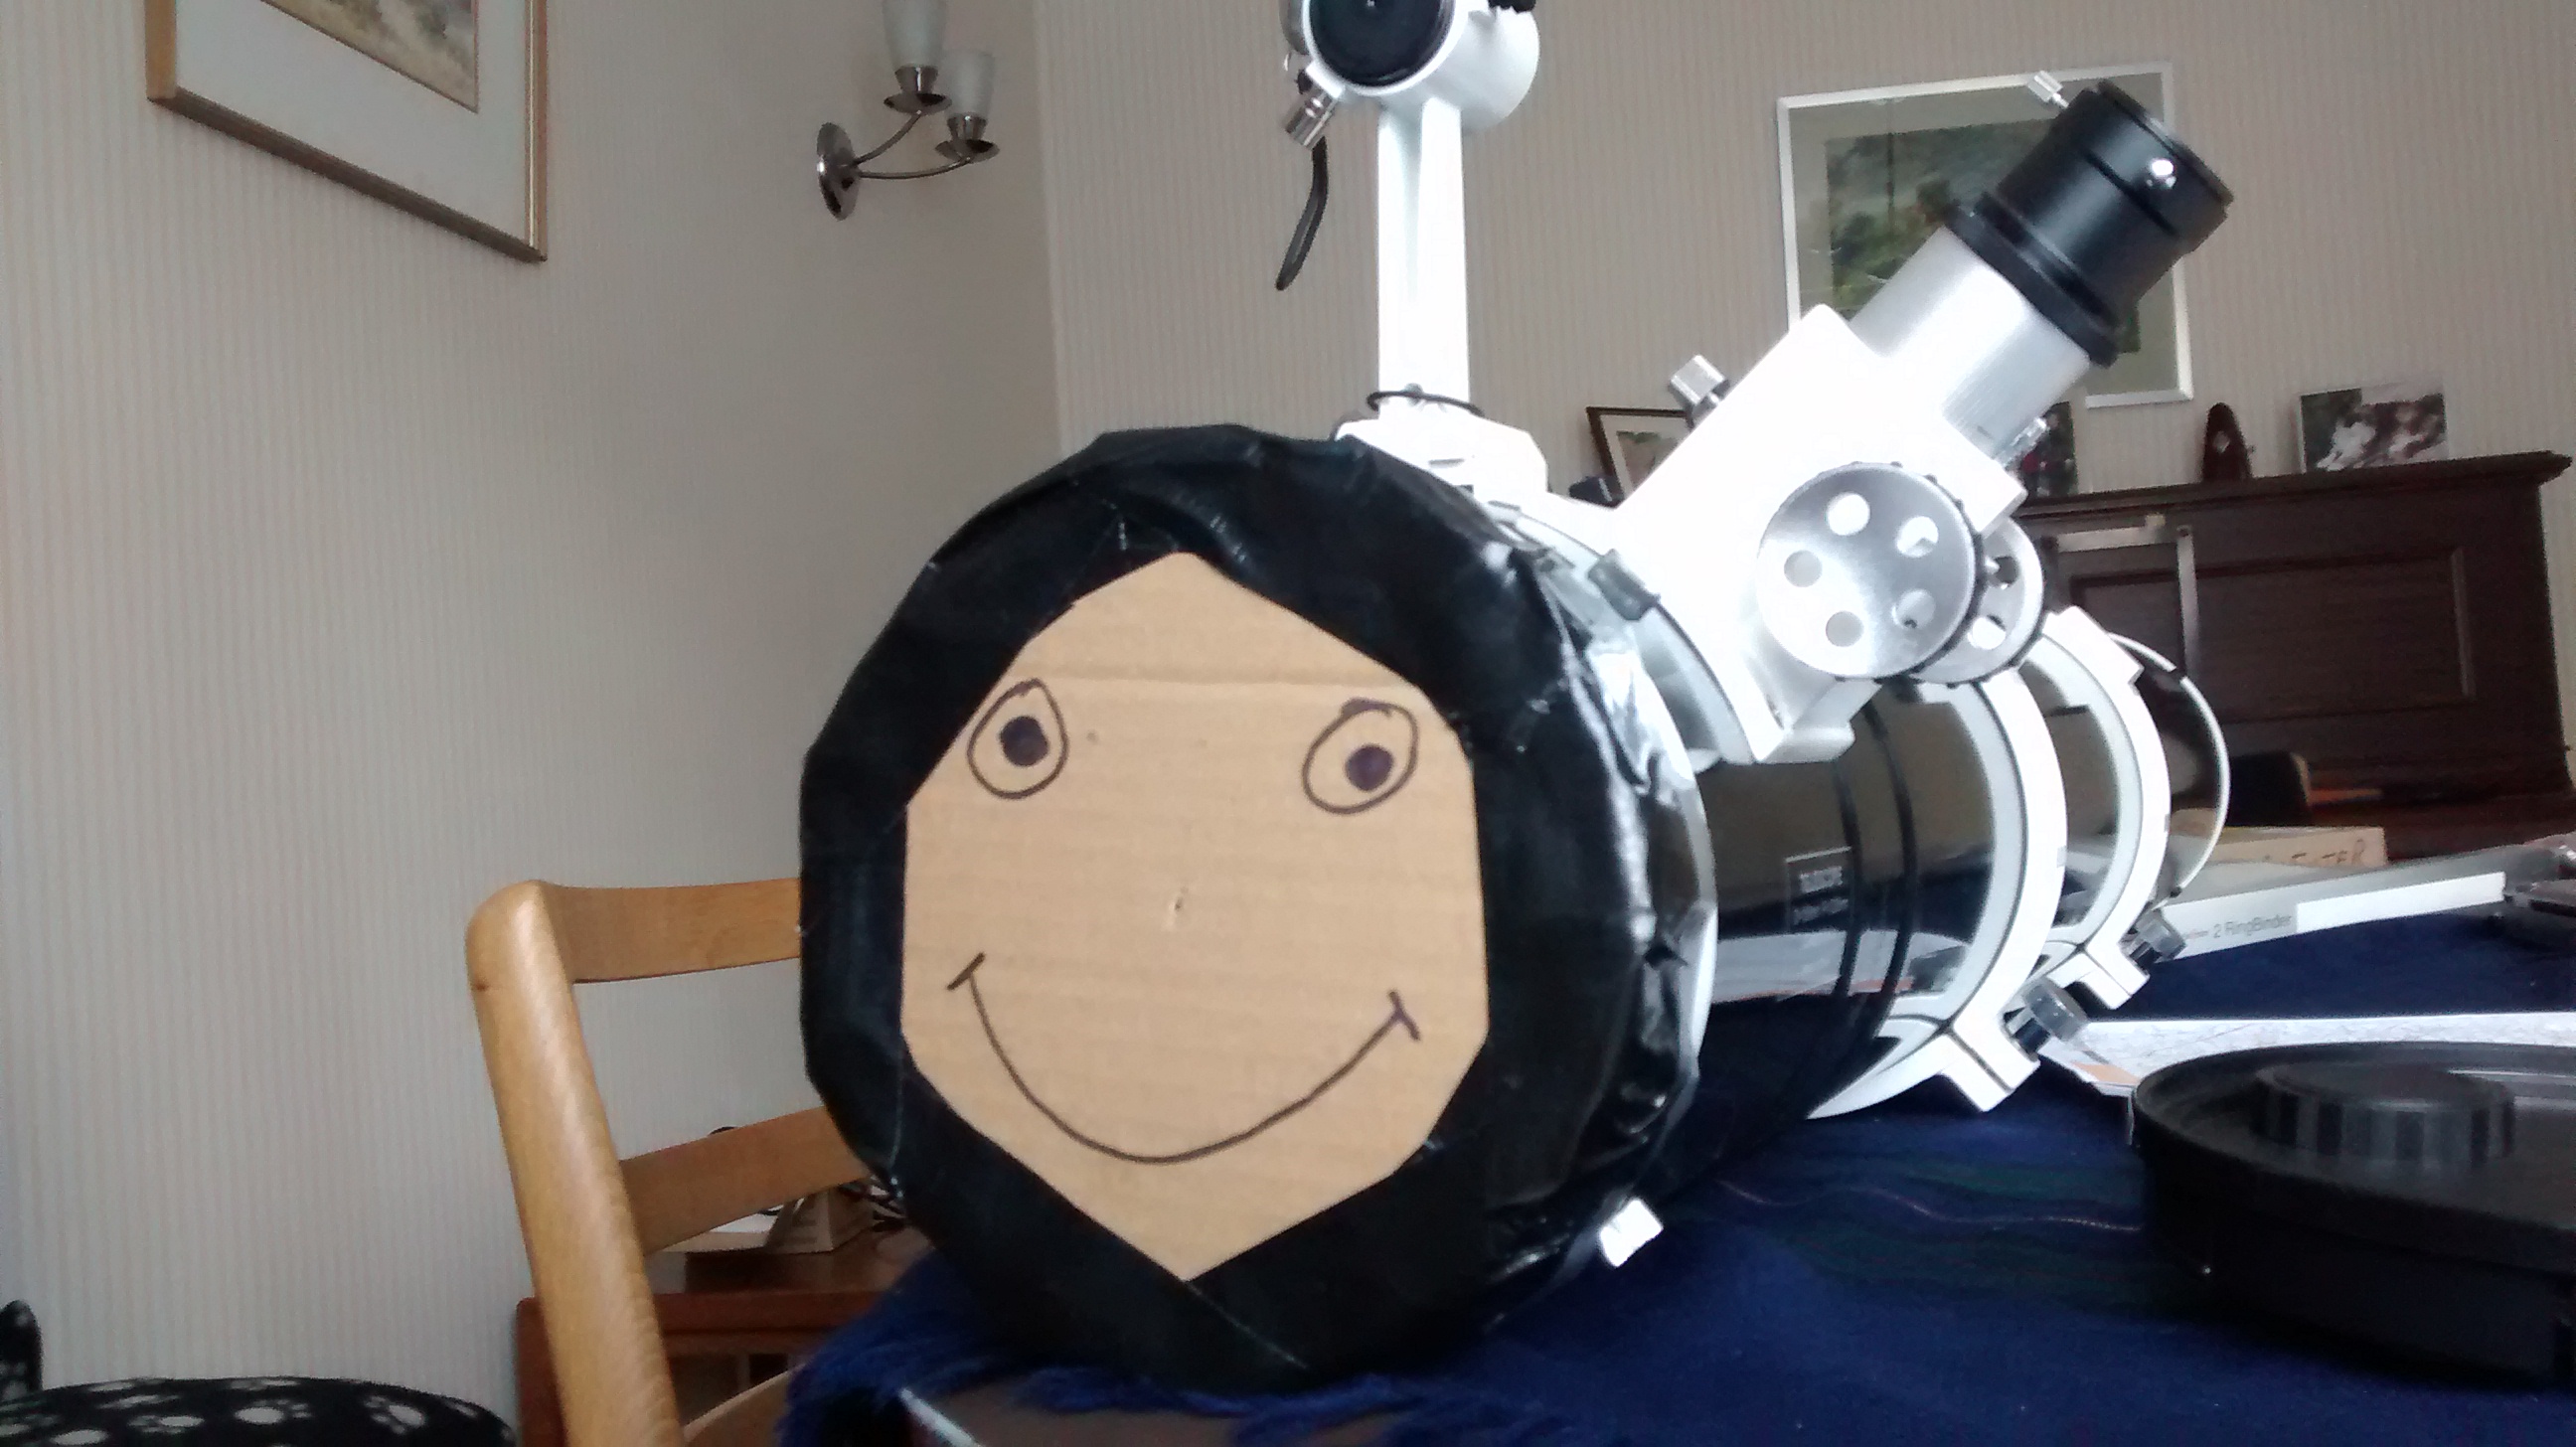
Like most newcomers to astronomy viewing and imaging starts at home and that is the Solar System. So it was with my Skywatcher 150PL Newtonian scope last year – first the Moon (of course) and then on to the planets, in this case it had to be Saturn – surely the most exciting / beautiful planet? Despite my growing years it was only in April 2013 I got to see Saturn for the first time through the 13″ Astrographic Refractor at Herstmonceaux  http://www.the-observatory.org/telescopes. WOW I am hooked and following much previous prevarication over what to buy now rapidly sought to purchase my first telescope in the form of the aforementioned 150PL with a basic EQ3-2 mount.

The early summer of 2013 was very good for viewing Saturn and so it was I spent many late nights and early mornings gazing at this wonderful planet. Of course I had to get a photograph but this was easier said than done. Despite years of SLR photography I did not own a DSLR, considering them too bulky and inconvenient for day-to-day use, I therefore resorted to my trusty Canon Ixus 860IS to try my hand at afocal photogrpahy i.e. holding the camera up to the eyepiece.  The results were awful so I purchased a camera bracket that clamped to the eyepiece and held the camera more steady, unfortunately this too was little better. I came to the conclusion that this wasn’t going to work and in some shape or other I would need to take a video instead, with subsequent processing through Registax (more about this another time) which is able to sort and stack the best frames to produce a final, single image.

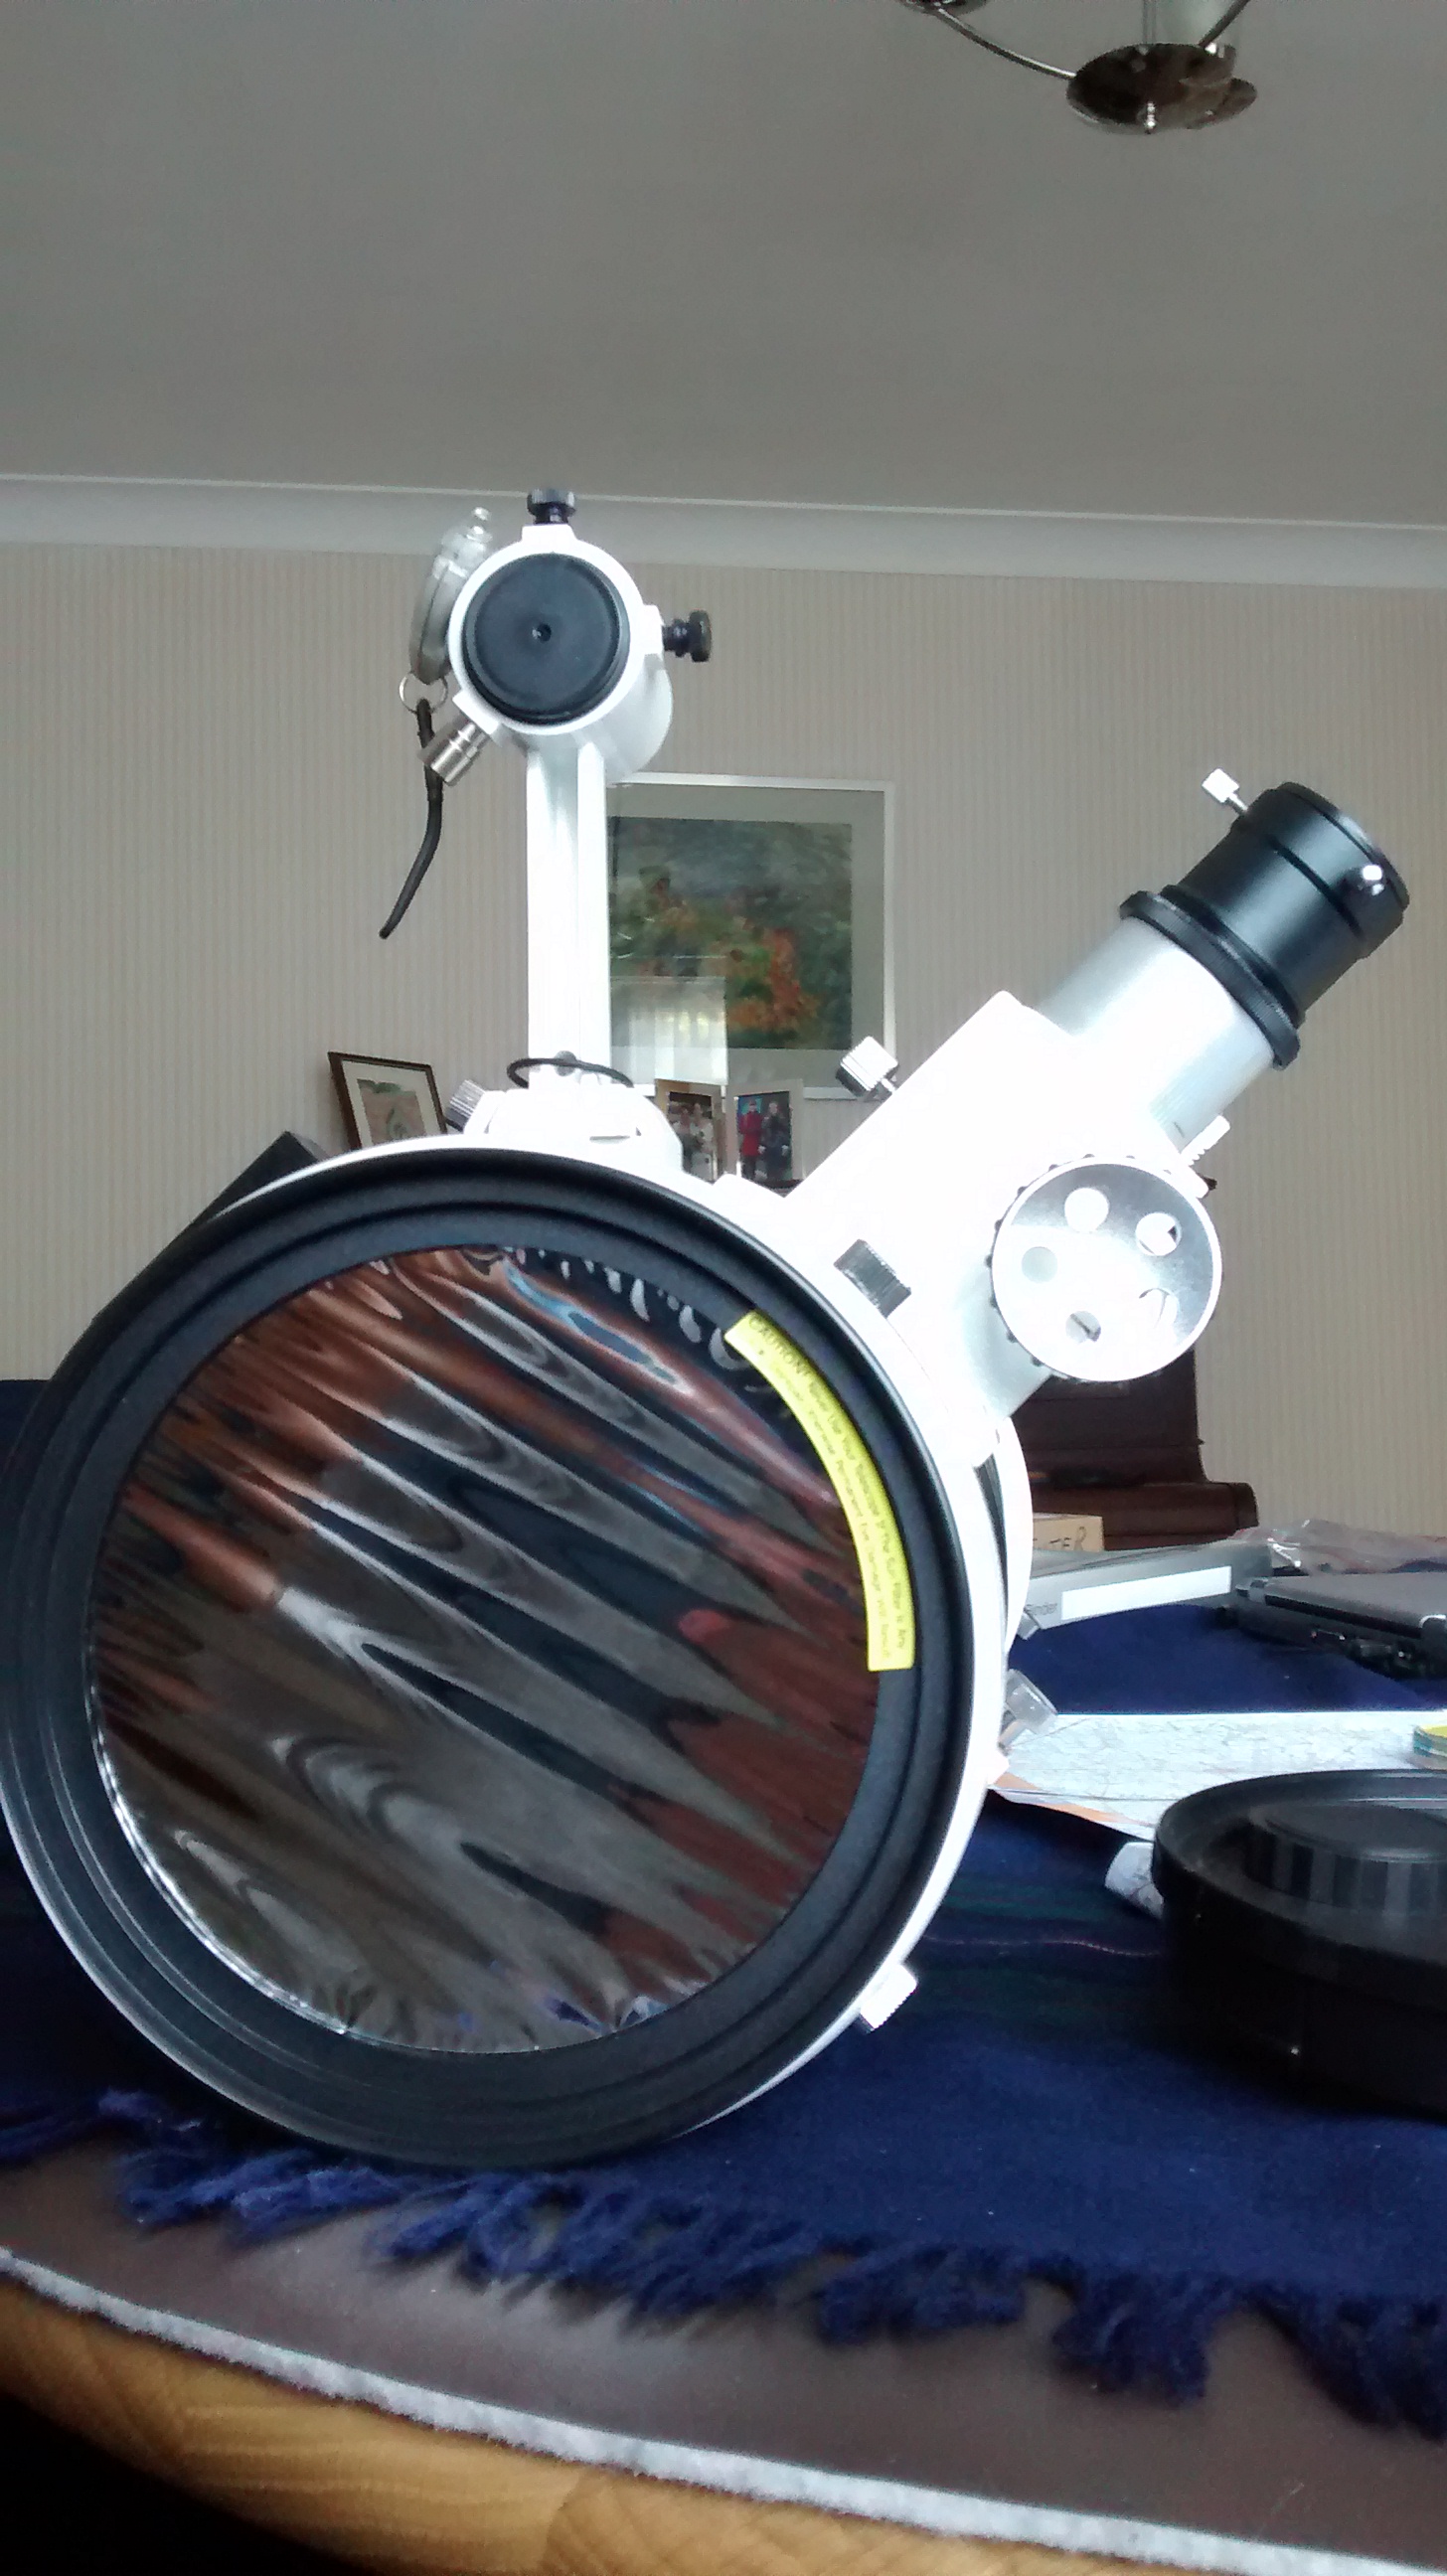
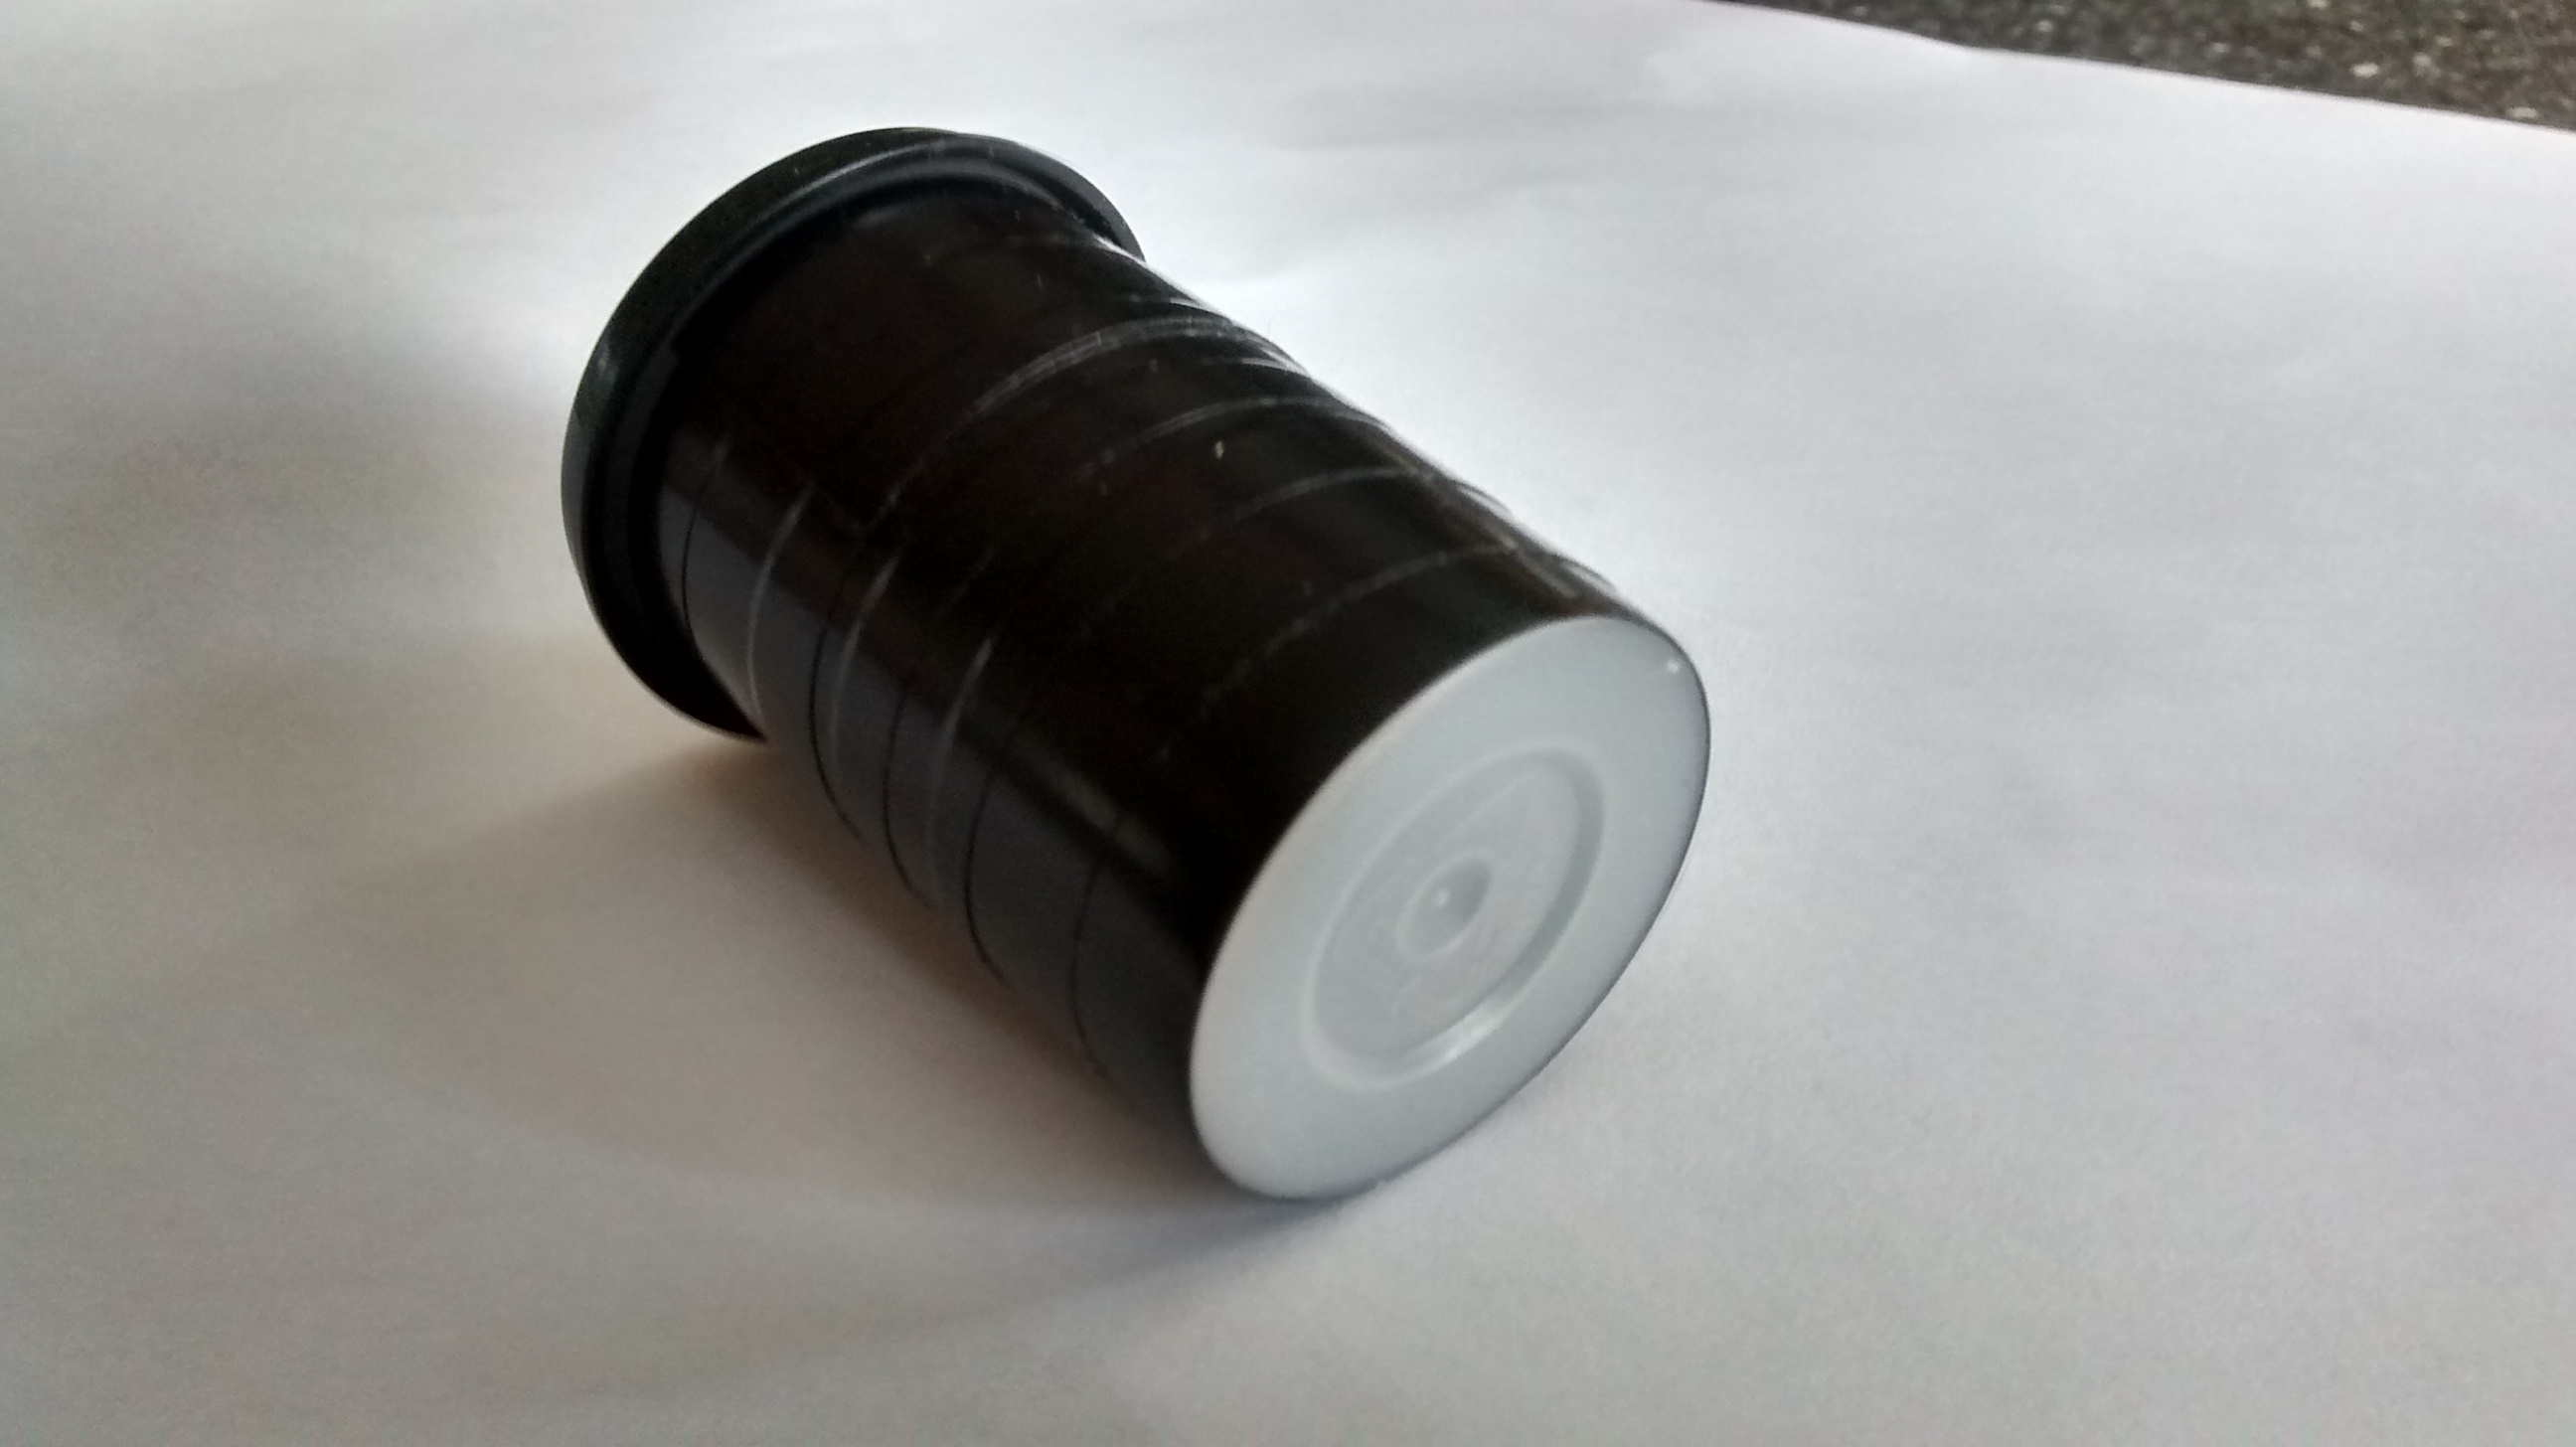
I tried the cheap route first by adapting an old Logitech webcam I already had (this involves removing the front lens so the light fall directly on the sensor) but could not get an image and therefore in the end decided to purchase a ZWO 120 MC http://www.365astronomy.com/zwo-asi120mc-colour-13-cmos-usb20-camera-with-autoguider-port-p-3536.html which also provides an autoguiding function, as yet not tested. Again I encountered major problems getting an image but after visiting the retailer Zoltan at 365 Astronomy, who also had great difficulty getting it to work by using a more up-to-date version of Firecapture, I was finally up and running – all I needed was a clear sky and an object to image. Of course, it had to be Saturn.

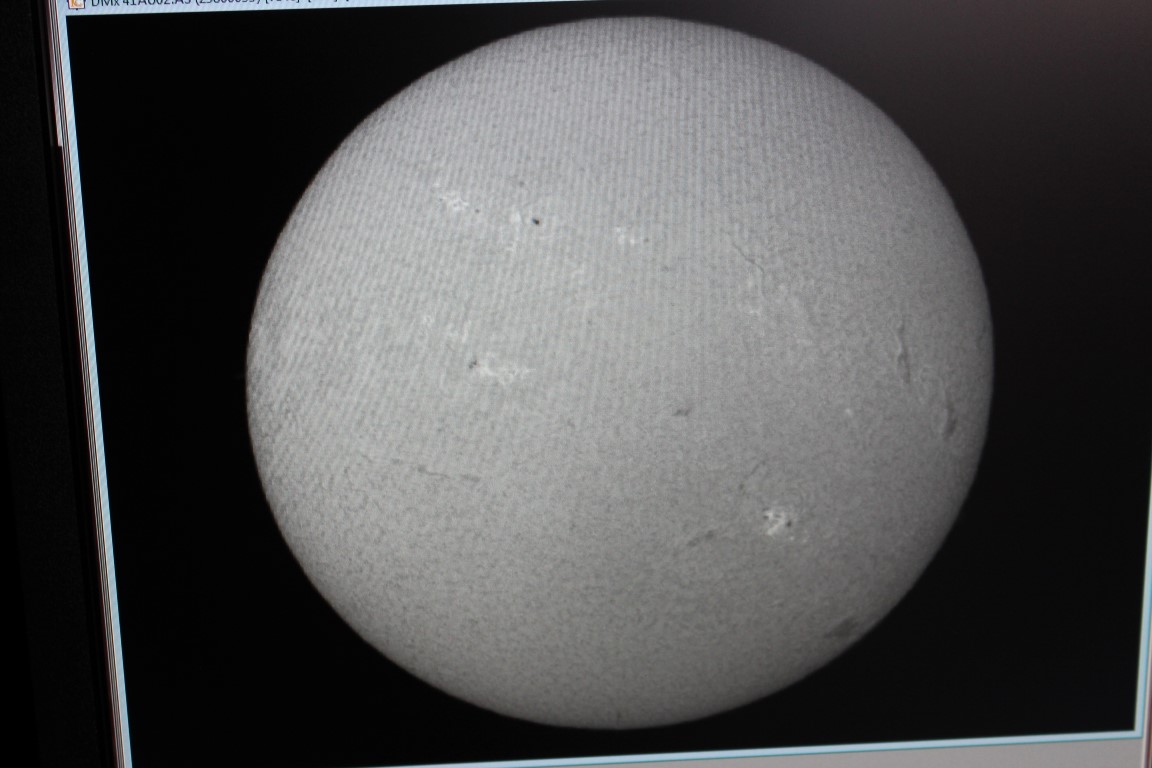
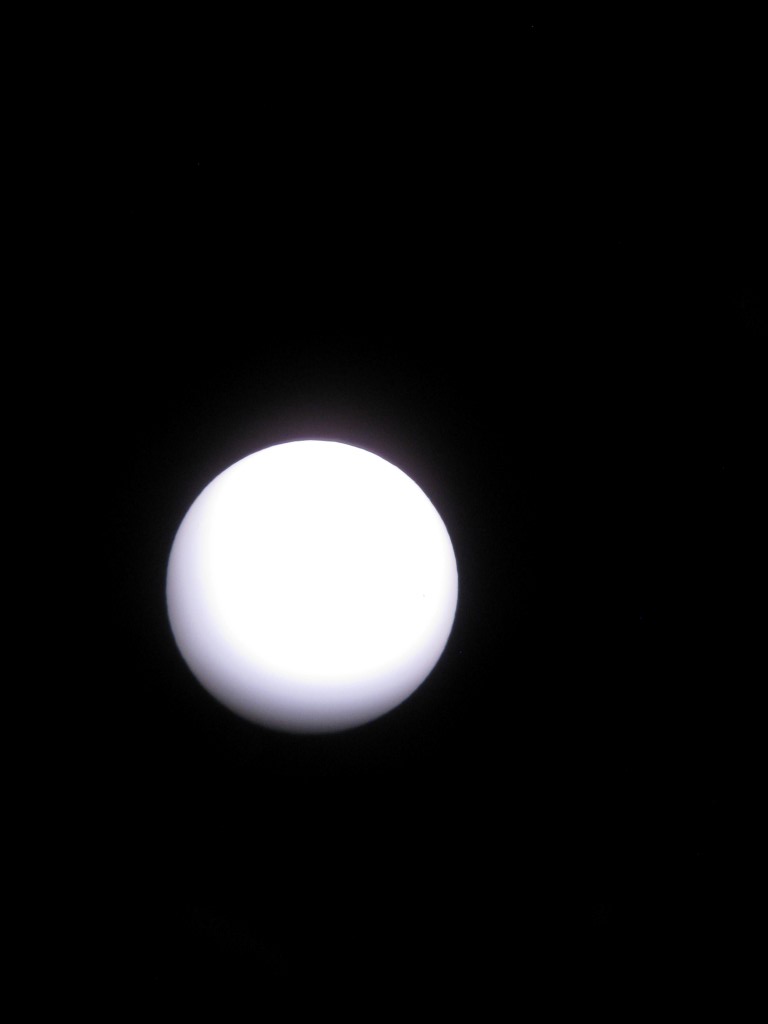
As I have now learnt every facet of astrophotography is difficult and this was no exception. The problems this time fell into two categories: the general capture settings and that old thorn in the side, focus.  It took a while but eventually I had Saturn  on film which, after some Registax processing I successfully turned into a picture.
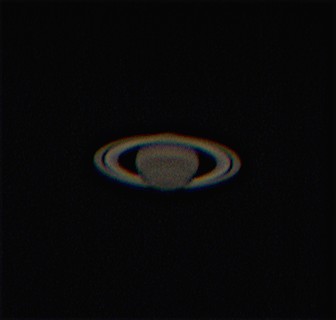
ZWO 120MC

ZWO 120MC

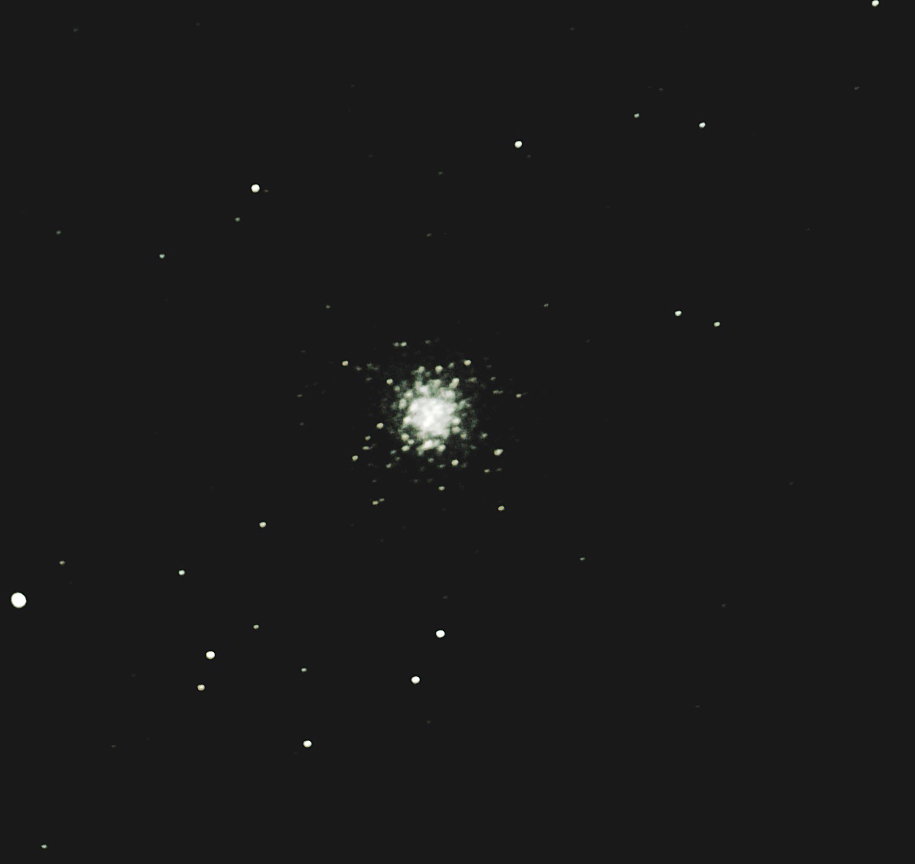
Still plenty of scope for improvement but it is clearly Saturn and to my eyes looks great.

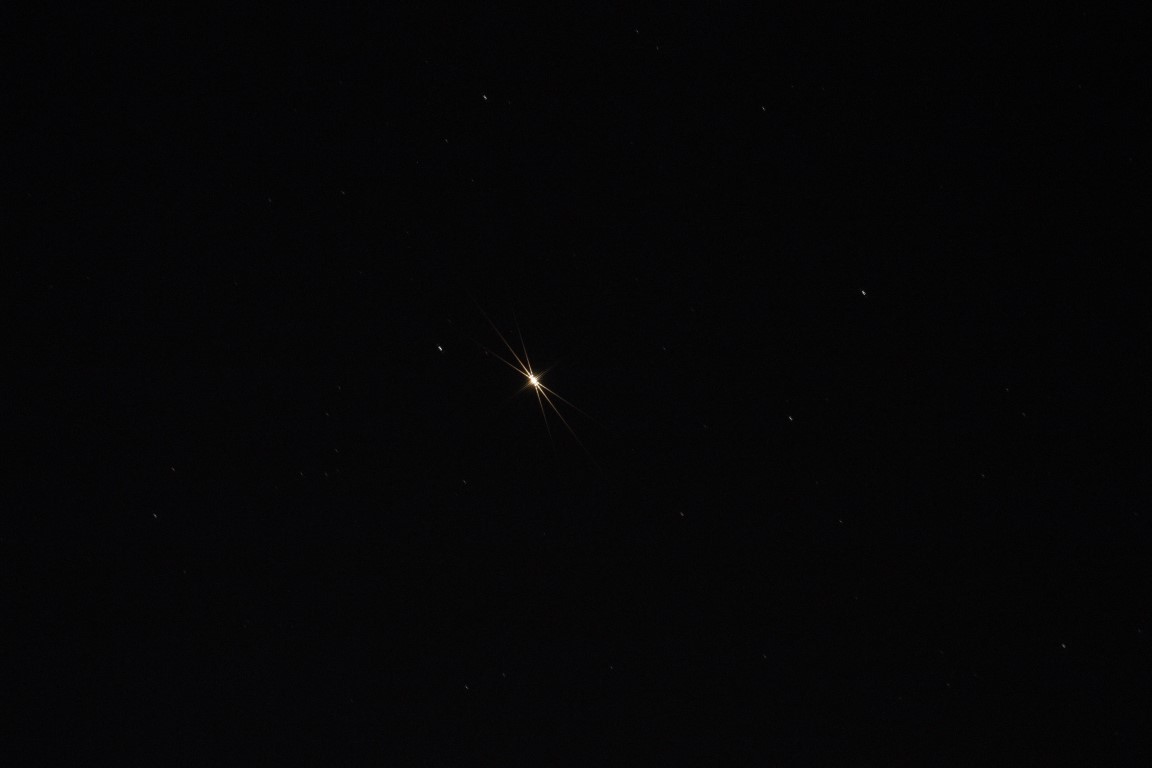
With this success under my belt, earlier this year I tried Mars which, as I was to find, is a notoriously difficult subject – the problem being size i.e. it is small. Depending on their respective orbits relative to Earth, the angular diameter  http://en.wikipedia.org/wiki/Angular_diameter of Saturn varies from 14.5″ to 20.1″, with Mars 3.5 to 25.1″.  Notwithstanding, I eventually managed to capture some video, which looked awful, but thanks to Registax emerged looking like, well ….Mars!  It has been described as ‘pizza looking’ but for the moment I’m happy.

223242_castr

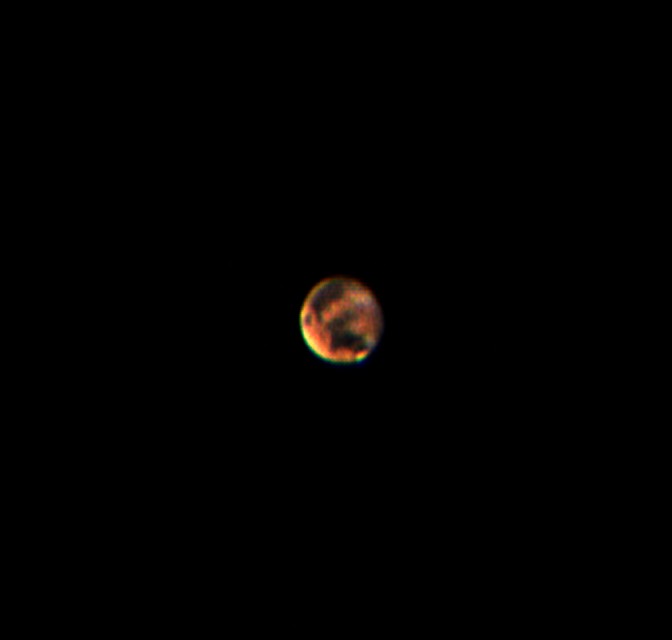
ZWO 120 MC + Registax

I had hoped to get Jupiter too but for various reasons (which I can’t remember) it didn’t happen, so that’s on the ‘to-do’ list next time it comes around.  And thanks to Nicolaus Coperincus we will be able to predict when that is.

The Moon: Up close and personal

Last night was the so called “Supermoon” of 2014 as, in its eliptical orbit, the Moon passed at its closest point to Earth for this year. Its relative closeness to Earth, plus atmospheric lensing, caused by the Moon’s location in the southern part of the Zodiac, means that for observers in the higher latitudes of the Northern Hemisphere the Moon appears particularly large at Full Moon on 10th August. As a result it is possible to get good photographs without the use of a telescope so, in my case, I shot this using a 200mm telephoto setting:

Supermoon from Fairvale Observatory 10th August 2014 Canon 700D | 200mm telephoto | 1/160th f11 ISO200

Supermoon from Fairvale Observatory 10th August 2014
Canon 700D | 200mm telephoto | 1/160th f11 ISO200

Of course, since getting my telescope last year the Moon has been a frequent subject for viewing and imaging, with some very close-up results in some cases almost seeming to take you there. Viewing the Moon is best during the early stages of a new “waxing” Moon, particularly along the edge where the dark section meets the light section – the so called “terminator”. Views of this can be stunning, with the WO GT81 and a x2 Barlow an 10mm eyepiece it almost seems like you are about to land on the surface!  Very soon after first looking at the Moon I got a Moon filter, which I have found essential as the Full Moon approaches and the light is almost otherwise blinding; the filter reduces the glare and makes observing more comfortable.

Whilst a good view of the entire Moon can be obtained, such is the optics of the 150PL (and I think the WO GT81) that to get focus the DSLR camera has to be used in conjunction with a Barlow lens. Unfortunately this results in such magnification that the Moon can only be imaged in parts, rather than as a whole but the image is nonetheless exciting:

The Moon 11th February 2014 Canon 700D | SW 150PL 2xBarlow | 1/100th ISO 400

The Moon 11th February 2014
Canon 700D | SW 150PL 2xBarlow | 1/100th ISO 400

Notwithstanding, using a suitable computer programme these individual images can be stitched together to produce a photo mosaic, such as this one made from x6 separate sections of the Moon.  The result is impressive:

Photo mosaic 11th February 2014

Photo mosaic 11th February 2014

Finally and probably most amazing is using a webcam / CCD to video the Moon.  Once again this needs to be undertaken using a Barlow and the resulting magnification is even higher but with spectacular results as can be seen with this video taken with the ZWO 120 MC in May this year(the shimmering effect is the Earth’s atmosphere): https://www.youtube.com/watch?v=13Nb_lBBaxk&feature=youtu.be

Snapshot of Moon video (see above link) ZWO 120 MC

Snapshot of Moon video (see above link)
ZWO 120 MC


Finding the Sun

As our nearest star, the Sun is an obvious target for astronomy and with all this nice summer weather at the moment, that’s exactly what I’ve been doing.  The statistics of the Sun are, of course, mind boggling and the views can be truly amazing http://http://en.wikipedia.org/wiki/Sunen.wikipedia.org/wiki/Sun .

I first saw the sun through a telescope whilst in La Palma earlier this year https://watchthisspaceman.wordpress.com/2014/08/06/la-palma-nice-one-joan/ both using Joan’s 15″ Mak Cassegrain + solar filter and his beautifully constructed helioscope, which bounced the Sun’s light / image from the outside, through a hole in the wall of the observatory, which was then focused perfectly on a screen:

Mak + white light filter

Mak + white light filter

Heliograph focus track after collecting the sun's image outside

Heliograph focus track after collecting the sun’s image outside

Final heliograph image of the Sun's surface

Final heliograph image of the Sun’s surface

Rightly or wrongly I decided to use my SW 150PL Newtonian to view the sun, with a larger, open OTA there should be better ventilation and it just seems less complicated (& cheaper) than the refractor for the moment. The standard method, which I also used, is to place a Baader Astro Solar Safety Film in front of the OTA. This looks a lot like cooking foil but is much more sophisticated and expensive, basically reducing the light from the Sun to a narrow, harmless wavelength http://www.365astronomy.com/solar-filter-for-150mm-newtonian-telescopes-p-2933.html. You can buy this film in A4 sheets and make your own filter but I bought the type that was already made and fitted snugly into the end of the OTA:

Solar filter fitted inside the 150PL

Solar filter fitted inside the 150PL – also note solar finder in the finderscope bracket (see below for description)

To be honest, I was uneasy at the prospect at looking at the Sun which, if undertaken incorrectly, could result in the loss of sight – so I didn’t want to risk the DIY route.  Whilst on this theme, it is essential to thoroughly check the filter each time before use to check for holes, even a pin prick could be dangerous and result in injury. In addition, whilst in use but not being attended – maybe gone off for a cup of tea – it is said that birds can be attracted to the shinny filter and can peck holes! I have therefore made a cardboard cover to put over the filter whilst away from the scope for this reason:

Crude and cheap but it might save your eyesight!

Crude and cheap cardboard cover but it might save your eyesight!

At this point I realised that finding the sun to view i.e. lining it up, is not as easy as it might seem – after all you cannot just look directly at the sun and point the scope, for obvious reasons. One method is simply to use the OTA’s own shadow, so that when it is lined up with the sun its shadow will be at its minimum. There are also numerous gadgets out there to buy (there always is in astronomy).  However, I came across a DIY version that frankly I think is difficult to beat – it costs nothing and takes seconds to make! This guy deserves an award for such a design http://pembsastronomers.freeforums.org/how-to-make-a-solar-finder-in-three-seconds-t485.html.

Basically it is a 35mm film canister, with a black top on a clear container: wrap the container in black electric tape and pierce a very small pinhole in the top. In my case it slipped straight into the finderscope bracket (thus also also allowing proper alignment with the scopes viewing axis) and then you manoeuvre the scope until the beam of sunlight that passes though the pinhole, falls directly at the centre of the base of the canister, which acts as a screen. Genius!

35mm canister with small, pinhole in the top

35mm canister with small, pinhole in the top

Using a clear canister wrapped in black tape, the base acts as a screen. Sunlight passes through the pinhole which then appears as a small, bright spot on the base of the canister - moving this to the centre of the base by adjusting the orientation of the scope ensures the scope is directly aligned with the Sun for viewing.

Using a clear canister wrapped in black tape, the base acts as a screen. Sunlight passes through the pinhole which then appears as a small, bright spot on the base of the canister – moving this to the centre of the base by adjusting the orientation of the scope ensures the scope is directly aligned with the Sun for viewing.

Using the Baader Solar Filter produces a white light image, in particular showing sunspots:

The photo mosaic segments would not line up perfectly but the sunspots are clear to see and more prevalent than a couple of weeks ago. Notwithstanding, the 11-years sun spot cycle is not as expected, with the number of spots quite low at the moment.

The DSLR photo mosaic segments would not line up perfectly but the sunspots are clear to see and more prevalent than a couple of weeks ago. Notwithstanding, the 11-years sun spot cycle is not as expected, with the number of spots quite low at the moment.                                             Skywatcher 150PL & 2x Barlow 1/40th sec at ISO100

Compact camera afocal image - lacks detail but you get the whole of the sun in the frame.

Compact camera afocal image – lacks detail but you get the whole of the sun in the frame.

For the moment I’m quite pleased with the view but would eventually like to improve things. Still looking at white light, the Herschel Wedge looks like a good attachment that could instead be used with the WO refractor http://en.wikipedia.org/wiki/Herschel_wedge . This deflects most of the light and heat and, supposedly, produces a superior image – it’s inevitably quite a bit more expensive.  The holy grail is a hydrogen-alpha scope, of which the Coronado PST is probably the most popular, not least because it is financially cheaper  http://www.meade.com/products/coronado/coronado-personal-solar-telescope-pst-0-5-angstrom.html but if you are really flush with cash this will do the job nicely http://www.telescopehouse.com/acatalog/Lunt-152mm-H-alpha-OTA—B1800-BF—Feather-T—P-Tuner.html . The point of the H-alpha scope is that it works at a different wavelength that, unlike white light, enables the Sun’s prominences to be seen, dream on.

For scale that's Jupiter down there in the lower, left hand corner

For scale that’s Jupiter down there in the lower, left hand corner

Focus is everything

FOCUS: The state or quality of having or producing clear visual definition – Oxford English Dictionaries.

Splashed the cash and got the equipment, done the reading and asked all the right questions on the astronomy forums, got a clear night, time to catch those images – what can go wrong? Having recently purchased and got a new AZ-EQ6 mount and WO scope working OK visually, it was time to embark on my new DSO photographic quest. Not for the first time I unfortunately underestimated just how difficult this astrophotography is; forgetting that I’d already battled before to image with the Newtonian 150PL using both the DSLR and ZWO webcam (more on that another time).

This time the challenge was using the new WO Field Flattener http://www.williamoptics.com/accessories/flattener6A_features.php. So – set up scope, align mount/scope, find object, centre and visually focus.  Then attach the field flattener (FFL) to the DSLR and slide directly into the focus tube, focus and take images – easy?  No! Even now I am not sure what went wrong but after three evenings and numerous questions on the Stargazers Lounge forum (SGL), I was completely unable to get a clear picture through the camera, let alone an image.  Initially I just thought the set up was wrong (whilst all the WO various equipment is excellent, none of it comes with instructions.  I am told this is par for astronomy but, when you are forking out this kind of money I find that quite unacceptable) or I needed yet another piece of equipment to achieve focus (surprisingly the ‘expert’ dealer from where I bought it wasn’t even sure on this!), spacers perhaps? By now I was very concerned.

Another clear warm night soon came and with perseverance low and behold a result.  This time I was much more meticulous: visually focusing on the bright star Arcturus, then switching to the DSLR + FF.  Using the Canon EOS Utility and Live View, with the ISO set very high I was at last able to see something on the screen, which with very fine adjustment came into focus as a small, very bright dot. Placing my other recently discovered brilliant invention, the Bahtinov mask http://en.wikipedia.org/wiki/Bahtinov_mask

Bahtinov mask

over the objective lens I was able to refine the focus perfectly:

Bahtinov Focused Image(Medium)

Now carefully transferring the scope and refining the position via Live View I was ready for a serious attempt on my first DSO, M13 The Great Globular Cluster in the constellation of Hercules:

M13 DSS Final 300714 cropped

WO GT 81 + FF 10x16sec at ISO800

Bingo + what a relief! Like my first crude afocal image of the Orion Nebula last year, getting the picture was exhilarating.  OK it’s not brilliant and I have seen the image in numerous publications and online but, it was mine, having captured those photon’s which had been travelling for the past  25,000 light-years on my camera, just outside my back door. WOW!

http://apod.nasa.gov/apod/ap120614.html

I hope to improve on this one day, once I have mastered all the other software, guidescope etc but I doubt I’ll feel quite the same next time.  In the end, focus was everything, it is very difficult to achieve and only goes to show just how difficult this astrophotography is but after the light spent so long getting here, the least I can do is focus it right on my camera sensor, which requires a fraction of a millimeter accuracy.

Later on the same night I also captured M57, the Ring Nebula (more another time).  Apart from refining this process (which I can see will take what ever’s left of my lifetime) my next ambition is to capture a galaxy out my back door, I can’t wait!