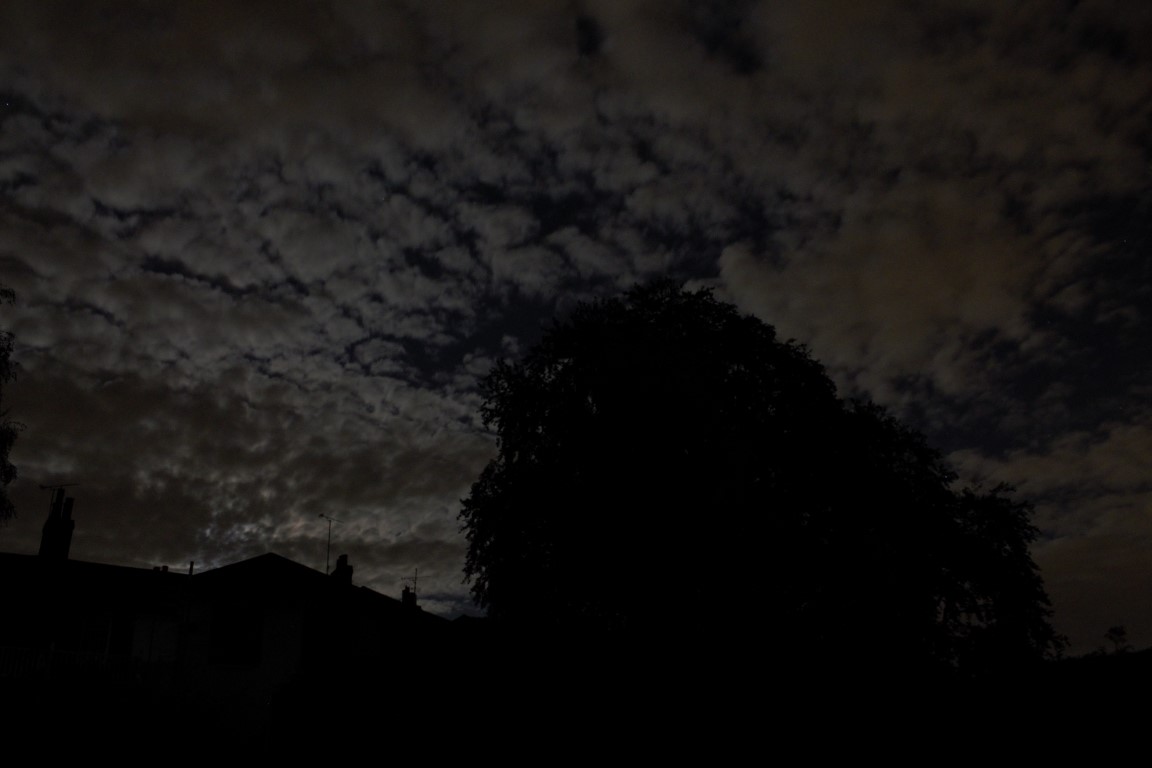
The so called ‘observatory’ is unfortunately the back patio of my house – Fairvale is the house name. In itself OK but with the house completely blocking the view to the north and houses, hedges and some large trees blocking much of the horizon looking east, south and west, it’s a wonder I get to see anything in the sky. Furthermore, we are located just outside the M25 London orbital motorway, with Gatwick airport to the south about 8 miles away – hardly perfect light conditions. However, for the moment it’s what I have to work with and I thought I’d start a series on the background of my equipment, how it has evolved and what I’ve learned from using it. In Part-1 I’ll review my starter set-up purchased second hand just over a year ago.

The view East

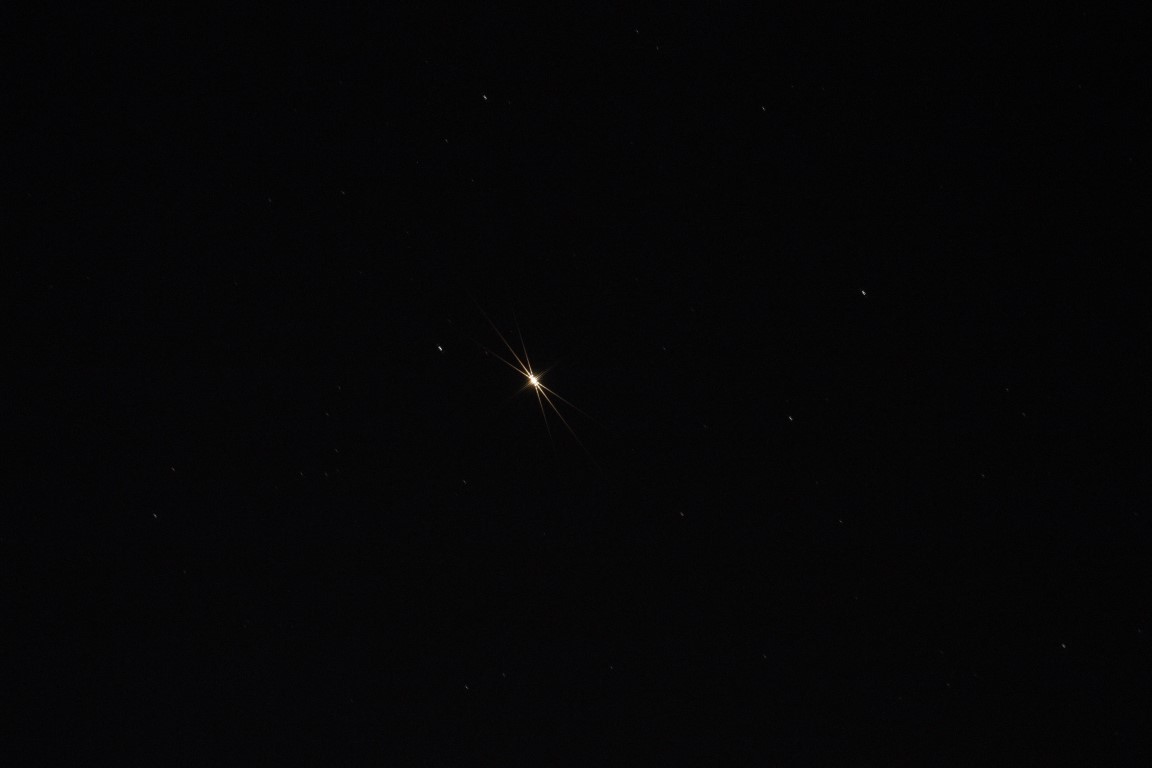
The view south, note light pollution from Gatwick airport
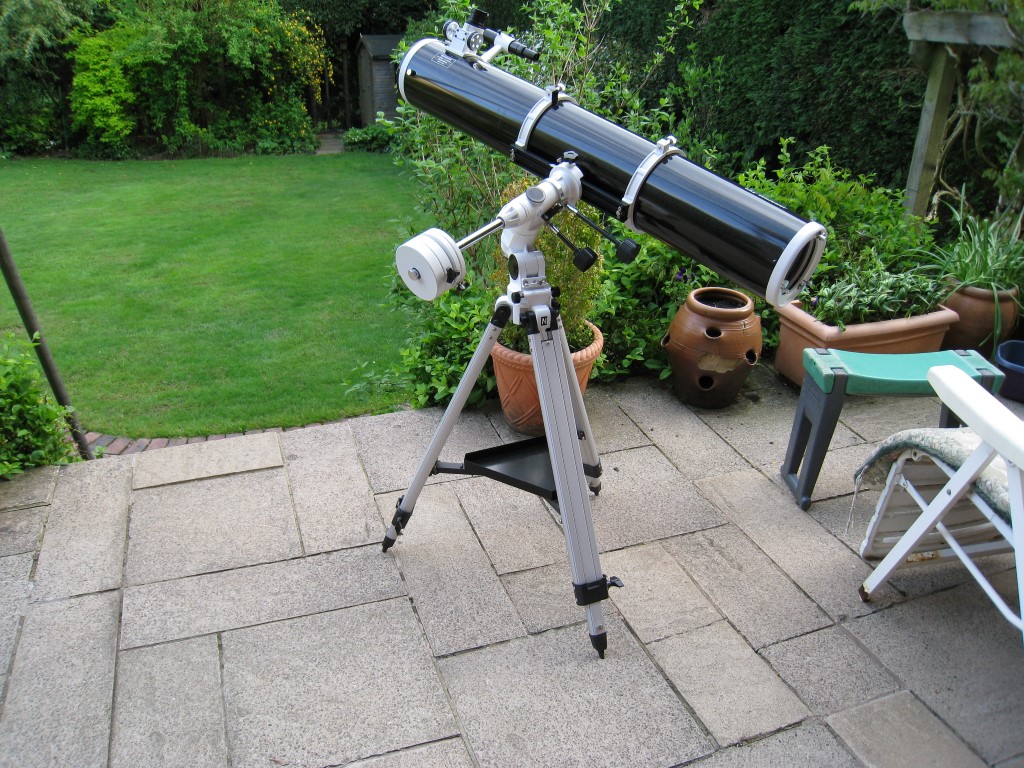
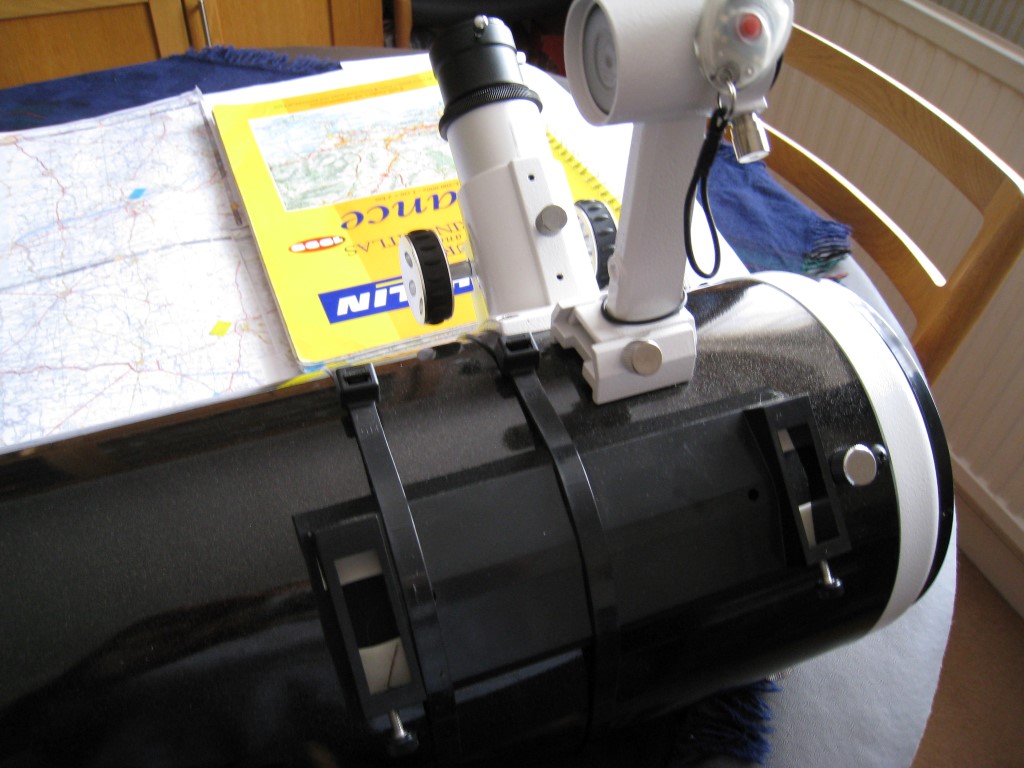
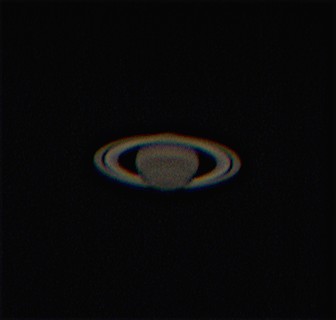
As described in the section About Me, after years of prevaricating about which scope to buy, I was finally stung into action in April 2013 by my first ever view of Saturn and a feeling by now that there were too many answers to the question, which scope? So best just get on with it. My philosophy for the first year was to experience astronomy and, if possible imaging, in order to: (i) see if I enjoyed it (ii) learn the basics with basic equipment and (ii) learn from my mistakes for a small financial outlay before spending the big bucks, if indeed that was to be my next move (as it was – see Part-2 later). In the end I went for a Skywatcher 150PL with an EQ3-2 mount, which all things considered turned out well and has certainly whetted my appetite for bigger and better stuff (the retailers will be pleased to know).

Skywatcher 150PL (pre-motor drives) & EQ3-2 Mount
It is clear that there has been something of a revolution in amateur astronomy in recent years, mainly I suspect (like so many other aspects of western life) through the development and manufacture of affordable high-spec equipment in the Far East, mainly China. This equipment is generally well made and now incorporates many technical features that an amateur astronomer could have only dreamt about 10-years ago; technology itself seems to have developed at an almost exponential rate, particularly in the field of astrophotography and related computing and processing, no doubt partly led by Hubble’s success and subsequent spin-off developments.
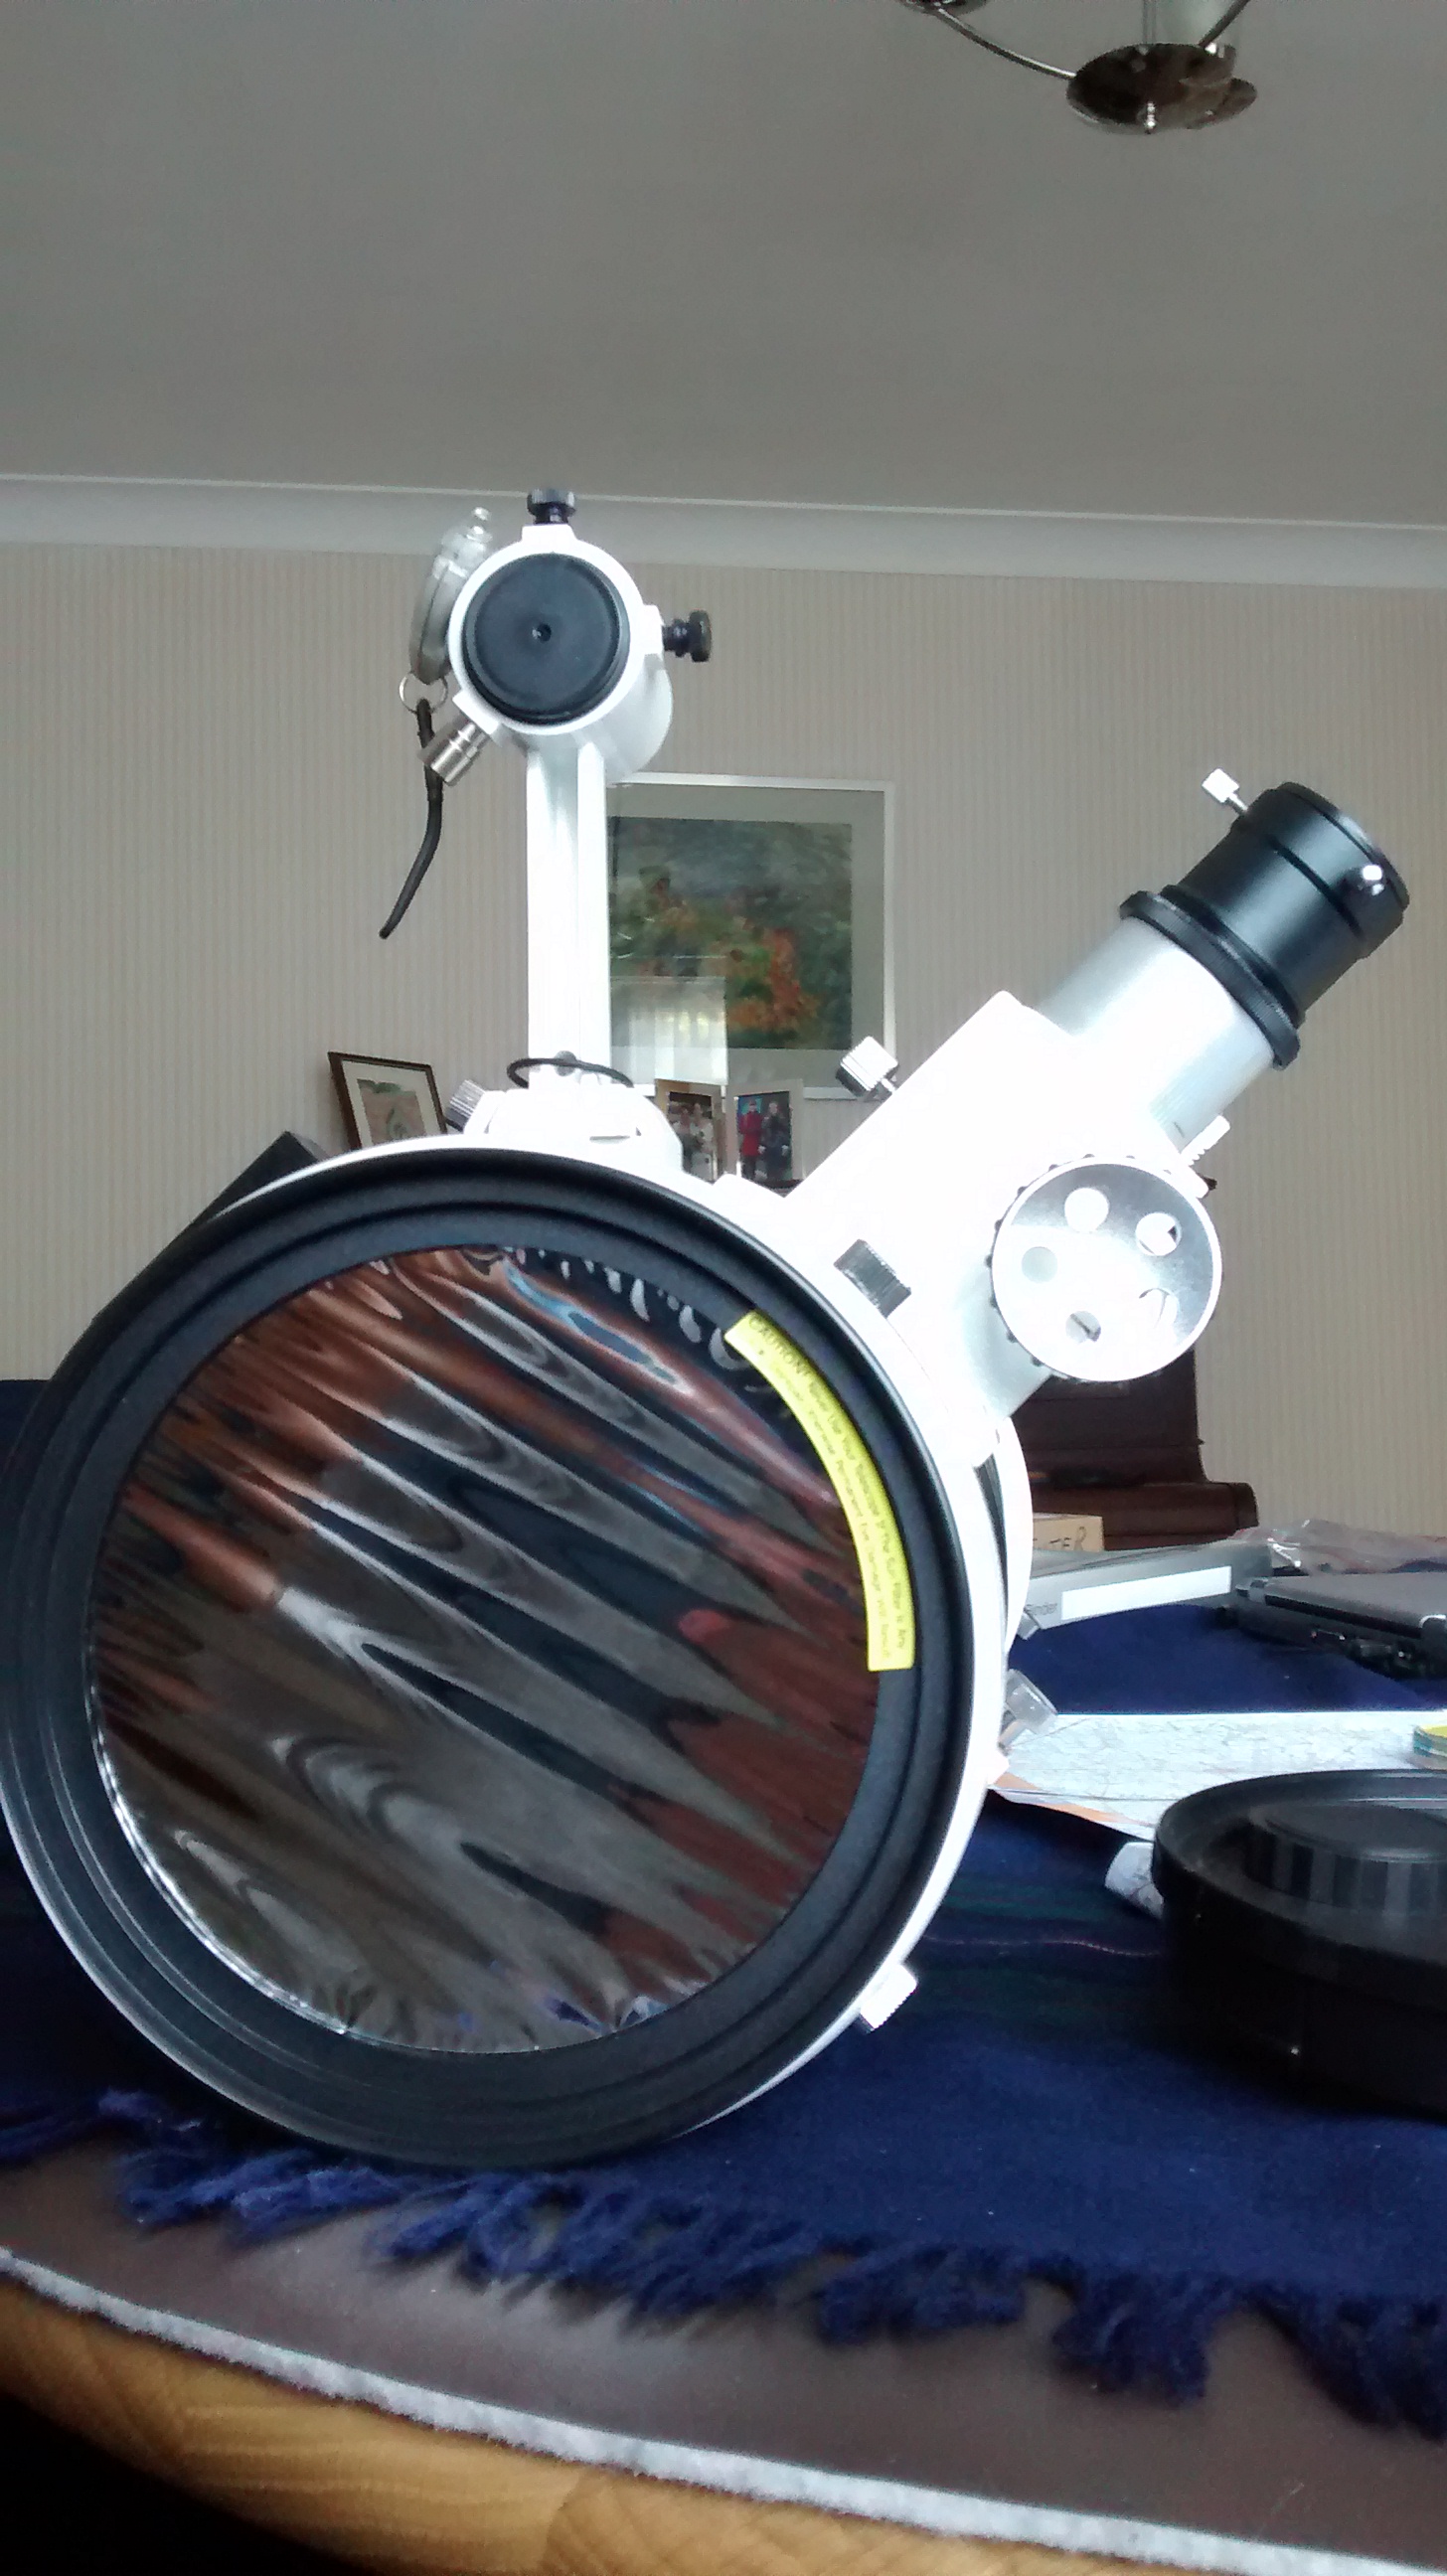
The OTA (optical telescope assembly) – Skywatcher 150PL
You get a lot of bangs for your bucks with a Newtonian refractor, making them a great starter telescope. In this case the OTA is just over a metre long, with a focal length of 1,200mm and an aperture of 150mm, which is a pretty decent size to start with – it certainly looks impressive! The ‘speed’ of the scope or f-number is calculated by dividing the focal length by the aperture, which in this case gives a number of f8. Anything smaller i.e. higher than about 4 or 5 is considered to be a ‘fast’ scope (the terminology derives from photography but is not directly comparable) and anything over about 10 is ‘slow’ – as a rule of thumb, each being generally better suited (fast or slow) to either DSO or planetary astronomy respectively. Therefore in my case this scope errs towards planetary work best, hence the suffix PL. The physical size of the 150PL is something of an encumbrance at times but, as already indicated, the Newtonian is difficult to beat on price as a starter scope with a decent size aperture, which results in better light capture.
The OTA has no lenses but two mirrors to bounce the light up and down the OTA and into the eyepiece for viewing or photography, which is conveniently located on the side http://en.wikipedia.org/wiki/Newtonian_telescope. From time-to-time it is good practice to make sure these mirrors are correctly aligned through a process of collimation, ensuring thereby the light path is perfectly set from the centre of each mirror to the centre of the eyepiece. I am ashamed to say I have yet done this once, which is no doubt the source of some of my subsequent alignment and imaging problems! Oh well.
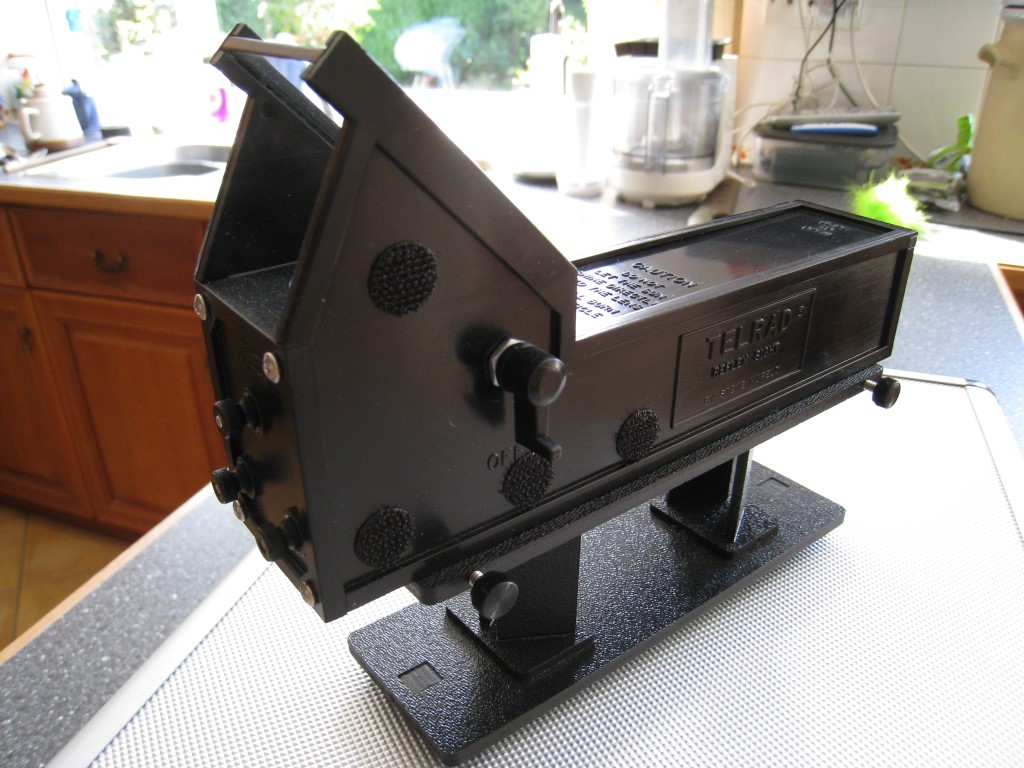
I should say that the scope also comes with a 30mm finderscope, which I have found to be of limited use, in particular since getting the wide angle eyepiece (see below) and a Telrad. In the absence of GoTo facilities and even when you know and can clearly see the astronomical target feature in the night sky, it is still difficult to line up the OTA for viewing. Strapping a Telrad to the OTA has virtually solved this problem. The Telrad is essentially a form of red dot finder, whereby a small red circle is projected onto a piece of 45o inclined glass through which you look and can therefore see the desired target feature. By then manually moving the OTA and thus moving the red circle until it coincides with the target, the scope is lined-up perfectly every time.

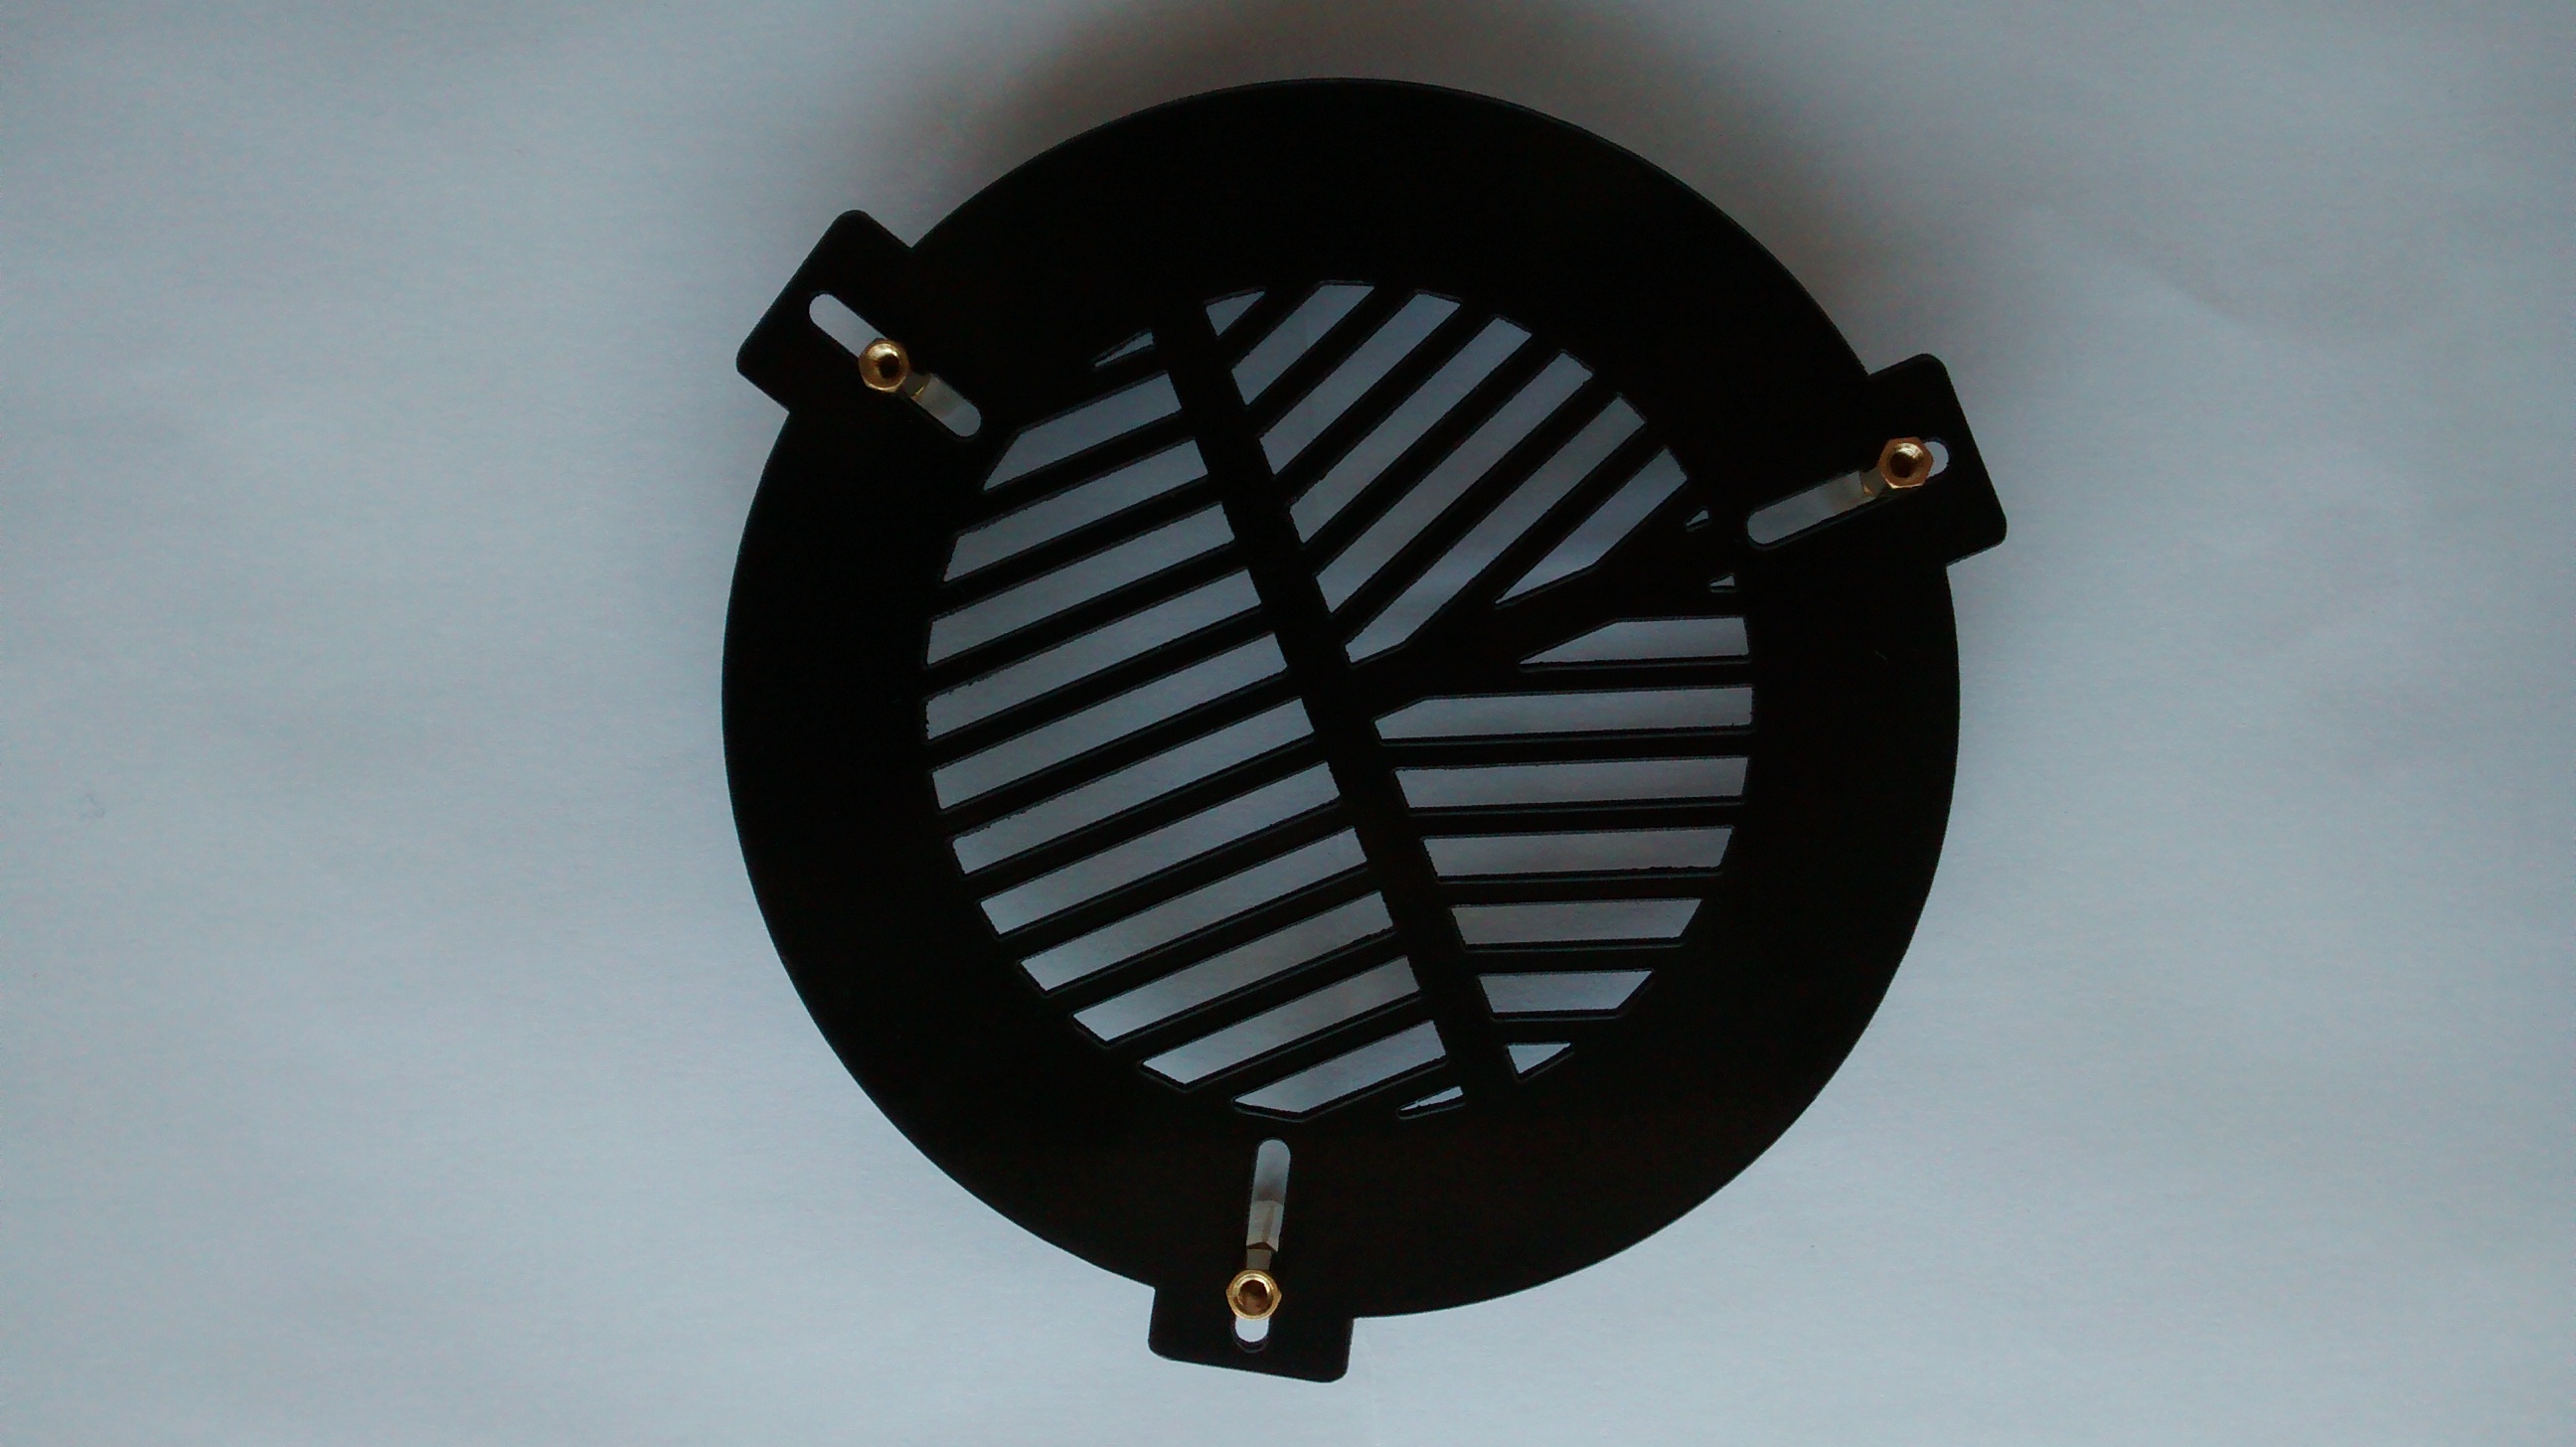
The wonderful Telrad RDF

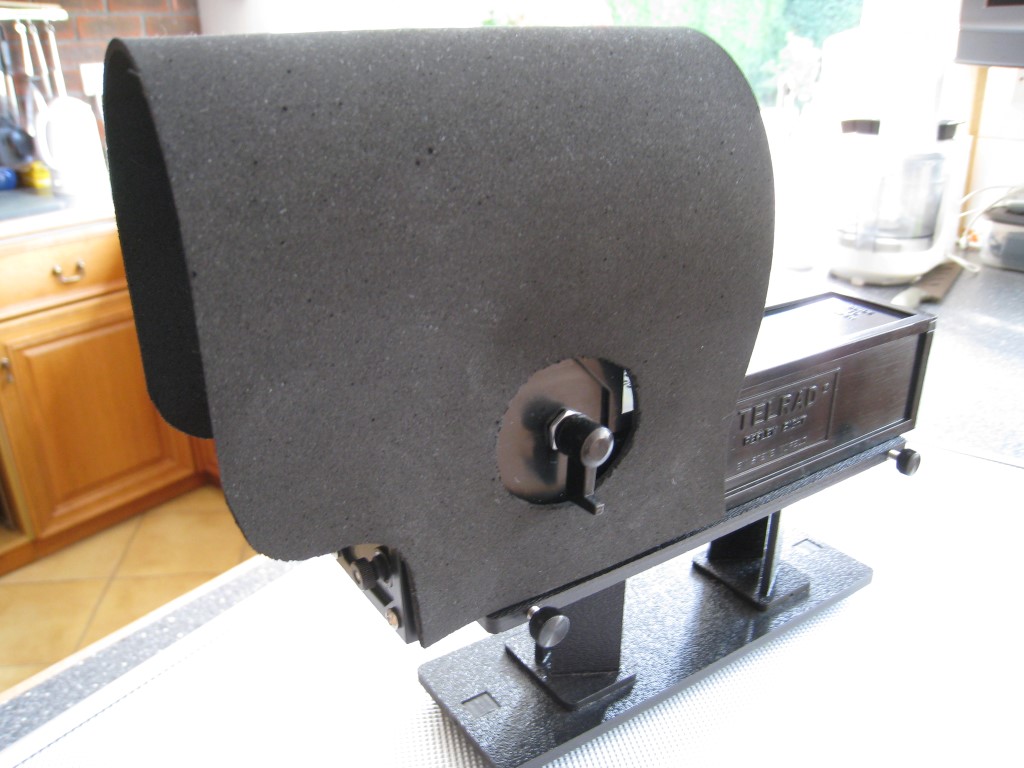
Telrad + homemade dew shield, using 3mm compressed foam

The Telrad locates and screws quickly onto a base (available at different heights) fixed by cable ties alongside the finderscope.
Focus, Eyepieces & Filters
One of the major problems throughout my introduction to astronomy has been focussing which, in the case of the 150PL, has been compounded by the low quality of the focus mechanism. In this case the 1.25” focus tube and fitting is a simple rack and pinion, which unfortunately has little finesse. As I have found to my frustration, achieving focus for astrophotography can be down to a fraction of a millimetre. Due to the coarse nature of the 150PL focus mechanism, such tolerances are difficult to achieve and good focus is more by luck than design with this mechanism.
More so than the OTA, the importance of good eyepieces cannot be overestimated. The 150PL came with two basic Plössl x25mm & x10mm 1.25” eyepieces and a x2 Barlow. I subsequently added to these with a x6mm and Ultra Wide Angle (UWA) x32mm lens, which though nowhere near top-of-the range, are noticeably superior to the originals and are now used most of the time in preference to the original eyepieces. They are also both Plössl construction but with better glass and the x32mm has an 82o wide angle field of view, which is a major advantage when first visually locating a feature in the sky before changing to the x6mm or adding the Barlow. Furthermore, both the ‘new’ eyepieces have a larger eye relief, which for those like me wearing glasses makes observing much more comfortable; the eye relief is the distance the eye has to be beyond the eyepiece lens to achieve focus – a larger / wider distance means the eye can be further away from the lens. I expect to improve this collection of eyepieces further at some time – thinking about a better quality Barlow, a Powermate and perhaps a reticle – we shall see.

Eyepieces tucked up in their storage box with filters, laser pen and lens cleaner. When working in the dark, literally, it pays to know where things are.
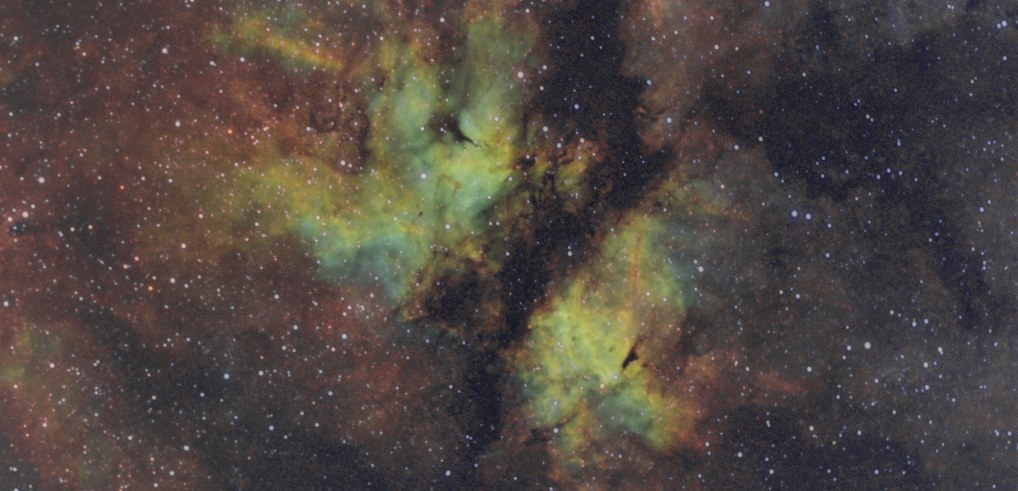
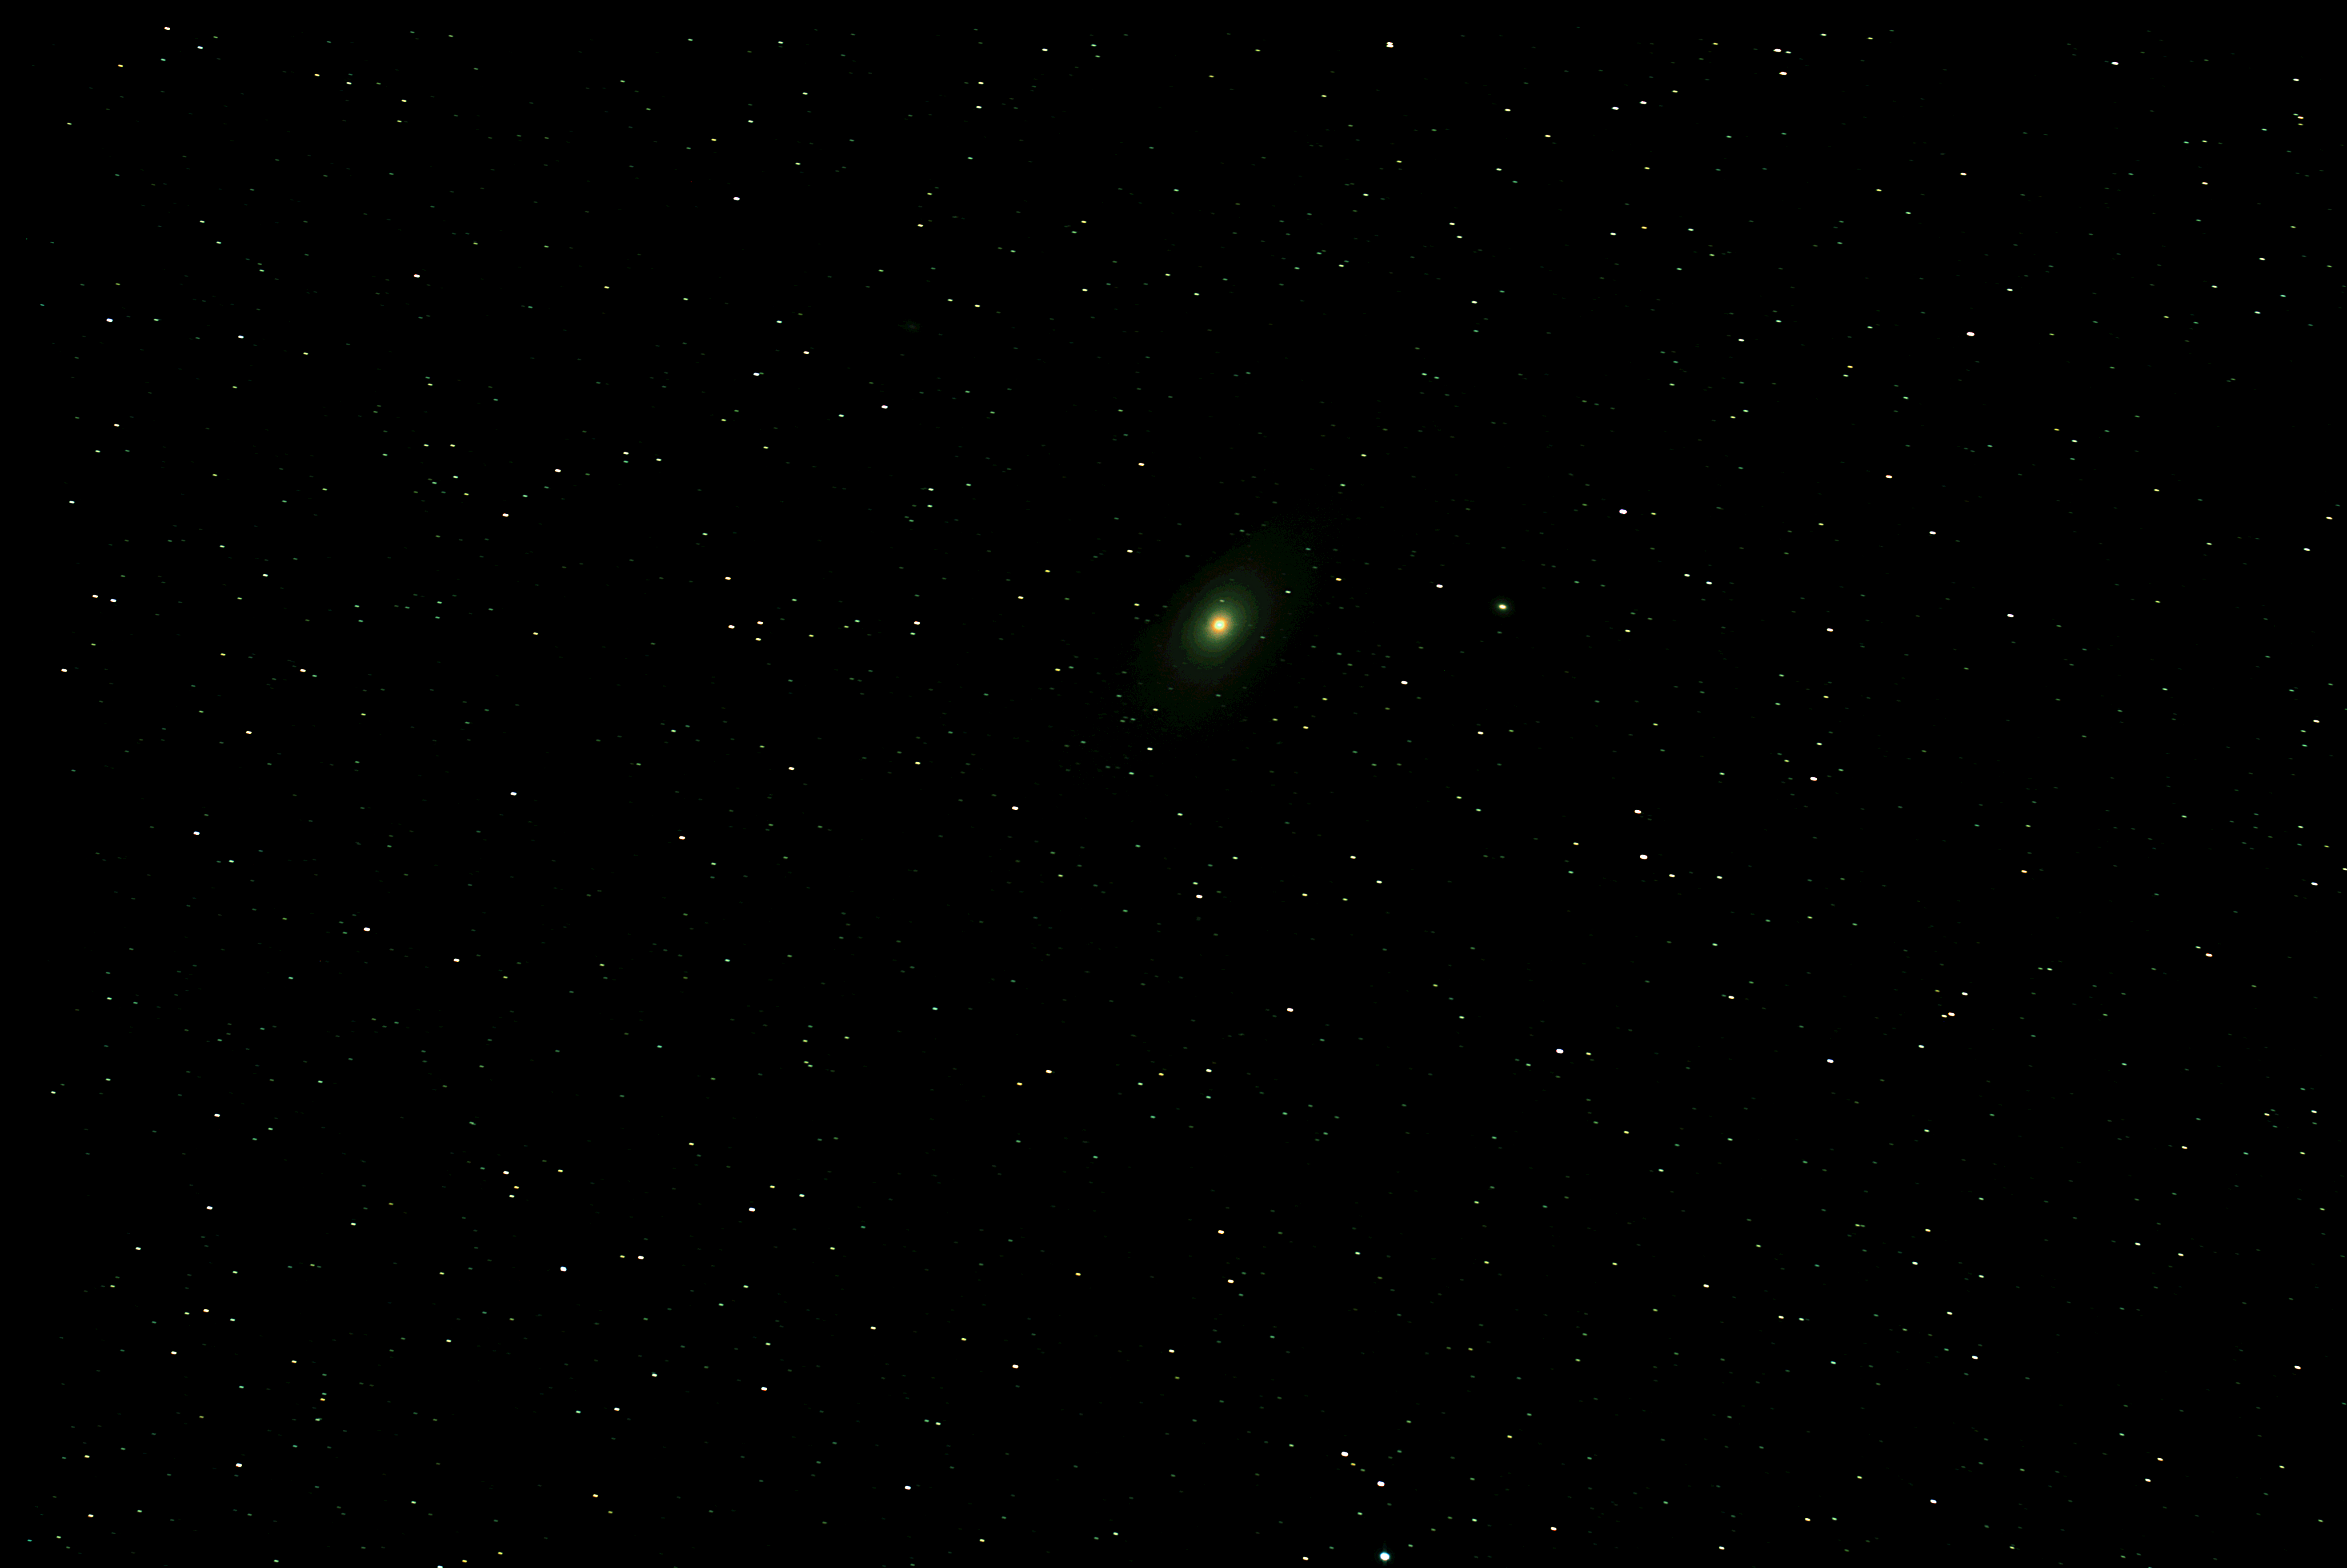
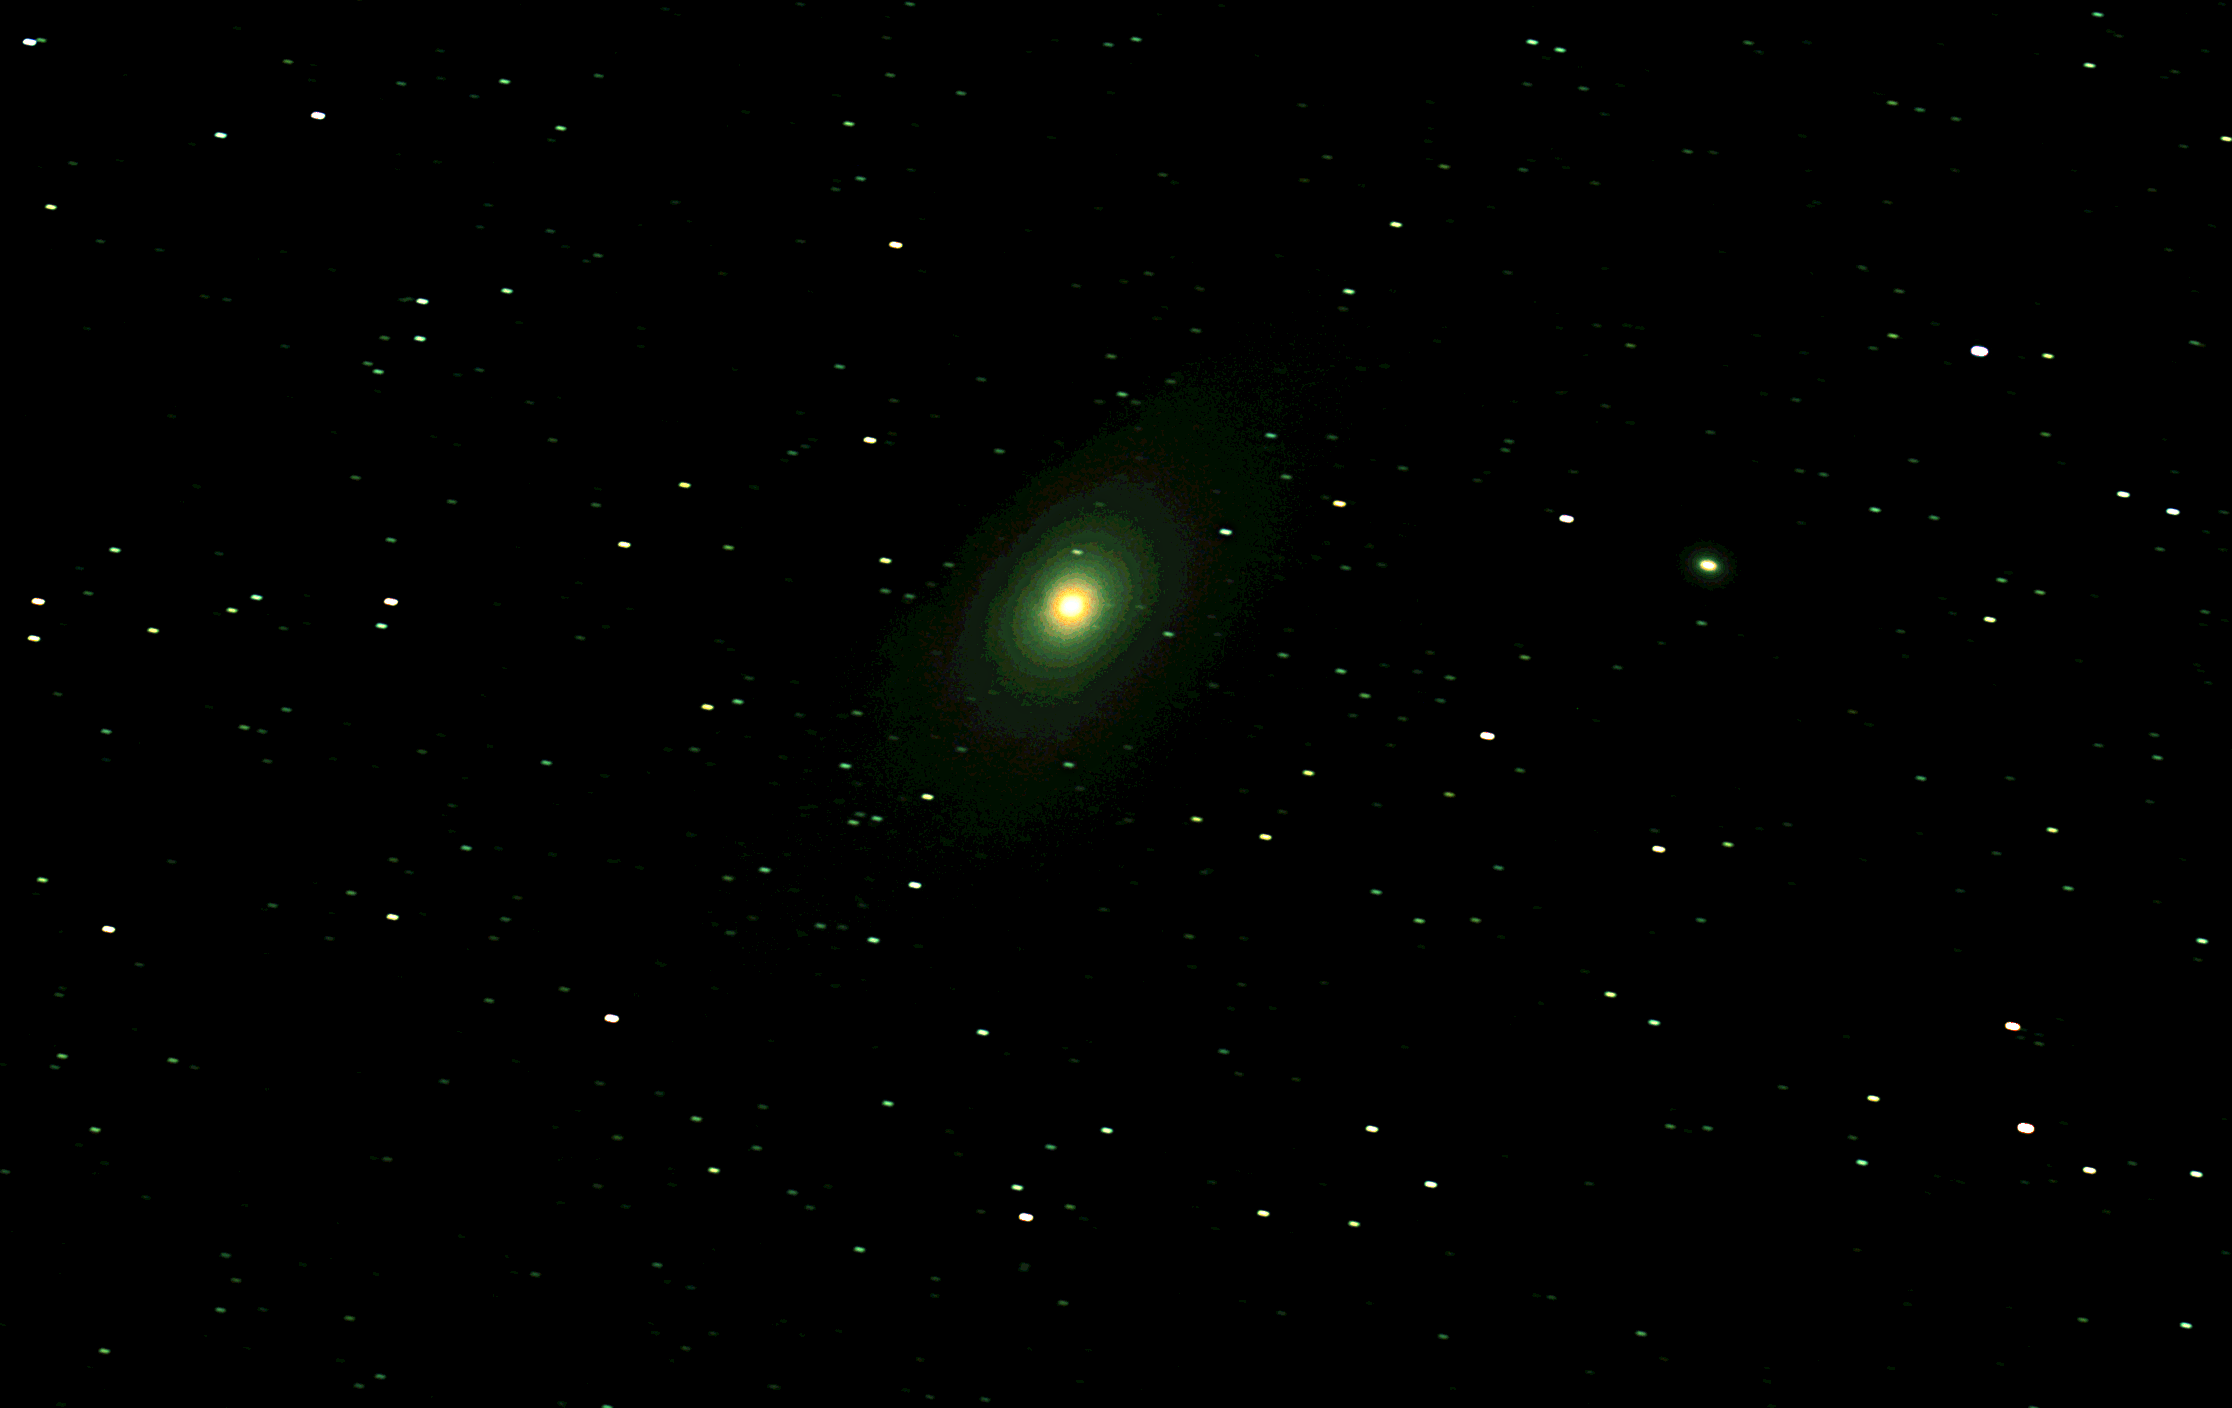
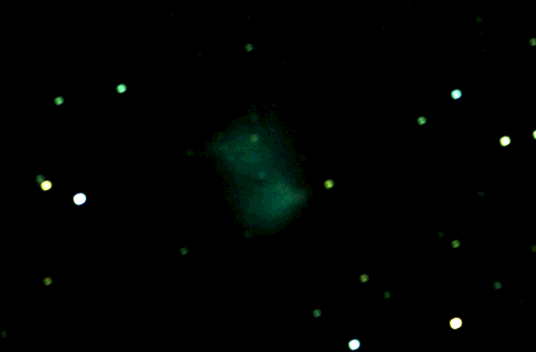
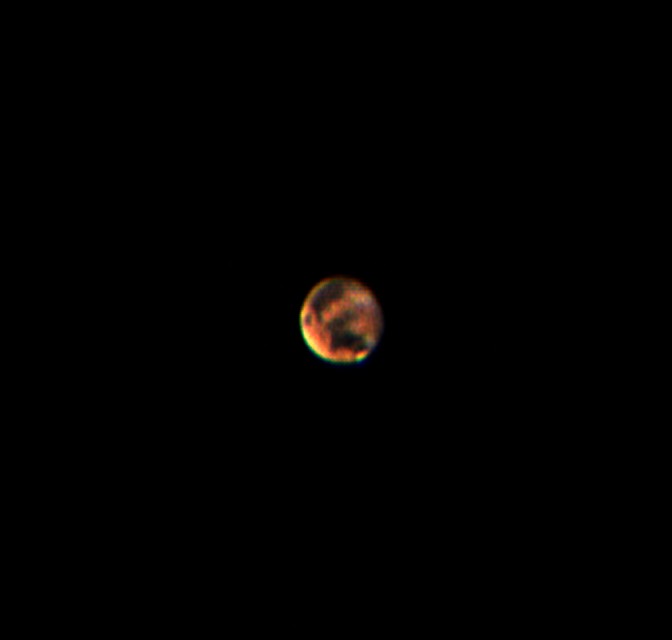
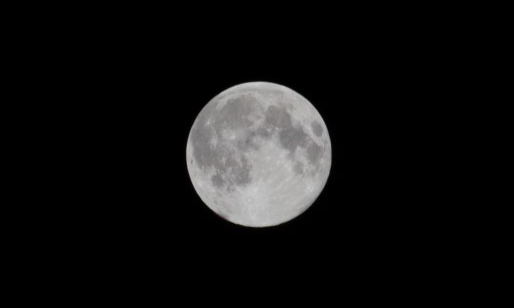
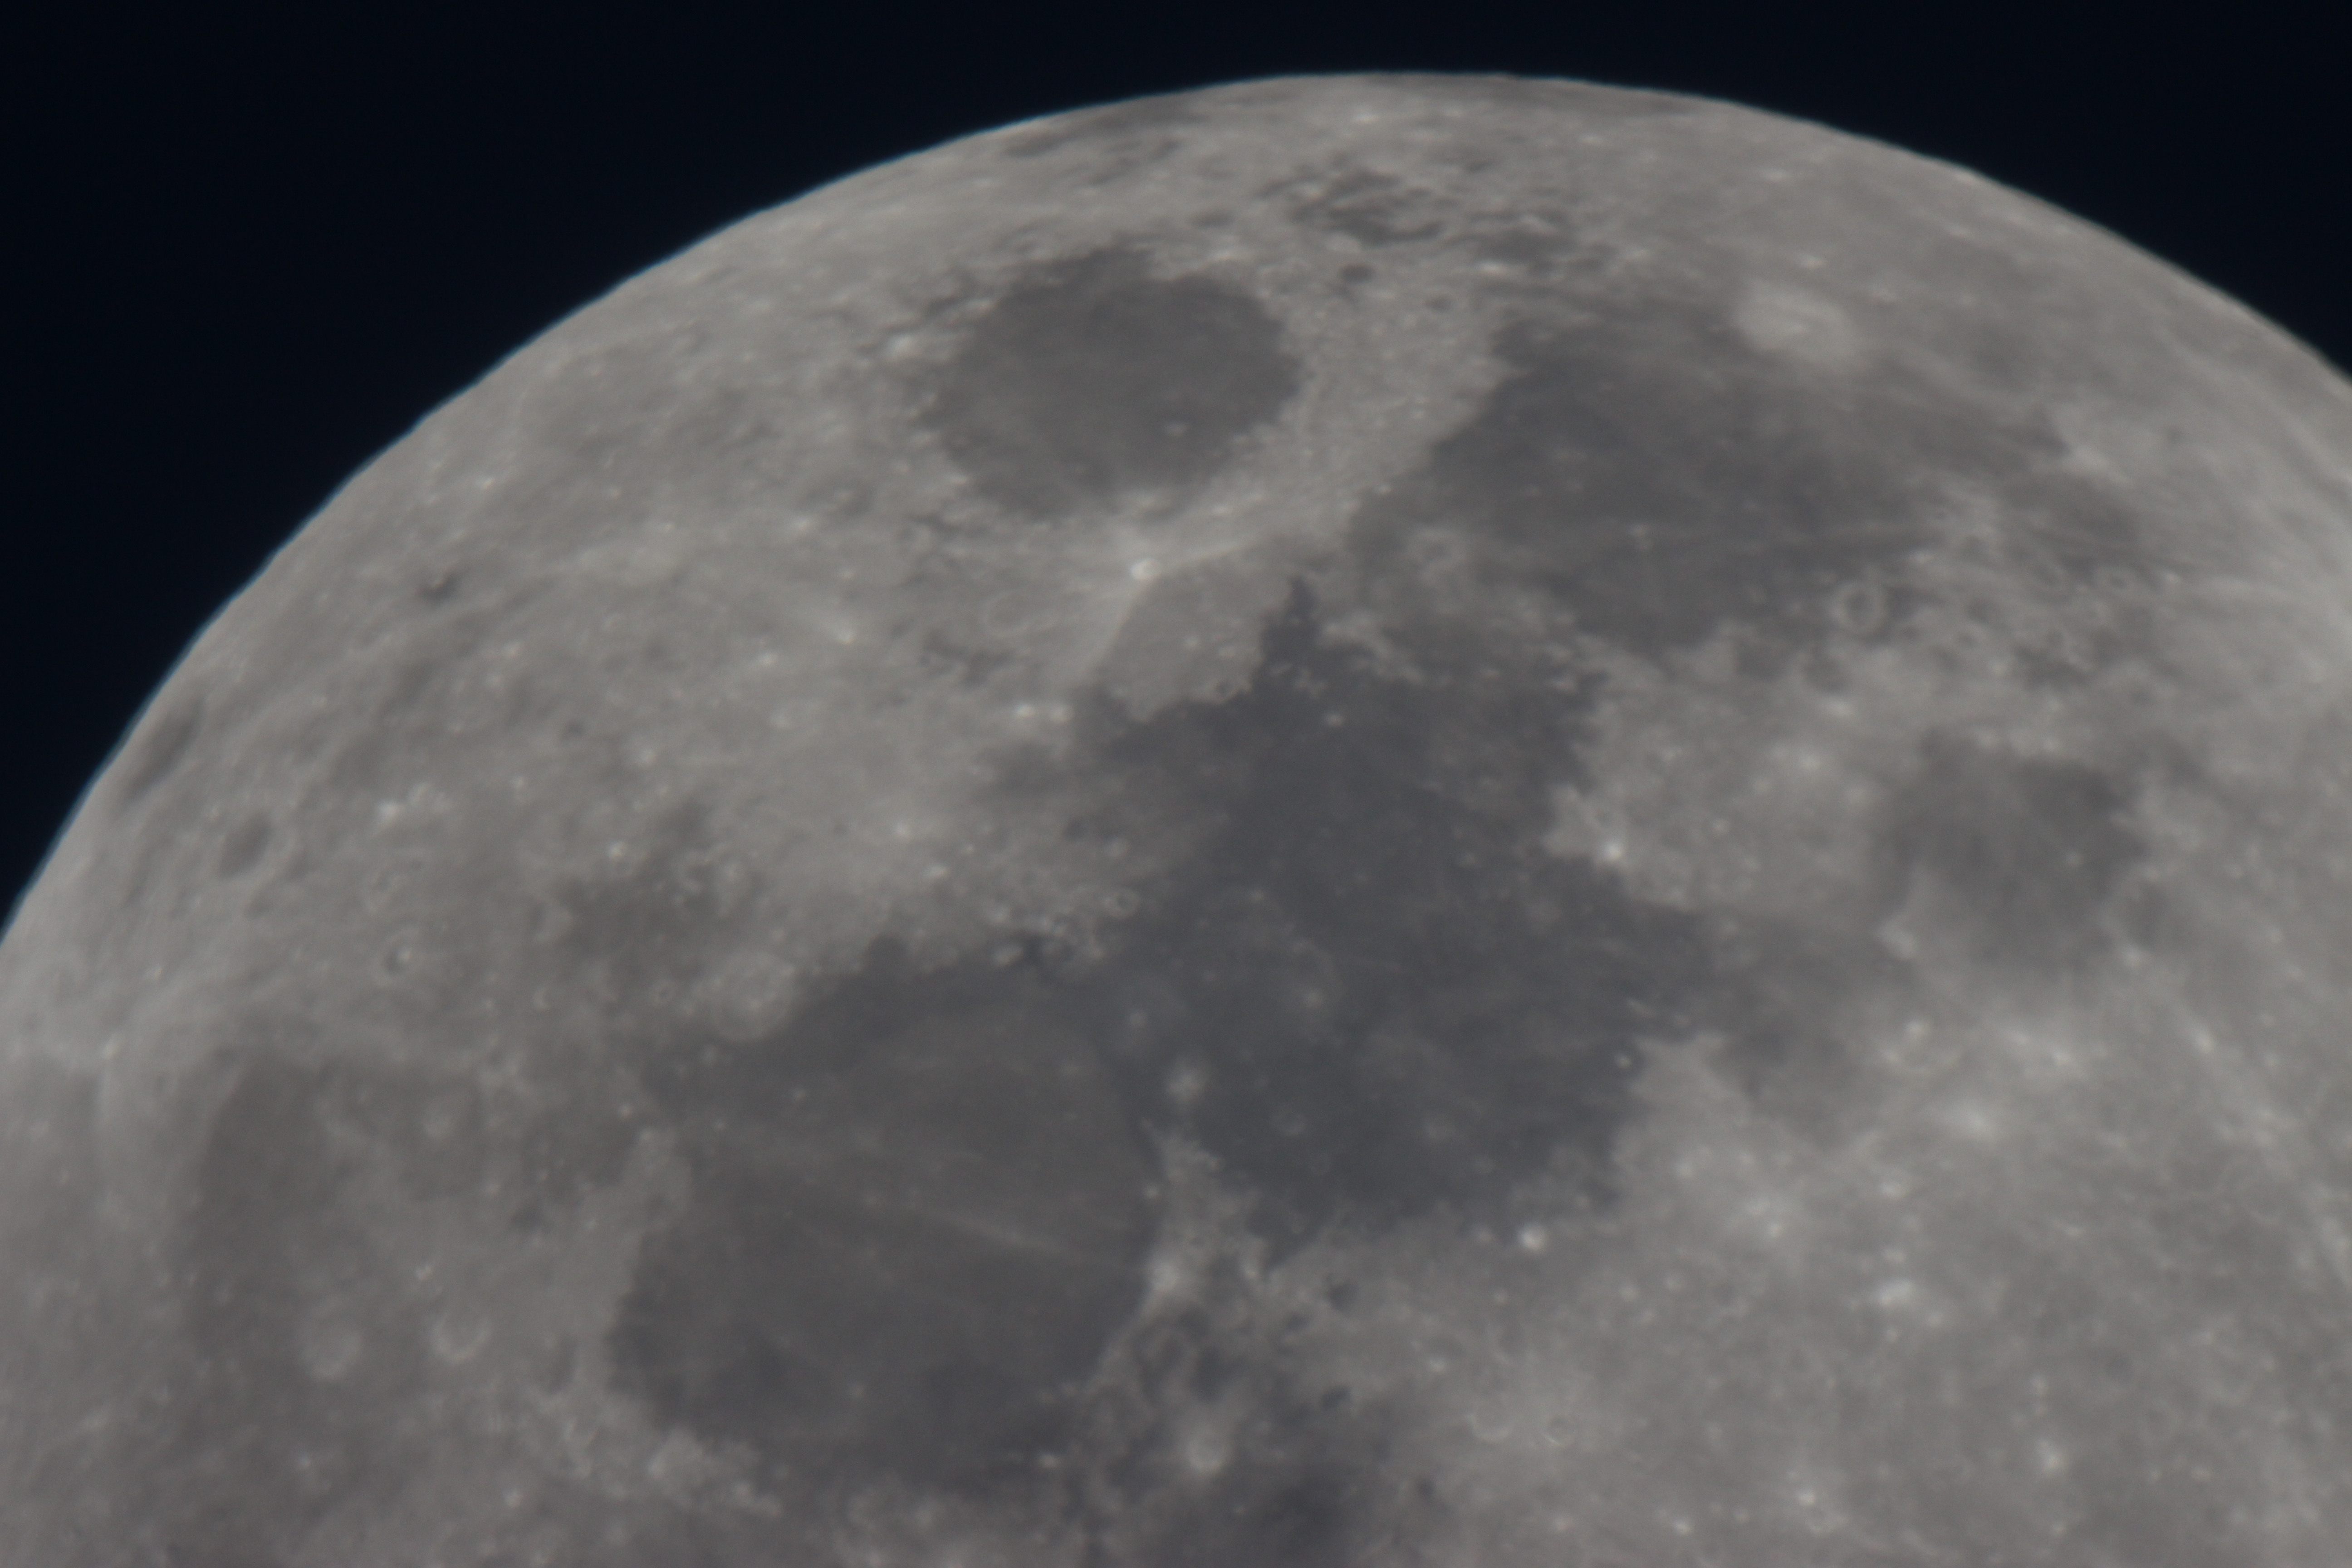
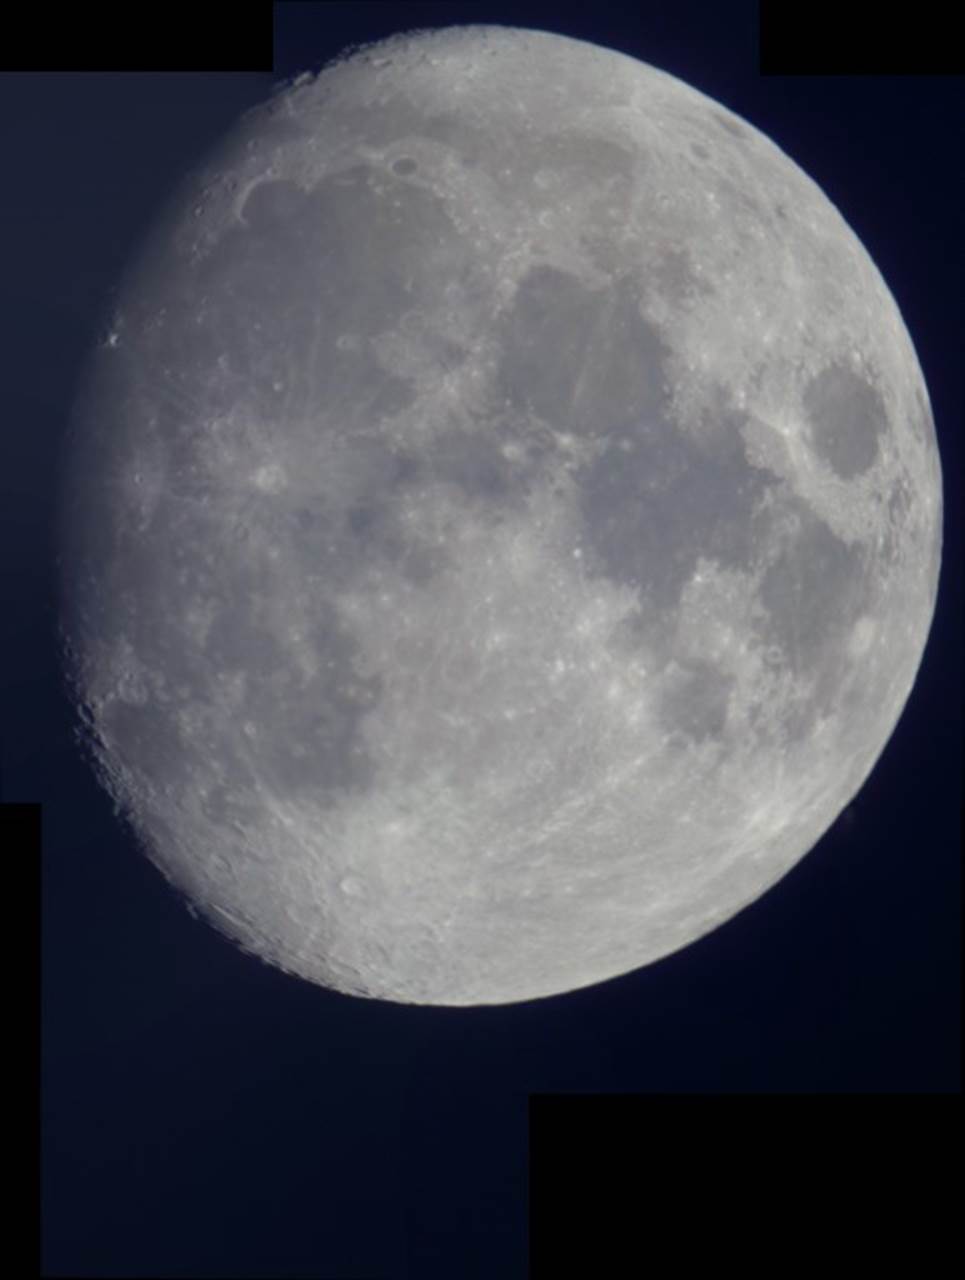
I was soon introduced to the need for filters when viewing a full moon, which was blindingly white. As a result I purchased a Moon filter, in this case a Baader 0.9 ND filter, which claims a light reduction factor of 8 (whatever that means) and certainly has made viewing the Moon much more comfortable. Subsequently I indulged in a narrowband UHC filter, which claims to enhance viewing of nebulae by limiting the wavelength to the 400nm to 700nm range (peaking at 500nm), which might typically be associated with the light radiated from a nebula. I have only used this with the Orion Nebula and it did, to a degree, reduce the overall luminosity and produced a sharper, bluish view of the nebula’s stars – you could therefore say, the jury is out on whether this is worthwhile or not, it certainly is not cheap; maybe it’s effectiveness will be more obvious when used under a deent dark sky? An Oxygen-III is an alternative, similar filter, which some claim is superior to the UHC? Most recently I purchased a Light Pollution Filter, which aims to counteract the light wavelengths emitted by streetlights and similar sources, though as yet I have yet to prove the real benefit of this.
The Mount – Skywatcher EQ3-2
Probably the greatest surprise in my first year of astronomy has been to learn how important the mount is – it is probably the most important item when imaging. The Skywatcher EQ3-2 is a light mount, which becomes evident when you strap the large 150PL Newtonian on, especially if there’s a breeze. I deliberately avoided the GoTo mounts (those programmed to move automatically to set features) from the start, in my quest to learn from the bottom up; some might say the hard way, I believe the best way to eventually learn and then later use technical skills is from first principles. As a result following targets whilst viewing (tracking) is not easy to do well manually using the right ascension (RA) and declination (DEC) control knobs and is almost impossible when imaging. Fortunately it is possible to buy a separate ‘strap on’ units that linked to a control box will at least track fairly well – at this stage anyhow. I therefore added both these motor drives with good results, though mostly only used the RA motor, choosing to ‘fine tune’ the less volatile DEC changes manually.

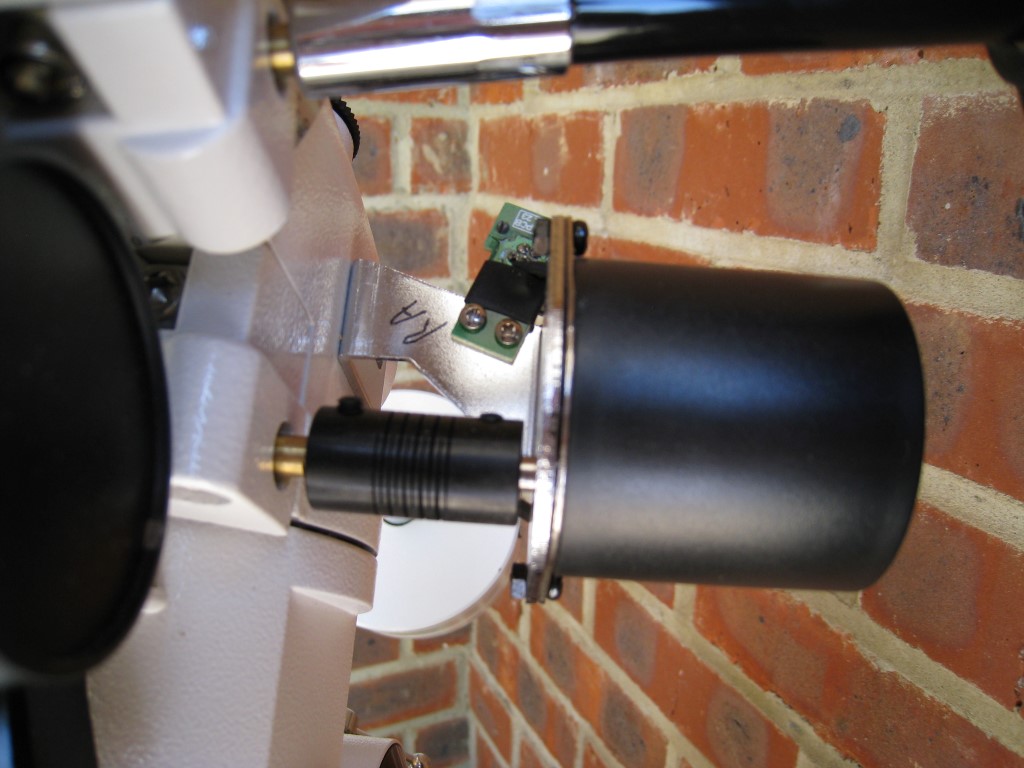
EQ3-2 mount with DEC motor drive fitted; note clutch to disengage and move manually if required

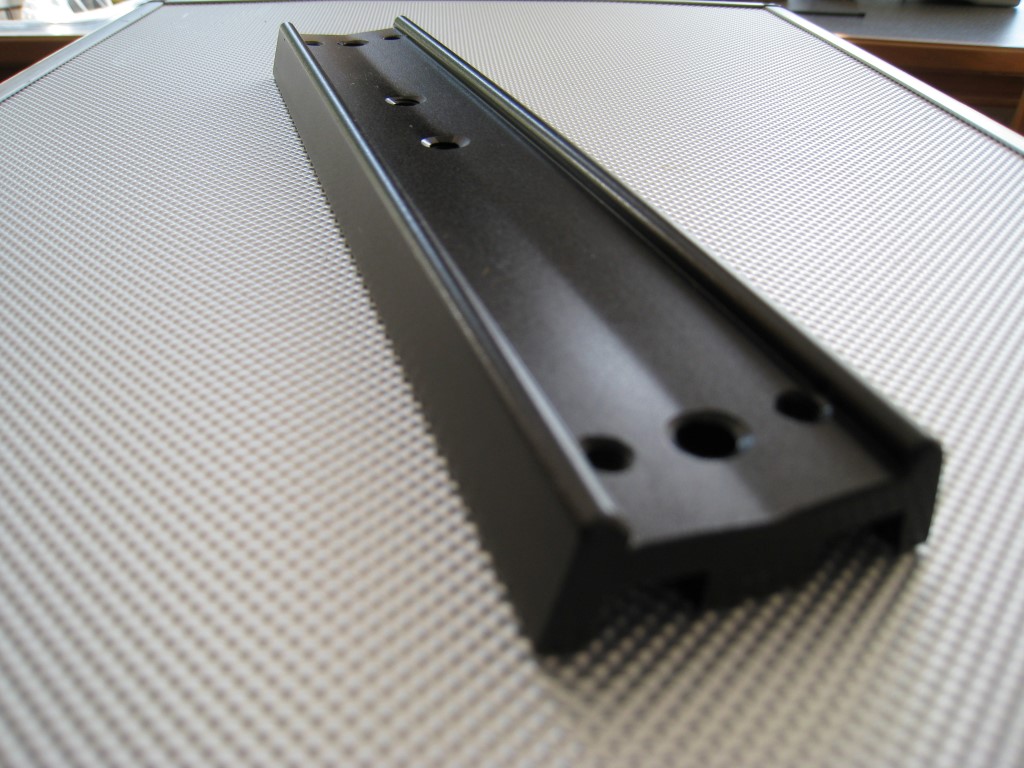
The OTA is fixed onto the mount by a standard Skywatcher dovetale bar, which fits into a matching slot on head of the mount (see previous picture)and is then clamped by screws.

Around the other side is the RA motor drive, which has no clutch.

The RA & DEC motor drives are controlled by this handset (battery power unit not shown) which can be set at different tracking speed and for the north or south hemispheres, depending on where you are located.
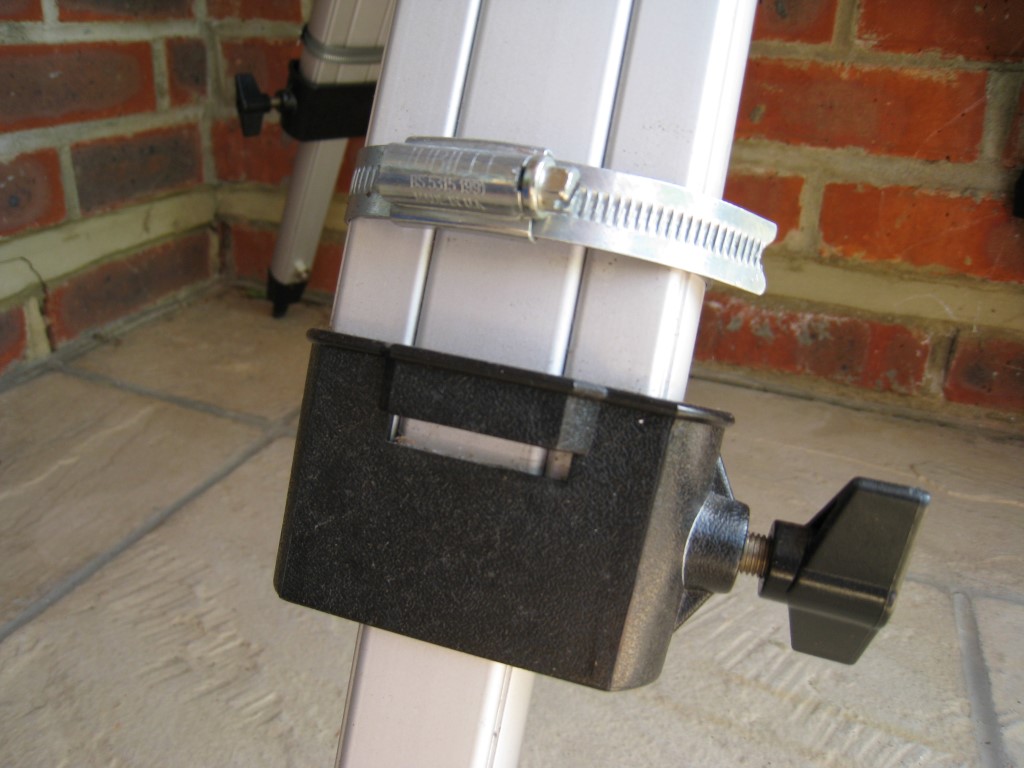
I have to say that the mount is noticeably ‘built to price’, which is particularly evident with the lower clamps necessary to lock the parts of each leg together when they are used to adjust the height. The clamps are made of plastic with brass ferrules inserted, through which the clamp screw can lock against the internal / adjustable leg section. The instructions do note this should not be overtightened but to achieve a good, secure lock it needs to be firm and this inevitably led to the plastic failing. The problem was easily and cheaply solved using three large jubilee clamps. Notwithstanding, why not just make it properly in the first place?

The weak plastic leg clamps have all been supplemented by jubilee clips.
Comments
The mount and scope sit directly on the patio (which I recently relayed to improve stability) and, as the house completely obscures northern views and thus Polaris, which would otherwise be used to align the scope, is aligned using black lines that have been previously marked, pointing due north for the same purpose. This is far from perfect and I am hoping that with the next Synscan based mount, which incorporates star alignment, combined with drift alignment and eventually the use of a guidescope and various computer guidance and planetarium software, I will one day achieve a tracking accuracy that will enable better viewing and much longer camera exposures and thus better images. It’s a way off but remains my goal for the next six months.
The biggest bugbear is that all this has to be carried out and back into the house, as well as aligned each time – thus my long time goal is a covered observatory but I’ll need a new house / garden before I can do that, which might take some time!
Overall I have been pleased with this equipment, although it needed some tweaking to get the best out of it. Operationally, use of the mount and OTA has benefited significantly by the addition of: (i) RA & DEC motor drives, (ii) better quality eyepieces and (iii) the Telrad finder, altogether making it a pleasure to use. So much so that contrary to my initial intentions, I now intend to keep the OTA for solar work and the mount as a portable set-up, matched with my new, more portable 80mm APO refractor scope, of which more in Part-2.