Thanks to Copernicus and Kepler et al, astronomical events are highly predictable; unfortunately the same cannot be said about the weather. Since taking up astronomy and despite favourable predictions of clear skies, I have frequently been thwarted by incoming cloud or worse. When communicating with each other astronomer’s often use the closing of “Clear Skies”, no wonder given the continuous battle we have just to see the sky at night, let alone image it!
Such was my experience in 1982. At the time I lived and worked in northern South Africa, close to the border with Botswana and the Kalahari Desert. A lunar eclipse was forecast and in this part of the world there was usually a good chance of a clear sky. Unfortunately, it was not to be this time either. We saw glimpses of the eclipse through brief gaps in the otherwise thick cloud that was blowing across the sky. I’ve missed other eclipses for the same reason, lunar and solar, and as a result have developed a somewhat resigned mindset towards such events, with the probability that the sky would most likely not be clear. And so despite encouraging forecasts, my expectation for this week’s lunar eclipse was more of the same.
The lunar eclipse of 28th September was very unusual. At mid-eclipse the Moon was just one hour past its closest approach to Earth in 2015, creating an effect now popularly termed a ‘Supermoon’. Moreover, the rare combination of this and a full eclipse at the same time results in a distinctive red moon at totality.
I have learnt the hard way that in astronomy Rule-1 is perseverance. I therefore carried out all the necessary research on the eclipse, undertook a dry run the previous evening and set-up all the equipment in the early evening before heading for forty winks – it was after all hopefully going to be a long night. The weather had been clear and sunny earlier in the day but was forecast to cloud over shortly after midnight, just before umbral contact! The sky was clear when I went out later but ominously there were clouds in the west. Notwithstanding, the sky remained clear all night and the eclipse was nothing less than spectacular.

Total Lunar Eclipse 18th September 2015
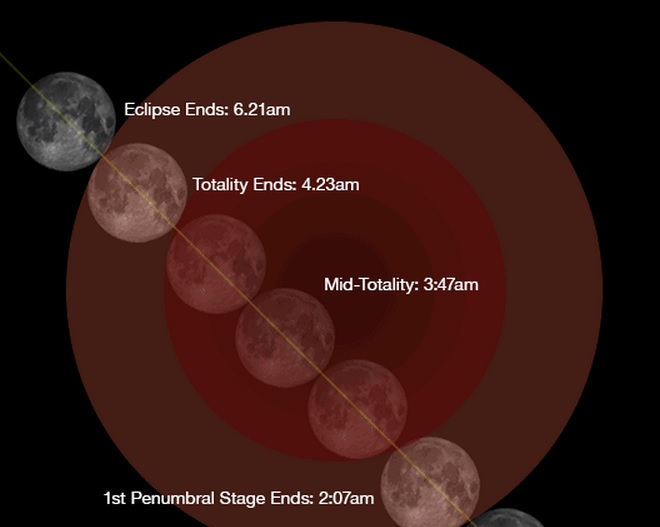
The precision with which astronomical events are plotted is incredible and, guided by various articles and charts all was in place well before the end of the penumbral stage at 2.07am. Shortly before darkness started to show on the top, eastern edge of the Moon and then exactly at 2.07am the eclipse shadow touched and then crept inexorably across the Moon’s surface. This was the main phase of the eclipse when the Moon enters the central, dark part of the shadow called the umbra, eventually reaching totality at 3.11am.
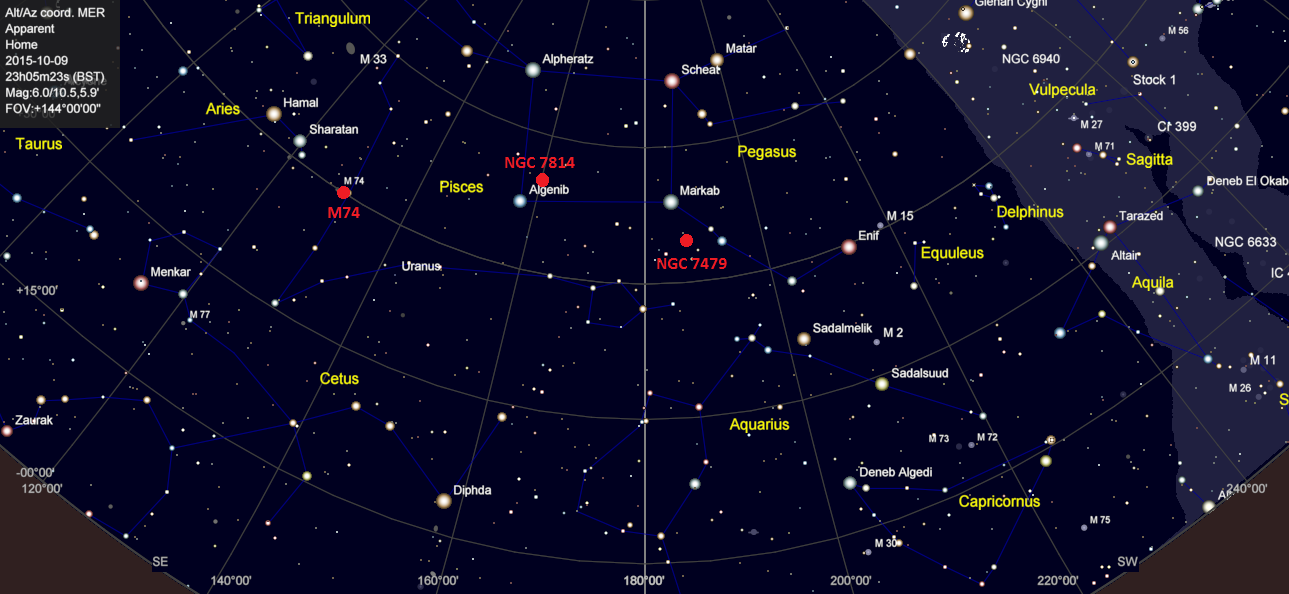
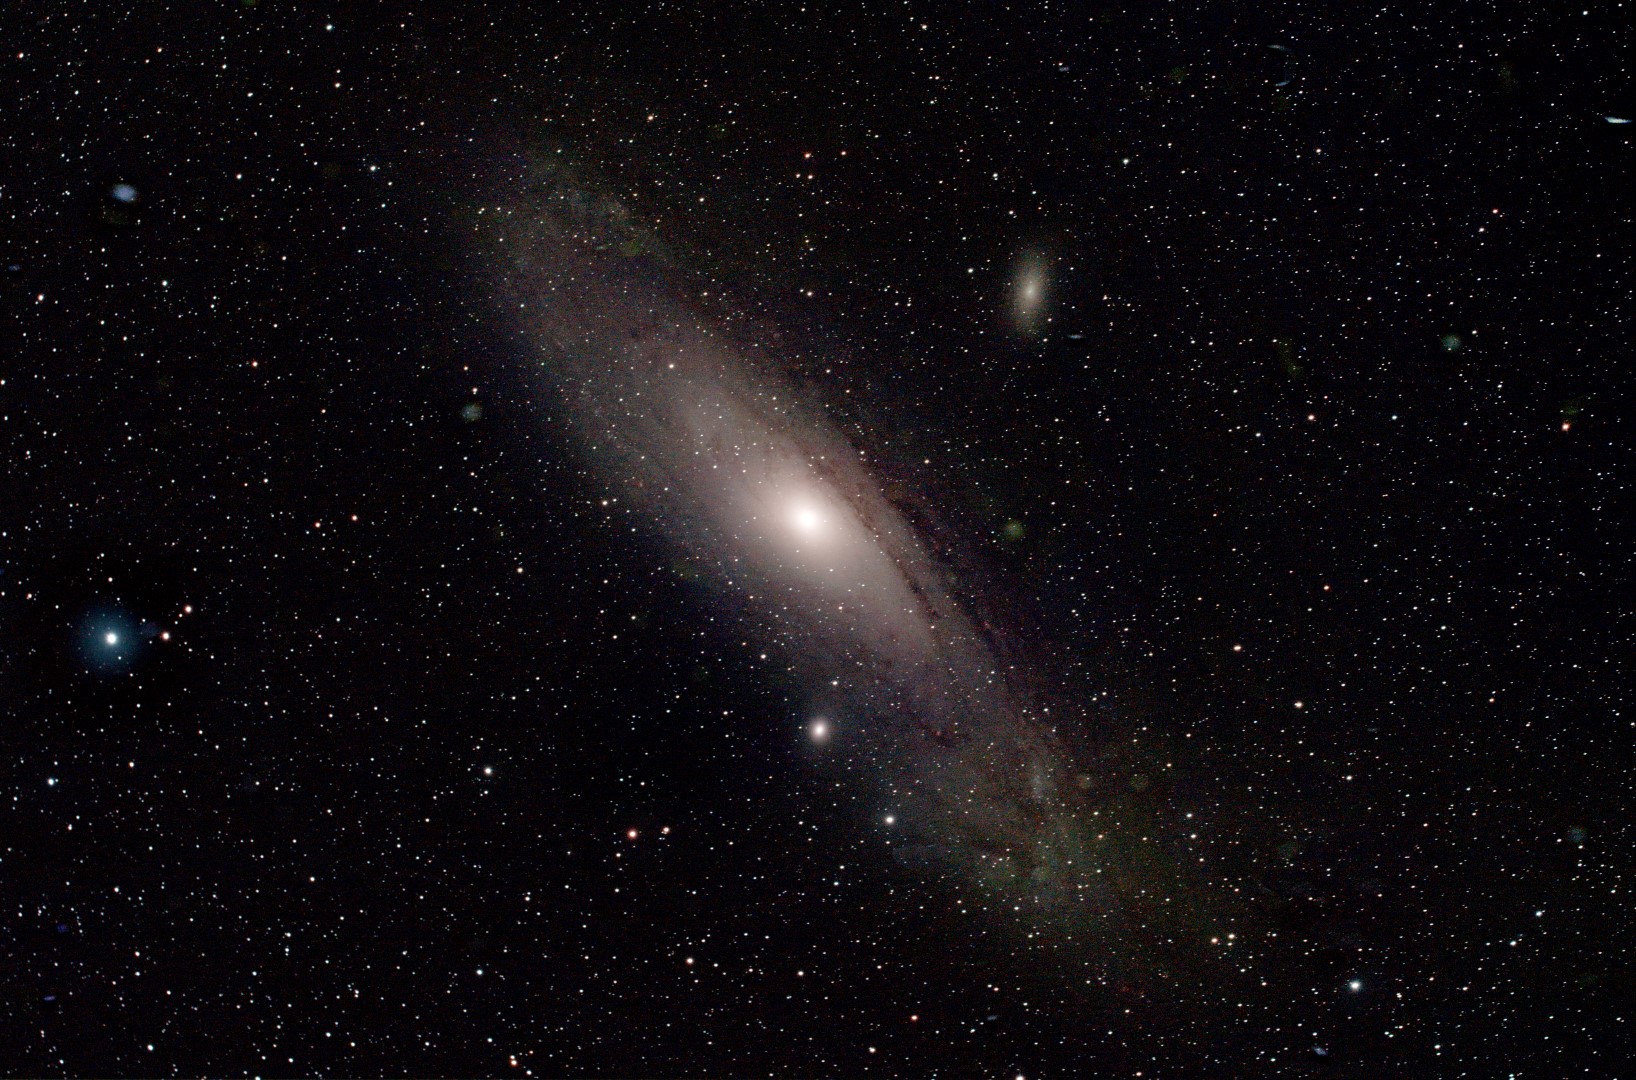
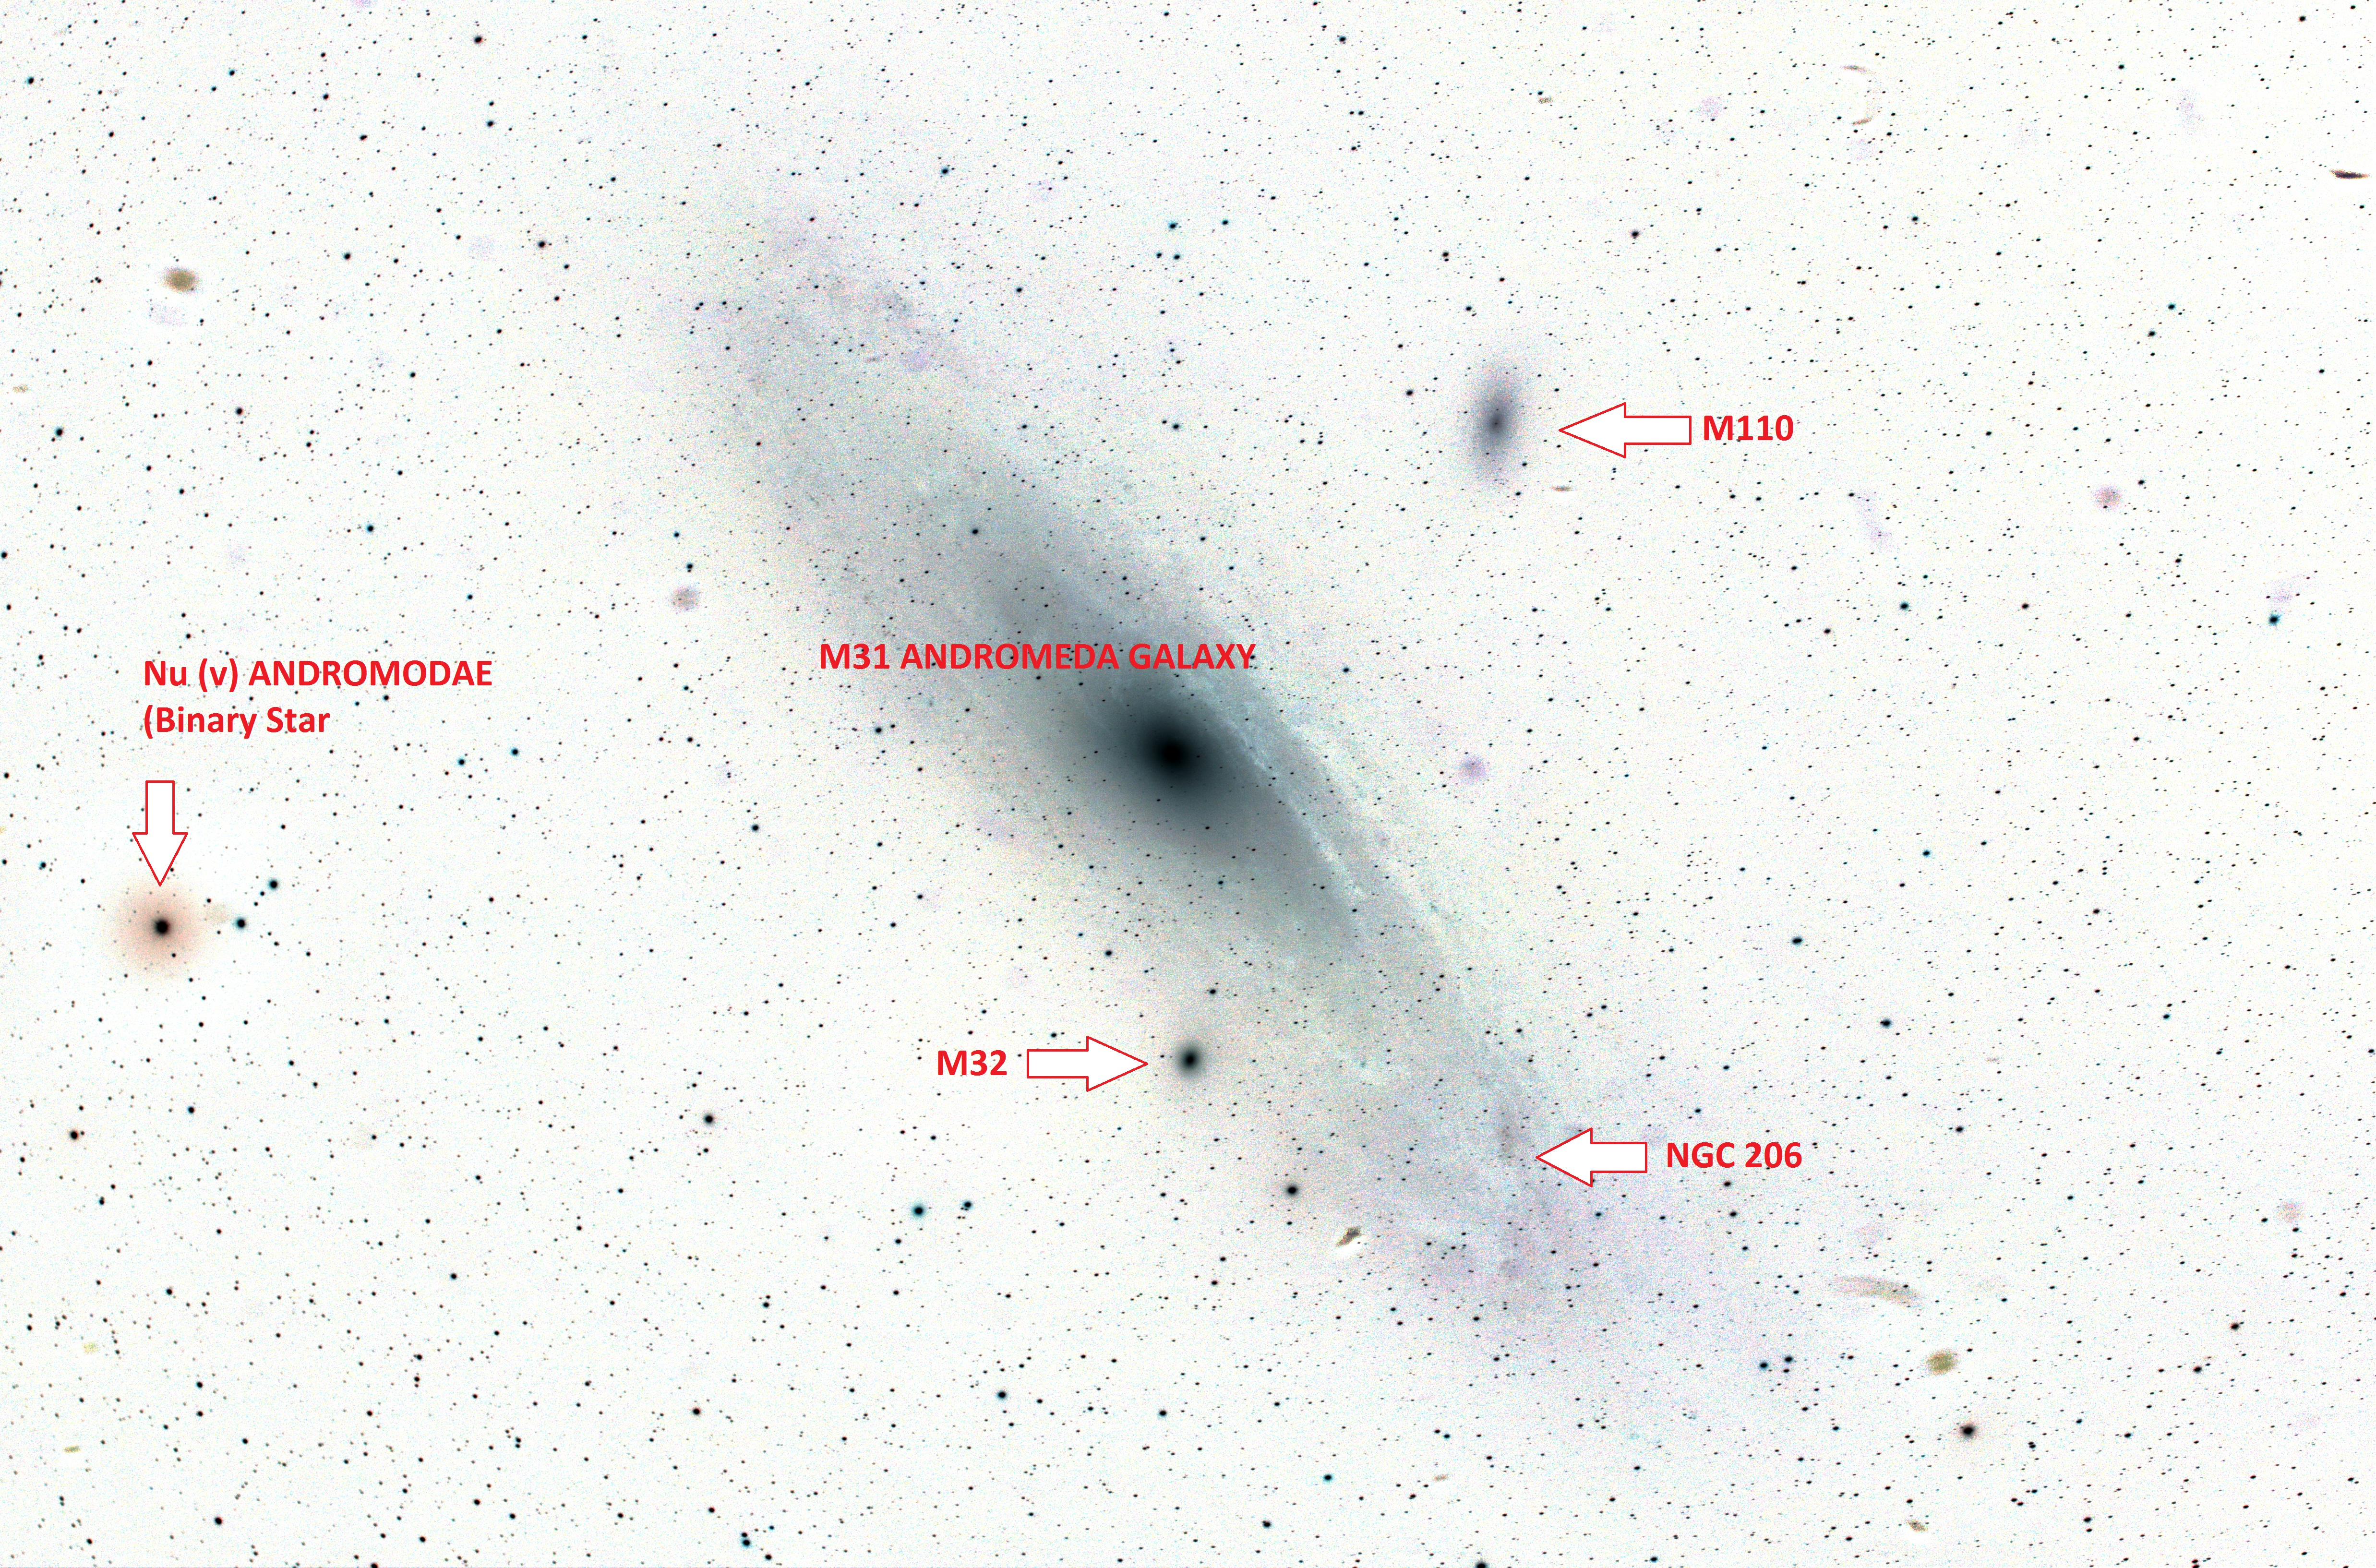
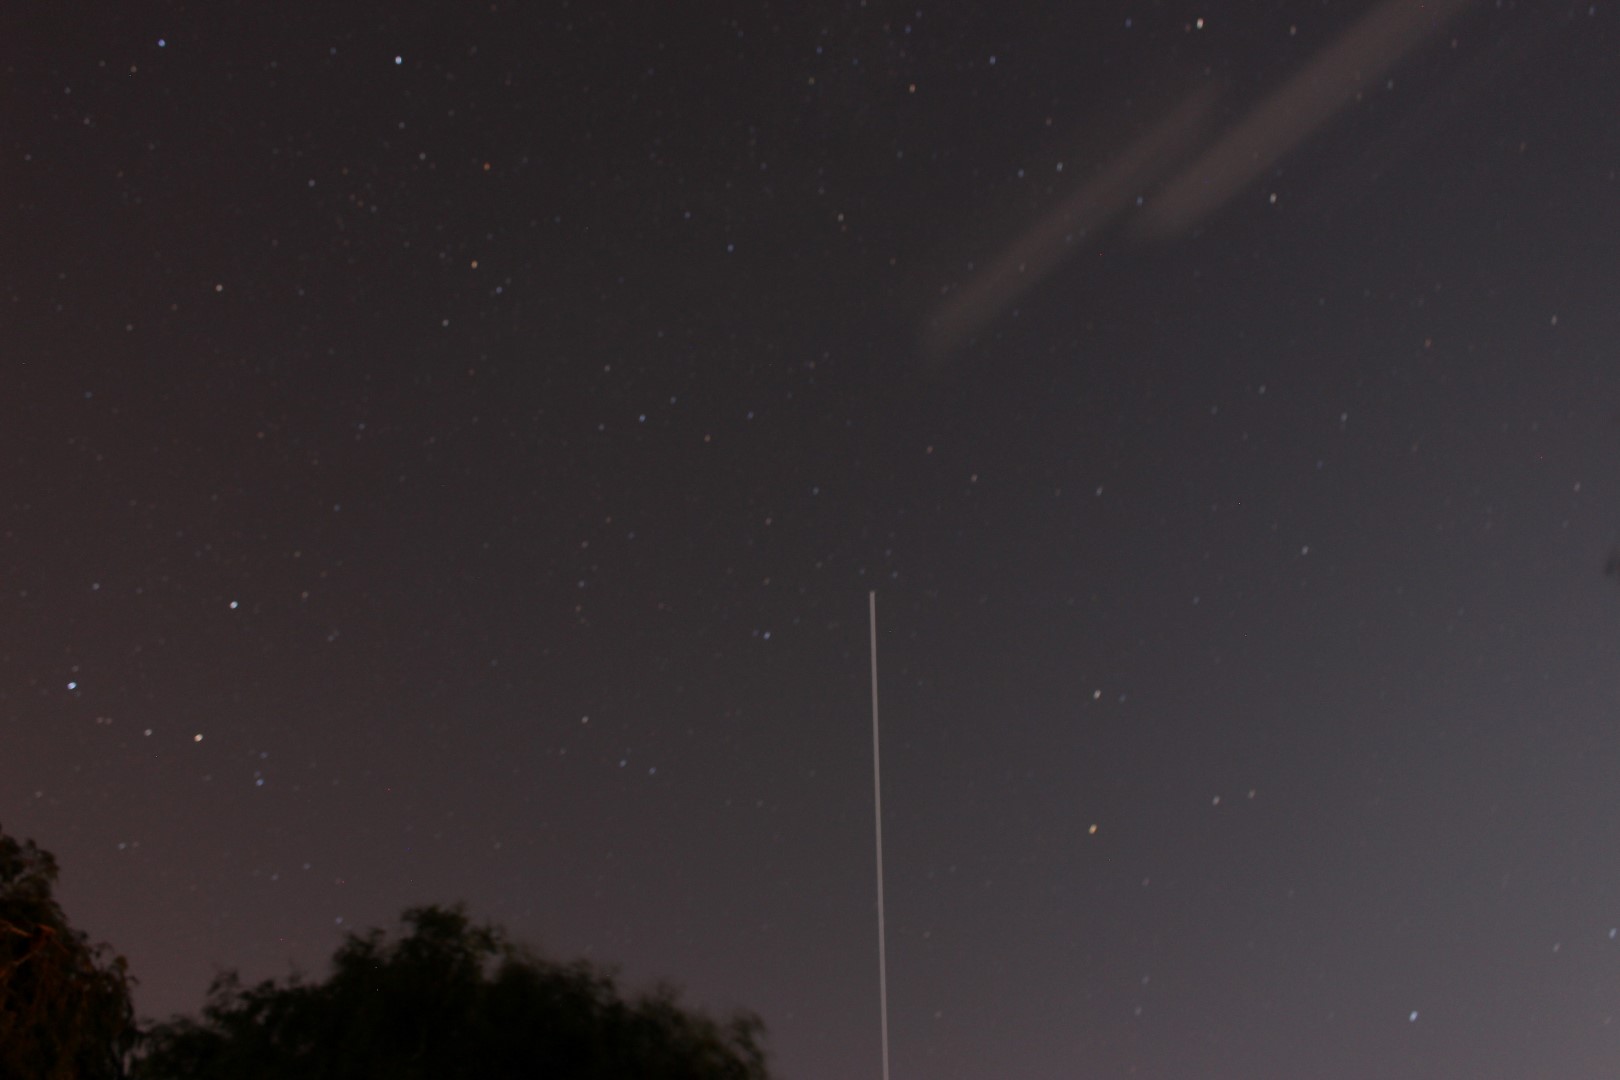
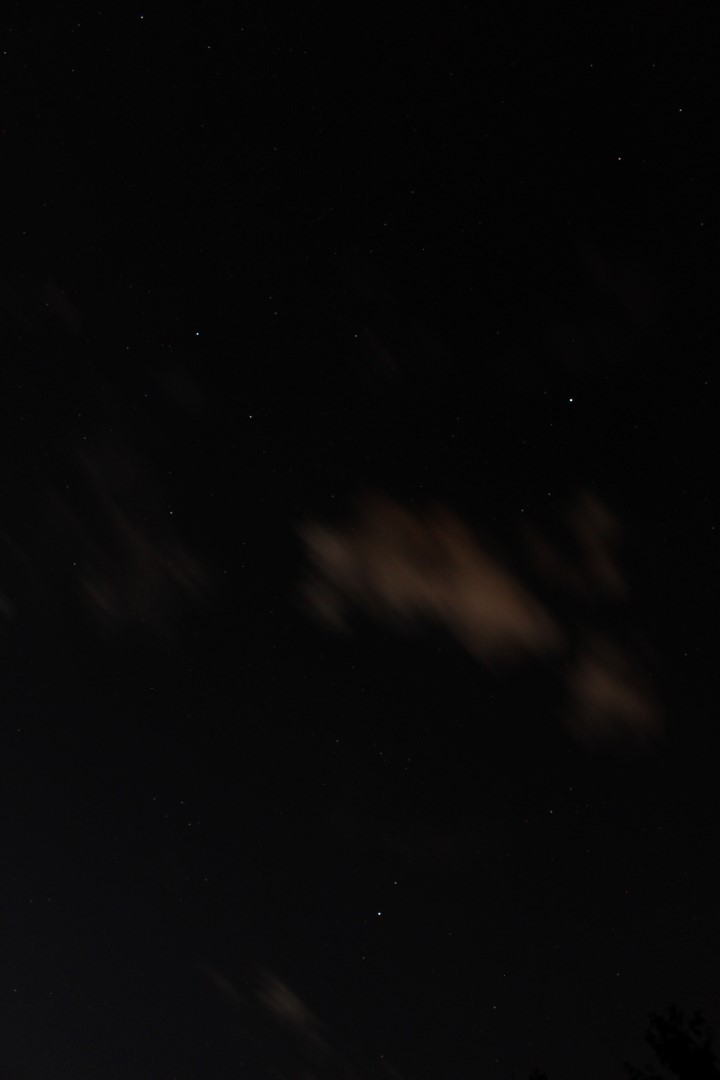
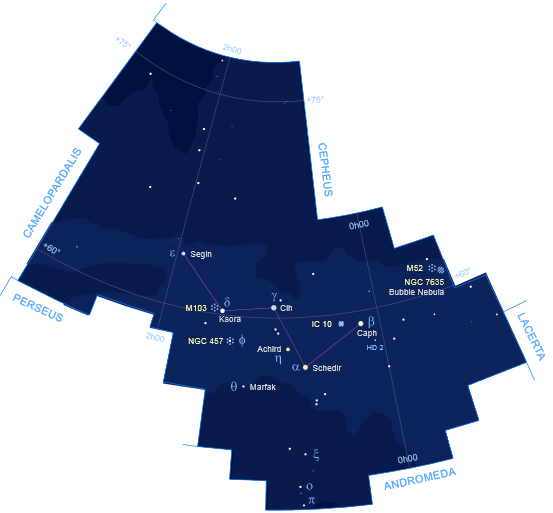
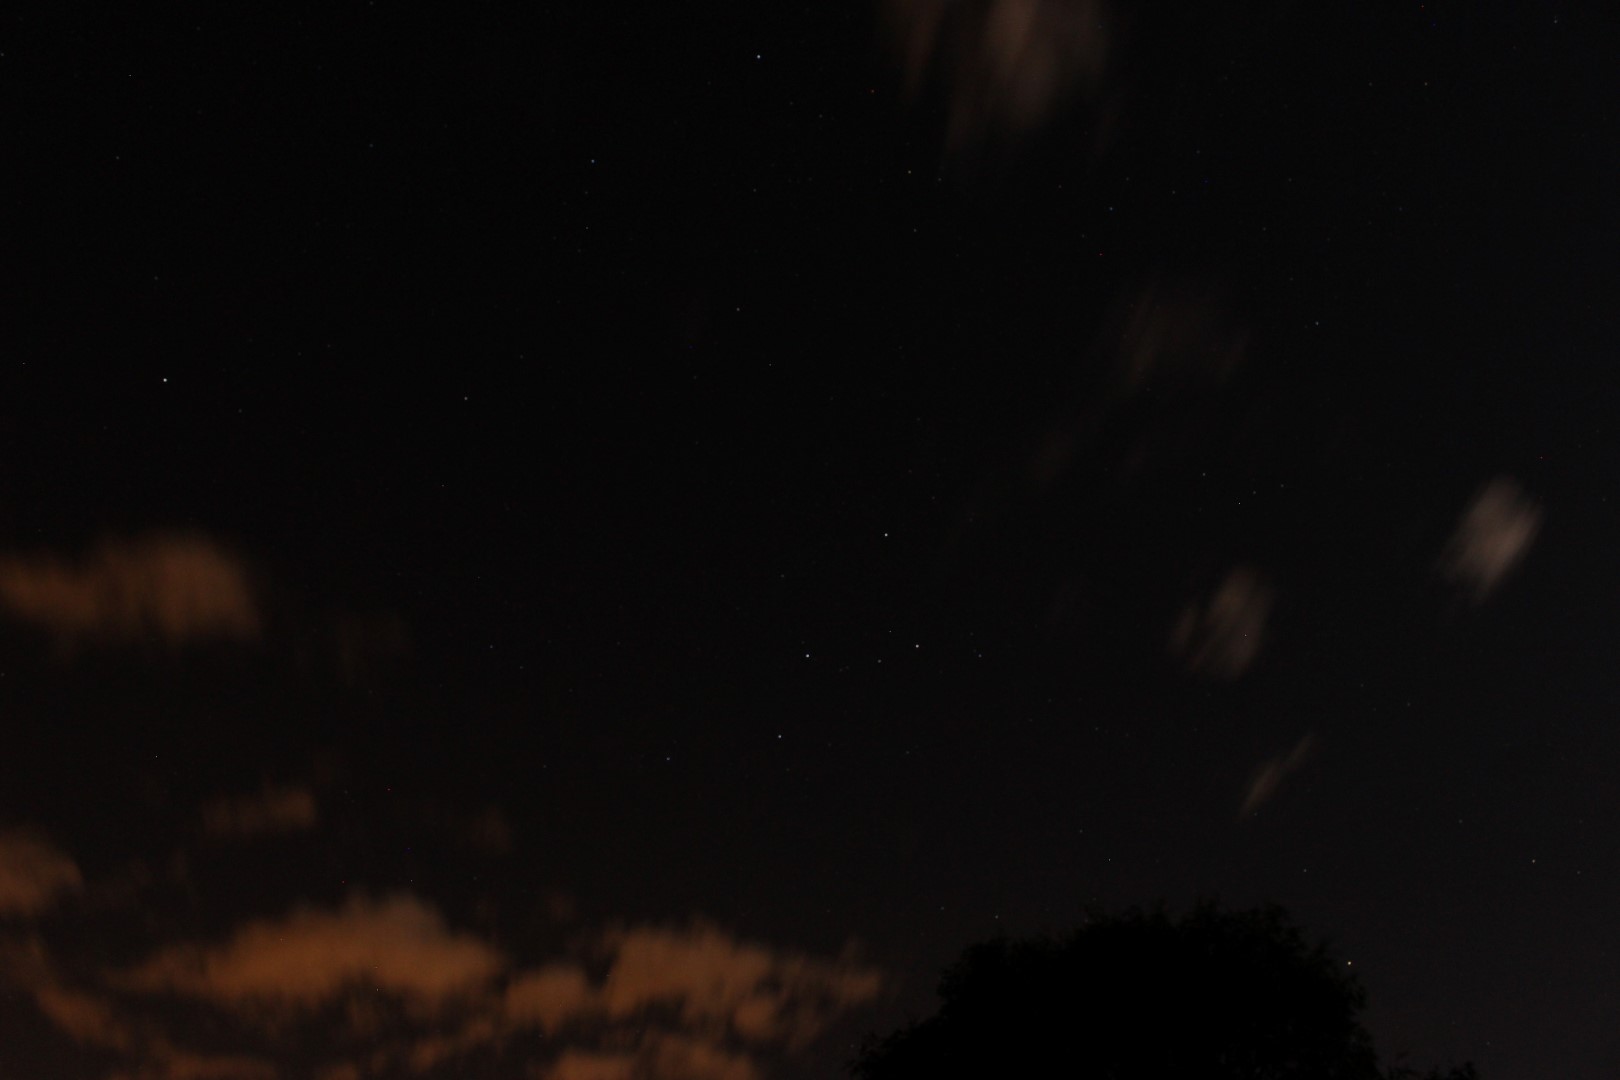
Totality lasted 1 hour 12 minutes, during which I just watched through a pair of 10 x 50 binoculars, which probably was the best way of actually viewing the Moon throughout the eclipse. Of course, with the brightness of the full Moon obscured by the eclipse during this time, the rest of the night sky was plunged into blackness, thus bringing the stars, nebulae and galaxies back to life. As the Moon was passing through the lower part of the Earth’s umbral shadow, the southerly edge appeared relatively bright during much of totality. Totality finished promptly at 4.23am as the light started to move across the Moon’s surface once again like an unstoppable wave. The Moon finally exited the umbra at 5.27am and the show was over until October 2033, on which occasion the Supermoon eclipse will unfortunately not be visible from the UK – I did say it was rare. However, there will be another total lunar eclipse in July 2018, so it’s not all bad news.
Given my history, this was naturally my first time imaging a lunar or any other eclipse and I am very pleased with the results. Other than requiring a clear sky, as usual preparation was the key: understanding the timing and dynamics of the event and considering the imaging possibilities. The most obvious problems to overcome were the Moon’s tracking and movement of the eclipse itself, with its associated impact on changing brightness and contrast for imaging.
The previous evening had also been clear, so I tested a basic DSLR + tripod set-up using an intervalometer to trigger the shots at 5-minute intervals. With the 200mm telephoto lens 8 pictures were successfully recorded as the Moon tracked across the image frame, at 100mm this increased to 12 pictures; however, the track tended to move out of the side of the frame early as the Moon follows an inclined rather than horizontal track. Altogether it was a successful and useful experiment for the next evening.
On the night I used the William Optics GT81, with a Canon 550D camera and field flattener, which continuously tracked the Moon and eclipse, imaging at 1-minute intervals throughout the period inward and outward of the umbra and manually during totality. Using a fixed ISO 100, it was necessary to continually change the exposure time every five or so minutes in order to compensate for the aforesaid changing light conditions. In addition, I again used the intervalometer with the Canon 700D and the 55- 250 mm telephoto lens on a camera tripod.

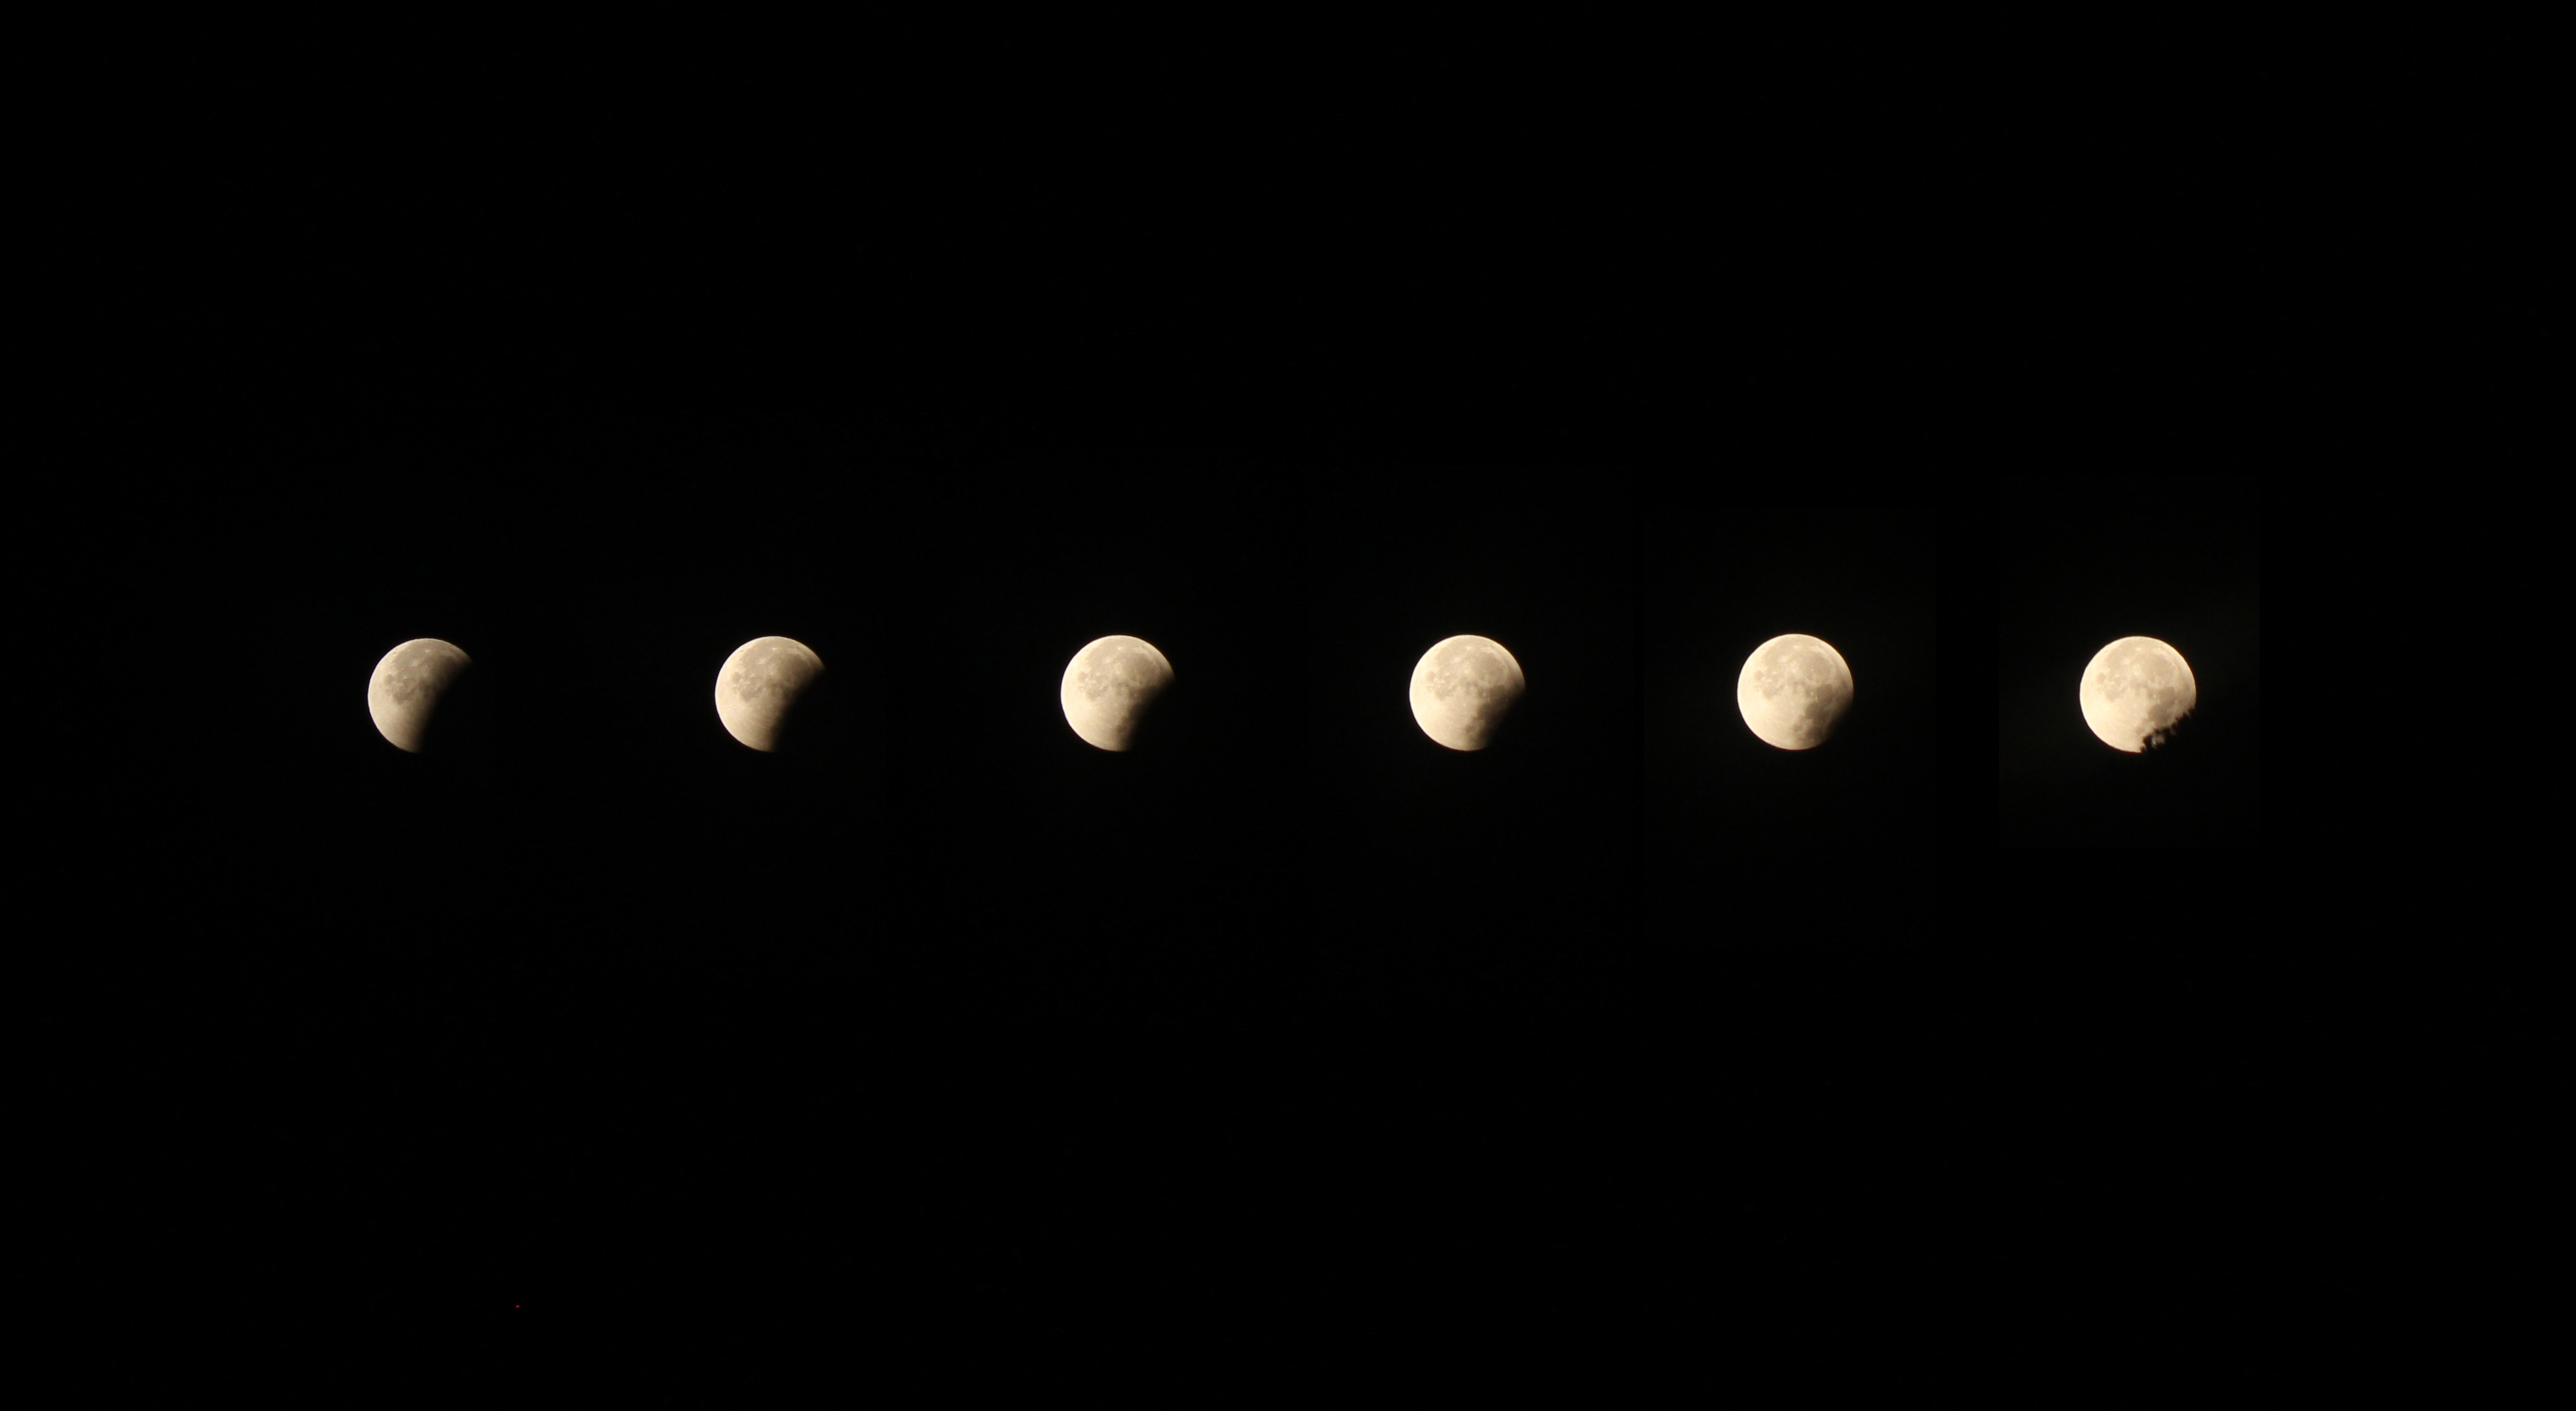
Eclipse: Inward sequence from umbral contact to totality
WO GT81 + Canon 550D + FF | 1/500 to 1/3 sec @ ISO 100 | 28th September 2015

Eclipse: Exit sequence to full Moon
Canon 700D + tripod | >=1/160 sec @ ISO 400

Eclipse animation
The results from both methods turned out well. With superior optics and tracking, the WO telescope images were naturally better in quality and magnification. However, the alternative simple camera set-up also produced a pleasing record of the eclipse, perhaps in some way capturing the mood better?
The entire event lasted just over 3-hours, during which found it necessary to look away from the imaging process at times just to enjoy this unusual and exciting spectacle. The name Harvest Moon is given to the full moon closest to the Autumn Equinox, recognising the time of year at which the crops have been gathered and can itself be an attractive sight. The coincidence with an eclipse makes for a rare and dramatic occasion, which this time I was able to enjoy completely cloud free from beginning to end – well that’s a first.

Harvest Moon at Totality
WO + Canon 550D + FF | 1/3rd Sec @ ISO 400 | 28th September 2015


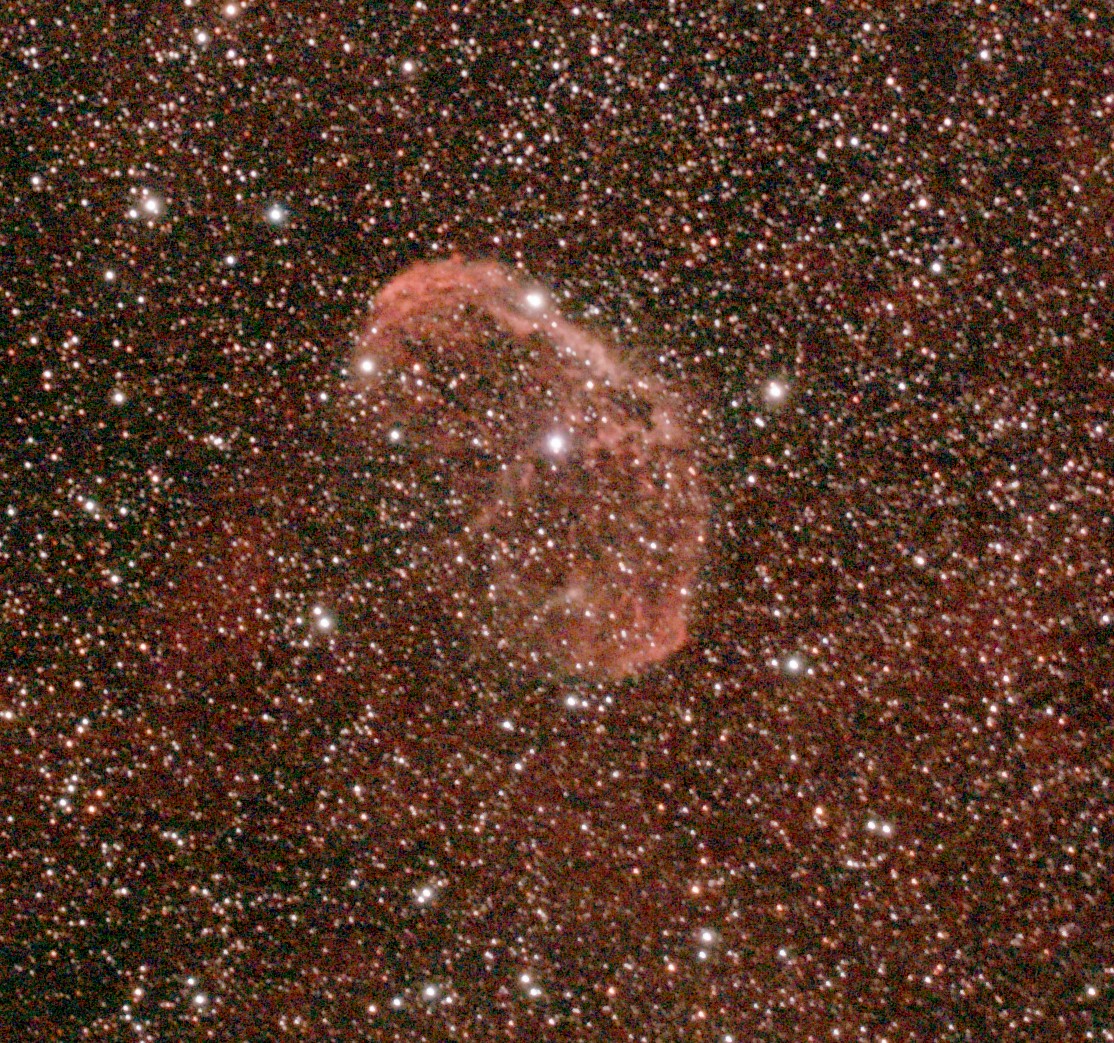
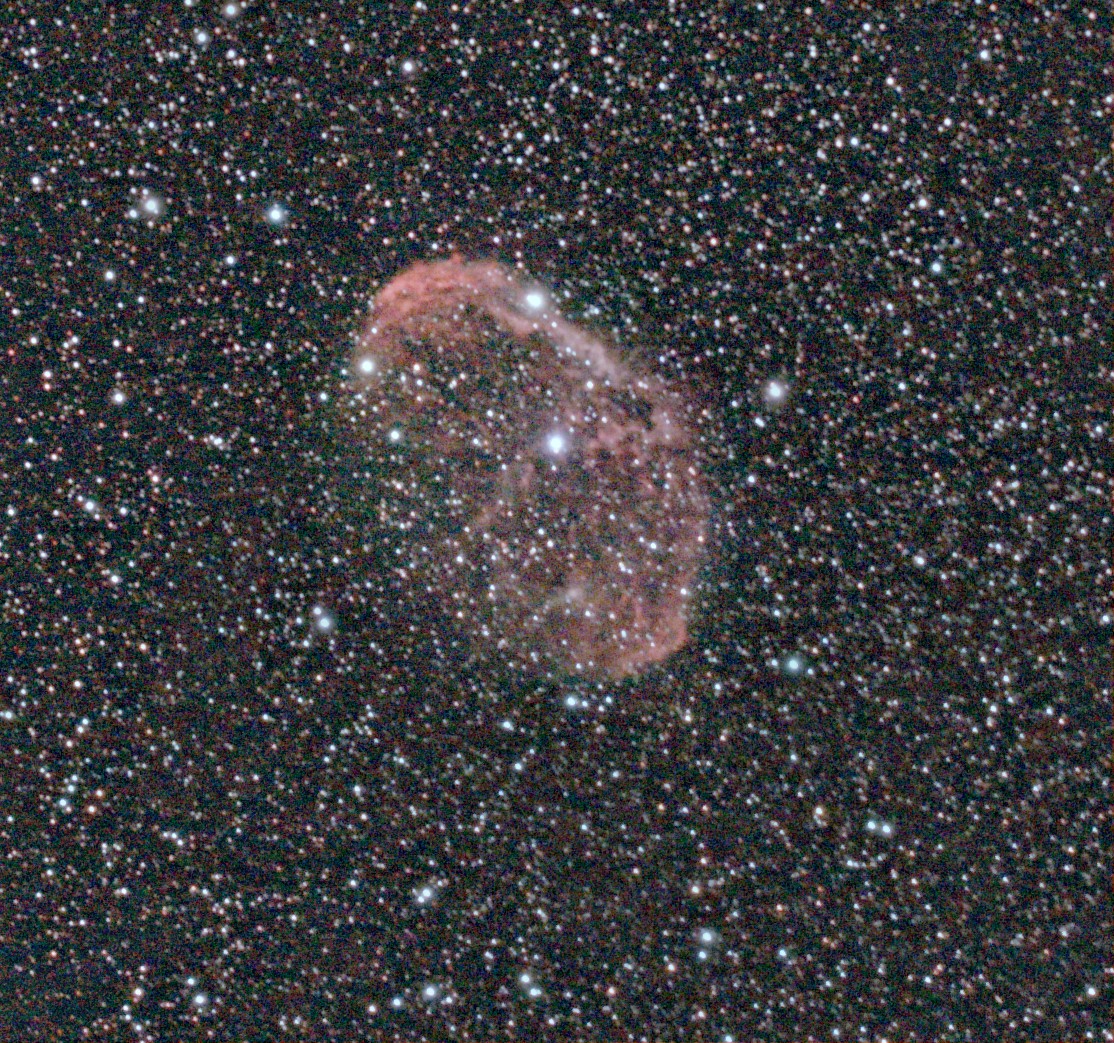


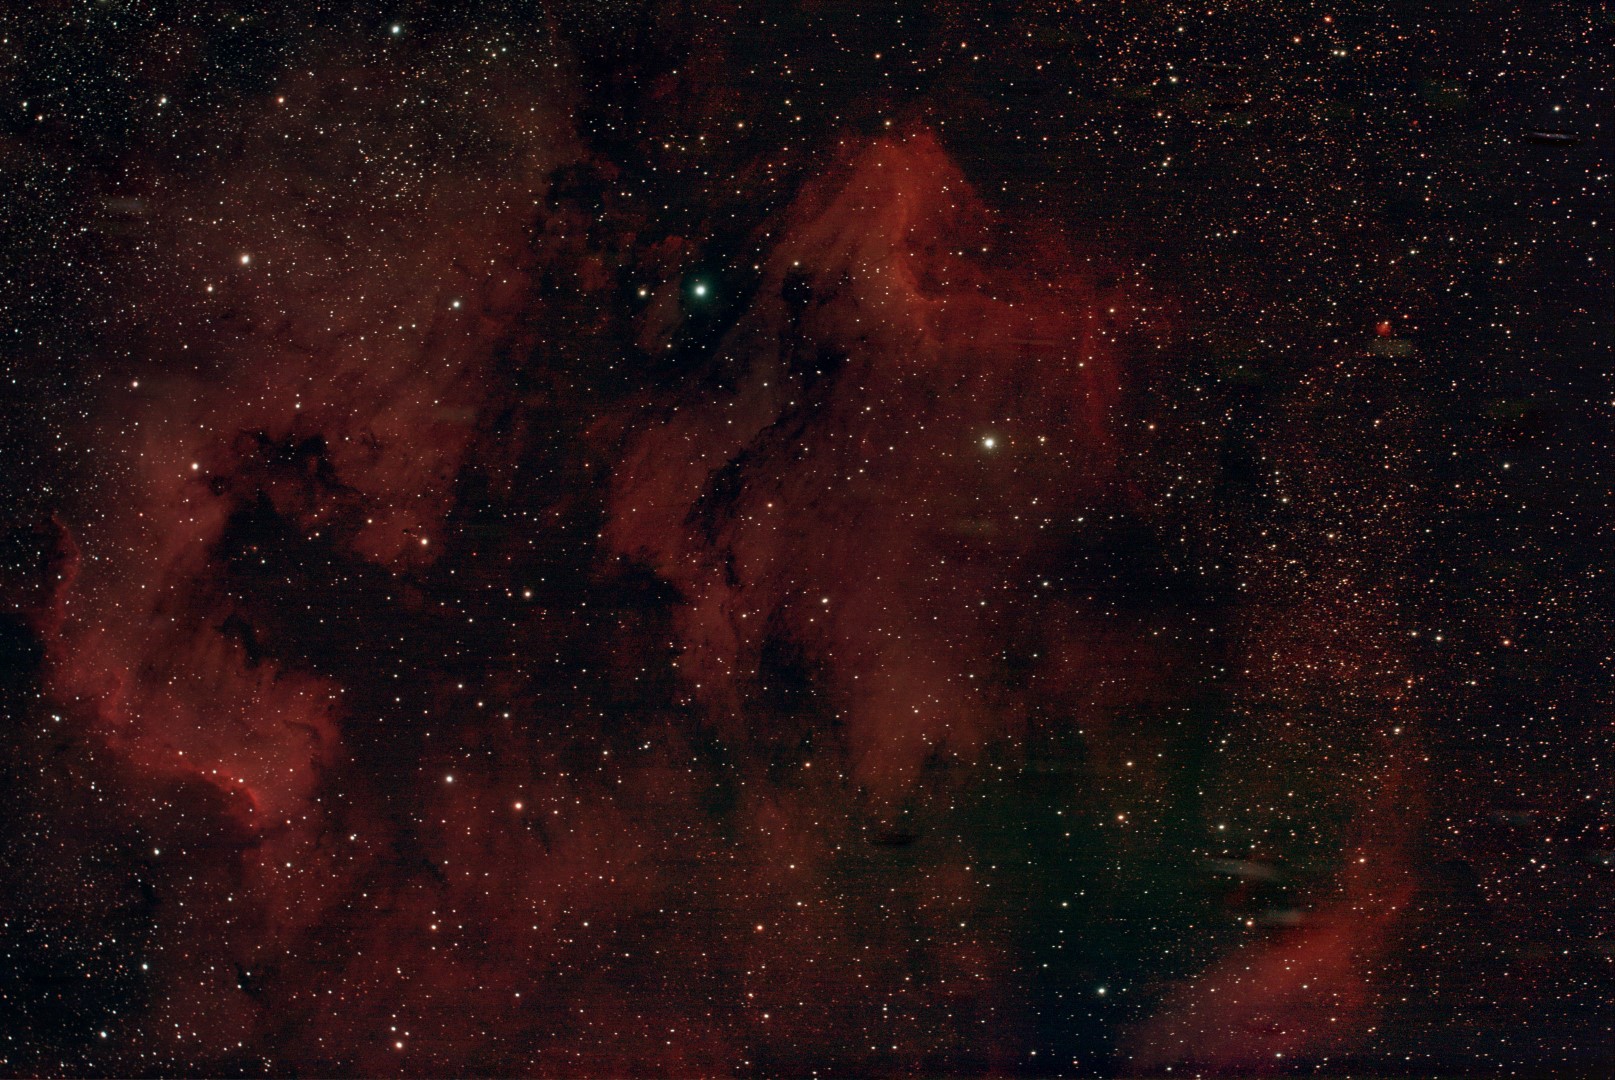


%26rotation%3d-179.5336144%26name%3dIC1318%2b300915%2bFINAL%2b(Large)%26reverseparity%3dFalse%26scale%3d7.10589068325%26thumb%3dhttps%3a%2f%2ffarm1.staticflickr.com%2f624%2f22151786542_f8063ab793_q.jpg%26ra%3d305.859018599%26y%3d540%26x%3d811%26dec%3d40.3758467471%26wtml%3dtrue)