Summertime Blues

IMG_5435

This year the Summer Solstice falls on 20th June at 23.34 BST, meaning the Sun will have reached its furthest point north; as a result from 22nd of May to 19th July 2014 there is a state of permanent Astronomical Twilight AKA Nautical Darkness at Fairvale Observatory. This means there is a complete lack of Astronomical Darkness for imaging, which when combined with short nights poses various problems for astronomy in general.  Notwithstanding, there are benefits and other opportunities which are worth exploiting.

annual_darkness

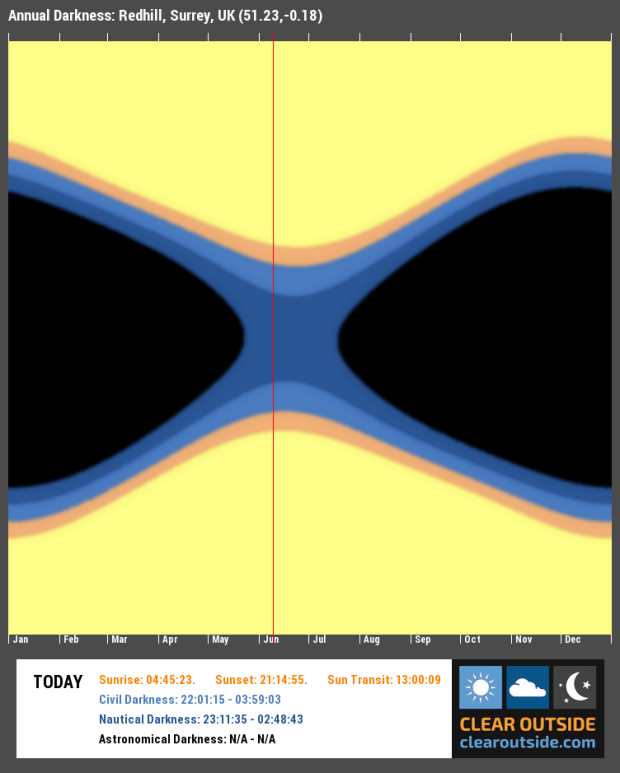
Annual darkness at Fairvale Observatory 2016

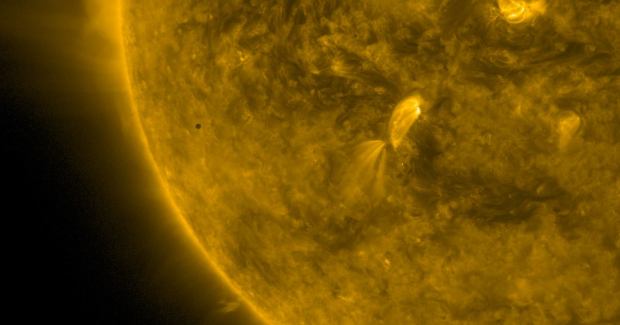
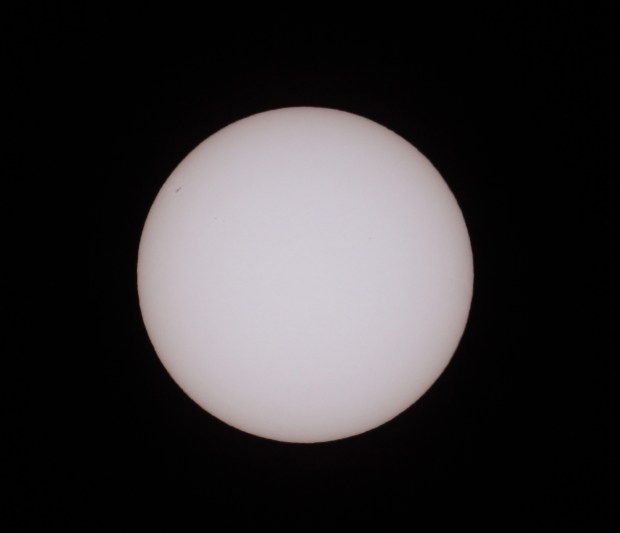
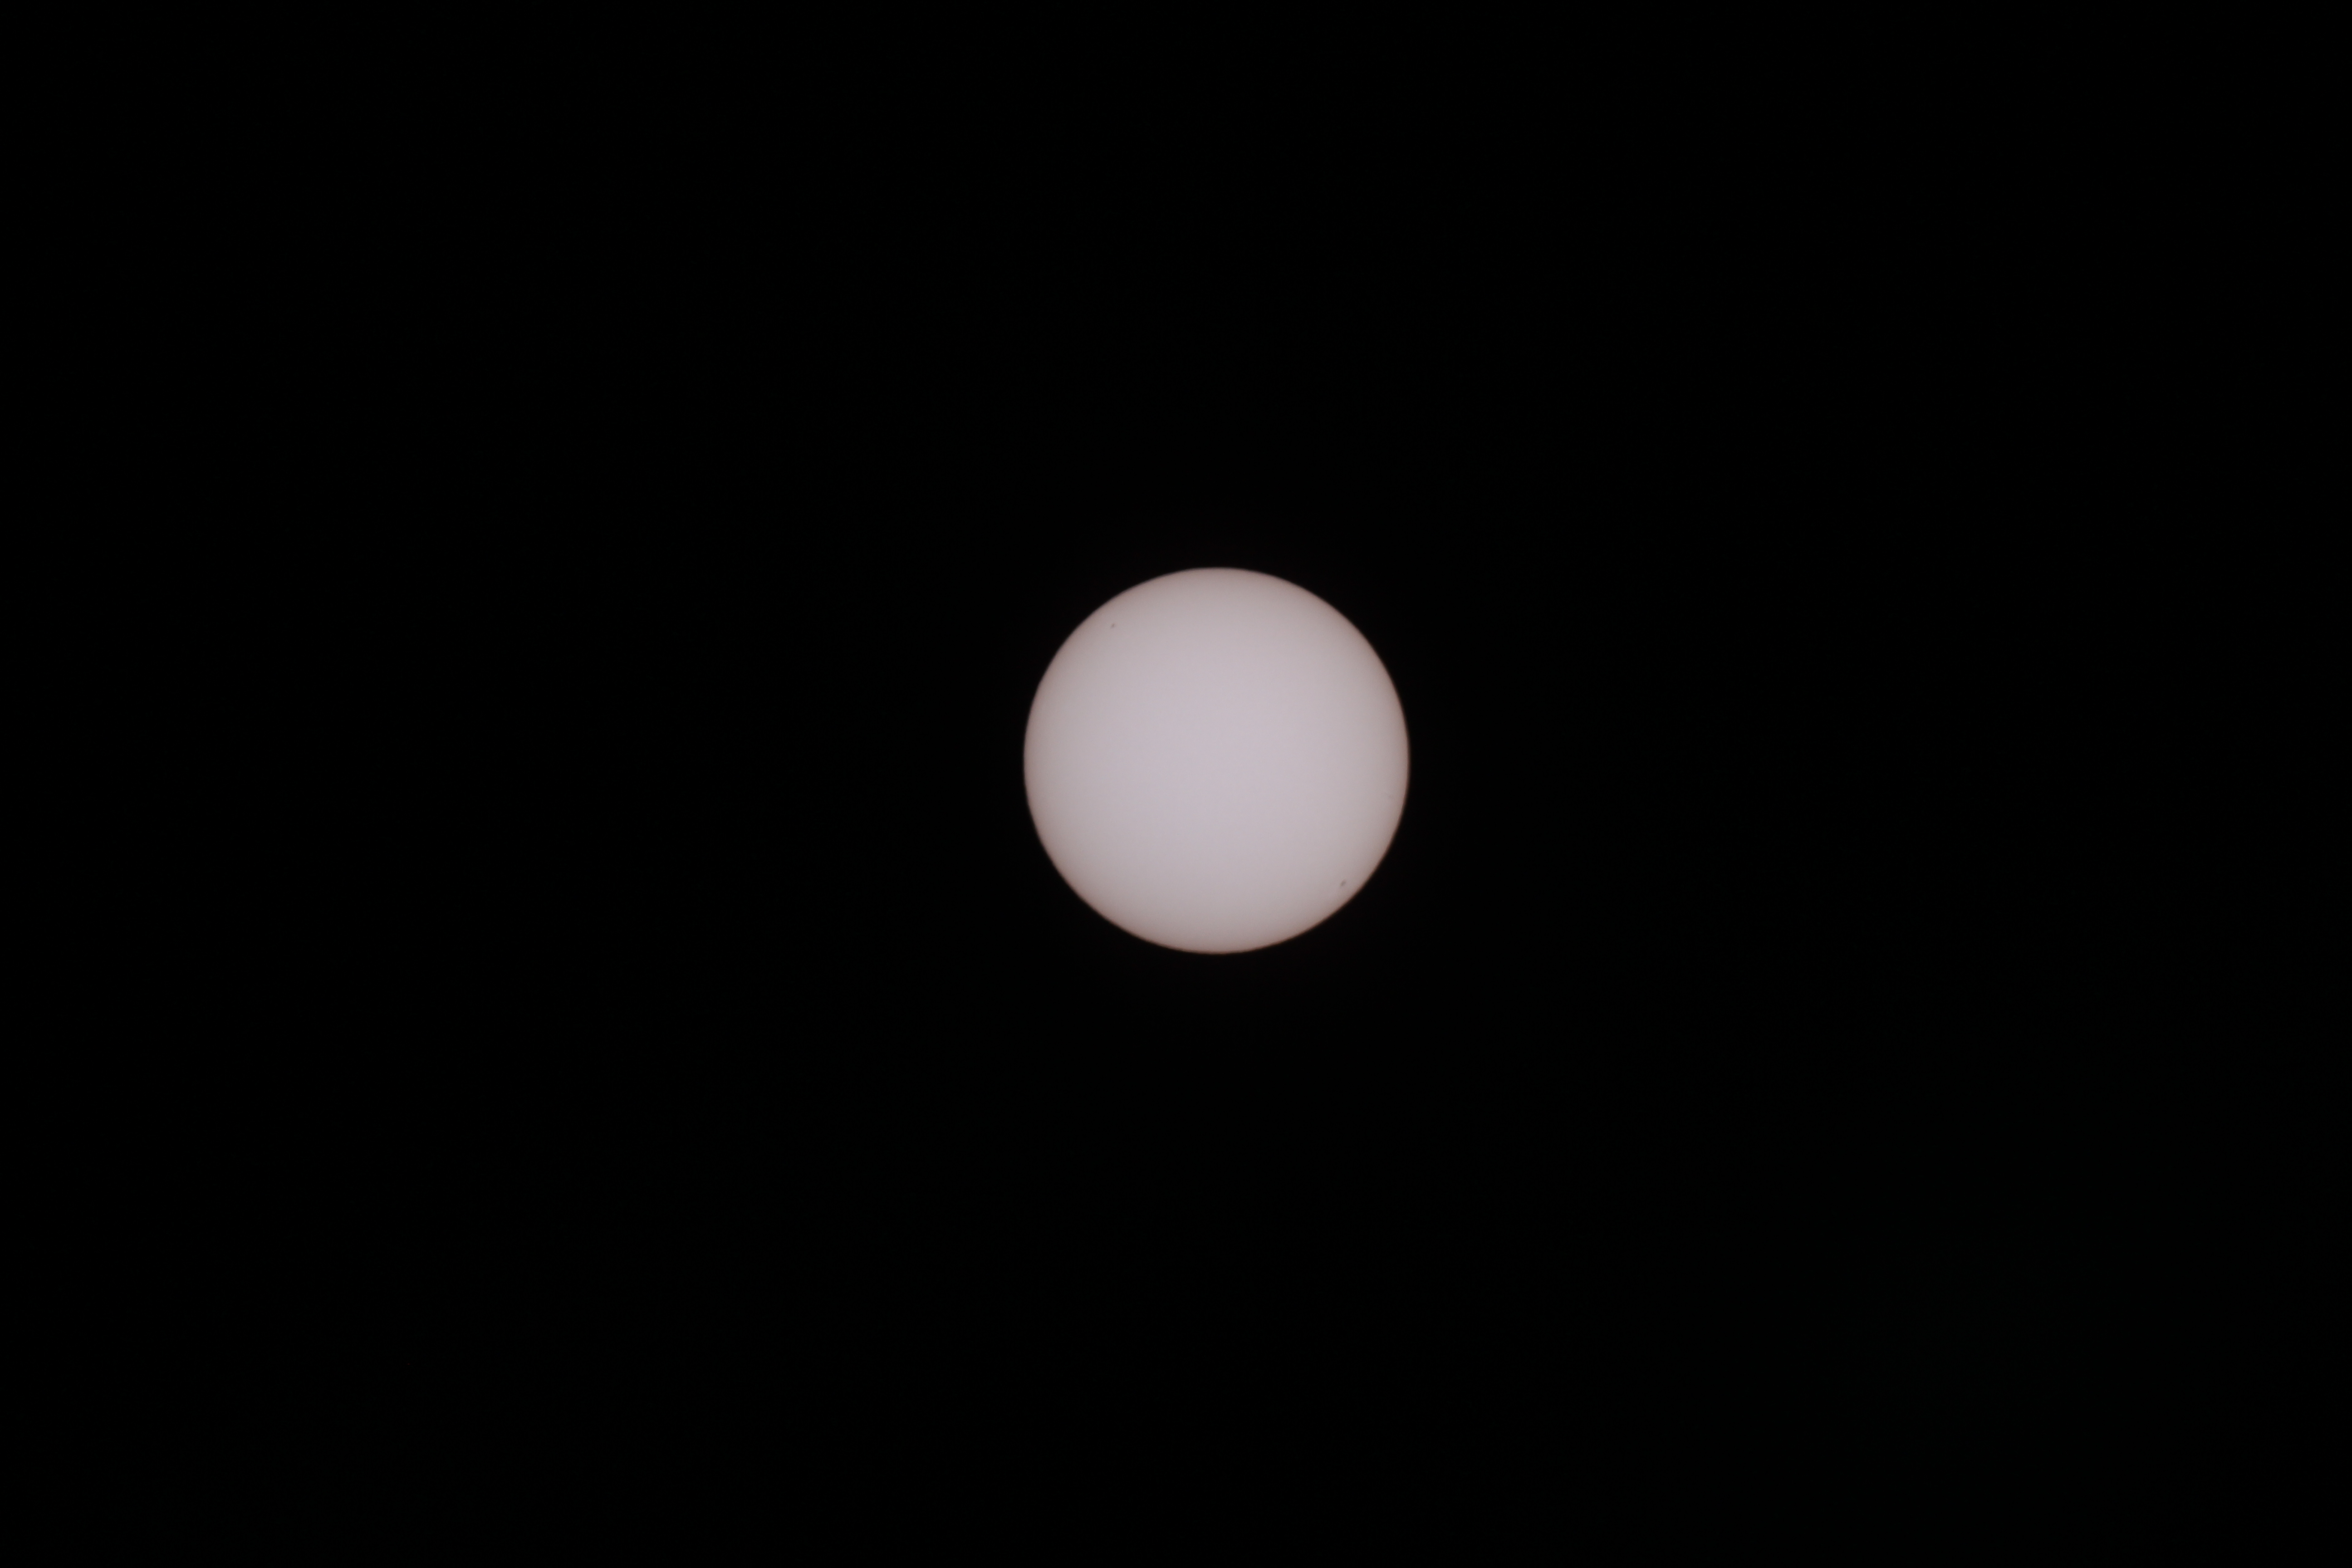
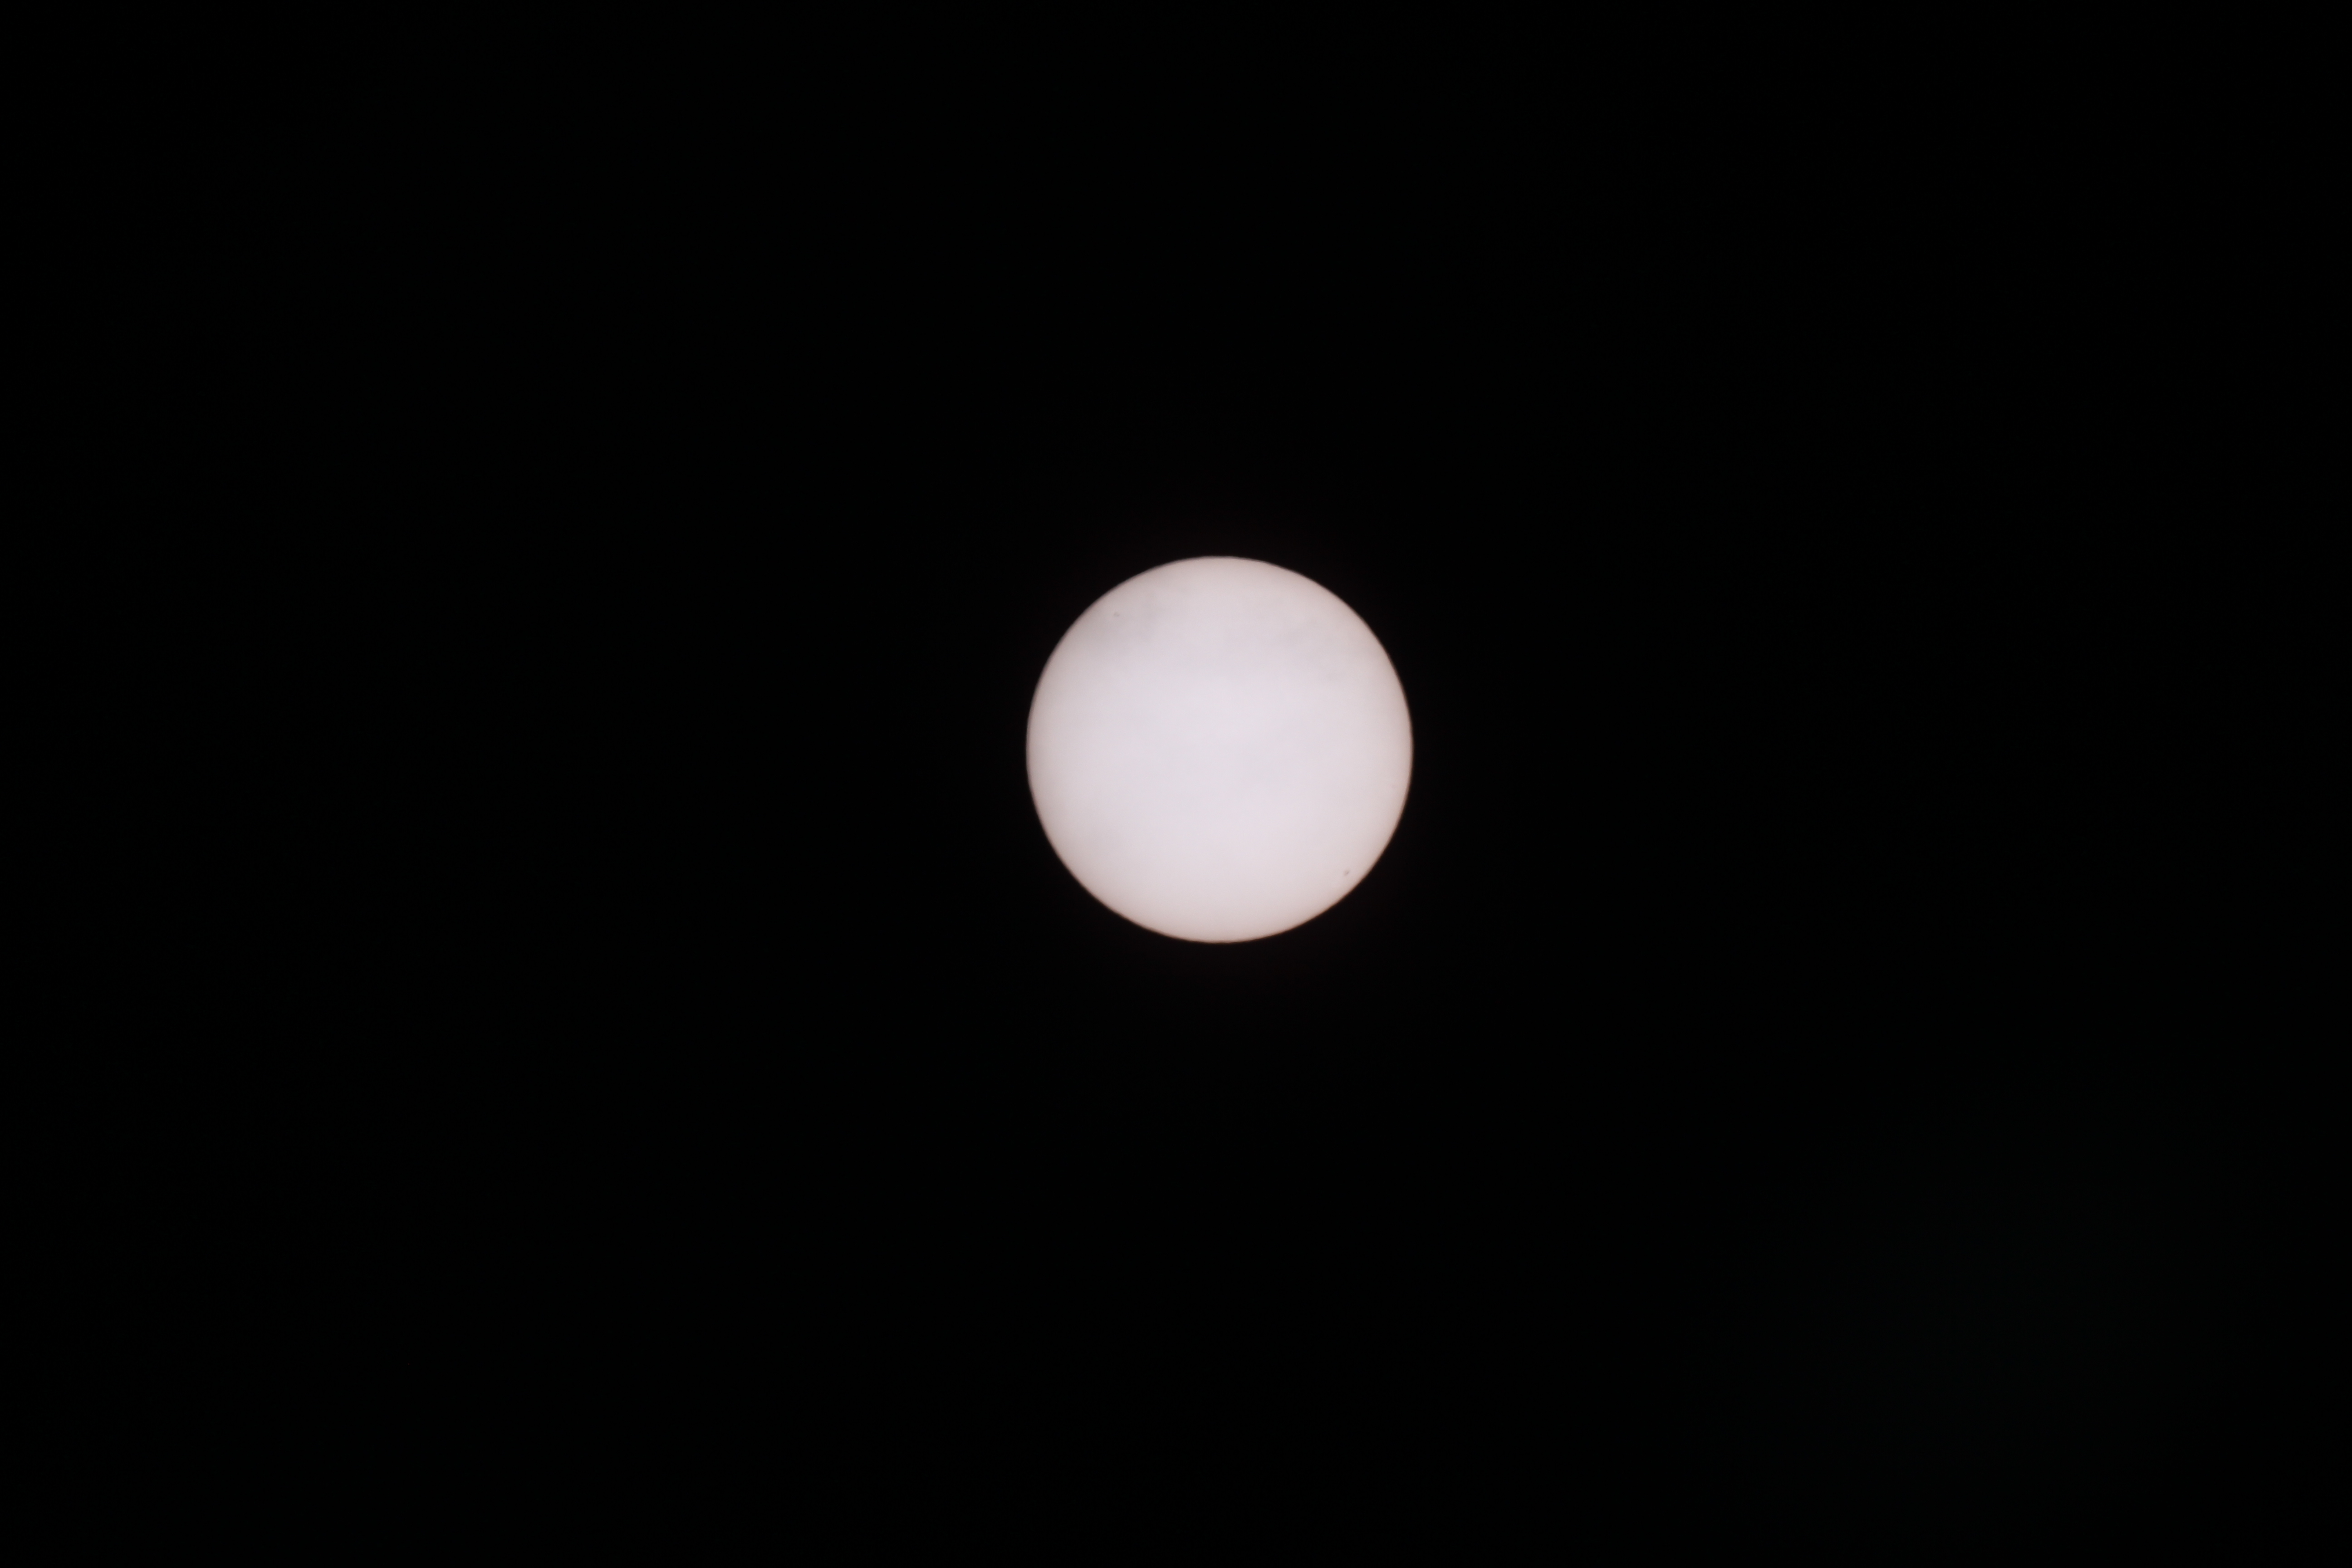
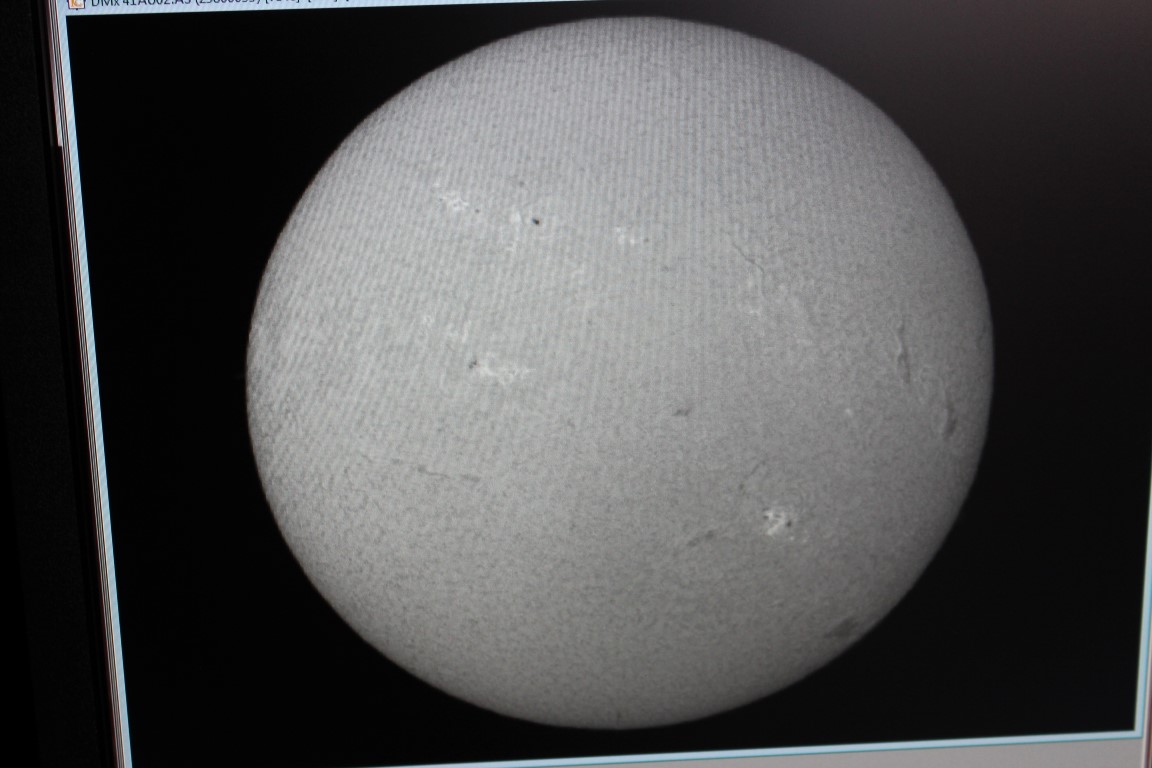
To turn the problem around an obvious solution at this time is viewing and imaging the Sun.  However, following the initial success of testing my equipment in preparation for Mercury’s transit of the Sun on 9th May, the actual event proved disastrous for solar imaging.  I have subsequently re-checked the equipment and software set-up and the problem has continued but without any obvious reason.  Popular opinion on the EQMOD Forum is that it is a software issue – drivers, EQMOD, EOS Utilities – so when time allows over the summer I will reinstall and test everything, hopefully ready for the return of astronomical darkness on 20th July.  Murphy’s Law will likely mean it’s something else but for the moment this seems to be the only way forwards, or is it backwards?  Having just managed to get guiding to work, I had been looking forwards to a new imaging era but that’s astrophotography!

Although the nights are now short the temperatures have been pleasantly warm; after the long dark but cold nights of winter (and spring this year) it’s been a real pleasure to be outside in summer clothing and without the threat of condensation on the equipment.  Notwithstanding, ever present cloud and inevitably the Moon has continued to thwart my efforts until recently, as I have at last just managed a couple of very enjoyable evenings.

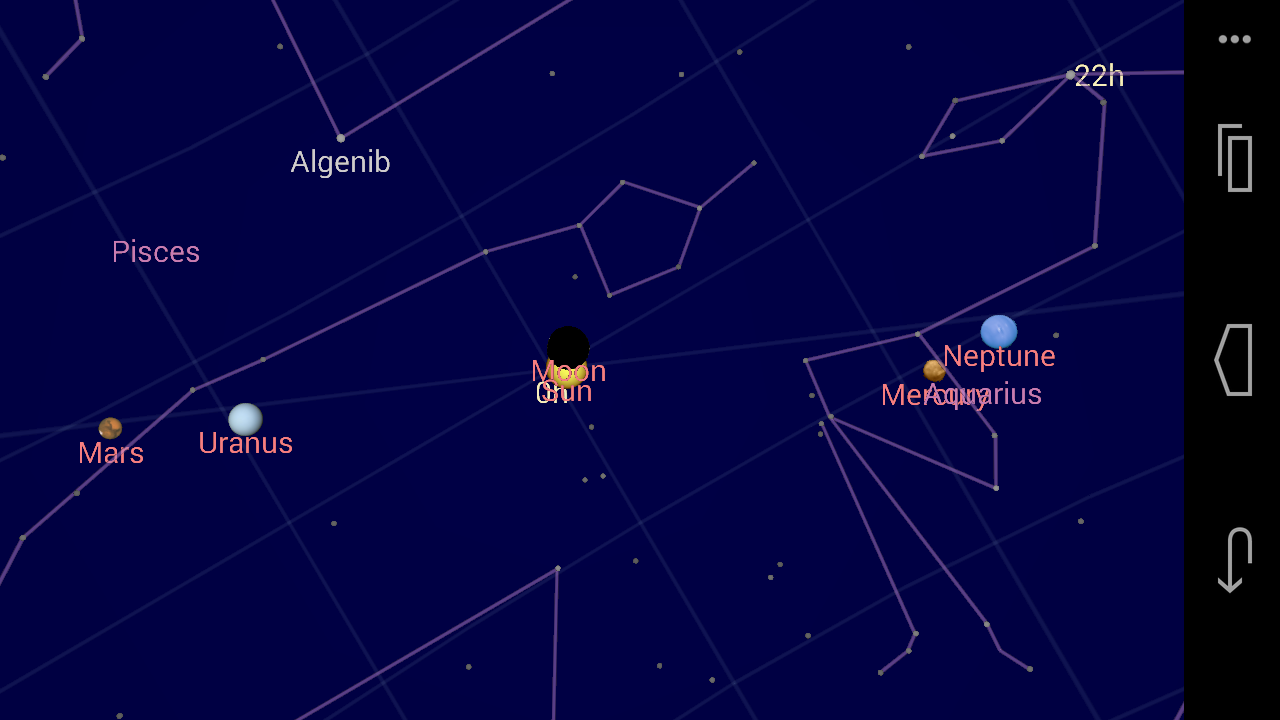
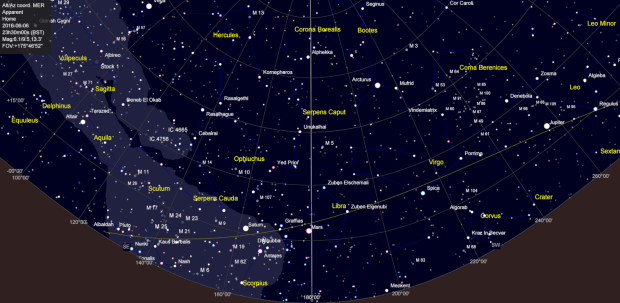
At the moment the three major planets of Jupiter, Mars and Saturn can all be seen at various times between 10.00 pm to nearly 3.00 am, when the early morning light then becomes evident. After putting on a great show during May, Jupiter still remains high in the sky just after sunset.  Mars and Saturn are at a much lower declination of between 10o   and 17o but provide very good views in the right seeing conditions, especially Mars which with an apparent dimension of 18.6o has recently looked excellent, even to the naked eye.

060616 Sky

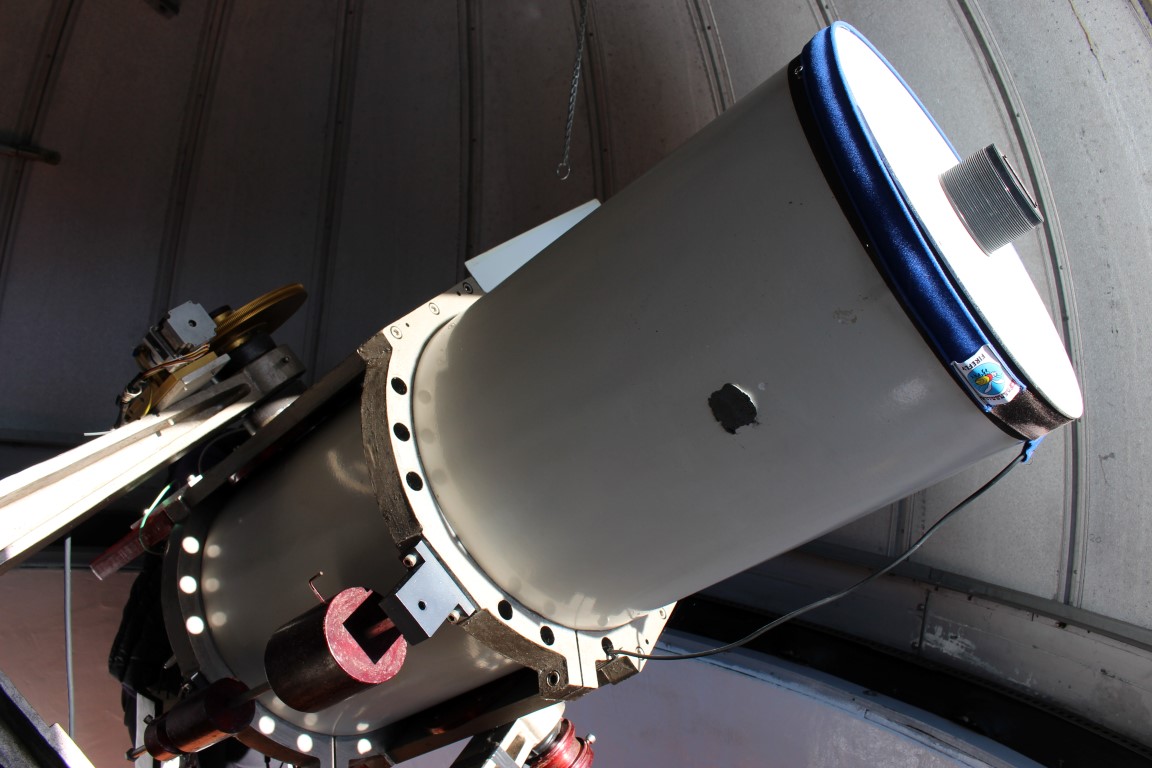
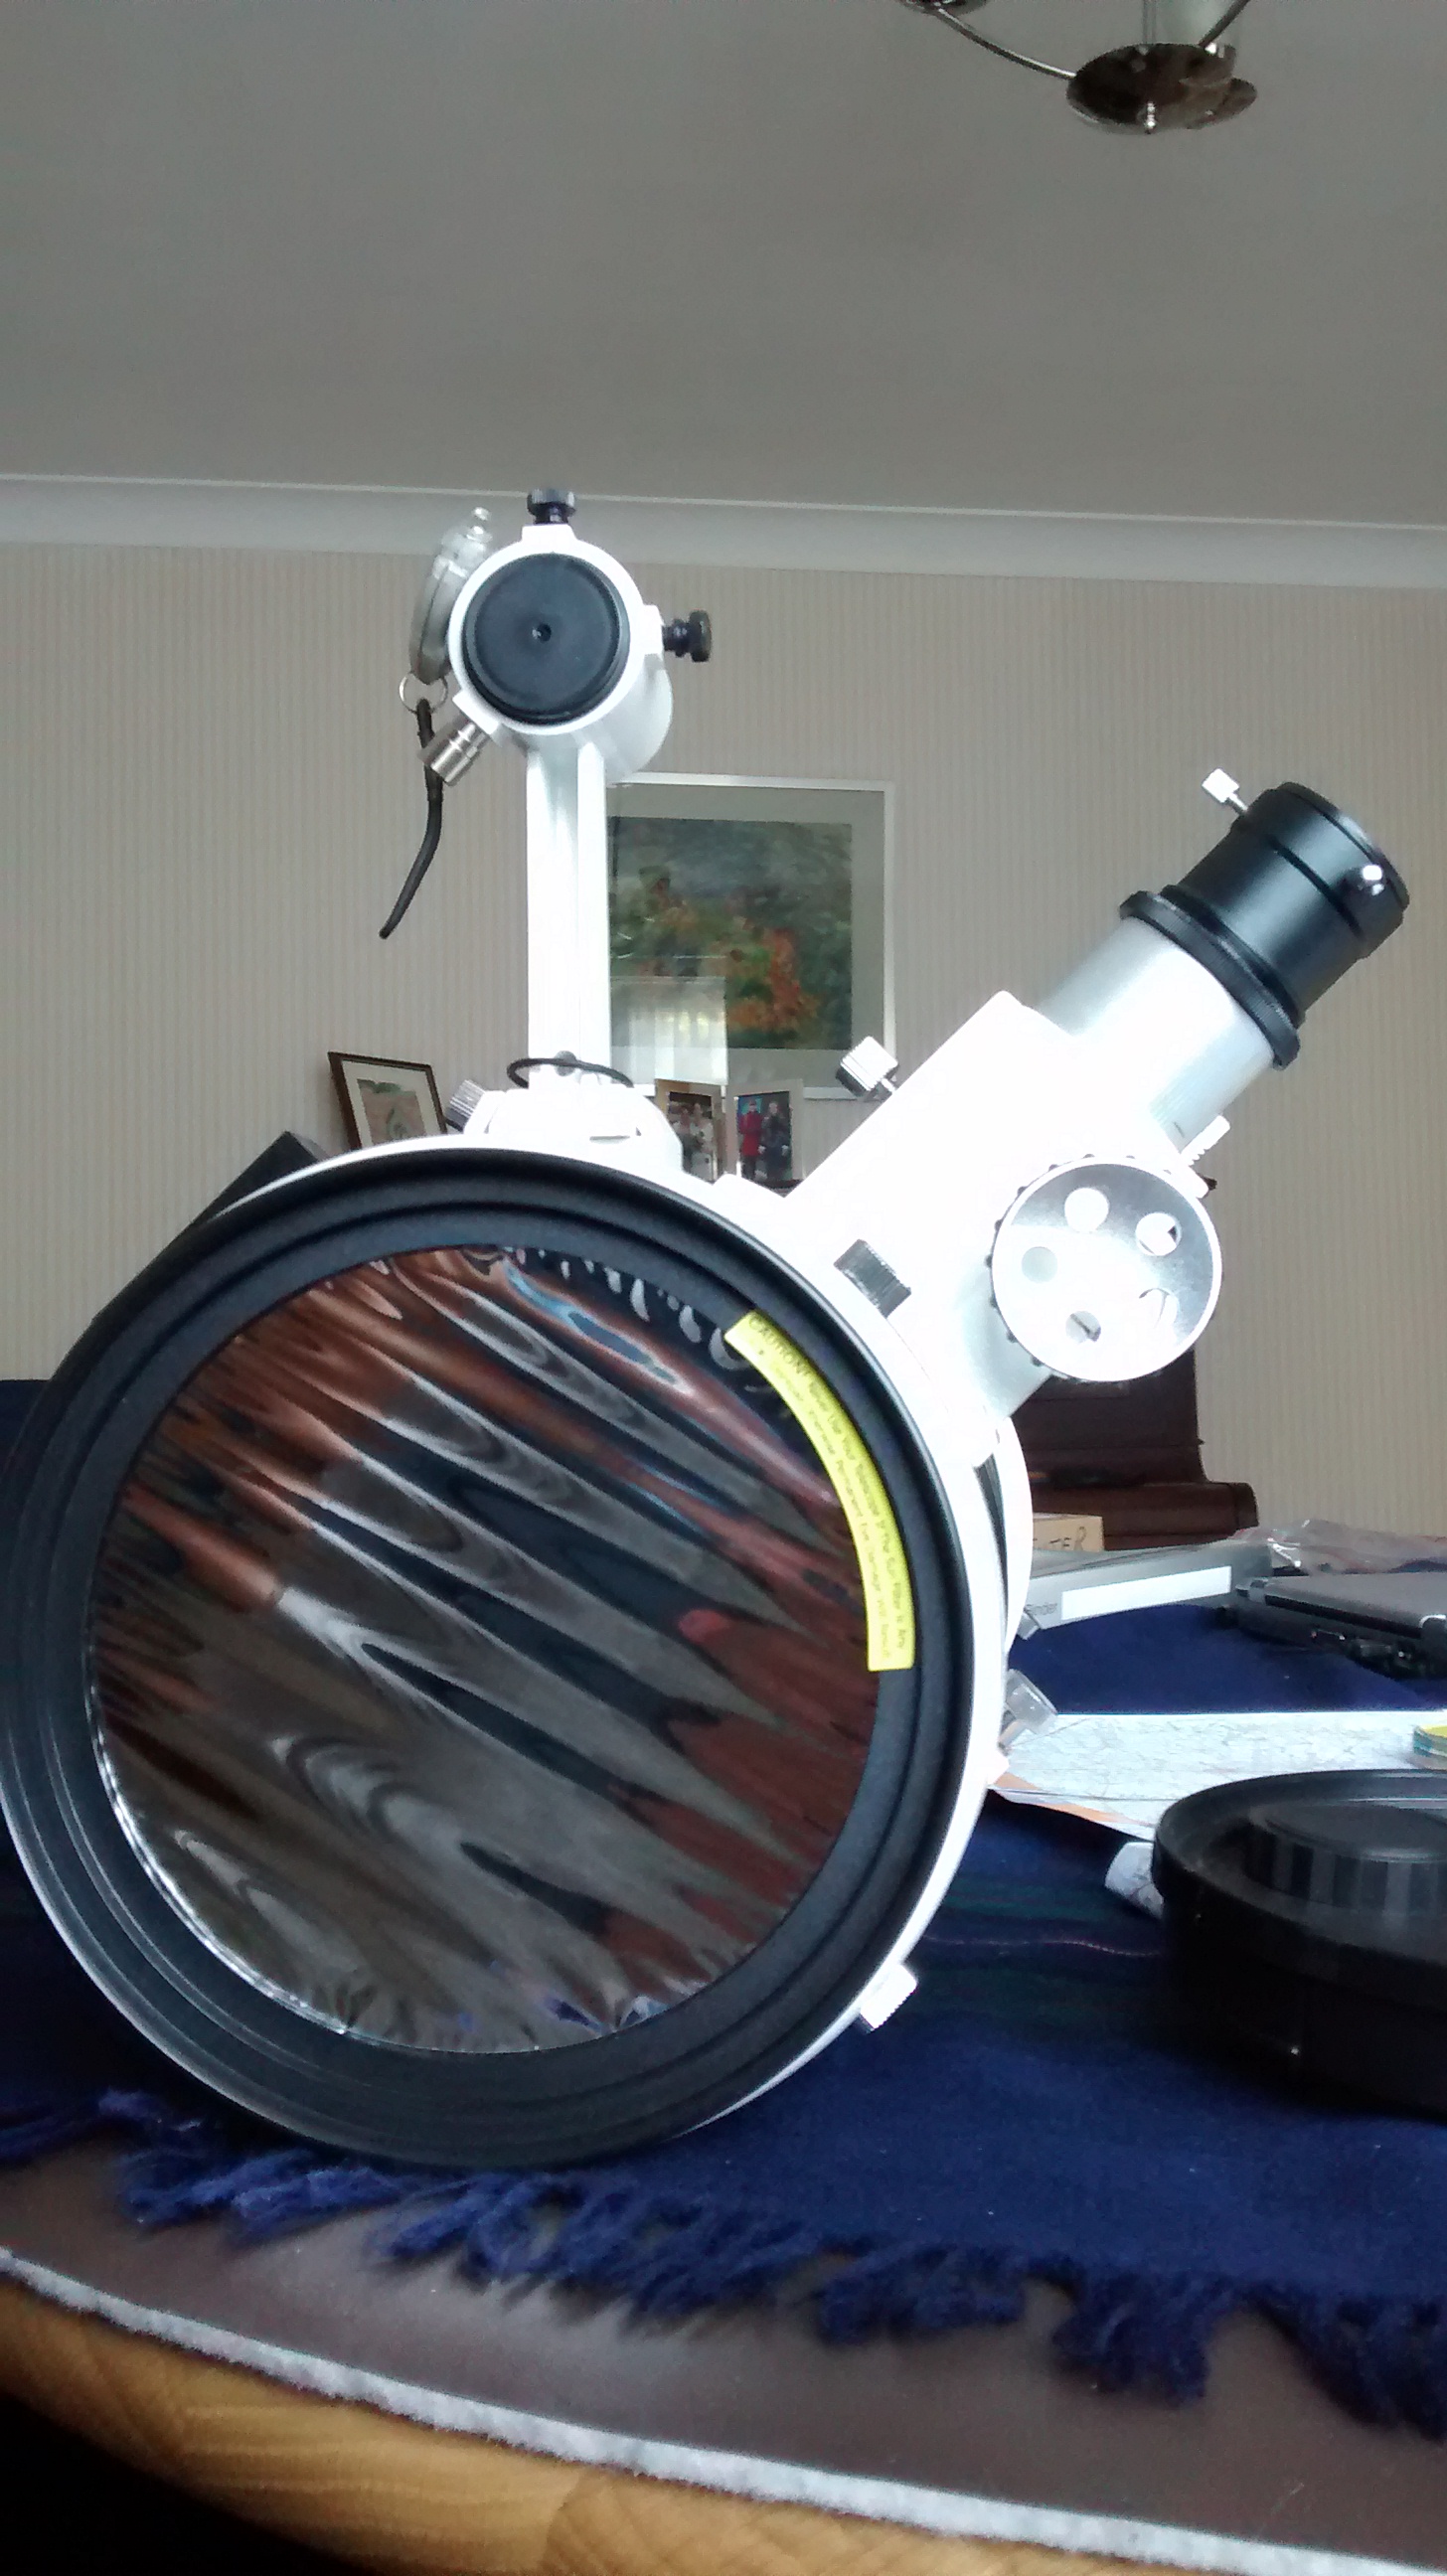
With such opportunities I decided to try out the Skywatcher 150PL and the ZWO ASI120MC once again.  It is almost two years since I used this telescope, preferring instead the superior William Optics GT81 for viewing and imaging.  However, with a focal length of 1,200mm and 150mm aperture (f8) the Newtonian scope is better suited to planetary objects; this was also the first time I rigged the scope for use on the AZ-EQ6 GT mount, thus providing better control than the EQ3-2 I have previously used.

Sure enough the views of each planet were very good but also being unaccustomed to the ZWO webcam through lack of use, I failed to obtain any images!  Pity but the lesson learned is that I cannot just dabble with this equipment and need to dedicate more time in the future if I am to learn how to use properly again.  Nonetheless, it was fun re-acquainting myself with these planets.  As an unexpected bonus the ISS also flew right over Fairvale Observatory for over 7 minutes.  This time the station was noticeably brighter than previously observed, which I put down to Nautical Darkness and the relative position of the Sun that results, thus producing greater reflection and therefore better illumination of the ISS when viewed from the ground?

All-in-all after months of difficulties and inactivity it was a good night and at midnight I therefore decided to swap to the William Optics GT81 for some DSO imaging.  After setting-up the scope I looked up and, as if from nowhere, broken cloud had rolled in obscuring much of the sky and putting an end to any DSO imaging.  Oh well, I had had a good time before and was at least able to get to bed at a civilised time – one of the other drawbacks of summer astronomy.  As luck would have it the weather was also good on the following night, probably even better than before and this time I concentrated on bagging some DSO images as the planets again marched across the sky from east to west.

As a result of the aforementioned equipment and software problems I have resorted to the trusty SynScan handset again for alignment and mount control.  Impressive though EQMOD and all the other paraphernalia are, so far I have found it all to be somewhat fickle and from my personal experience often unreliable.  However, after last year’s enforced astronomy hiatus following my operation and the almost farcical lack of observing conditions over winter and now spring, I’ve become a little rusty with the set-up and as a result, on this occasion encountered my old nemesis – polar alignment – to be something of a problem once again.

Amongst the types of DSO objects, I find globular star clusters to be particularly intriguing; I had not even heard of such features until taking up astronomy in 2013.  Some 158 of these ancient star clusters are known to orbit around the main disc of the Milky Way.  At about 11bn to 13bn years old they are very old and despite what so-called experts might say, it seems to me their origin remains something of a mystery; it’s interesting that such clusters are also associated with other galaxies.

At this time of the year a number of globular and open clusters feature across the night sky and form excellent imaging targets.  First up at about 11.00pm was M5 and immediately I discovered the shortcomings of my polar alignment, further aggravated by the decision to try 4.00 minute exposures = big mistake; ironically prior test shots  turned about better!

Picture saved with settings embedded.

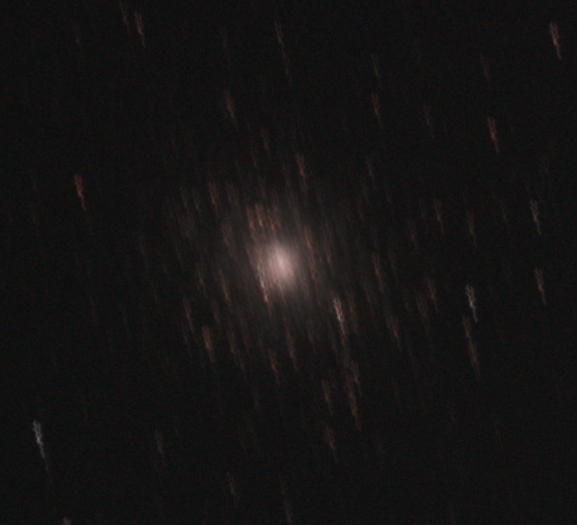
M5 globular cluster + excess trailing! WO GT81 Canon 700D + FF | 9 x 240 secs @ ISO 800 + darks | 6th June 2016

IMG_0026crop

M5 test shot: 10 sec @ ISO 6,400

IMG_0023crop

M5 test shot: 15 sec @ ISO 6,400

Following on from M5 shortly after midnight, M13 appears at a much higher altitude, thus helping to reduce the impact of star trails.  Furthermore, as I was by now fully aware of the polar alignment error, I reduced the exposure time from 4.00 to 2.00 minutes; it helped but nonetheless could not hide the impact on the resulting images.  Note to self: always ensure good polar alignment.  An EQMOD – ASCOM – CdC alignment model would be much better but until I can correct the aforesaid problem it’s down to SynScan and hopefully in the interim I can return to globular clusters once more during summer.

Picture saved with settings embedded.

M13 with less but still noticeable trails! | WO GT81 & Canon 700D + FF | 19 x 120 secs @ ISO 800 + darks | 7th June 2016

Before going to bed I couldn’t resist a few quick shots of an old summer favourite, M57 or the Ring Nebula, itself also very high above Fairvale Observatory by this time of night.  Considering the alignment problems the image wasn’t too bad, however, the first half of 2016 has really been a case of one step forwards, two back.  I hope the next 6-months will be more positive, they will inevitably be darker and colder.

Picture saved with settings embedded.

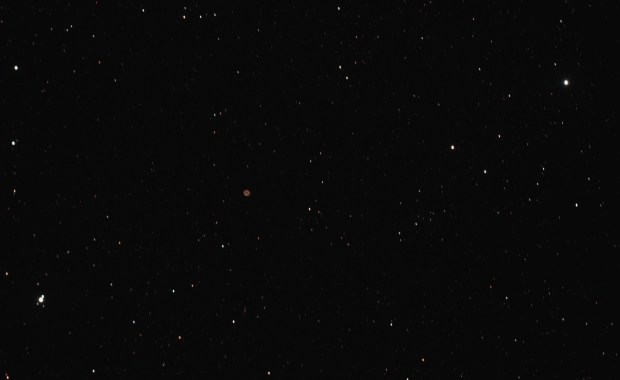
M57 Ring Nebula (left of centre) + Sulafat (left) & Sheliak (right) | WO GT81 & Canon 700D + FF | 13 x 120 secs @ ISO 800 | 7th June 2016

Picture saved with settings embedded.

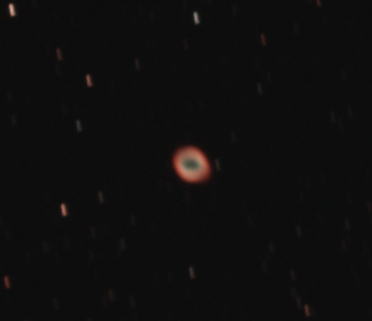
M57 – Ring Nebula, cropped.

Transit

13147537_10154089139076772_6724120884346003381_o

Unfortunately not my image: Mercury starting its transit across the Sun today, photo by NASA.

The transit of Mercury across the face of the Sun takes place about thirteen times each century and today was one of those occasions; the next is on 11th November 2019.  With months of bad weather I’ve been unable to undertake very little astronomy for some time but albeit late, spring actually arrived last week and I took the opportunity to shake-down my equipment and experiment with settings for solar imaging in the hope of capturing Mercury’s transit.  Using a Baader solar filter and both the William Optics GT 81 and Skywatcher 150PL, I have successfully imaged the Sun before.   Of course, inevitably I aspire to a dedicated Lunt or Coronado solar telescope one day in order to image details of the chromosphere and prominences, which are not visible using a white-light solar filter.

Sun spot activity is limited at the moment but the Baader filter and WO GT81 do a reasonable job, although I find achieving focus of the Sun quite difficult.  Using the DSLR I experimented with the field flattener and an alternative basic 1/ 1.25” nosepiece, which produced a preferable result of a slightly larger and sharper image.  I also tried the ZWO ASI 120MC webcam but as I don’t use this very often struggled to get the settings right for any sort of image – I’ll experiment more with that over the summer. I also put EQMOD-ASCOM and the newly acquired gamepad control through their paces which both worked well, so I was ready for the transit – weather permitting.

IMG_0016crop

Last week’s test image of the Sun, with sun spot top left: WO GT81 + 1.25″ nosepiece | 1 / 2,500 sec @ ISO 100

After days of sunshine, albeit with high cloud that has continued to prohibit astrophotography at night, I was nonetheless hopeful of seeing at least some of the transit today.  Notwithstanding, Sods law arrived in the form of a belt of cloud over south east England last night!  Not to be defeated I watched the sky and cloud forecasts which suggested a glimpse of the transit might still be possible.

In hopeful anticipation I set up the equipment just before contact at 12.12 pm BST and shortly afterwards obtained a good view of Mercury as it started its transit across the face of the Sun. For the next three hours I managed glimpses of the planet as it continued its journey.  It is very, very small but forms a distinct, sharp black dot against the background of the Sun when compared to the more diffuse, grey nature of the sunspots.  It was an exciting experience and despite the drawbacks – cloud has now completely covered the sky for the rest of the transit – it was very enjoyable; so what’s the problem?

Despite all my preparation for imaging everything that could go wrong did and I was unable to obtain even a single photograph:

  • On setting up the camera and starting to focus the EQMOD-ASCOM tracking stopped and Carte du Ciel froze. Despite re-starting the set-up numerous times the tracking would not work!
  • Finally after resorting to the Synscan handset for tracking control, for some completely inexplicable reason I could not get any sort of image on the camera, that otherwise was working OK!

As I have learned many times before, the art of astronomy is patience and persistence but I am very disappointed not to have imaged Mercury during its transit today.  Ironically once the cloud put an end to further activity, I tested the EQMOD-ASCOM tracking once again and it worked fine.  Perplexed does not describe my feelings – oh well, 3-years to prepare for the next transit!

hair-tearing

How I felt after today’s imaging!!! The transit view was still very good and I’m grateful for the breaks in the cloud.


Alternative Eclipse

With astronomy preparation is everything and so with the prospect of a solar eclipse here today I have been getting ready during the past week.  I looked at and imaged the Sun using my Skywatcher 150PL and a bespoke solar filter last year.  Whilst I was pleased with the results, such is the field-of-view of the 150PL that the resulting image only covers sections of the Sun and a full picture needs to be created using a mosaic; the upside of this is high magnification and therefore better detail of the Sun’s surface.  With the prospect of an eclipse I wanted to try and image the entire spectacle this time and therefore constructed a new solar filter to fit my William Optics GT81 refractor telescope, which has a wider field-of-view and all together better optics that would comfortably image the entire Sun.

Using Baader AstroSolar ND 5.00 safety film and some cardboard, I constructed a tube which fits exactly over the end of the telescope, with the film across the front but not stretched.  By restricting wavelengths the film removes about 99% of the Sun’s light and allows safe viewing but is very difficult to work with and must be treated carefully to ensure it is not damaged; birds can be attracted to the film’s silver finish and may peck holes in it when fitted, it is therefore important to be aware of such threats and, in my case, I also constructed a cardboard slip to cover the filter when the telescope is left unattended during use.  It is also very important to either block off or remove the guidescope and / or finder from the telescope, which without a filter could otherwise also focus on the Sun and either burn out or even worse, cause personal injury.

Home-made solar filter on the William Optics GT81.  When used I blocked-off the red dot finder and removed the finder scope in order to attach another home-made Sun finder.

Home-made solar filter on the William Optics GT81. When used I blocked-off the red dot finder and removed the finder scope in order to attach another home-made Sun finder.

The Players: having constructed the filter and with a clear sky on Wednesday I therefore tried it out and furthermore experimented with exposure settings, with good results.  Earlier in the month I had captured an excellent image of the quarter Moon too.  So I was ready to go, right?  Wrong!

The Moon @ First Quarter  | WO GT81 & Canon 700D + FF| 1/100th sec @ ISO 100 | 24th February 2015

The Moon @ First Quarter | WO GT81 & Canon 700D + FF| 1/100th sec @ ISO 100 | 24th February 2015

GT81 + Canon 700D & Baader ND 5.00 Solar Filter 1/500th sec @ ISO 100 | 18th March 2015

GT81 + Canon 700D & Baader ND 5.00 Solar Filter
1/500th sec @ ISO 100 | 18th March 2015

The Sun 1/20th Sec @ ISO 100 | 18th March 2015

The Sun
1/250th Sec @ ISO 100 | 18th March 2015

Despite my best planning it was cloudy here at Fairvale Observatory this morning, something that has been proving a major obstacle to any astronomy all this month.  Notwithstanding, I have instead experienced an ‘alternative eclipse’.

First, I recorded the change in light during the eclipse.  Though ‘only’ an 85% eclipse here the deterioration in light was very noticeable as well as other features: it got colder and the birds became quieter.

20th March 2015 Eclipse - the sky just after contact at 9.50 a.m.

20th March 2015 Eclipse – the sky at 9.50 a.m. sky just after contact.

Contact + 15 minutes

Contact + 15 minutes

At maximum 85% eclipse.

At maximum 85% eclipse, 9.30 a.m.

Next I ‘looked’ at the progress of the eclipse using Google Sky, which seemed to be very accurate.  It was fascinating to note that four other planets were lined up alongside the Sun at the same time, though of course would not be visible in the daytime sky even if it had been clear.

Eclipse as 'seen' by Google Sky

Eclipse as ‘seen’ by Google Sky

Google Sky screenshot.

Google Sky screenshot.

In between my own real time experience, I watched the BBC coverage of the event which provided some excellent images from the UK and especially from the air off the Faroe Islands where totality occurred.

Uk eclipse courtesy if the BBC.

UK eclipse courtesy if the BBC.

Eclipse totality at 28,000 ft from the Faroe Islands.

Eclipse totality at 28,000 ft from the Faroe Islands.

Baily's beads in hydrogen-alpha image. Faroe Islands March 2015.

Baily’s beads hydrogen-alpha image.   Faroe Islands March 2015.

Diamond Ring hydrogen-alpha image. Faroe Islands March 2015

Diamond Ring hydrogen-alpha image.
Faroe Islands March 2015

An eclipse is astronomy in action and inevitably I’m disappointed not to see and image the actual eclipse here but my alternative eclipse was still interesting and good fun. I was lucky to witness a total eclipse in France in August 1999 so that’s a 50% success rate so far.  The next partial eclipse in the UK will be on 12th August 2026 so I have time to prepare but, of course, will be unable to do anything about the weather again.  Fingers crossed then I suppose!

Another perspective.  Eclipse 2006, taken form the ISS the Moon's shadow passing over Turkey.

Another perspective. Eclipse 2006, taken from the ISS the Moon’s shadow passes over Turkey at 2,000 kph.

Finding the Sun

As our nearest star, the Sun is an obvious target for astronomy and with all this nice summer weather at the moment, that’s exactly what I’ve been doing.  The statistics of the Sun are, of course, mind boggling and the views can be truly amazing http://http://en.wikipedia.org/wiki/Sunen.wikipedia.org/wiki/Sun .

I first saw the sun through a telescope whilst in La Palma earlier this year https://watchthisspaceman.wordpress.com/2014/08/06/la-palma-nice-one-joan/ both using Joan’s 15″ Mak Cassegrain + solar filter and his beautifully constructed helioscope, which bounced the Sun’s light / image from the outside, through a hole in the wall of the observatory, which was then focused perfectly on a screen:

Mak + white light filter

Mak + white light filter

Heliograph focus track after collecting the sun's image outside

Heliograph focus track after collecting the sun’s image outside

Final heliograph image of the Sun's surface

Final heliograph image of the Sun’s surface

Rightly or wrongly I decided to use my SW 150PL Newtonian to view the sun, with a larger, open OTA there should be better ventilation and it just seems less complicated (& cheaper) than the refractor for the moment. The standard method, which I also used, is to place a Baader Astro Solar Safety Film in front of the OTA. This looks a lot like cooking foil but is much more sophisticated and expensive, basically reducing the light from the Sun to a narrow, harmless wavelength http://www.365astronomy.com/solar-filter-for-150mm-newtonian-telescopes-p-2933.html. You can buy this film in A4 sheets and make your own filter but I bought the type that was already made and fitted snugly into the end of the OTA:

Solar filter fitted inside the 150PL

Solar filter fitted inside the 150PL – also note solar finder in the finderscope bracket (see below for description)

To be honest, I was uneasy at the prospect at looking at the Sun which, if undertaken incorrectly, could result in the loss of sight – so I didn’t want to risk the DIY route.  Whilst on this theme, it is essential to thoroughly check the filter each time before use to check for holes, even a pin prick could be dangerous and result in injury. In addition, whilst in use but not being attended – maybe gone off for a cup of tea – it is said that birds can be attracted to the shinny filter and can peck holes! I have therefore made a cardboard cover to put over the filter whilst away from the scope for this reason:

Crude and cheap but it might save your eyesight!

Crude and cheap cardboard cover but it might save your eyesight!

At this point I realised that finding the sun to view i.e. lining it up, is not as easy as it might seem – after all you cannot just look directly at the sun and point the scope, for obvious reasons. One method is simply to use the OTA’s own shadow, so that when it is lined up with the sun its shadow will be at its minimum. There are also numerous gadgets out there to buy (there always is in astronomy).  However, I came across a DIY version that frankly I think is difficult to beat – it costs nothing and takes seconds to make! This guy deserves an award for such a design http://pembsastronomers.freeforums.org/how-to-make-a-solar-finder-in-three-seconds-t485.html.

Basically it is a 35mm film canister, with a black top on a clear container: wrap the container in black electric tape and pierce a very small pinhole in the top. In my case it slipped straight into the finderscope bracket (thus also also allowing proper alignment with the scopes viewing axis) and then you manoeuvre the scope until the beam of sunlight that passes though the pinhole, falls directly at the centre of the base of the canister, which acts as a screen. Genius!

35mm canister with small, pinhole in the top

35mm canister with small, pinhole in the top

Using a clear canister wrapped in black tape, the base acts as a screen. Sunlight passes through the pinhole which then appears as a small, bright spot on the base of the canister - moving this to the centre of the base by adjusting the orientation of the scope ensures the scope is directly aligned with the Sun for viewing.

Using a clear canister wrapped in black tape, the base acts as a screen. Sunlight passes through the pinhole which then appears as a small, bright spot on the base of the canister – moving this to the centre of the base by adjusting the orientation of the scope ensures the scope is directly aligned with the Sun for viewing.

Using the Baader Solar Filter produces a white light image, in particular showing sunspots:

The photo mosaic segments would not line up perfectly but the sunspots are clear to see and more prevalent than a couple of weeks ago. Notwithstanding, the 11-years sun spot cycle is not as expected, with the number of spots quite low at the moment.

The DSLR photo mosaic segments would not line up perfectly but the sunspots are clear to see and more prevalent than a couple of weeks ago. Notwithstanding, the 11-years sun spot cycle is not as expected, with the number of spots quite low at the moment.                                             Skywatcher 150PL & 2x Barlow 1/40th sec at ISO100

Compact camera afocal image - lacks detail but you get the whole of the sun in the frame.

Compact camera afocal image – lacks detail but you get the whole of the sun in the frame.

For the moment I’m quite pleased with the view but would eventually like to improve things. Still looking at white light, the Herschel Wedge looks like a good attachment that could instead be used with the WO refractor http://en.wikipedia.org/wiki/Herschel_wedge . This deflects most of the light and heat and, supposedly, produces a superior image – it’s inevitably quite a bit more expensive.  The holy grail is a hydrogen-alpha scope, of which the Coronado PST is probably the most popular, not least because it is financially cheaper  http://www.meade.com/products/coronado/coronado-personal-solar-telescope-pst-0-5-angstrom.html but if you are really flush with cash this will do the job nicely http://www.telescopehouse.com/acatalog/Lunt-152mm-H-alpha-OTA—B1800-BF—Feather-T—P-Tuner.html . The point of the H-alpha scope is that it works at a different wavelength that, unlike white light, enables the Sun’s prominences to be seen, dream on.

For scale that's Jupiter down there in the lower, left hand corner

For scale that’s Jupiter down there in the lower, left hand corner