Having missed 6-months astronomy earlier this year following an operation, come September I was desperate to get back to my nascent interest in astronomy and astroimaging. Apart from some initial operating mishaps, it turned out to be a good month: warm evenings, clear skies and interesting skies. Since then it’s all gone Pete Tong, with no imaging opportunities here at Fairvale Observatory since early October due either to cloudy skies or the coincidence of the full Moon with clear periods; it was therefore not surprising to learn that November was recorded as the dullest on record, with just 18 hours of sunshine compared to an average of 63 hours.
My antidote to physical incapacity and cloudy skies this year has been the MOOC or Massive Open Online Course – free online courses run by Universities from all over the world, in my case of course I naturally chose various aspects of astronomy:
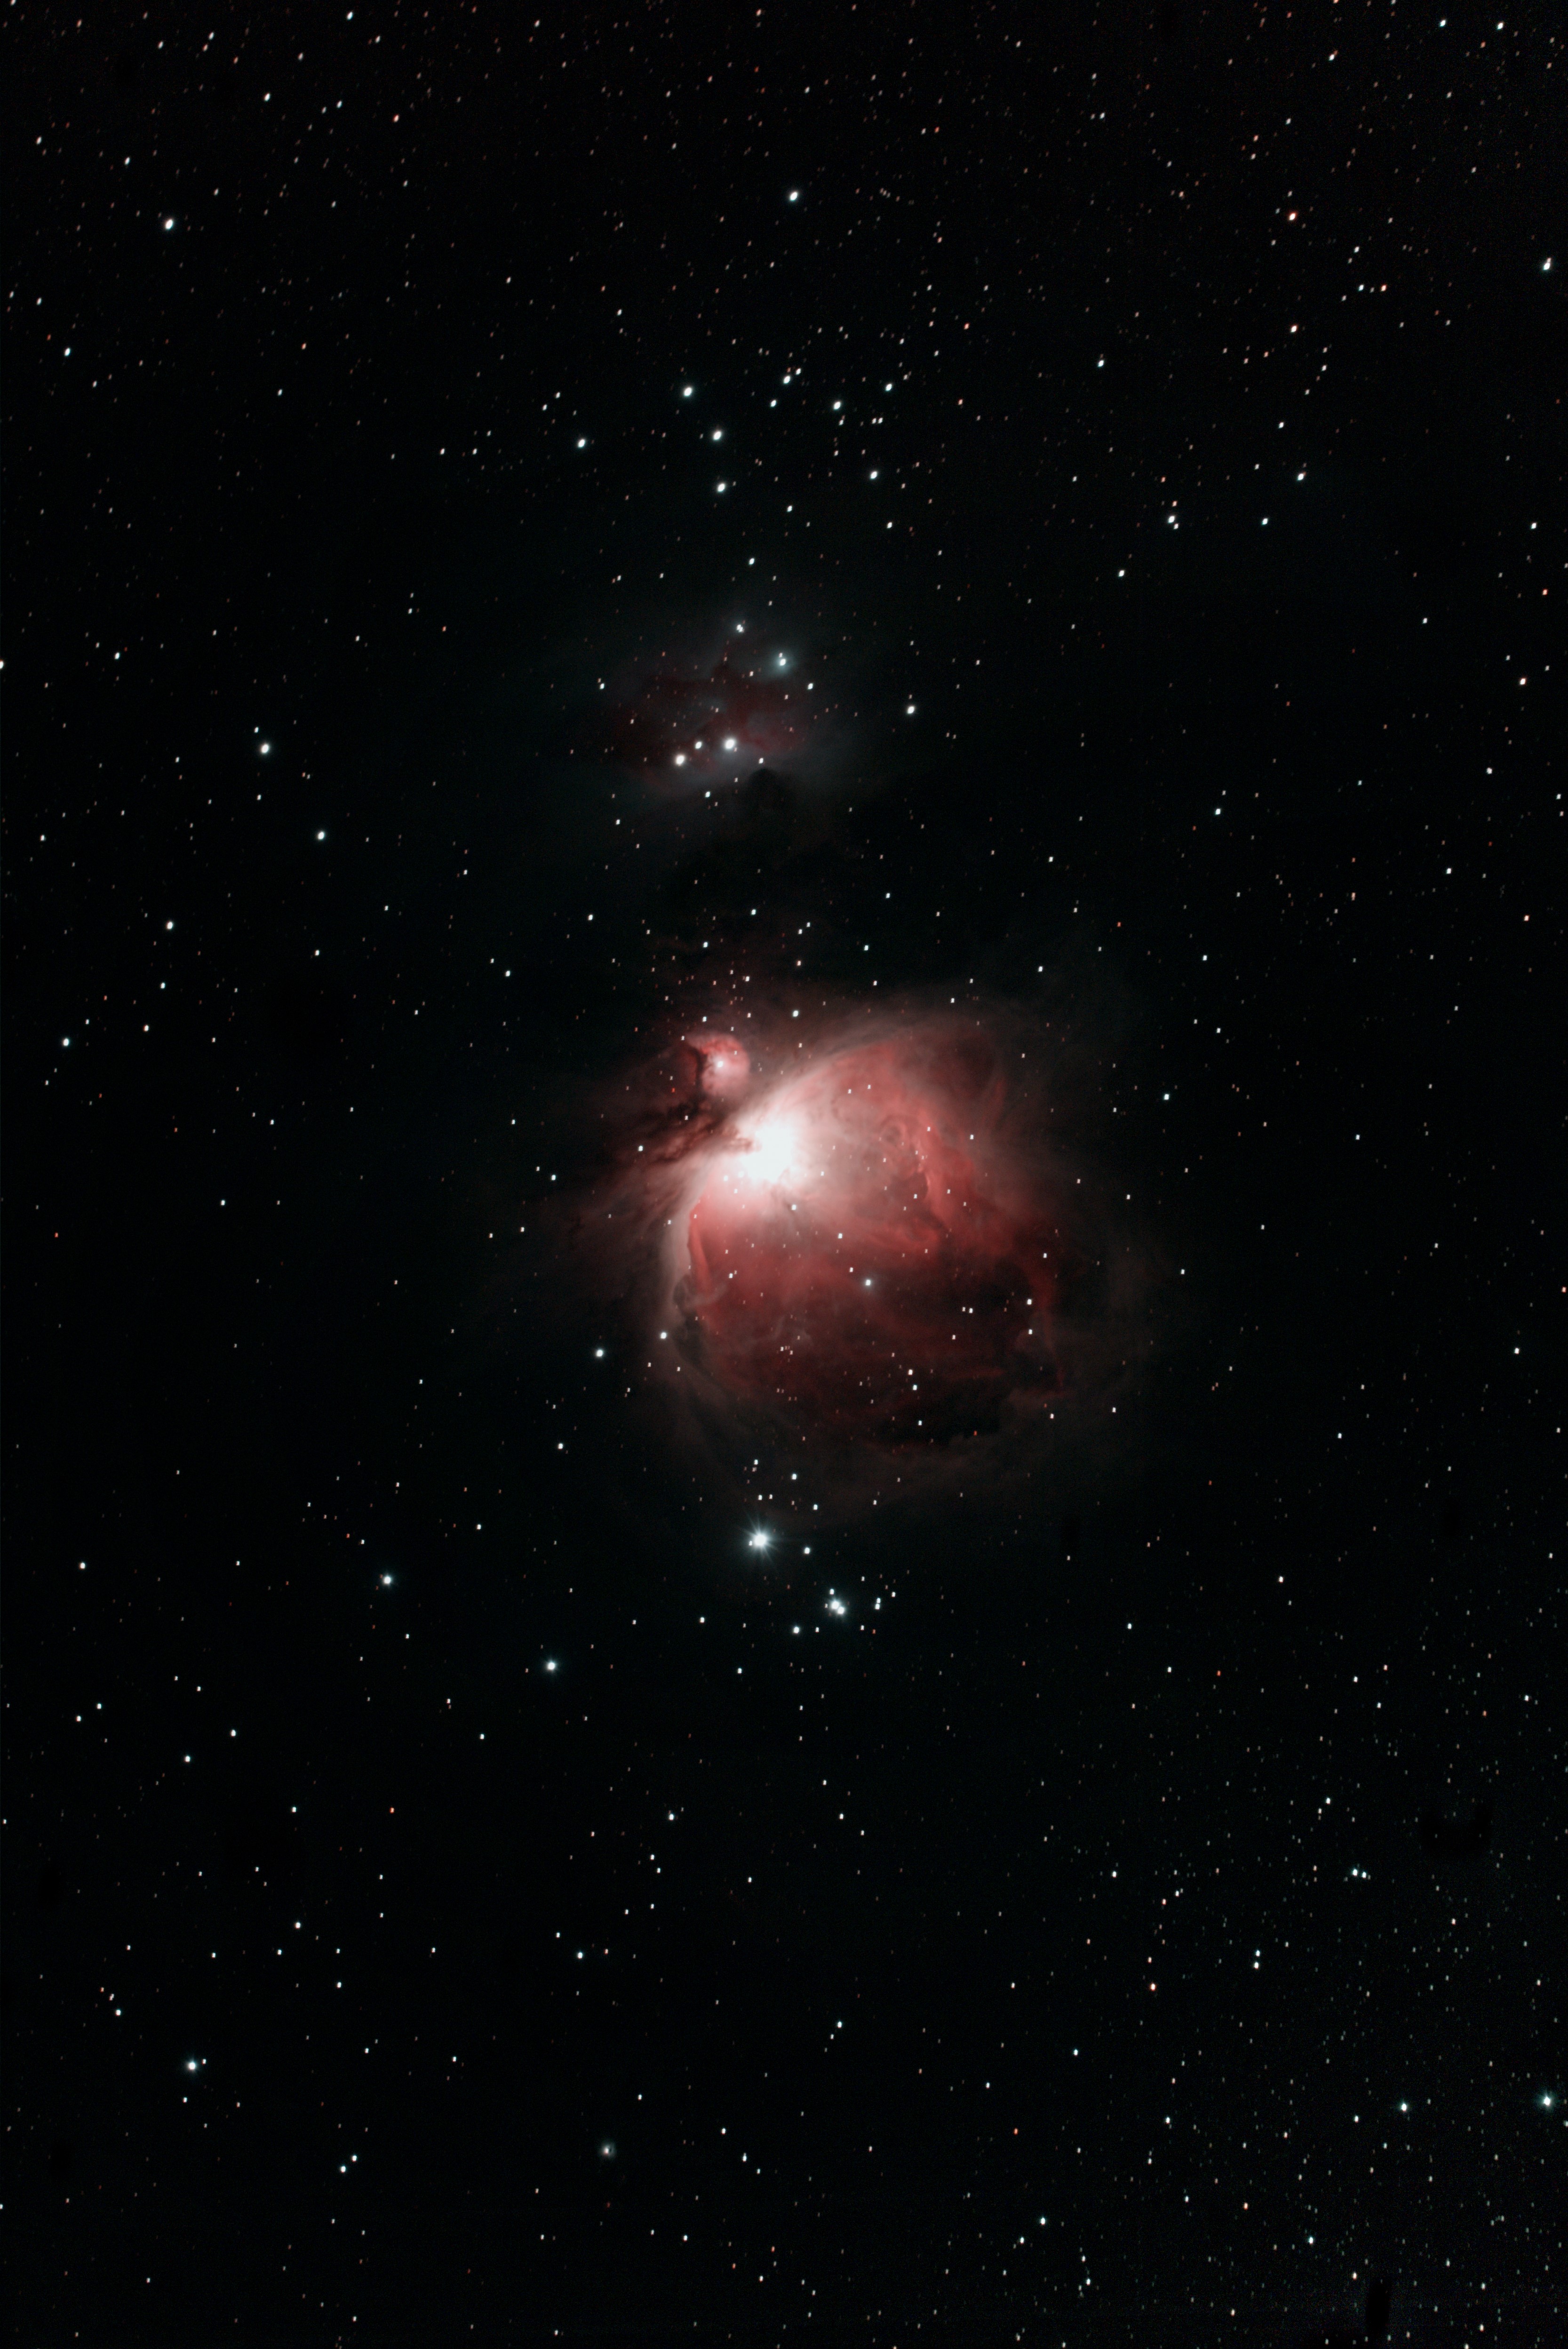
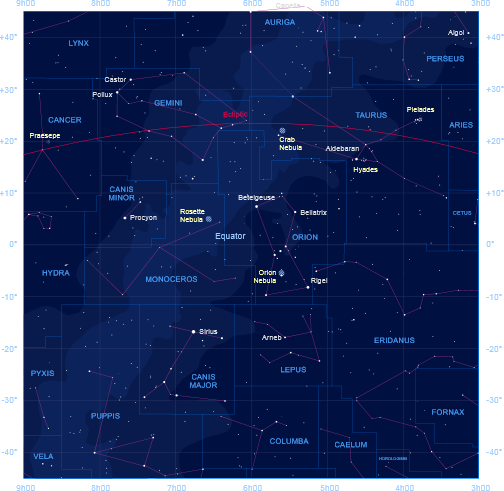
- In the night sky: Orion – Monica Grady, Open University. Orion constellation and star evolution.
- Moons – David Rothery, Open University. Everything about moons; there are 176 moons in the Solar System some bigger than planets and some with the potential for life.
- AstroTech: The science and technology behind astronomical discovery – Andy Lawrence & Catherine Hymans, Edinburgh University. Does what it says on the tin!
- Imagining Other Earths – David Spergel, Princeton University. The complete astronomy course and more! Ongoing 24-week course that covers just about everything in astronomy – outstanding.
- Gravity! – Pierre Binétruy and George Smoot (Nobel Laureate), Paris Centre for Cosmological Physics – Paris University Diderot. Gravity and how it shapes the universe etc.
This week marked the centenary of Einstein’s general theory of relativity and the end of the course Gravity! At the same time on Thursday ESA launched the LISAPathfinder space mission, that is designed to assess the viability of ground breaking technology which if successful will be used later to study and measure gravitational waves; whilst on this theme I also watched the movie Interstellar.
Whatever gravity is, and it is clear that despite Einstein et al we still don’t really know (no shortage of theories though), its effects clearly shape the Universe in a major way and at all levels.
One such feature is the globular cluster, groups of up to one million very old stars, tightly bound by gravity that orbit a galactic core; over 150 have so far been identified with the Milky Way Galaxy. I find them to be one of the most interesting and enigmatic features of astronomy and therefore before the clouds rolled in some weeks ago I managed to image such a cluster, M15.

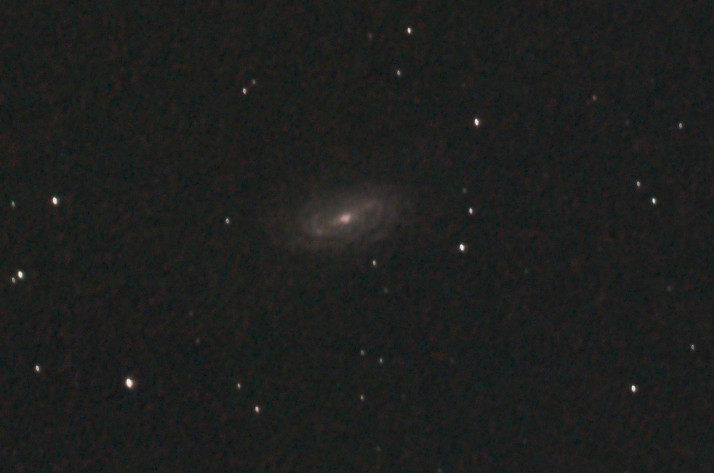
Globular star cluster M15 lies about 33,000 light years away towards the constellation Pegasus, about 4° northwest of Enif, the star at the tip of Pegasus’ nose. It was discovered by French-Italian astronomer Giacomo Filippo Maraldi in 1746 and rediscovered by Messier in 1764. At magnitude +6.2, M15 is generally considered to rank amongst the finest objects of its type in the northern sky.
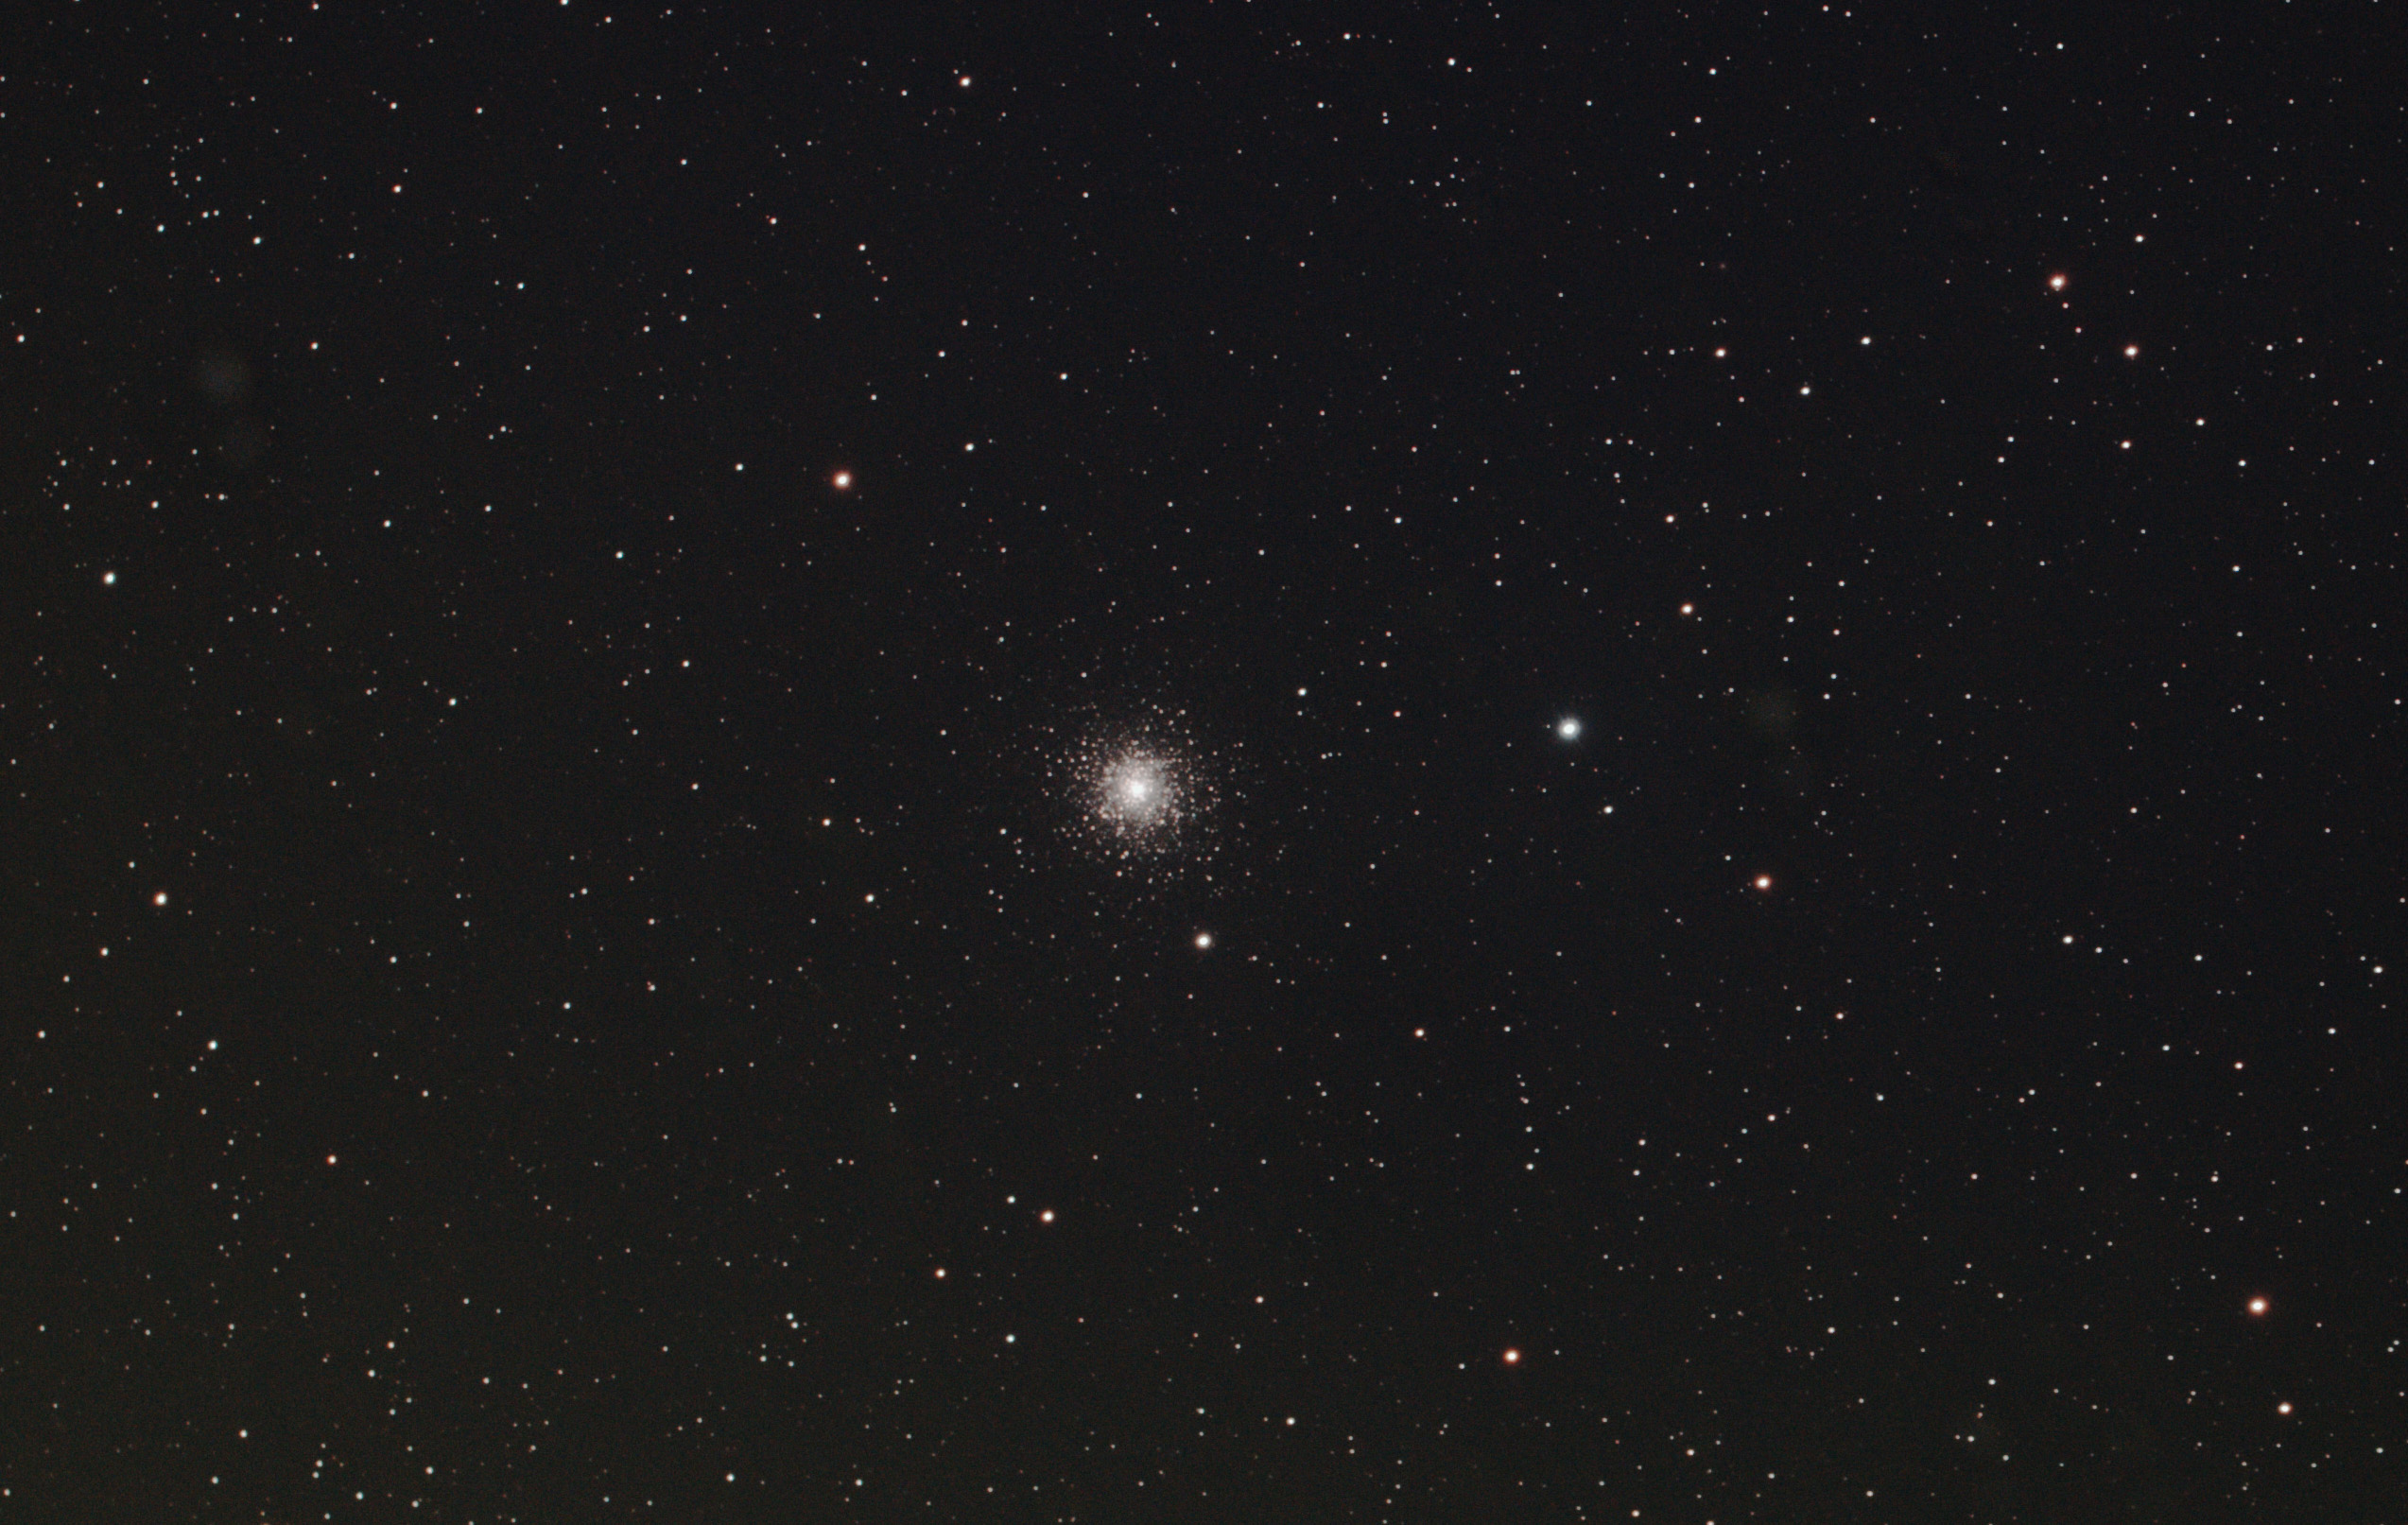
M15 Globular Cluster
WO GT81 + modded Canon 550D & FF | 15 x 120 secs @ ISO 1,600 | 19th September 2015
M15 has a diameter of 120 light years and revolves around the Galaxy once every 250 million years in a prograde orbit, meaning it moves about the galaxy in the same direction as the galaxy’s own rotation. In 1974, M15 was discovered to be a source of x-ray energy, which may suggest that one or more supernova remnants are buried deep within the cluster.
With such unreliable viewing conditions in the UK it’s essential to find other areas of interest when pursuing astronomy. I have found MOOCs to be an excellent and accessible source of first rate, up-to-date information that have expanded my knowledge of astronomy significantly, whilst post processing and planning are also both essential tasks that can also often be interesting. Notwithstanding, with Orion and other exciting features of the winter sky now upon us, I can’t wait to get back outside soon.


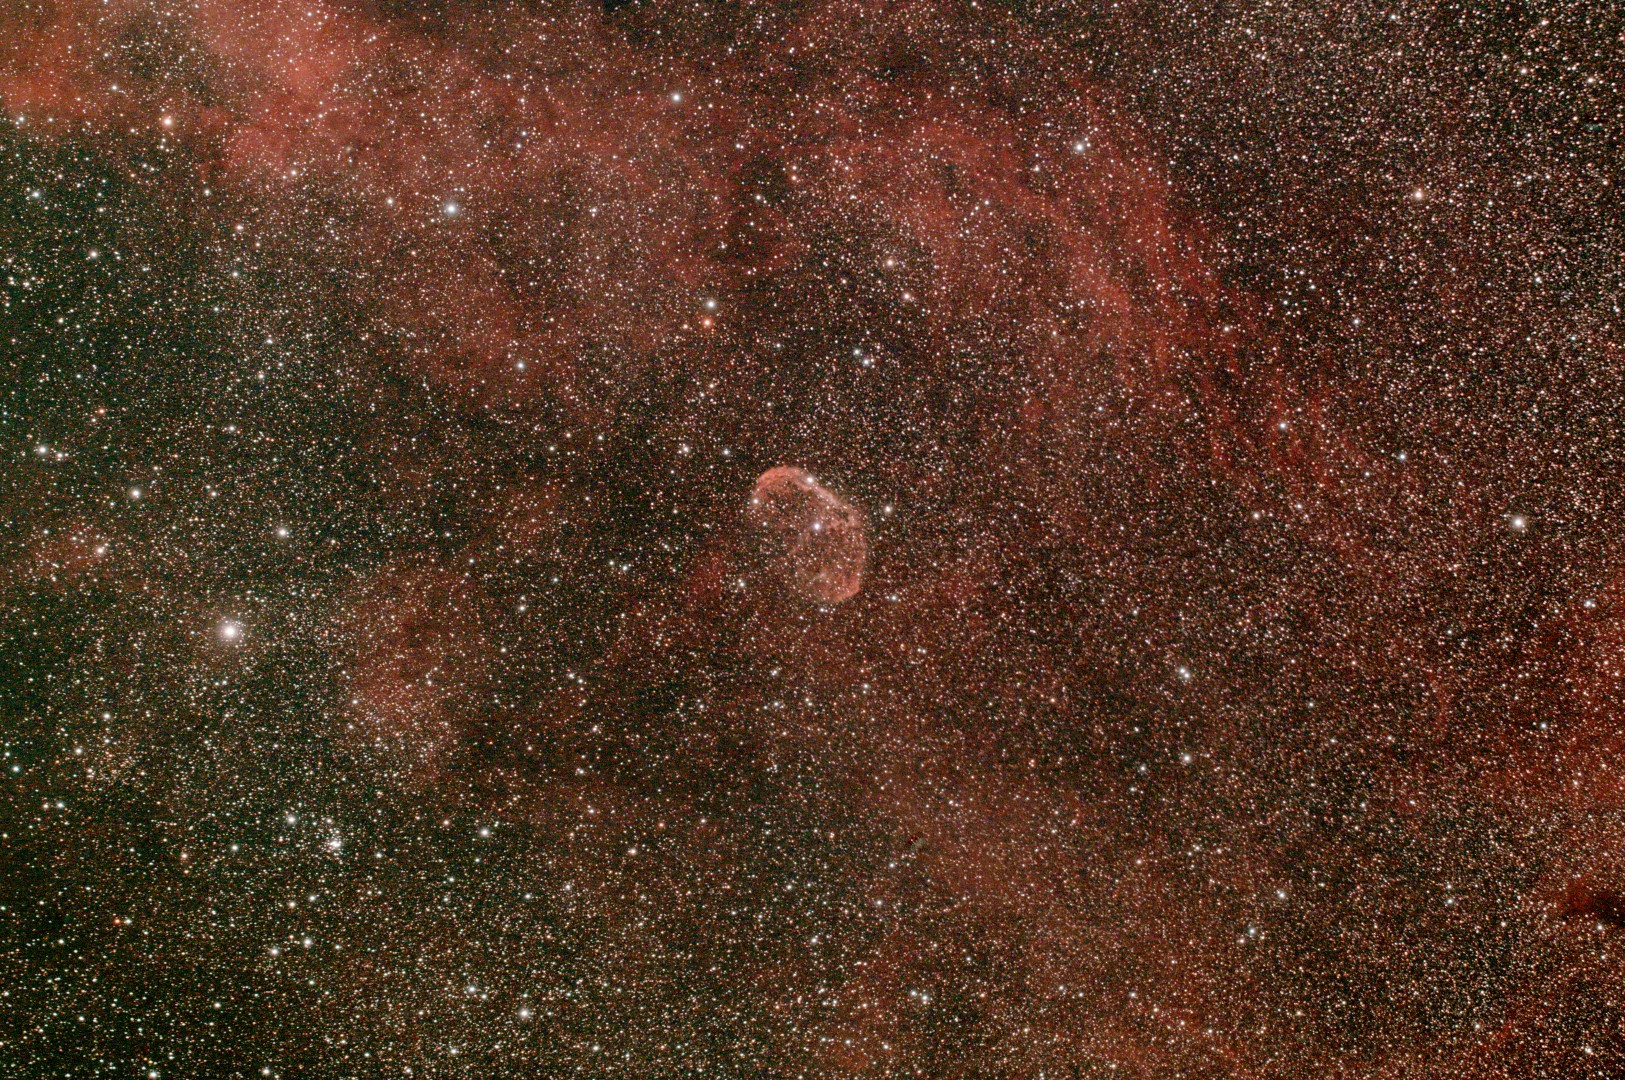


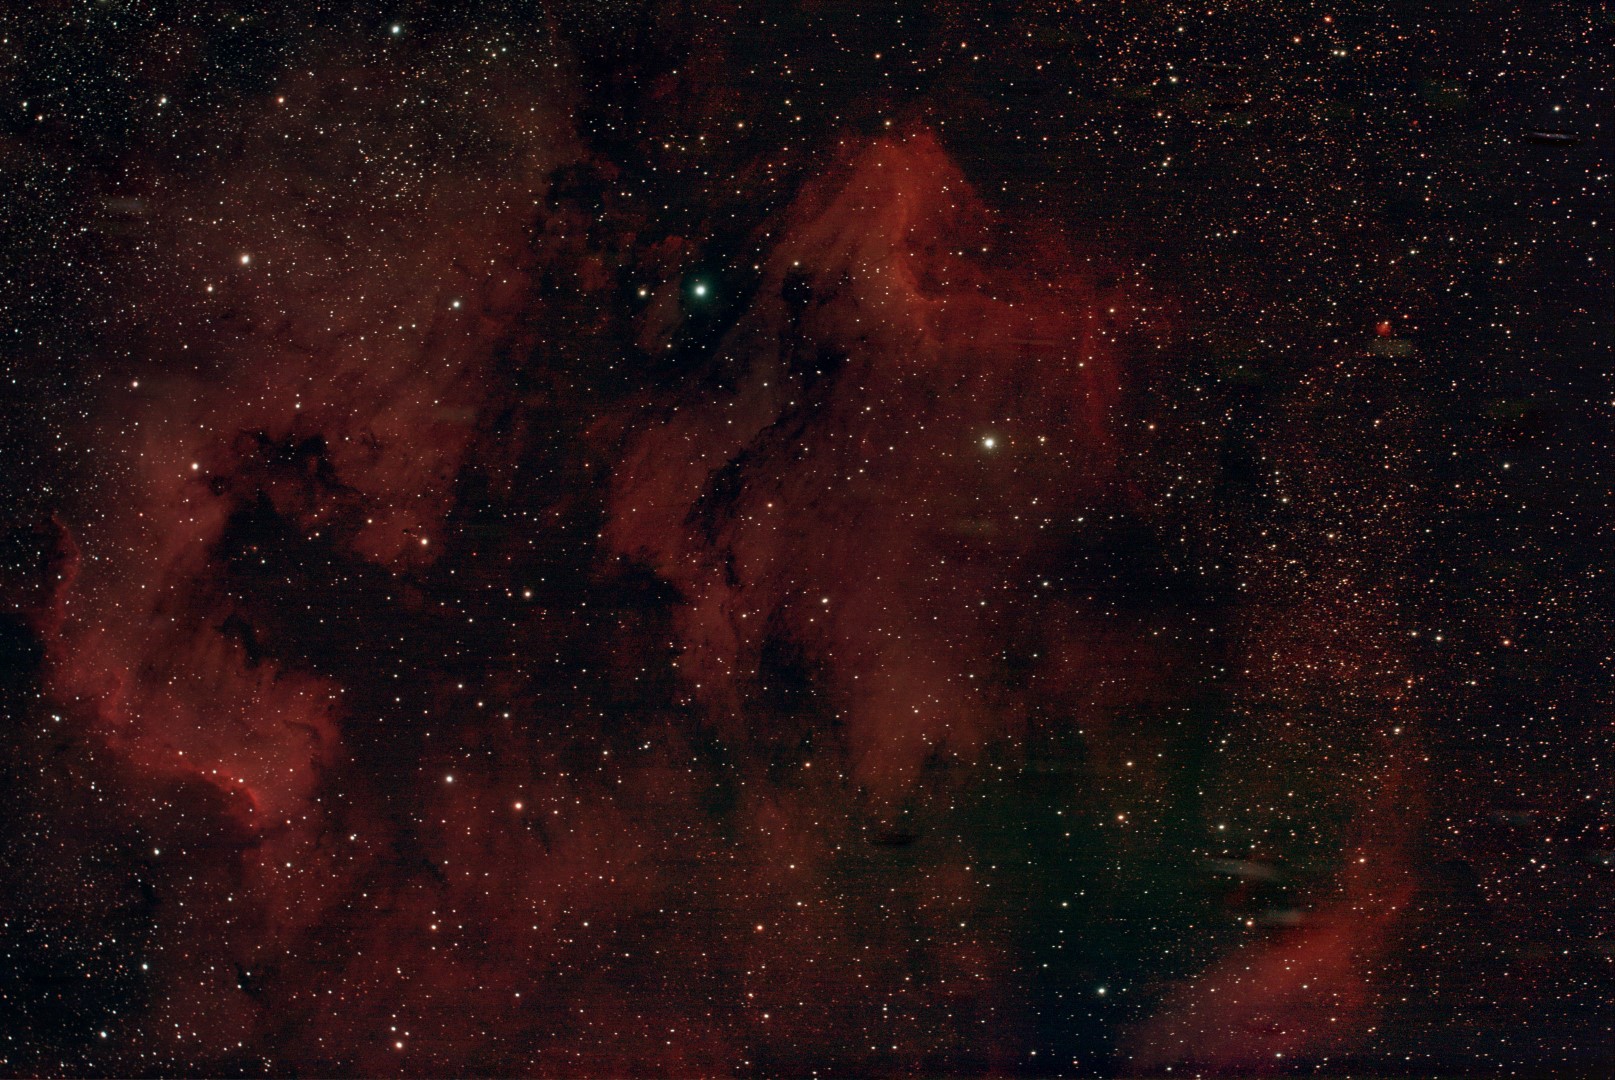


%26rotation%3d-179.5336144%26name%3dIC1318%2b300915%2bFINAL%2b(Large)%26reverseparity%3dFalse%26scale%3d7.10589068325%26thumb%3dhttps%3a%2f%2ffarm1.staticflickr.com%2f624%2f22151786542_f8063ab793_q.jpg%26ra%3d305.859018599%26y%3d540%26x%3d811%26dec%3d40.3758467471%26wtml%3dtrue)
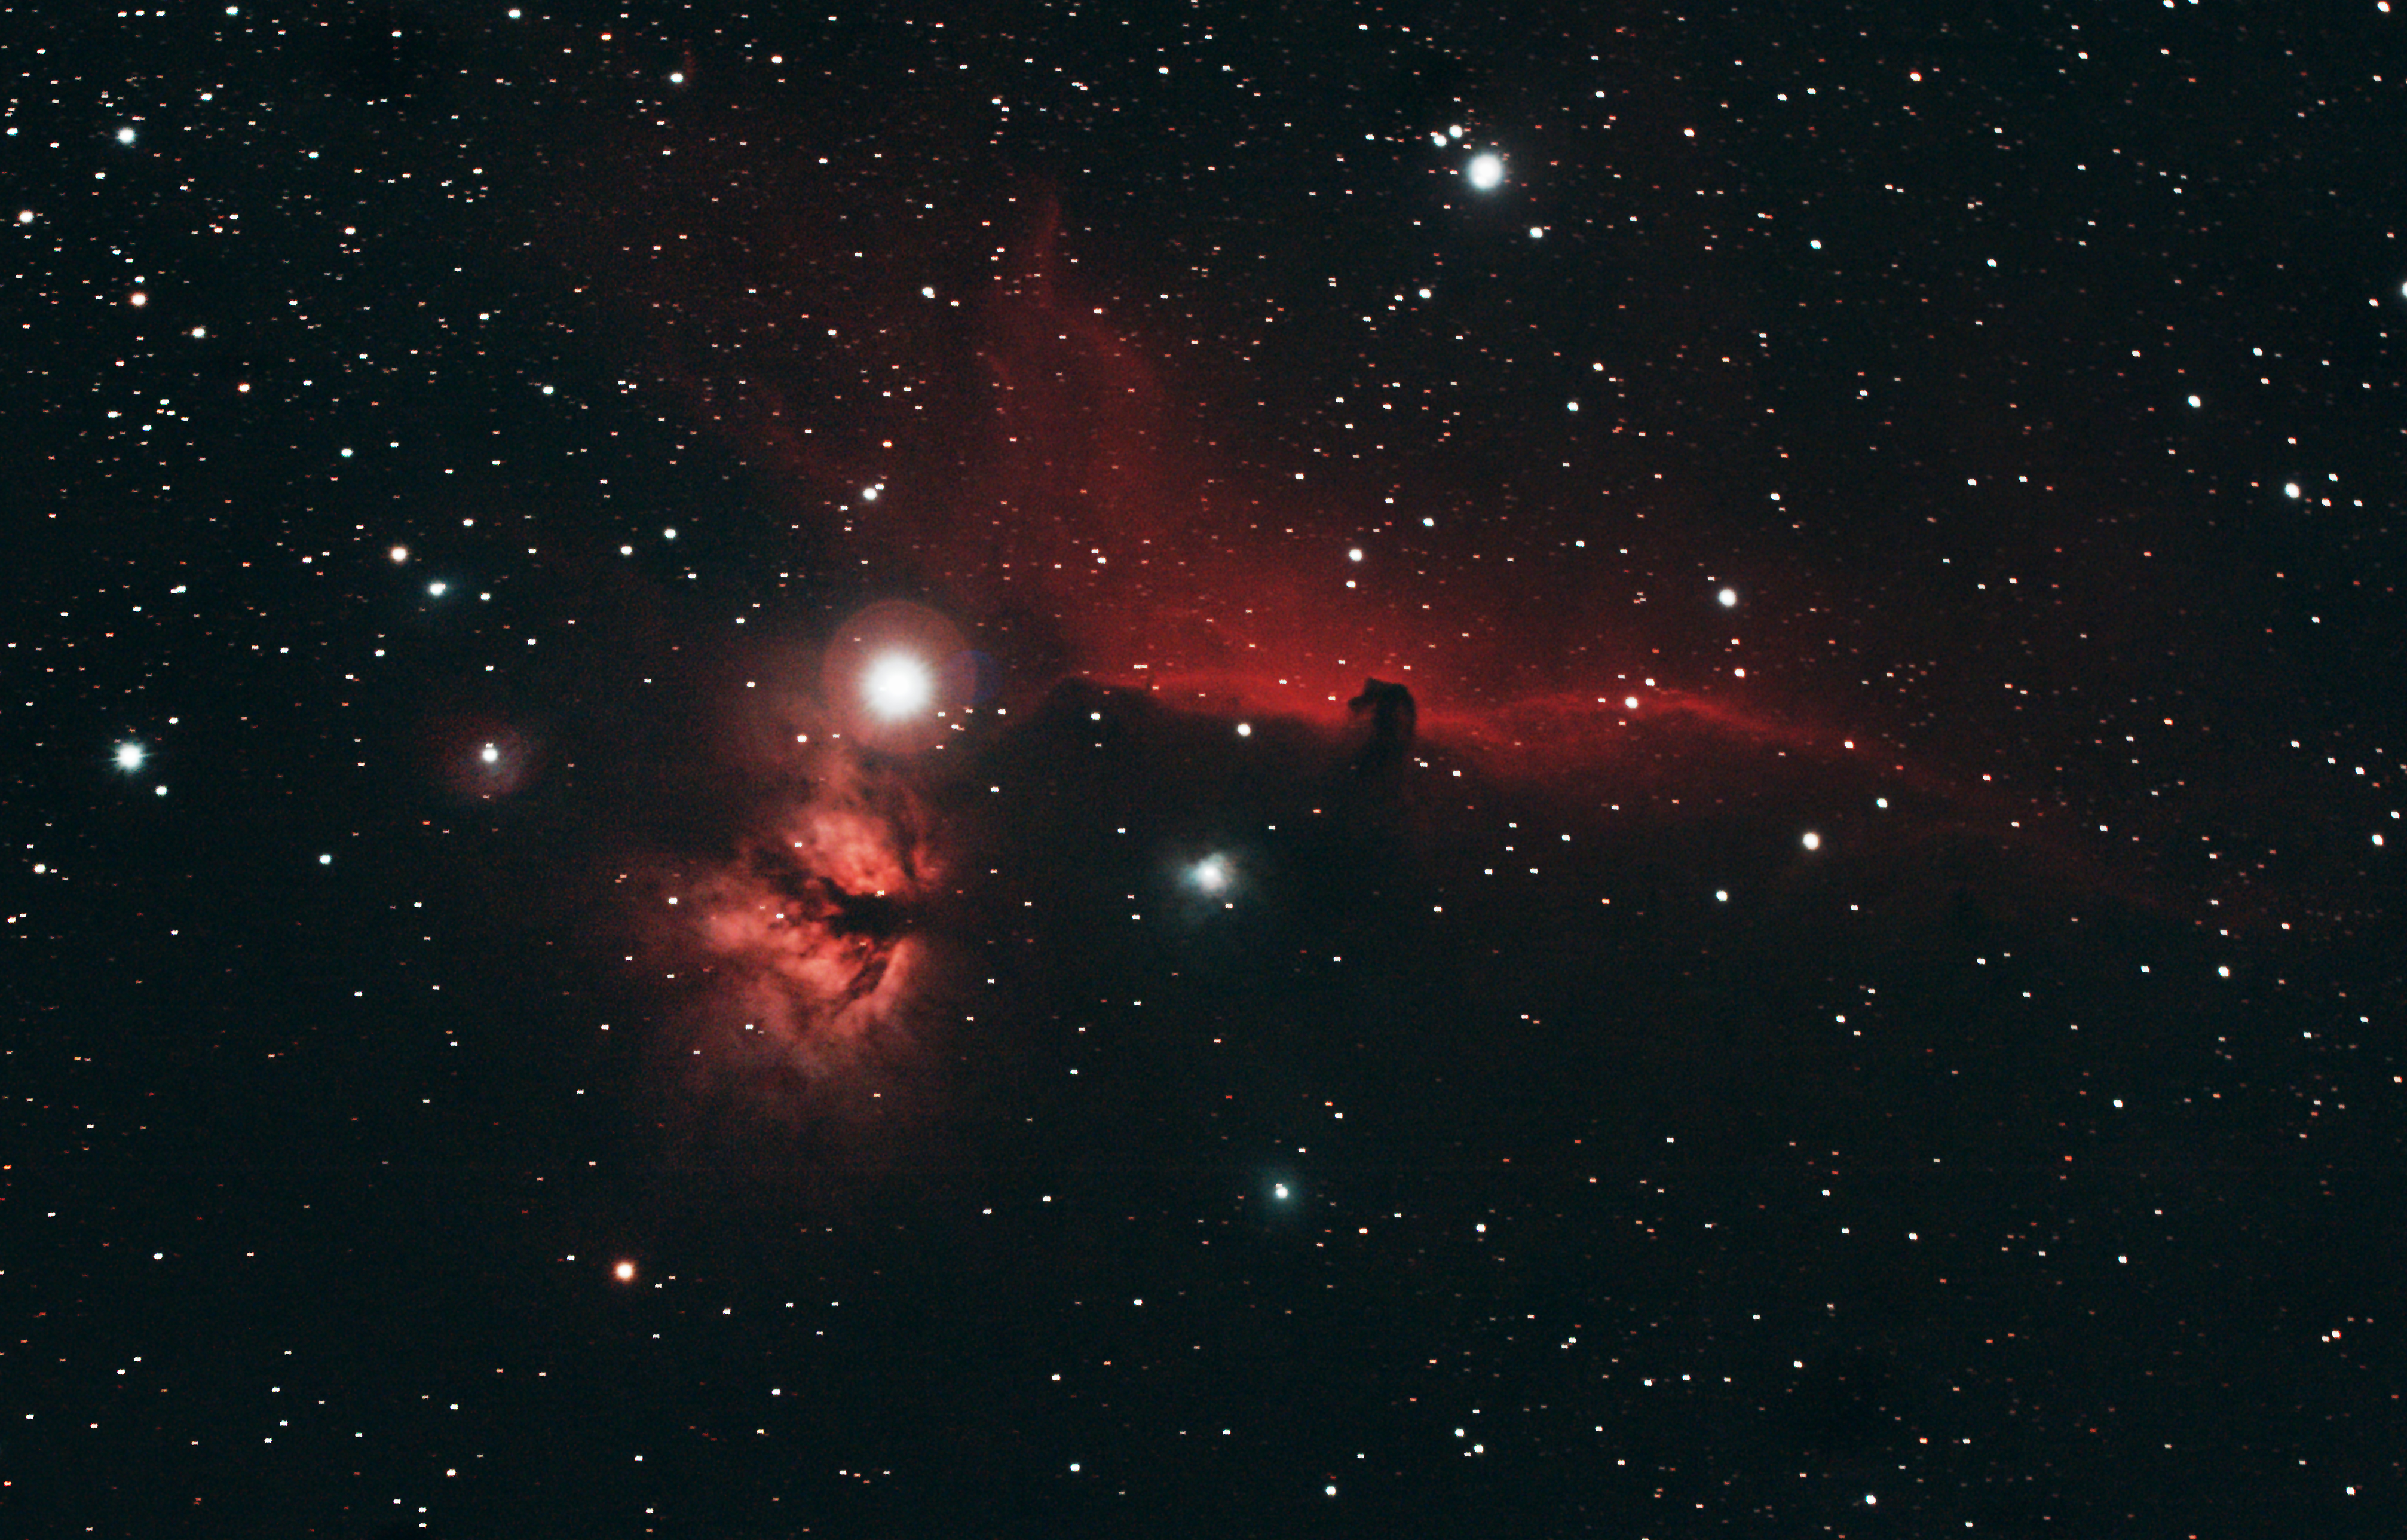
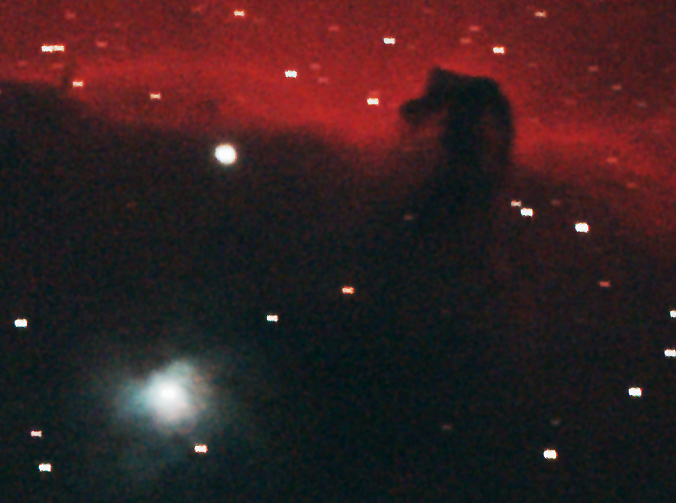
%26rotation%3d86.169372544%26name%3dHorsehead%2b%26%2bFlame%2bNebula%2bfrom%2bSurrey%26reverseparity%3dFalse%26scale%3d5.42531032437%26thumb%3dhttps%3a%2f%2ffarm9.staticflickr.com%2f8706%2f16866837535_195d26f29c_q.jpg%26ra%3d85.3006658728%26y%3d540%26x%3d844%26dec%3d-2.25939577878%26wtml%3dtrue)