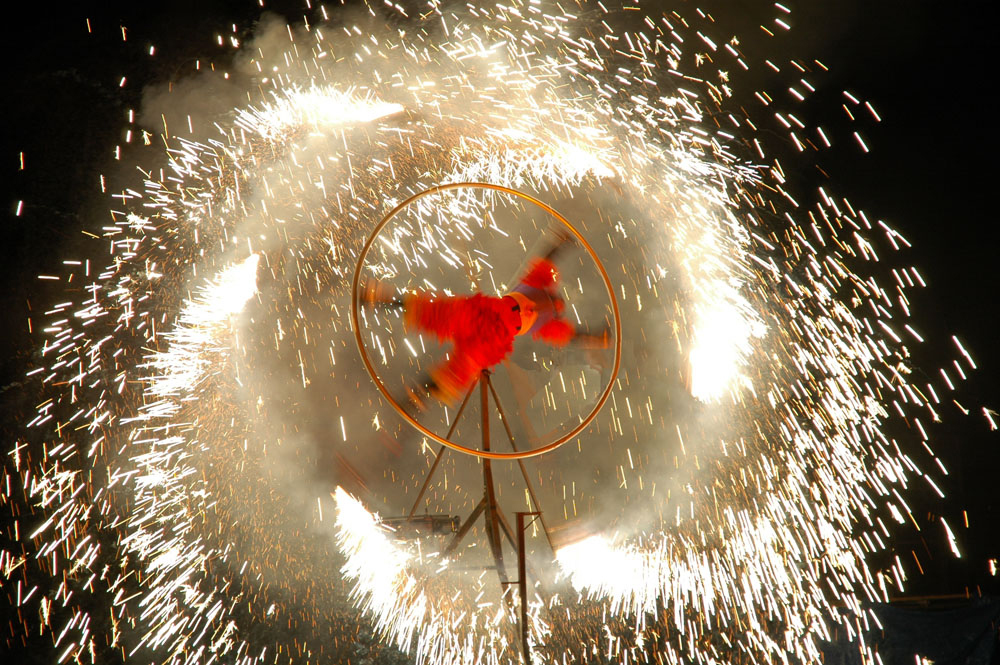
Just under two weeks until Guy Fawkes Night, which commemorates Guido Fawkes failed attempt to blow up Westminster Palace (The Houses of Parliament) on 5th November 1605 – a very British (English) event. In its own way the Universe has a myriad of its own fireworks and it therefore seemed a fitting moment to attempt an image of one last week, which given their spectacular form and similarity to the popular Catherine wheel, AKA a Pinwheel firework, had to be a spiral galaxy.
The firework is named in commemoration of a Catholic martyr and is worth describing here before returning to matters of astronomy, simply because of it’s graphic nature. Catherine of Alexandria lived during the fourth century A.D. but in a male dominated society, was unusually well educated and successfully converted many highly placed individuals to Catholicism. As a result, she was condemned to “breaking the wheel”, which involved having one’s limbs broken and threaded through an abundantly spiked wheel. The victim would succumb to his or her injuries, but only after several days. However when Catherine touched the wheel it miraculously flew into pieces, so she was beheaded instead!

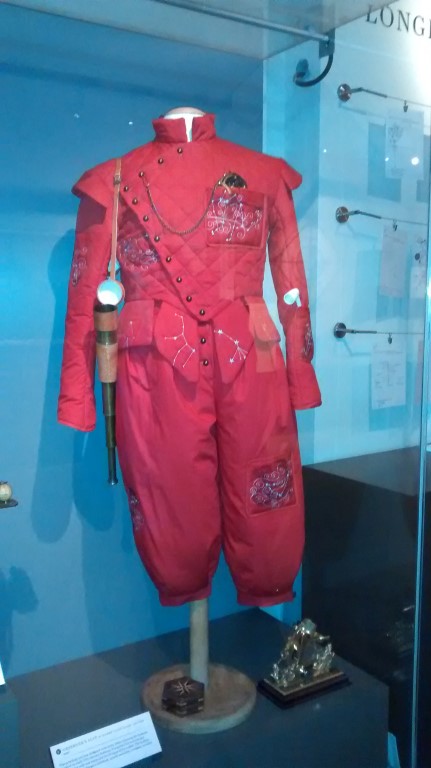
A human Catherine Wheel (Pinwheel)!
Having researched the current night sky using the Cartes du Ciel planetarium programme and taking account of the weather, it seemed feasible to image both Andromeda and M33 galaxies in a three hour period around midnight. However, despite my thorough preparations I was to succumb to the best laid plans of mice and men and a return to previous frustrations.
I have recently added a number of excellent widgets to the front page of WTSM: the current Moon phase, real-time world daylight map and Moon position, live sunspot activity and the excellent astronomy weather site Clear Outside, developed and maintained by First Light Optics. There are also other weather sites listed under the Favourites menu. All these indicated clear skies on Tuesday from 9pm and onwards throughout the night – so I planned to set up at 10pm and by 11pm, as Andromeda approached the Meridian would start imaging, followed by M33 shortly after midnight. Contrary to the forecasts, at 10pm the clouds rolled in and did not clear until well past 11pm. Next, whilst my initial polar alignment wasn’t too bad but on a second iteration it got worse and after altogether five separate x2-star and subsequent polar alignments was not much better. My new found skill had deserted me and by now it was past 1am – Andromeda had passed, so I just had to have a go at M33 before it too moved well past its optimal Meridian position.
For this session I decided to use my new CLS light pollution filter and subsequently tried to apply some of the processing advice gleaned from two excellent astrophotography books: Long Exposure Astrophotography by Allan Hall and Making Every Photon Count by Steve Richards. I bought both these books earlier in the year, read them cover to cover at the time and then hadn’t picked them up since, which was a mistake as they’re full of good advice and information relevant to my current issues and problems; they are now required bedtime reading.
The CLS filter works by removing the wavelengths associated with light pollution but, as a result, leaves a dominant blue hue to the camera’s image, making it is necessary to rebalance the colour afterwards during processing. A useful SGL blog points the way on how to do this by setting the Background Calibration (bottom left) in the Stacking Parameters ‘Light’ tab of Deep Sky Stacker (DSS) to RGB Channels. DSS then normalises all three colour channels to the same value during stacking, producing a natural dark rather than blue background http://stargazerslounge.com/topic/82975-astronomik-cls-clip-canon-7d-very-blue-images/ . The result is quite effective, though I am not completely sure that the process has not introduced a slight red shift which subsequently needed to be dealt with in Photoshop.
This time, on the Advice of Allan Hall, I also adopted a number of other settings using DSS:
- RAW Process settings – (1) turn off all White Balance choices (2) set the Bayer matrix transformation to Adaptive Homogeneity-Directed (AHD) rather than Bilinear Transformation – changing the way the RGB Bayer weightings work (3) set the Black Point to zero.
- Stacking Settings – this determines the type of stacking i.e. which algorithm is used to interpolate between one pixel and another. I have previously been using Average but this time, on the advice of Allan Hall, Steve Richards and others adopted either (1) Kappa-Sigma Clipping or (2) Auto Adaptive Weighted Average for each set of images, Lights, Darks, Bias & Flats. Some further experimentation of other settings in this area, such as Alignment, will probably be worthwhile at a later date.

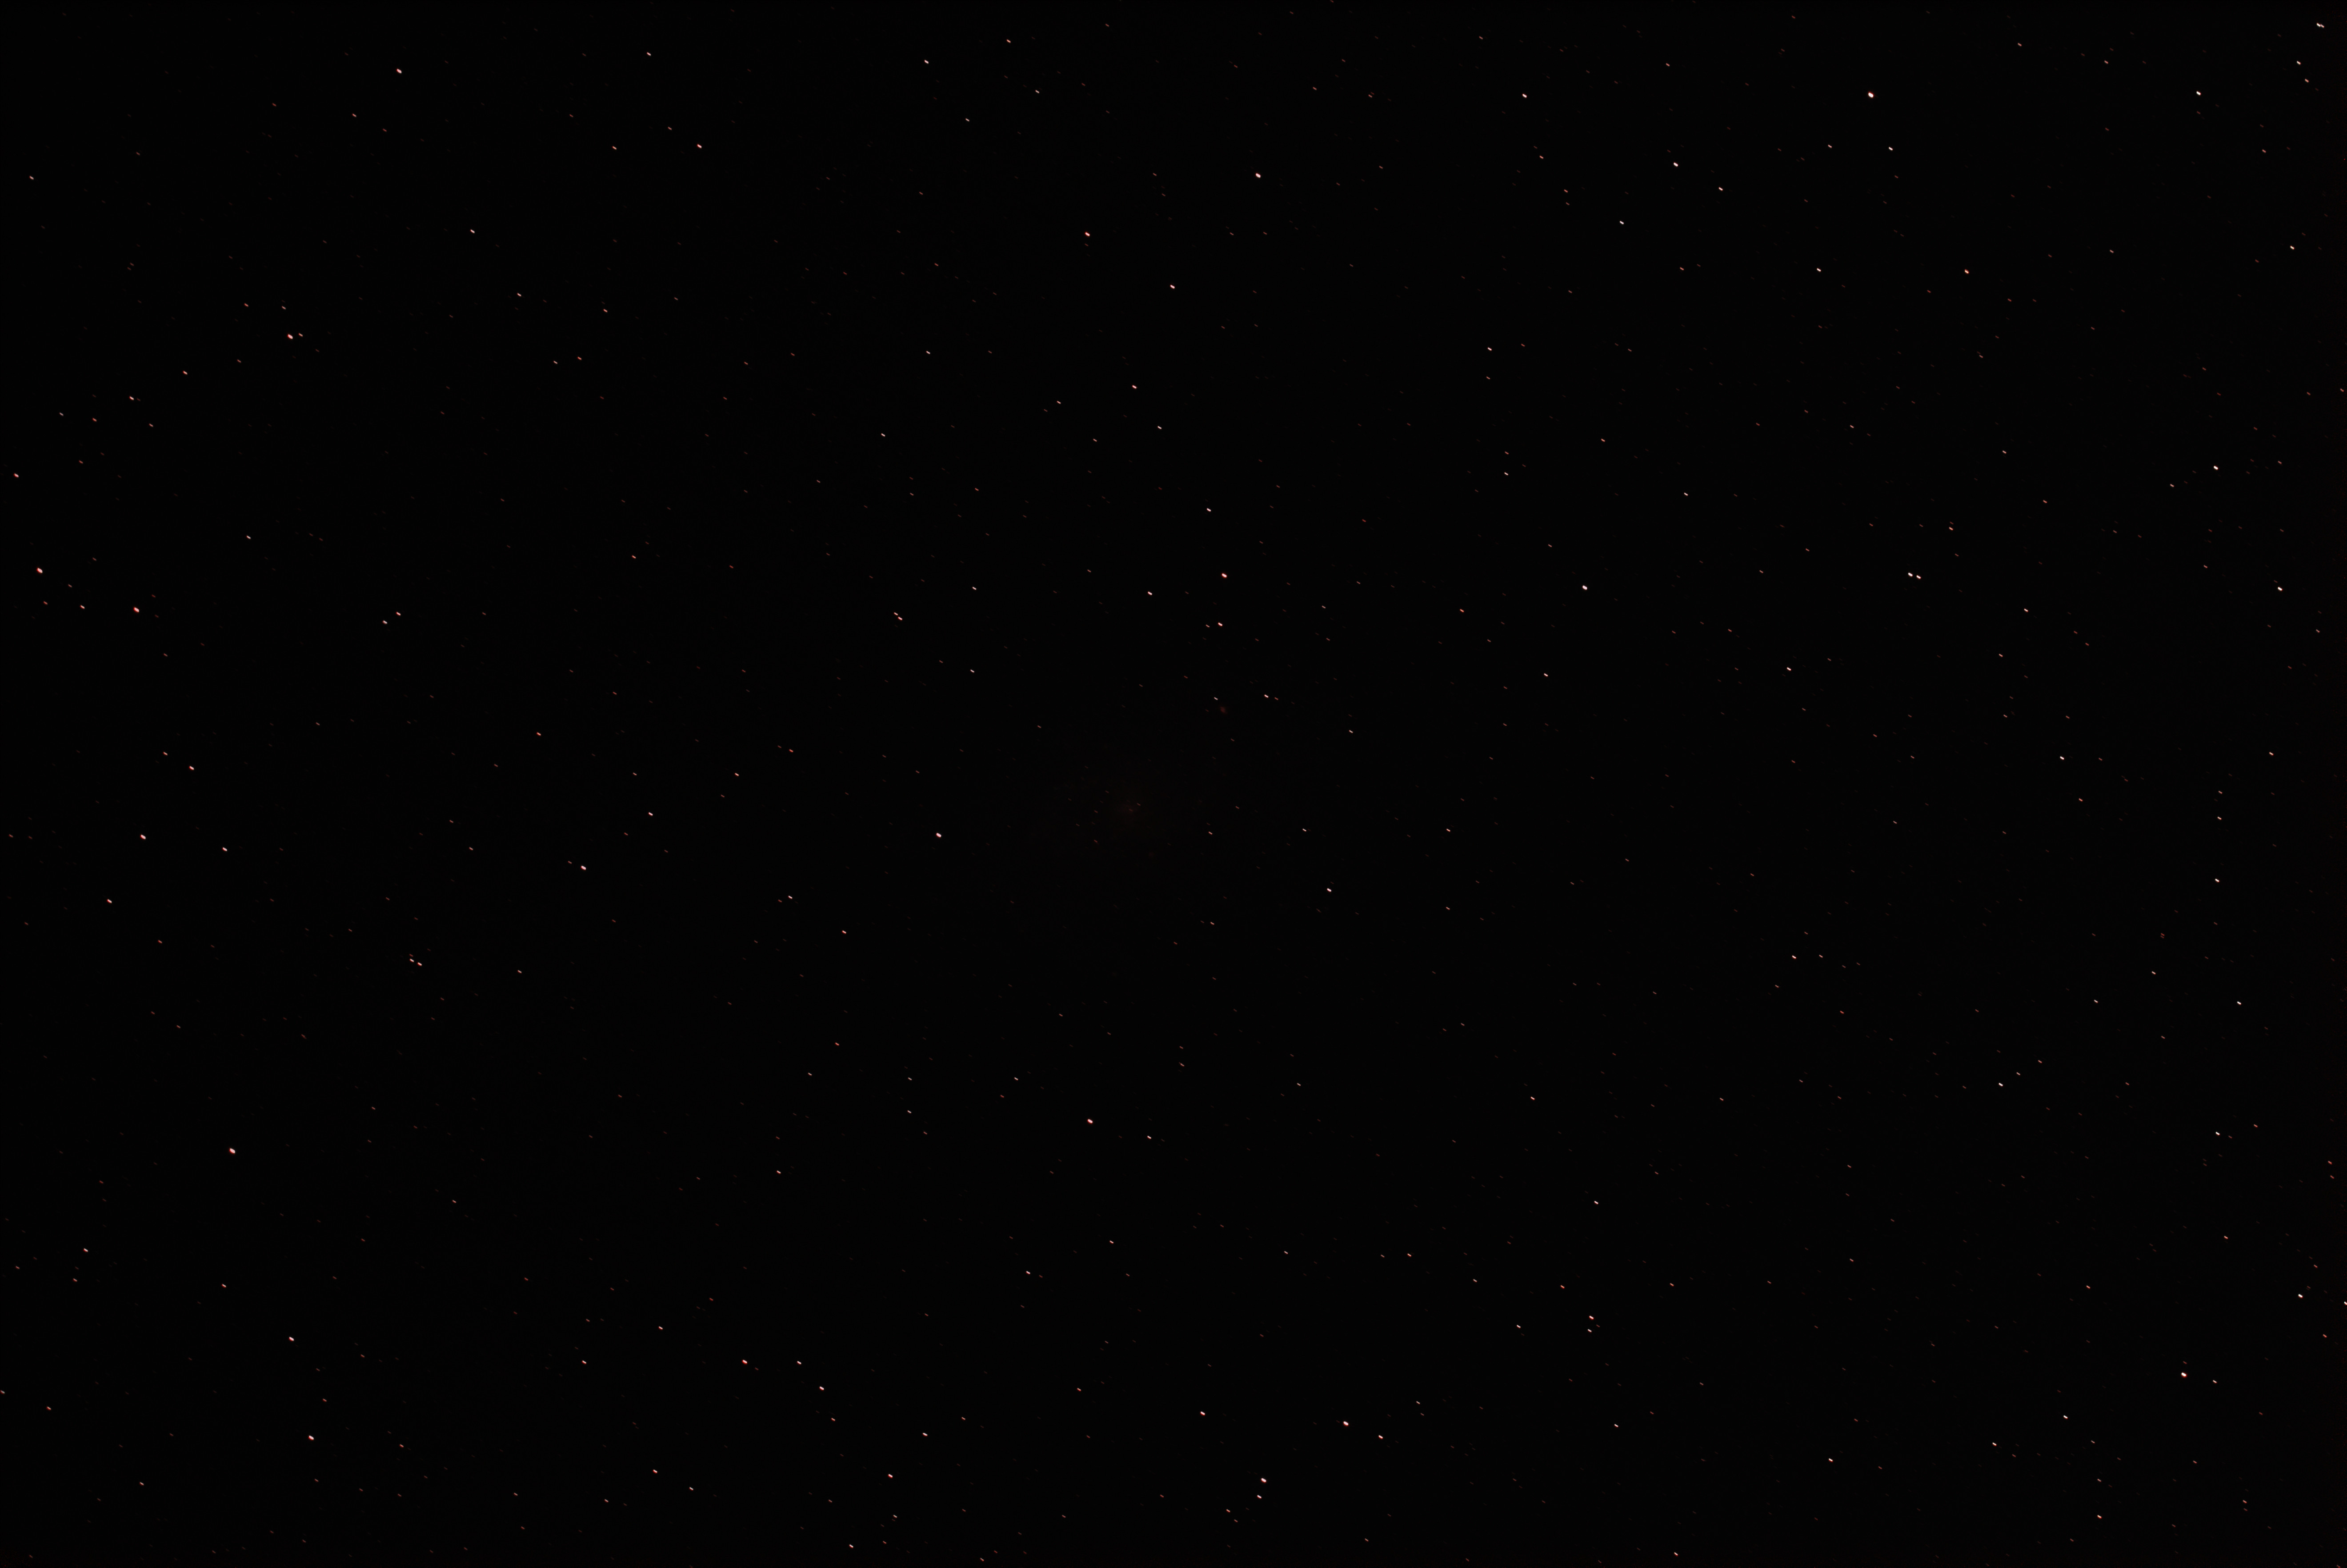
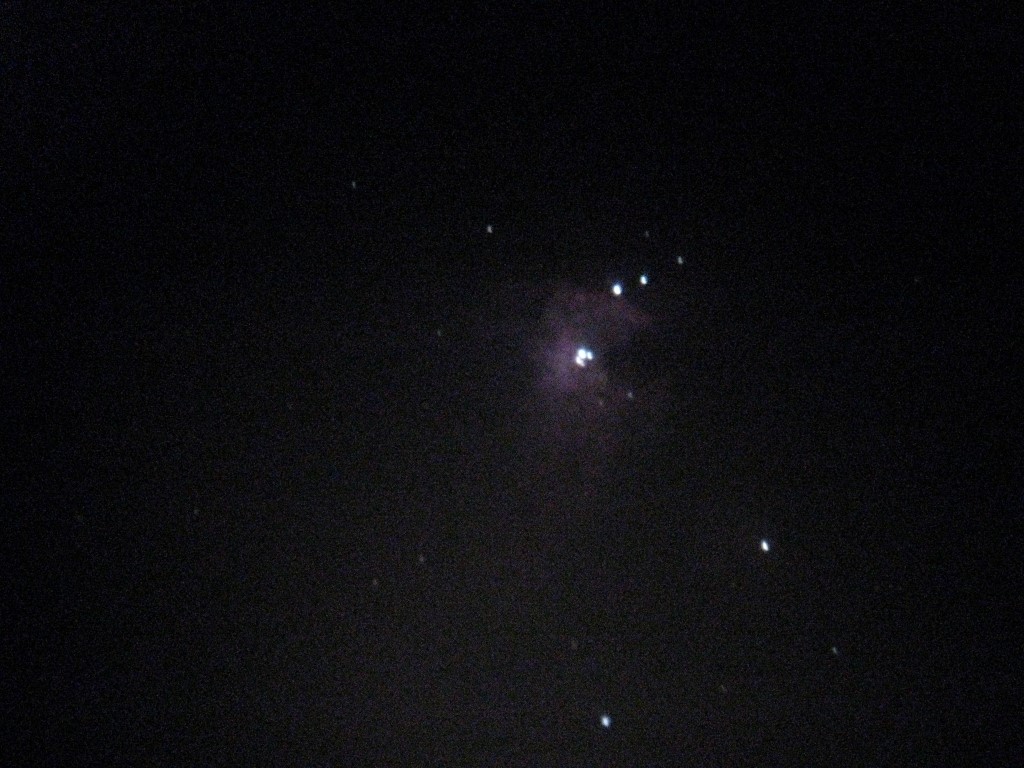
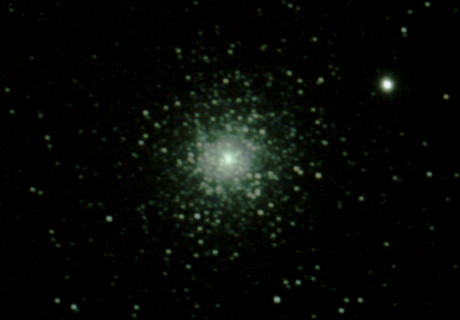
M33 – initial RAW image using CLS filter

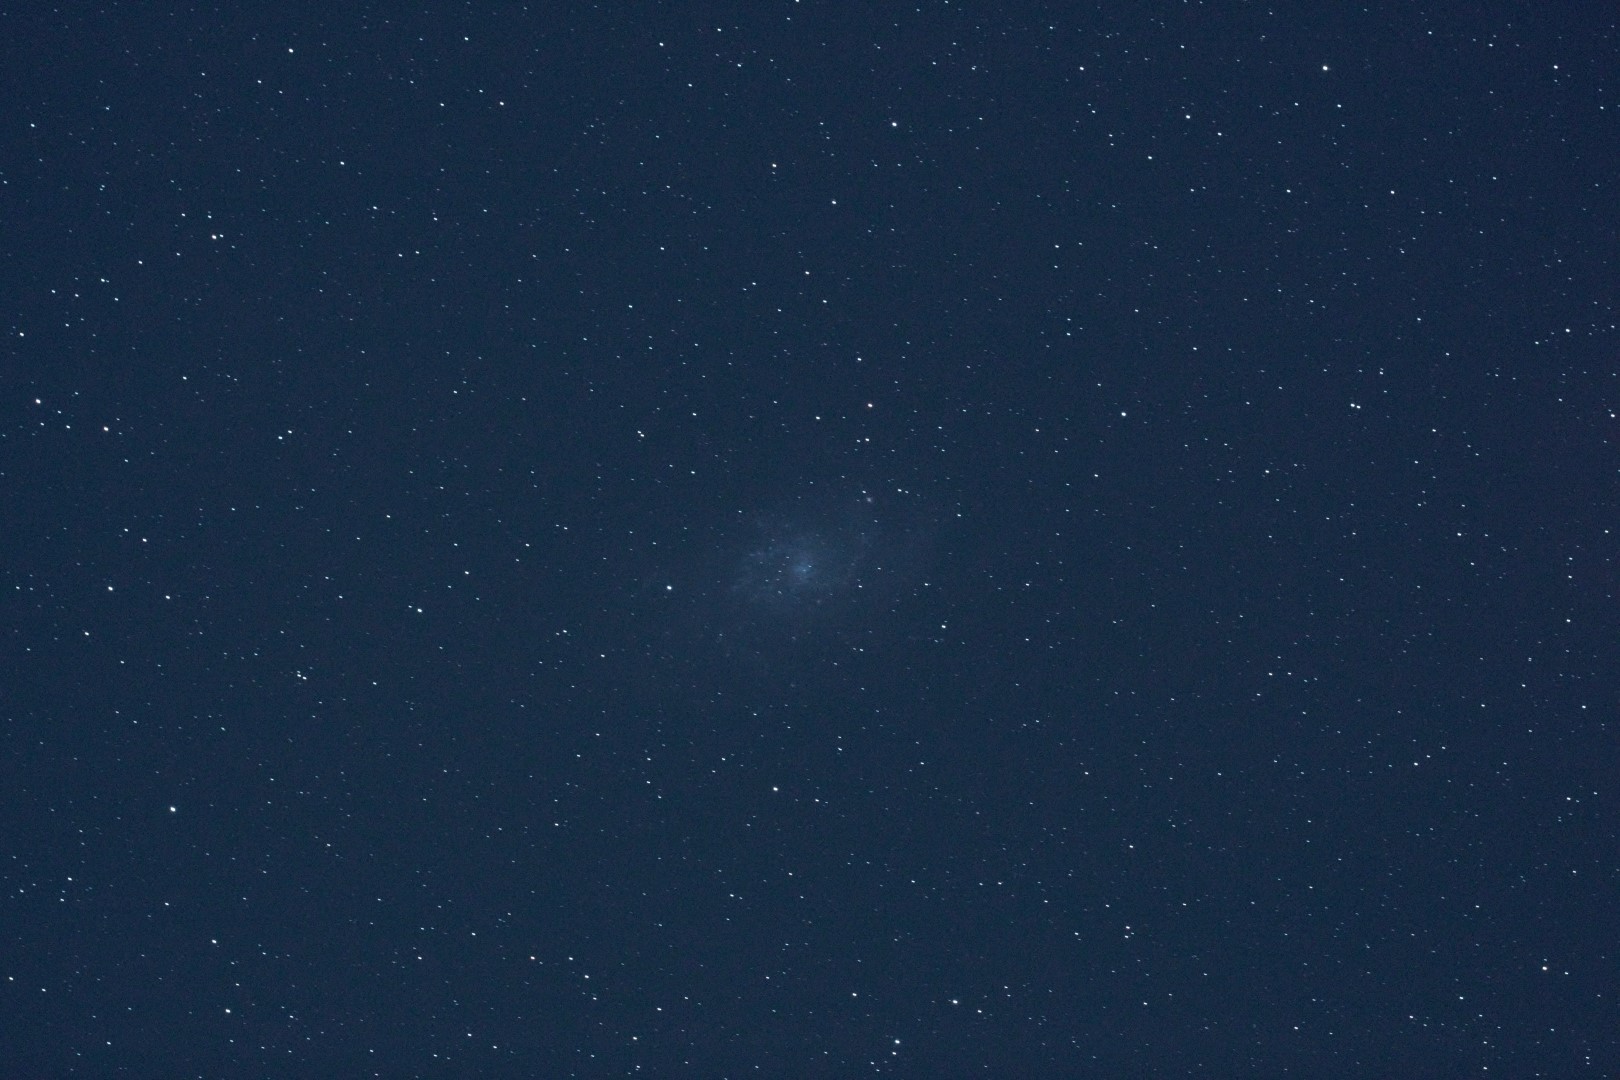
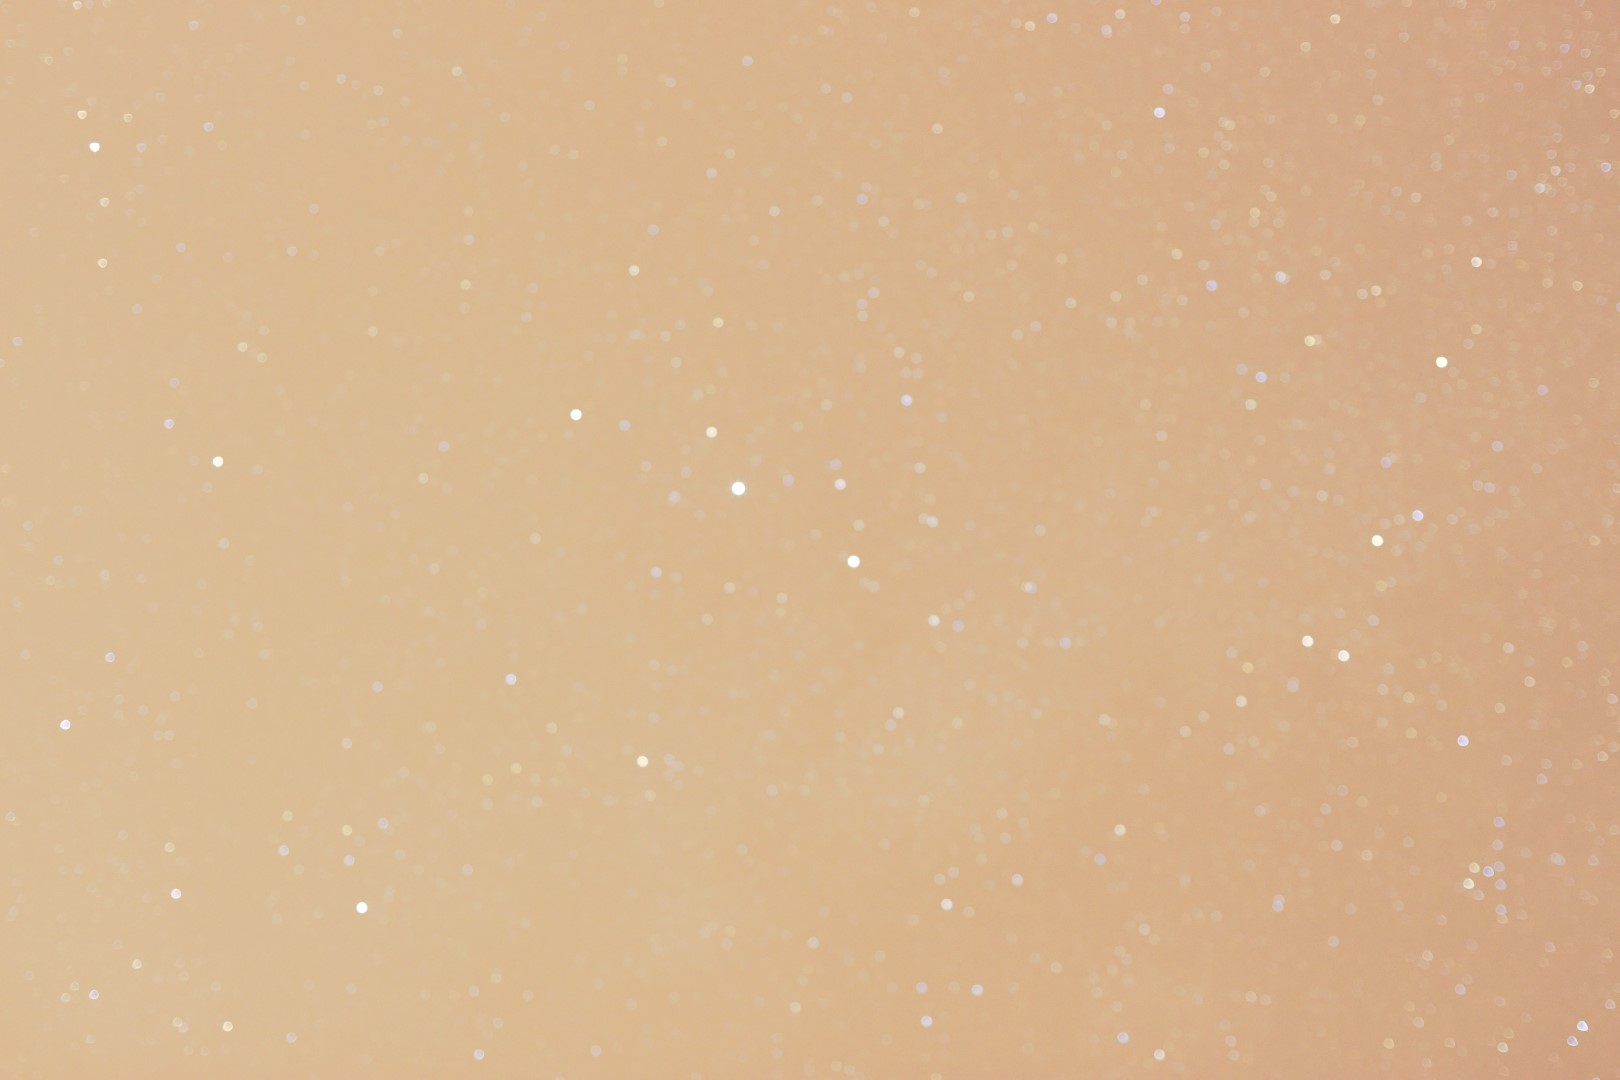
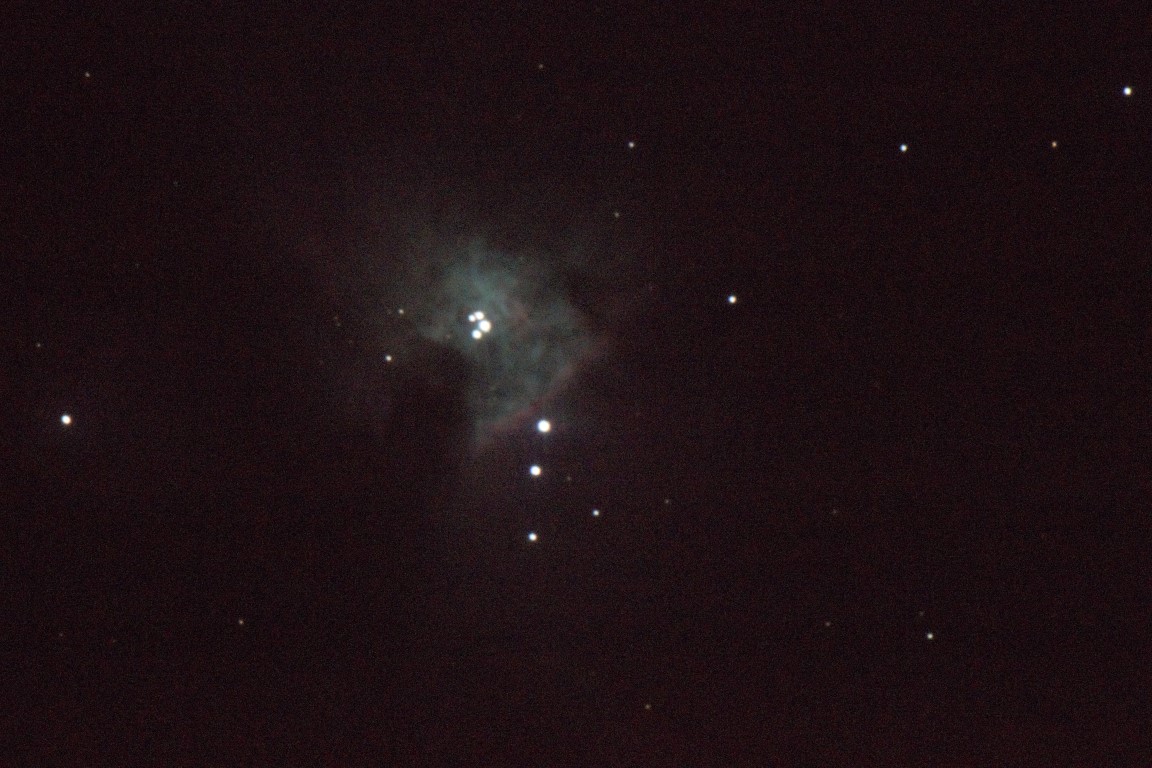
M33 – x20 90secs @ ISO 1,600, stacked with background calibration applied and Kappa- Sigma Clipping, pre-stretching and post processing
Finally, following further advice from the aforementioned books, Mrs G and other sources I am also starting to delve deeper into the dark art of post processing using Photoshop. The scope here to change images is almost endless and I am concerned about where reality stops and the software takes over, particularly with colour choices. Notwithstanding these concerns it is a great programme, almost indispensable (GIMP is also a good & free alternative which I subsequently use for JPEG compression), the main purpose of which is to stretch the image and thereby reveal information otherwise hidden in the data – the impact is incredible and totally transforms the image.
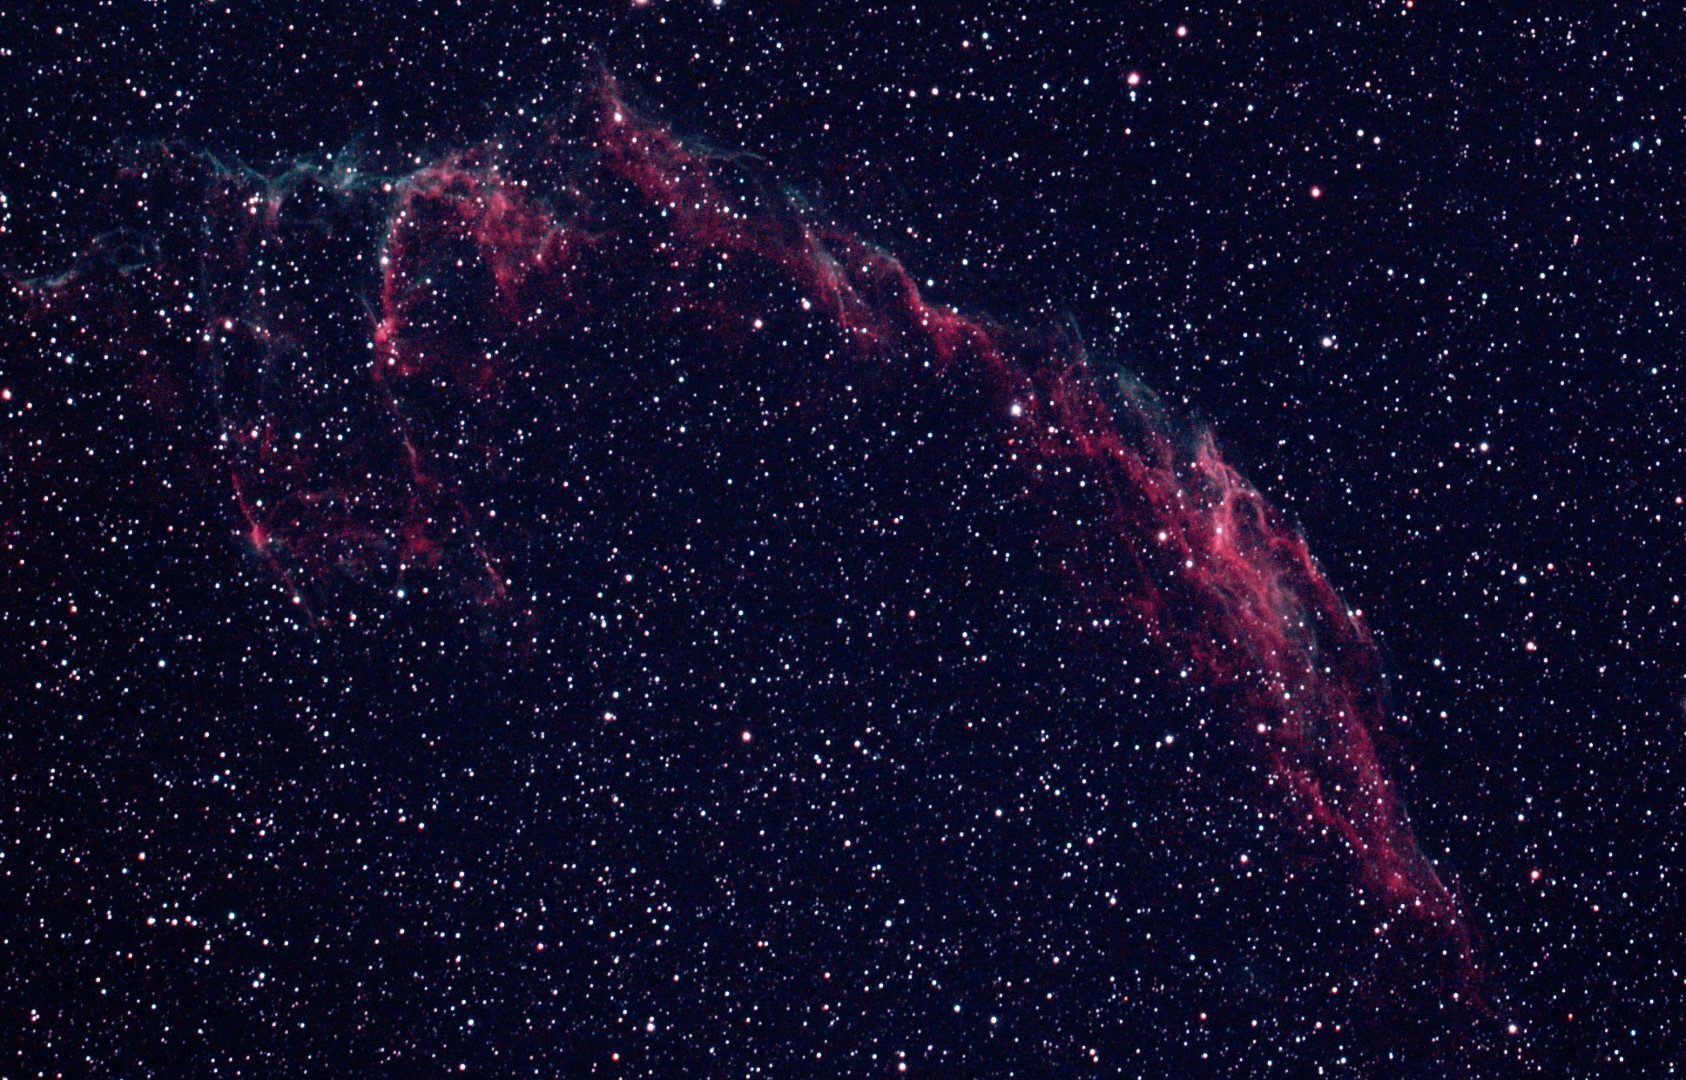
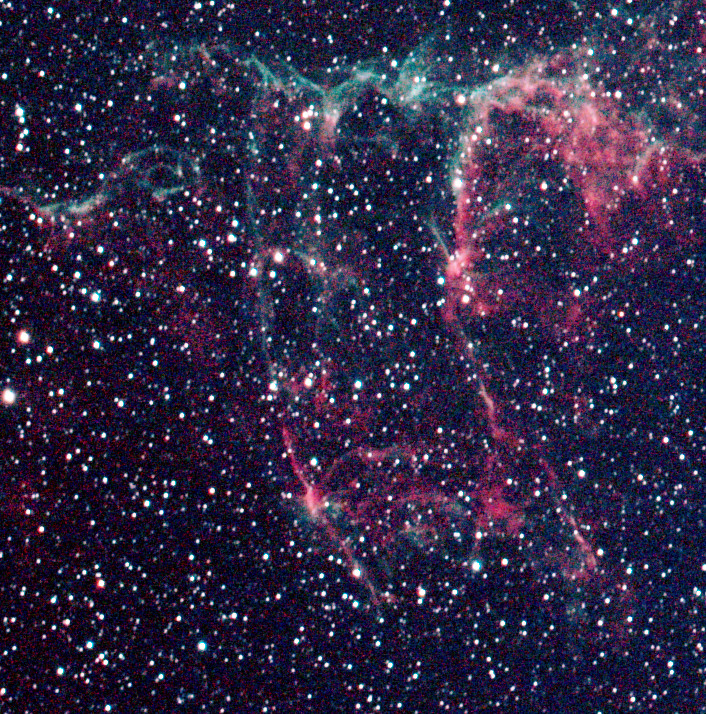
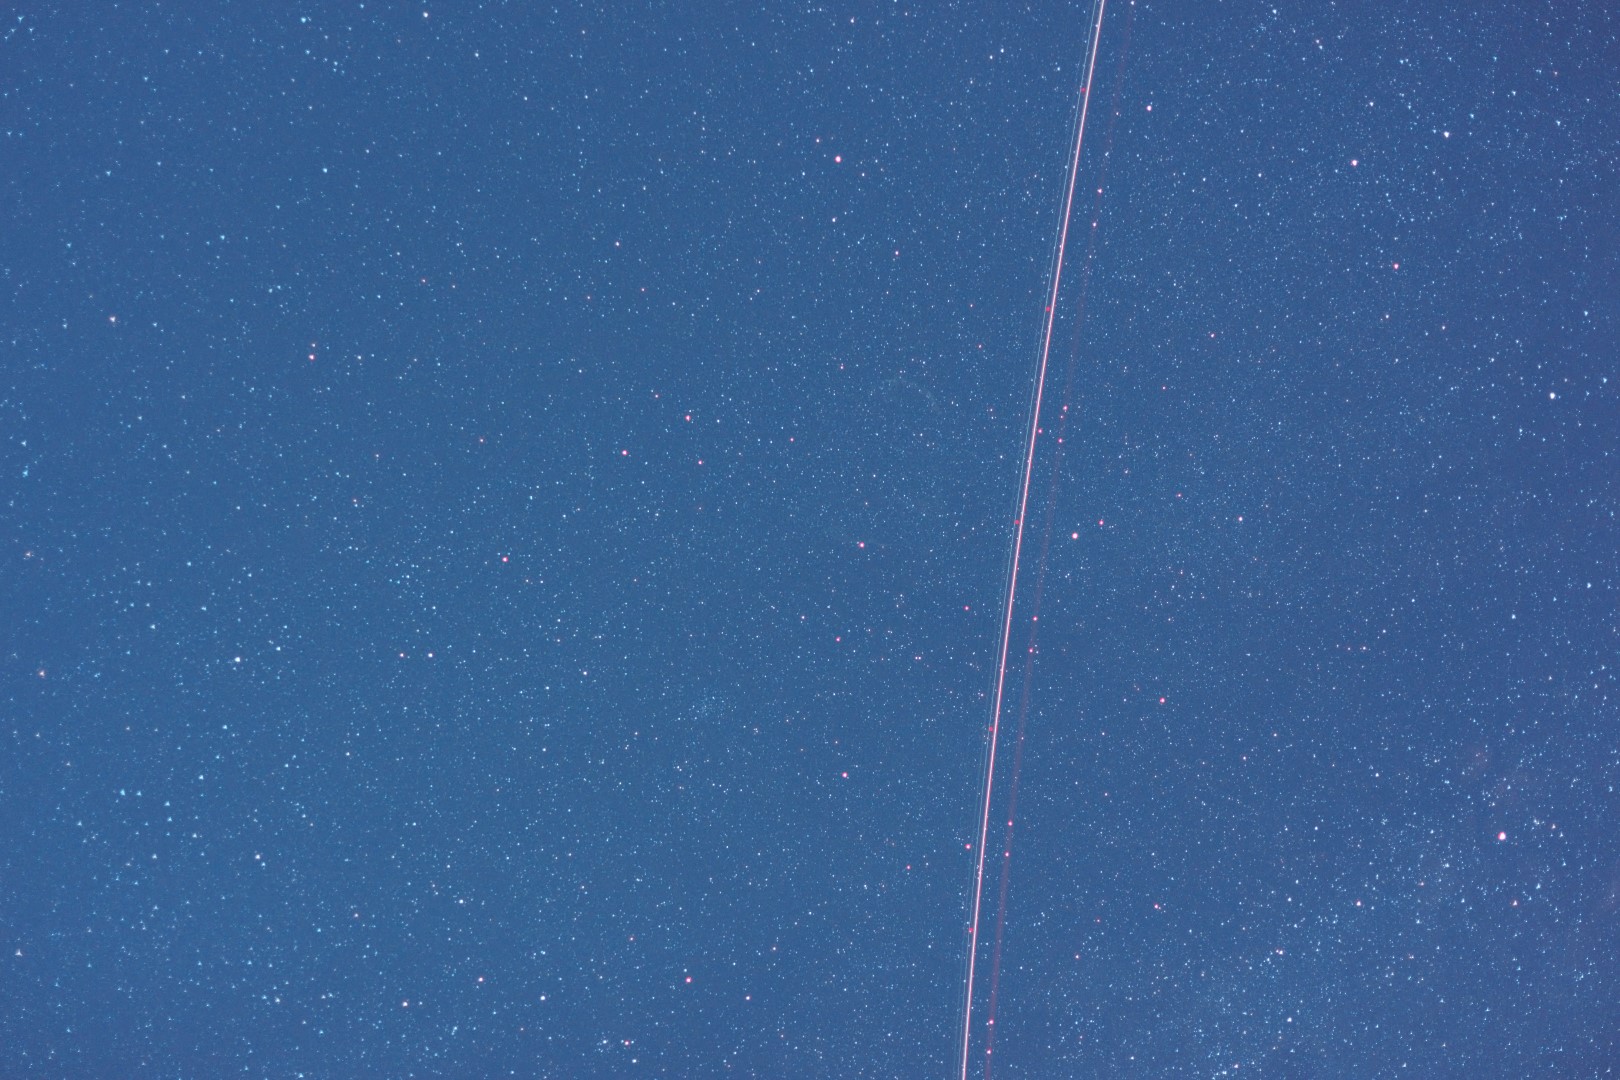
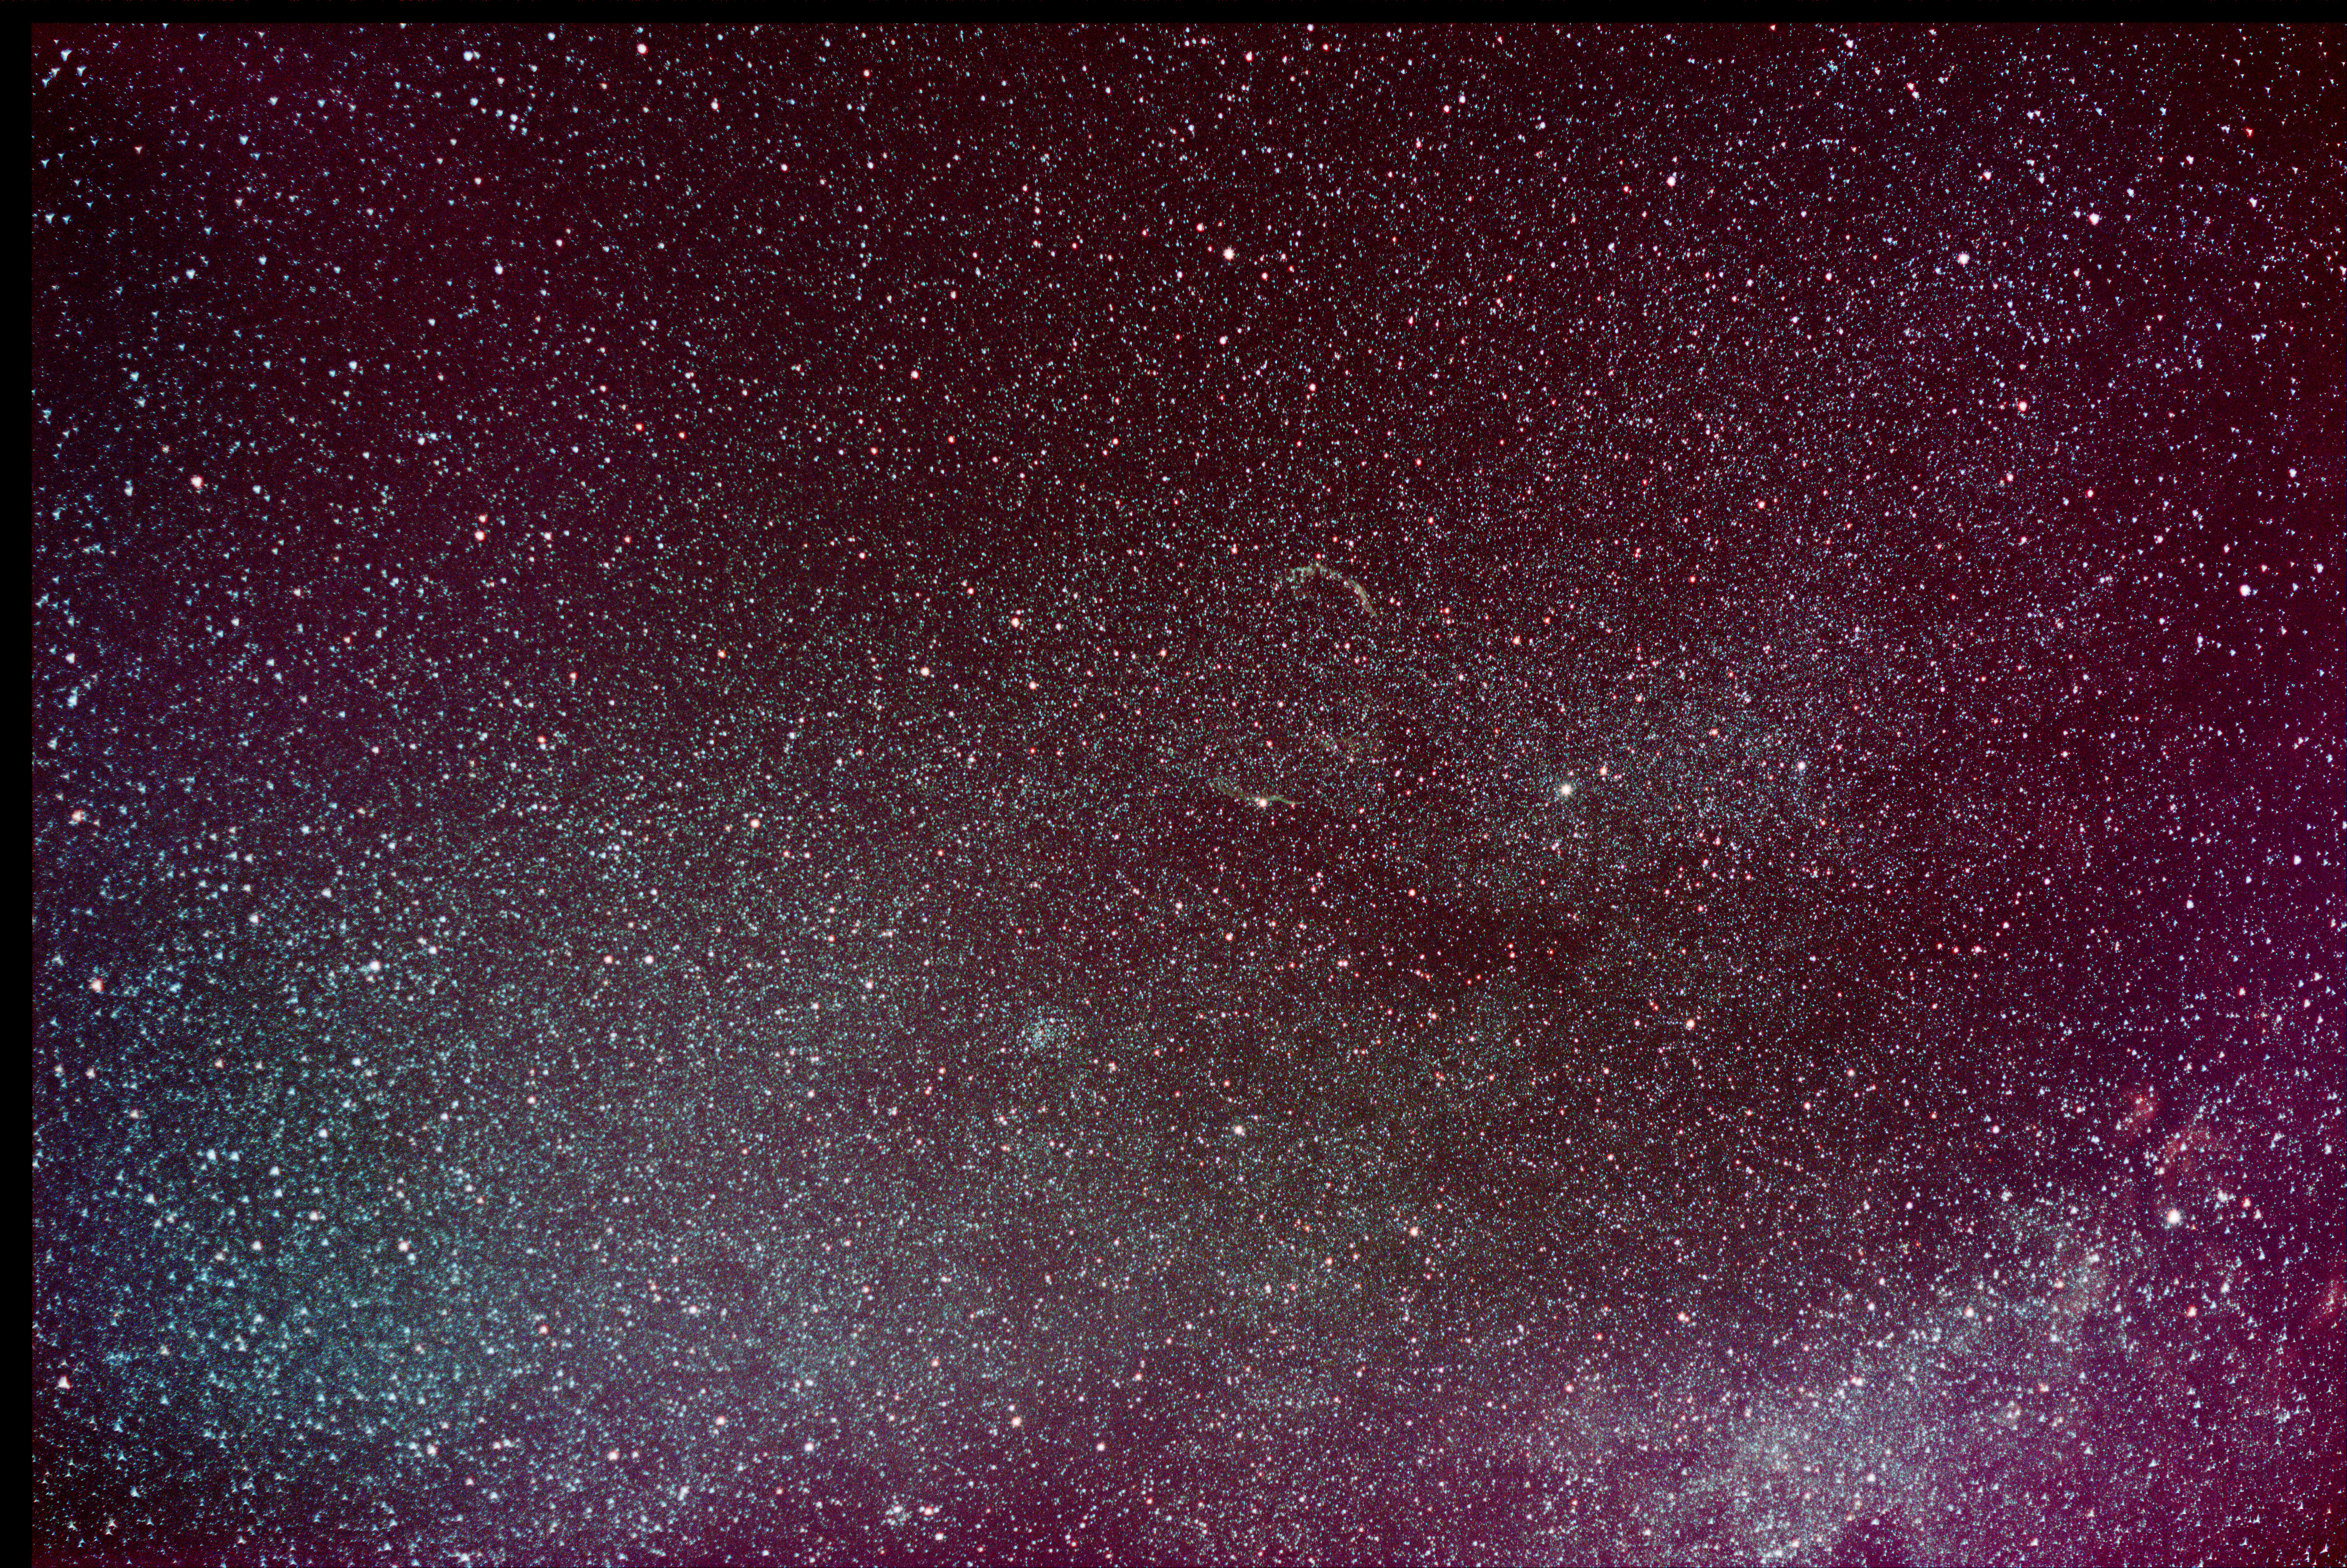
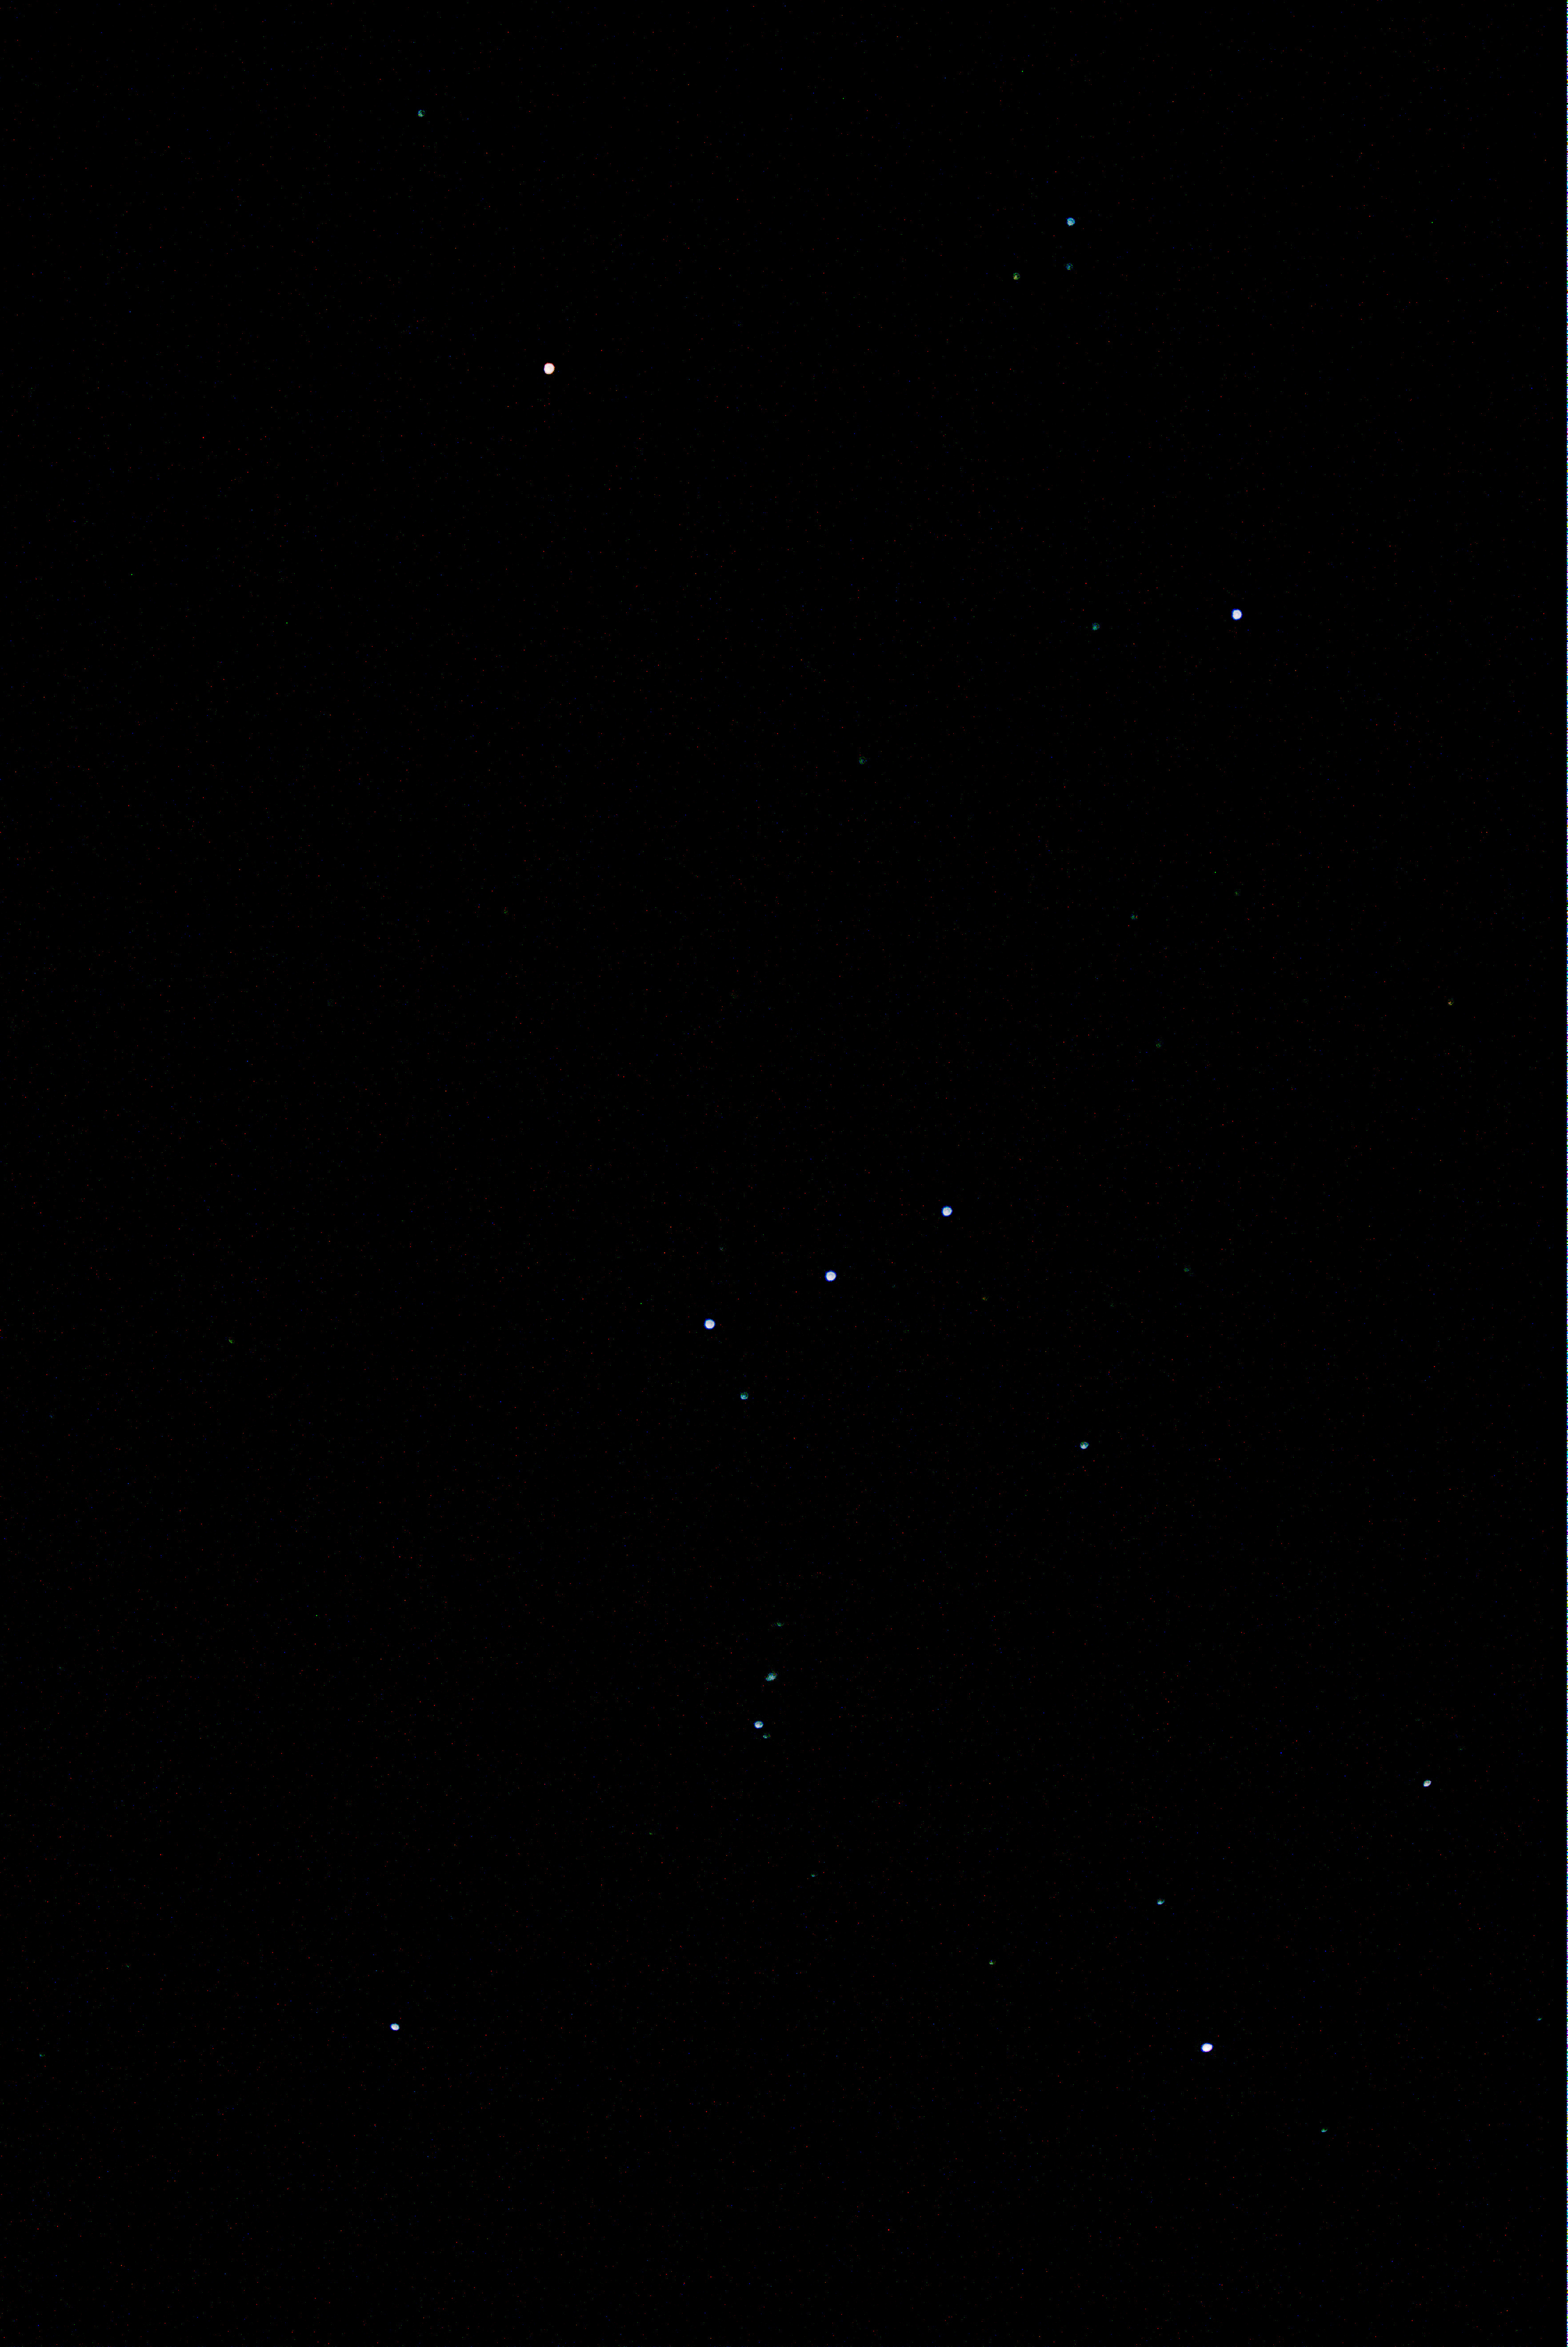
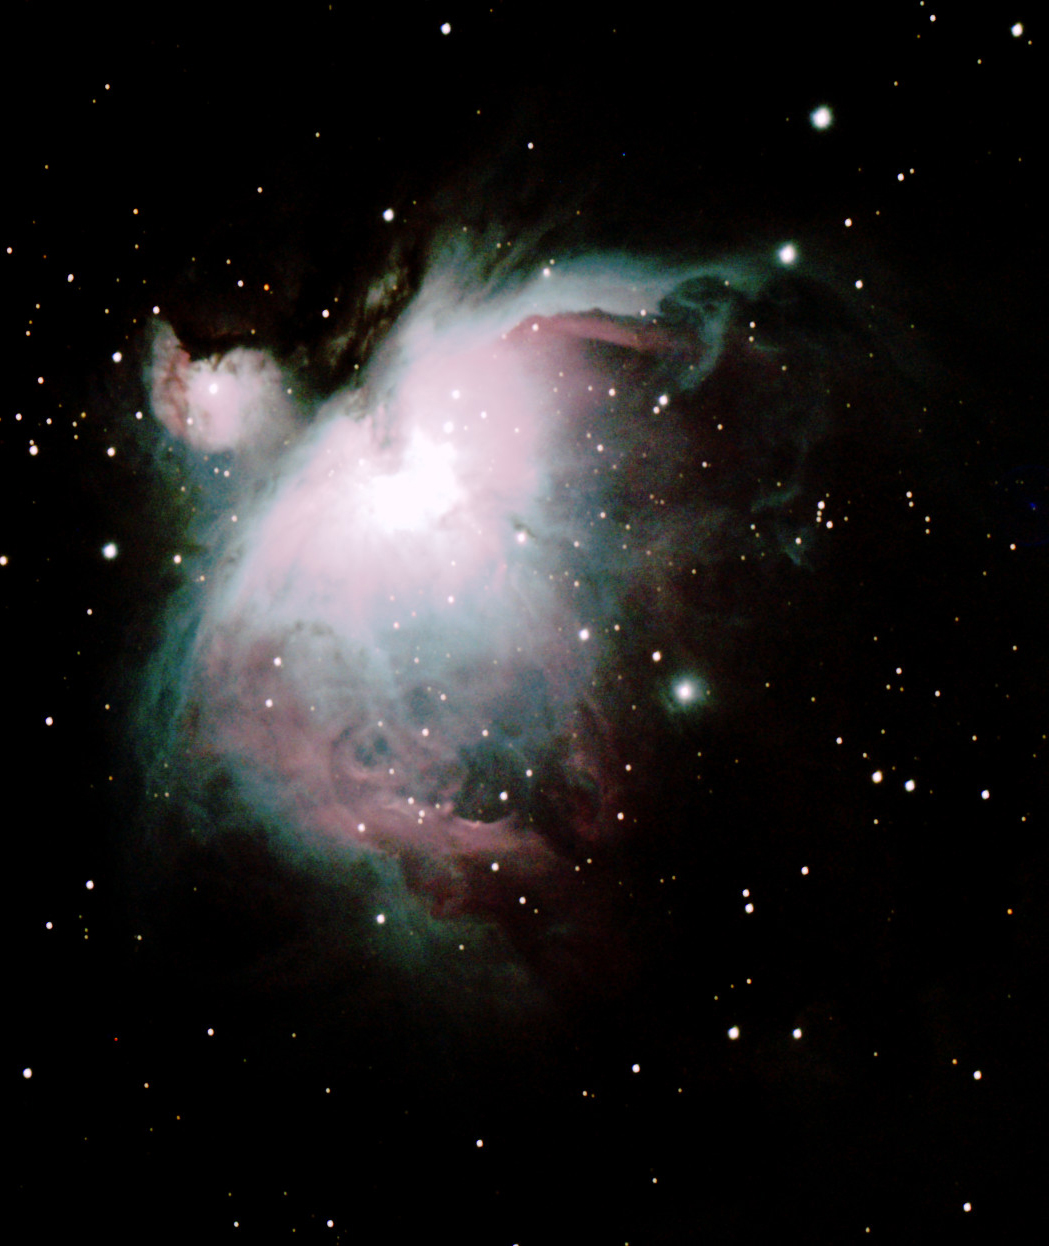
And so despite numerous setbacks and a very late night I finally arrived at an image of M33, AKA the Pinwheel or Triangulum Galaxy; confusingly M101 is also known as the Pinwheel Galaxy. A mere 3 million light years from Earth, it is one of the most distant objects that can be seen with the naked eye, though requires exceptional dark sky conditions, so unfortunately not much chance of seeing it on 5th November from here. I’d like to think that I can do better once I can achieve longer exposures but for the moment it’s my first spiral galaxy.

M33 – The Pinwheel Galaxy
WO GT81 Canon 700D + FF | x20 90 secs @ ISO 1,600 | Kappa-Sigma Clipping stacking

M33 – The Pinwheel Galaxy
As before + Auto Adaptive Weighted Average stacking