Preparation + perseverance = progress, and what progress.
Another clear night last Wednesday, so with my new found success of polar alignment, I started early in the evening in order to try and photograph NGC 7000, or the North America Nebula (it looks like North America). I had been inspired by images of NGC 7000 on SGL and had already tried a few times to capture it but without success. With the much improved polar alignment (I went through two star and polar alignment sequences this time) and therefore better tracking, I figured it was also time to increase the stakes overall: a larger set of x20 images (previously 10), speed increased to ISO 1,600 (previously ISO 800), increased exposure time to 90 seconds (previously 30 to 40 seconds) and shooting a full set of additional dark, bias and flat images in order to reduce hot pixels and sensor noise.
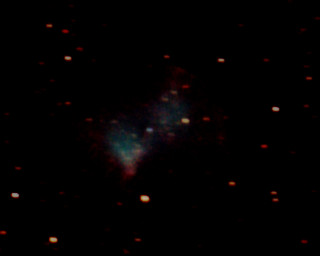
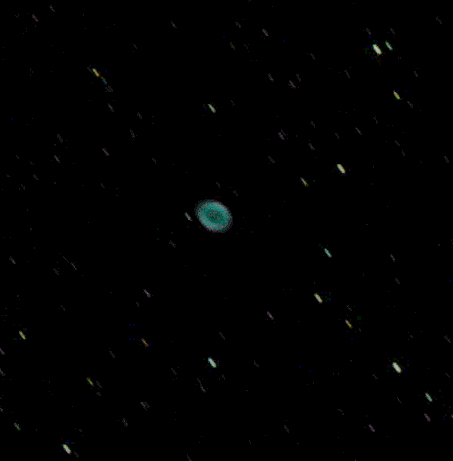
And so it was that I managed to successfully photograph the mighty NGC 7000. The very nature of the nebula meant that I did not know if I had the picture until late in the processing phase but it was there. This emphasises the importance of preparation and the set-up in order to subsequently rely on the scope’s orientation, focus and tracking – you are literally working blind whilst taking a photograph of such an object this way.
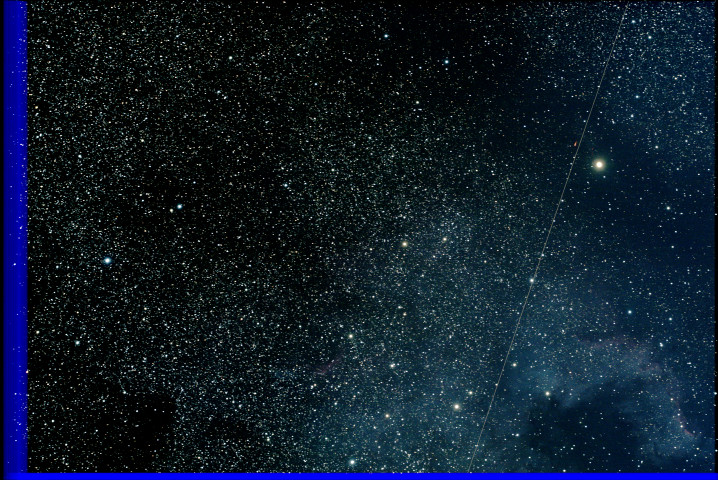
NGC 7000 or North America Nebula – after stacking and basic post processing in Photoshop (note aircraft trace, subsequently removed).
Canon 700D ( unmodded) | 20 x 90secs @ ISO 1,600 & darks + bias + flat frames, unguided
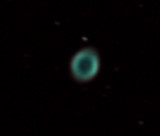
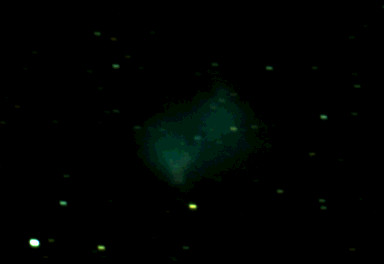
NGC7000 is located within the constellation of Cygnus, some 1,600 ly from Earth. The North America Nebula is an emission nebula and most of the light emitted is H-alpha (red), most of which is unfortunately filtered out by any normal camera, such as mine the Canon 700D DSLR, by an infra-red filter that is fixed over the sensor. As a result the basic image captures predominantly OIII (Oxygen Three) light, which is a bluish green colour and is not removed by the camera’s filter. Many DSO objects have such characteristics and I had been hoping to avoid this problem for a while. There is a solution, which is to remove the filter, to modify or ”mod” the camera, the resulting images would then reflect the full light spectrum. The downside in doing this is twofold, which is why I have not done it to my camera: it’s not cheap to do and it renders the camera useless for normal, earth bound photography! Oh well, something else for the Christmas list.
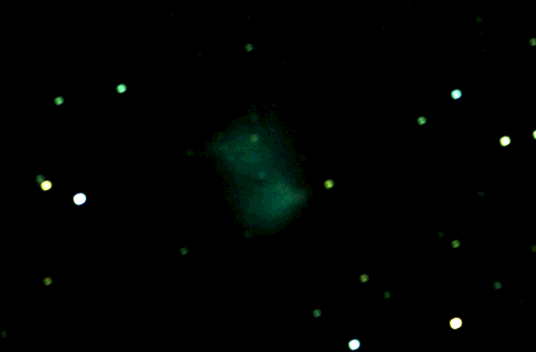
In the meantime, the red has been put back into the image by using Photoshop. Either way it’s a great image and I am thrilled. Wow indeed!
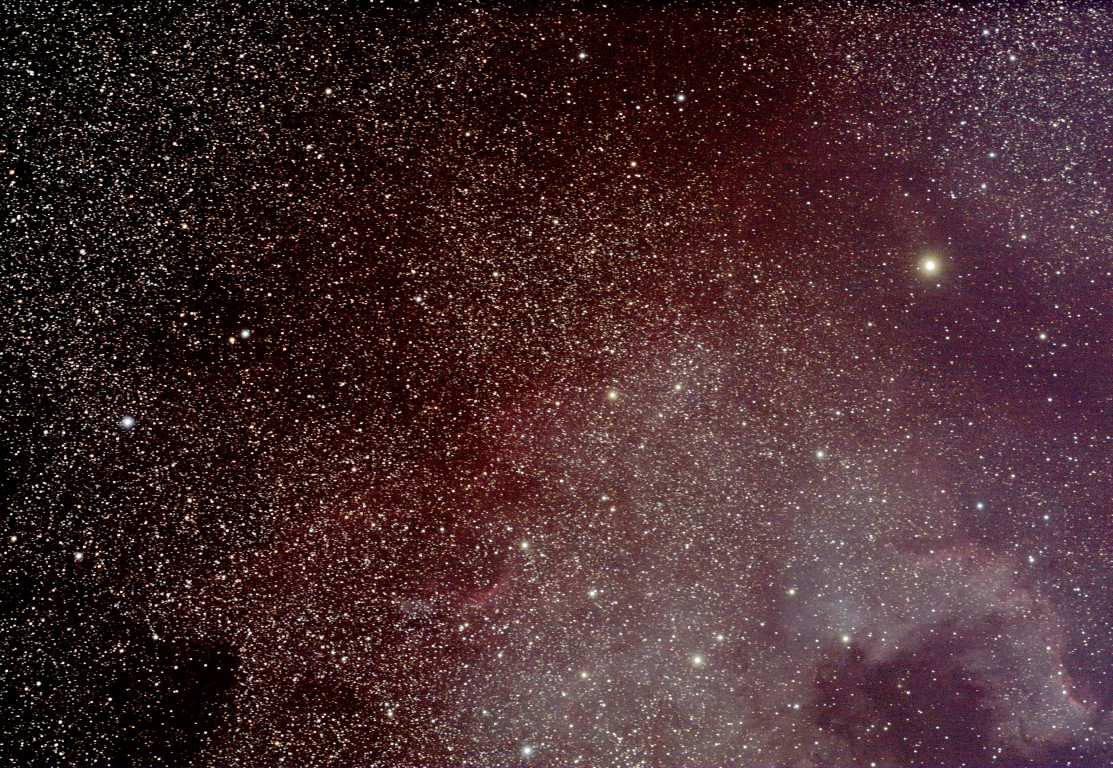
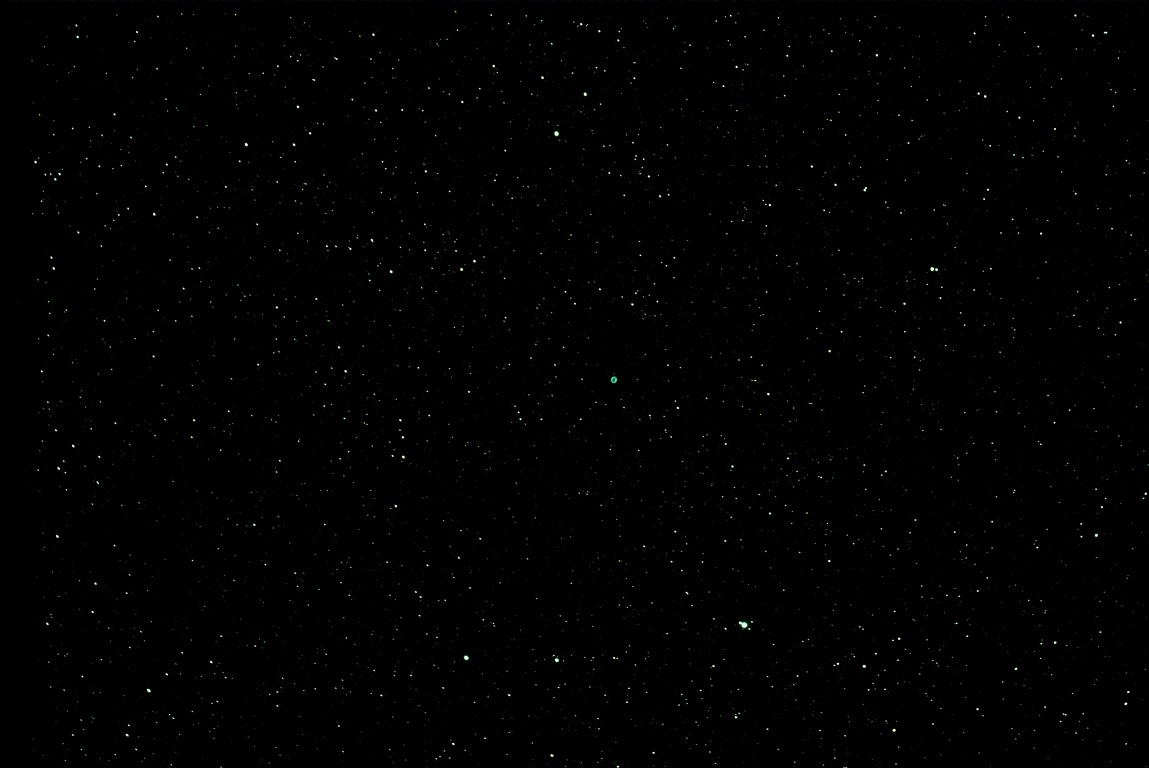
NGC 7000 North America Nebula, with curves & levels adjustment in Photoshop
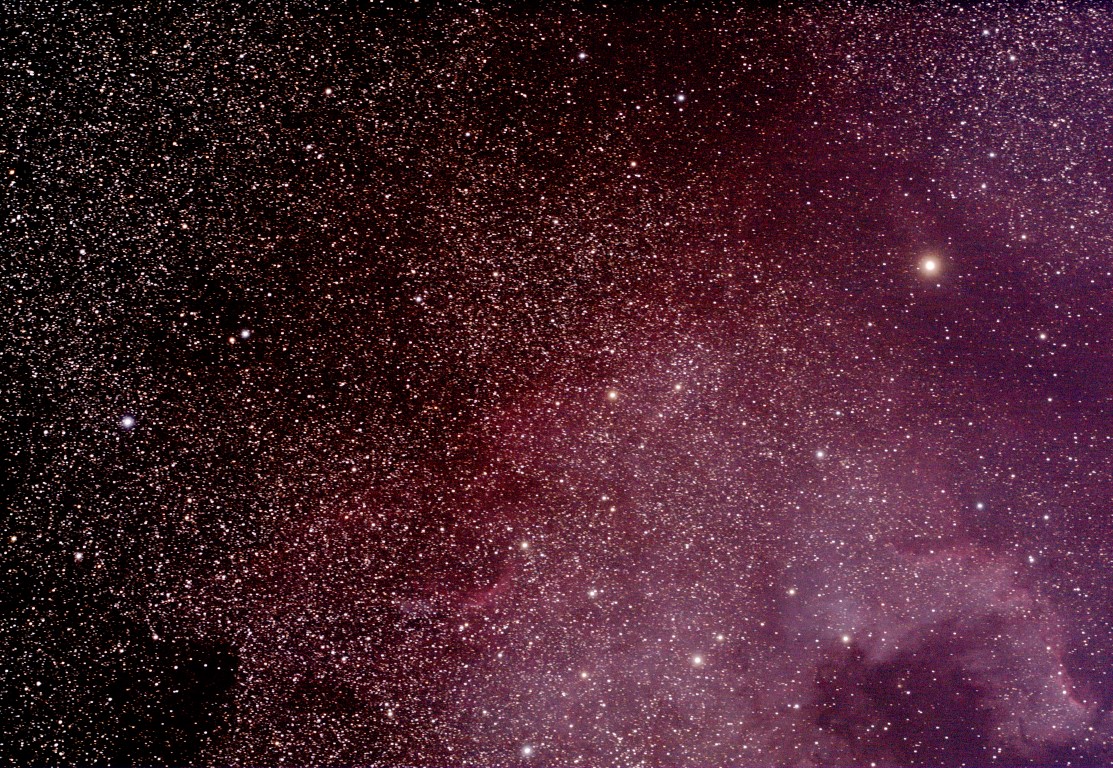
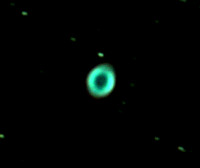
NGC 7000, North America Nembula, with curves, levels and colour balance Photoshop adjustment